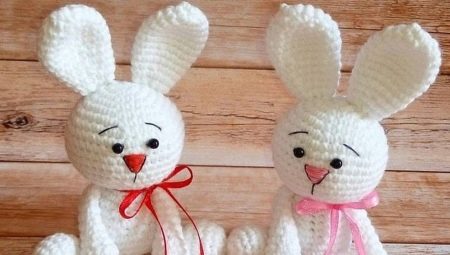
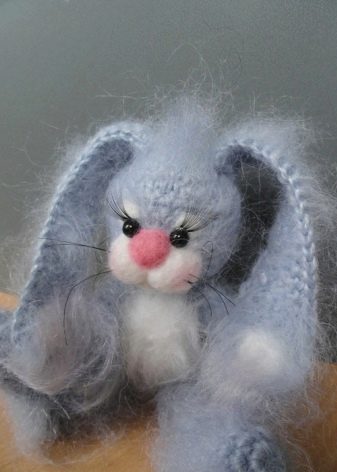
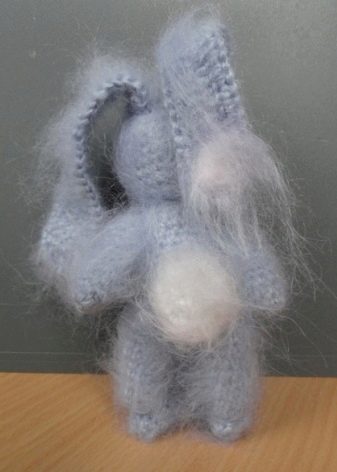
Toys connected in the Japanese amigurumi technique look in a special gentle and cute way. On the Internet you can find many schemes and master classes on creating this or that animal or fairy-tale character. Our material today is about knitting a cute little long-eared rabbit.
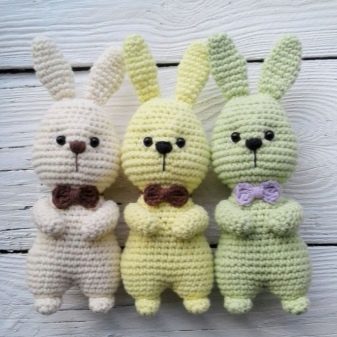
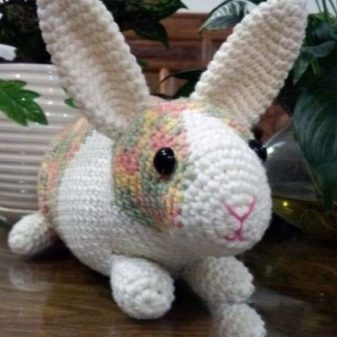
Preparation
To begin with, you will need to purchase all the necessary materials and tools. We list them.
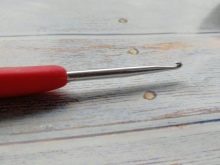
- Of the tools, you only need a knitting hook No. 2 or No. 2.5 (the “two” is better, because the knitting will turn out denser and the stuffing will not be visible through the holes) and a sewing needle with a large eye (for the final assembly of the toy and embroidery of eyes with a nose) .
- Get fluffy yarn: recommended "grass" from "Kamteks" or mohair. The color can be any, but if you want the animal to look more natural, then choose threads of white, gray or beige.
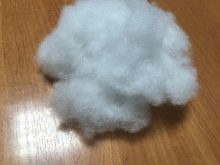
- It is desirable to stuff the rabbit with hypoallergenic fillers: holofiber, sintepuh.
- To embroider the eyes and nose, take a thread of black and pink floss.

Work description
Below is a detailed knitting pattern for a rabbit with long ears. It should turn out about 6 cm in height (provided that it will sit). If you want to tie a larger toy, just add rows and increments of loops. Note: the abbreviation "sbn" means a single crochet.
Head + carcass:
- 1 row: we knit an amigurumi ring of 6 loops;
- 2: add 2 sbn to each loop, total we get 12;
- 3: we knit 1 sbn, add 2 sbn to the next loop, repeat this along the length of the entire row, we get 18 sbn;
- 4-8 rows: 18 loops;
- 9: we knit 6 sbn, decrease one by one on the 7th and 14th loop, 16 pieces remain;
- 10: we knit 5 sbn, decrease one by one on the 6th and 12th loops, as a result we get 14;
- 11: we knit 4 sbn, the decrease will be on the 5th and 10th stitches, 12 will remain;
- 12: 2 sbn, then additive 2, repeat throughout the row - 16;
- 13: 2 SBN, additive 2, repeat - 21;
- 14: 3 SBN, additive 2, repeat - 26;
- 15–20 rows: 26 loops each;
- 21: 6 sbn, decrease one by one on 7, 14 and 21 loops - there will remain 23;
- 22: 5 sc, decrease (6, 12, 18) - 20;
- 23: 4 sc, decrease (5, 10, 15) - 17;
- 24: 3 sb, decrease (4, 8, 12) - 14;
- 25: 2 sb, decrease (3, 6, 9) - 11.
We knit in the opposite wall, fix. We hide the thread with a hook inside.
After knitting 11 rows, it is necessary to stuff the resulting rabbit head, otherwise it will be difficult to do this in the future.
Front legs (two pcs.):
- 1 row: we form a ring amigurumi, we collect 6 loops;
- 2: 1 sbn, 2 add, repeat - get 9;
- 3: 2 sc, 2 add, repeat throughout the row - 12;
- 4-6 rows: 12 each;
- 7: 3 sbn, then a decrease in 4 and 8 loops, total will remain 10;
- 8-10 rows: 10 each.
Fasten knitting, leave a long thread for sewing paws to the body.
Hind legs (two pcs.):
- 1 row: Amigurumi ring of 6 loops;
- 2: 1 sbn, additive 2, repeat - 9;
- 3: 2, add 2, repeat - 12;
- 4-7 rows: 12;
- 8: decrease on 3, 6 and 9 loops - 9 will remain;
- 9-10 rows: 9 each;
- 11: 3 sc, add 2, repeat throughout the row - you get 11 columns;
- 12-14 rows: 11 each;
- 15: decrease on 4 and 8 loops, 9 will remain.
We fix, leave a long thread, as in the previous case.
Muzzle:
- 1 row: we collect an amigurumi ring of 6 loops;
- 2: 1 sbn, add 2, repeat - 9;
- 3: 2, add the same amount, repeat - we get 12 sbn;
- 4: 12.
We fix, leave the thread.
Ears (two pcs.):
- 1 row: traditional ring of 6 loops;
- 2: 2, add 2, repeat - 8;
- 3: we do the same, in the end we get 10 loops;
- 4: again the same thing - 13 sbn;
- 5-14 rows: 13 each;
- 15: 4 sbn, make a decrease on the 5th and 10th loops - 11;
- 16: 3 sbn, decrease by 4 and 8 - 9.
We fix the knitting again, leave the long end of the thread for sewing the ears to the head.

Tail:
- 1 row: 6 loops in an amigurumi ring;
- 2: 1, add 2, repeat - 9;
- 3: 9.
We finish knitting, fixing the thread and leaving the necessary length for sewing to the carcass.
Assembling a rabbit involves several steps.
- First of all, you need to fill the body, legs and handles with the selected filler.
- Sew on from the bottom, that is, first attach the hind legs. Sew them best so that the rabbit is sitting: the toy will be more stable.
- Sew the pens.
- Now attach the muzzle. Stuff it when it is almost sewn.
- Ears and tail can not be stuffed. But if you want your rabbit to have protruding ears, then lightly fill them with stuffing.
- Embroider the eyes and nose with thread floss.
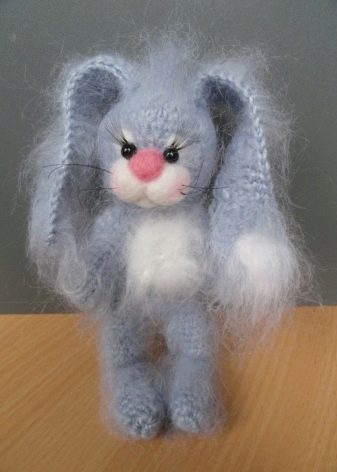
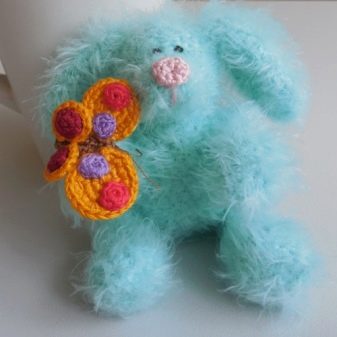
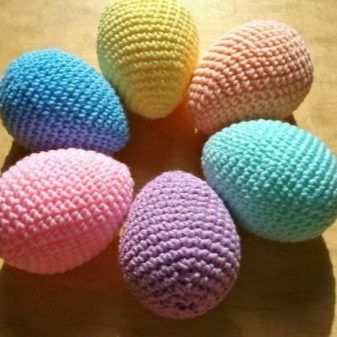
In anticipation of the upcoming Easter, it will be possible to tie several such cute miniature rabbits and give them to loved ones. A to make the toy more thematic, “equip” it with an Easter egg: real, souvenir or also amigurumi-related.
Useful Tips
So that everything works out the first time and you are inspired to create new masterpieces of handmade, listen to our tips.
- As you work, write down everything you do, step by step. This will give you the opportunity to repeat the toy, for example, upon receipt of the order. And you will not be confused about which row you knit at the moment and how many increases / decreases you need to make.
- Amigurumi means tight knitting. Therefore, take a small hook: 2 or even 1.5. Although 2.5 is suitable for a start.
- Put a marker (a thread of a different color) in the first or last loop of the row. He will help you in their calculation.
- As a stuffing, do not use cotton wool or shreds of fabric: the knitted fabric is very flexible, supple, all lumps, bumps and bumps will be visible on it.
- Glass or plastic eyes are not suitable for amigurumi: they are very “cheap” to a toy, plus to such small details can be easily torn off and swallowed by a small child. The ideal solution is to embroider the eyes and nose with thread floss.
How to tie an amigurumi rabbit, see the video below.
