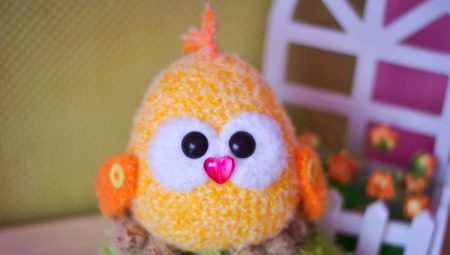
Knitted chickens amigurumi - This is not only a beautiful toy, but also a wonderful souvenir for the holiday of Easter. You can tie such a toy with your own hands. The most important thing is to understand the features and study the schemes.
Features
If we talk about the complexity of knitting chicken amigurumi, then it can be defined as easy. Even with an average speed of knitting in time, the easter chicken amigurumi can be ready in 1 hour.
You need to crochet such a toy using yarn of the same thickness.
It is desirable that the manufacturer of the yarn be the same, as this will allow you to choose the tone of the thread.
Amigurumi chicken will look better if you tie it small in size. For the composition, it is recommended to use several chickens that differ from each other in decorative elements.

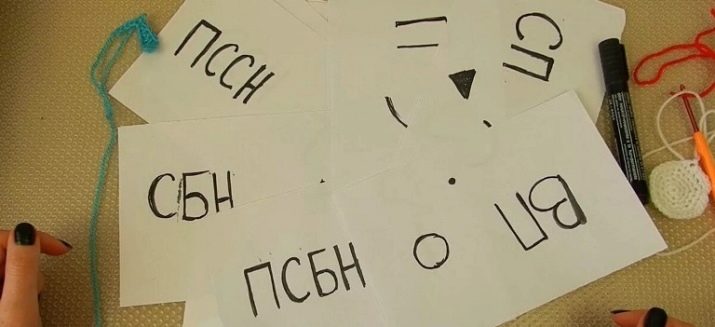
To correctly read knitting patterns, it is recommended to familiarize yourself with the main generally accepted abbreviations:
- sbn - no crochet;
- ssn - with a crochet;
- ss2n - double crochet;
- PSSN - a half-column with a crochet;
- ss - so in the schemes connecting posts or half-columns without a crochet will be indicated;
- x n - repeat a certain number of times;
- VP - air loop.
After studying and remembering these simple abbreviations, even beginners will be able to understand knitting patterns.
Tools and materials
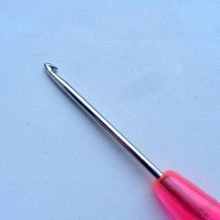
Before starting knitting, it is better to prepare everything you need, from tools to decor elements. The first thing to cook is hook for knitting.
We recommend using hook number 2.
Next, you need to stock up on the right materials.
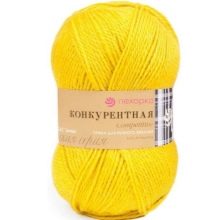
- Yarn. The choice of manufacturer depends on the capabilities. Recommendations on the color scheme: yellow (primary color), white - for the shell, red - for beaks and paws.
- Filler - cotton wool, sintepuh, holofiber or sintepon is best suited.
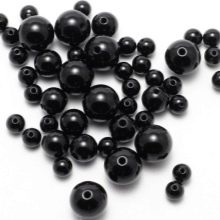
- Black beads (their number depends on the number of chickens).
- Small decorative bows.
- Needle and scissors.
If all the necessary tools and materials are ready, you can proceed to the knitting process.
Master Class
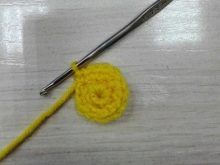
Knitting chicken should begin with the head. You need to take a hook and yellow yarn. In total, 19 rows have to be knitted (from 3 to 19 to knit sbn):
- 1r. 6 sb in the amigurumi ring (six);
- 2 p. 6 ol (12);
- 3 p. pr, 1 x 6 (18);
- 4 p. pr, 2 x 6 (24);
- 5 p. pr, 3 x 6 (30);
- 6 p. pr, 4 x 6 (36);
- 7 p. pr, 5 x 6 (42);
- 8-15r. 42 each;
- 16 p. ub, 5 x 6 (36);
- 17 RUR ub, 4 x 6 (30);
- 18 p. ub, 3 x 6 (24);
- 19 p. ub, 2 x 6 (18).
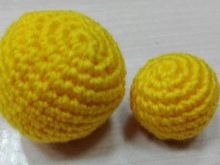
The thread should be cut, and the ends tucked into the inside. The head can be filled with filler. This must be done tightly, otherwise the toy may lose shape after some time.


Next, go to knitting the torso. The scheme for knitting will be as follows:
- 6 sb in the amigurumi ring (six);
- 2 p. 6 ol (12);
- 3 p. (pr, 1 sbn) x 6 (18);
- 4 p. (ol, 2 prs) x 6 (24);
- 5 p. (pr, 3 prs) x 6 (30);
- from the sixth to eleventh p. 30 sbn (30);
- 12 p. (UB, 3 PRS) x 6 (24);
- 13 RUR (UB, 2 SBN) x 6 (18).
Finish knitting this part should be a connecting column and leave a long thread. The body also needs to be filled with filler, and then connected with the left thread to the head - you get the basis for the chicken.

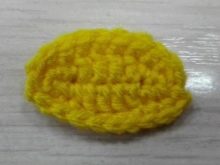
Now you can move on to creating wings. They need to be connected 2 pieces according to the following scheme:
- 1r. VI sbn in the ring of amigurumi (six);
- 2 p. VI pr (12);
- 3 p. (pr, 1 sbn) x 6 (18).
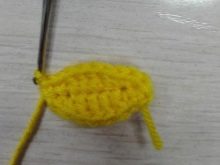
Finish knitting should be a connecting column, leaving a long thread. You should get a circle that needs to be folded in half and stitched. This procedure is done with both wings.

Next, you need to take the red yarn and tie the beak according to the scheme:
- 1r. 6 sb in the amigurumi ring (six);
- 2 p. (pr, 1 sbn) x 3 (9);
- 3 p. 9 sb (9).
You need to complete the process with a column, as in previous cases, and leave a long thread. Put a little filler in the beak too.
Now you need to knit two legs of yarn of the same color. The scheme is quite simple:
- 1r. VI sbn in the ring of amigurumi (six);
- 2 p. VI pr (12).
At the end - connecting posts and long threads. Now the parts must be connected to the main part. The beak is sewn to the head, legs - to the body. You can sew beads by making eyes, and also attach a decorative bow to the head.
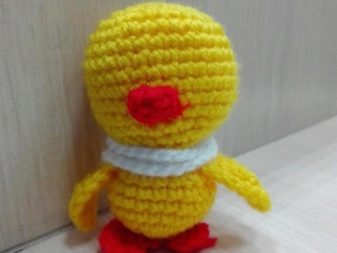
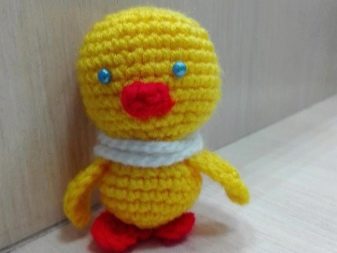
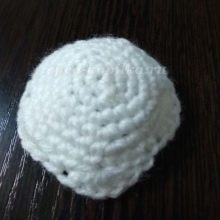
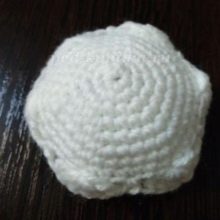
It remains only to take the white yarn and knit the shell according to the scheme:
- 1r. 6 sb in the ring of amigurumi;
- 2 p. pr x 6 (12);
- 3 p. (1SBN, D) x six (18);
- 4 p. (2SBN, D) x six (24);
- 5 p. (3SBN, D) x six (30);
- 6 p. (4SBN, D) x six (36);
- 7-10r. 36 sc.
Tie the edge of the shell with a "crustacean step". The description is quite simple and clear. If you follow these patterns, you get a great Easter chicken amigurumi.
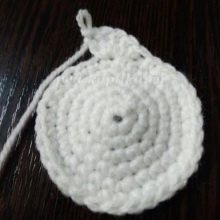
See the next video for a workshop on knitting inshell chicken.
