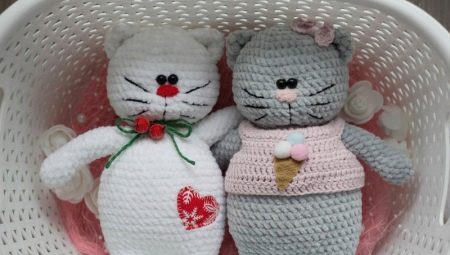
Each of us saw funny knitted toys or little men with a disproportionate head and a small body. This style of knitting is called amigurumi, he came from Japan. Most often they make toys in the form of seals, dogs, bunnies, as well as humanoid creatures or objects.
If you want to start knitting such toys, then we will consider some interesting ideas in more detail, in particular, how to make original amigurumi cats.
Features
Amigurumi knit with knitting needles and crochet. A characteristic feature of such toys is disproportion of the head to the rest of the body. The head should be large with huge eyes and a small mouth, and the body, on the contrary, small with small thin legs. The second feature is the size of the toy, it should not be more than 8-10 cm long or wide. The third difference of amigurumi is considered to be a special knitting technique - a toy is knitted with small details, which are then sewn together.
For tightness, the hook must be thinner than the yarn.
Classic knit toys spiral, two loops and clockwise. Since the birthplace of such knitting is Japan, the prototypes for the first toys were anime or manga heroes, and the amigurumi cat could have the name of the corresponding hero.
Selection of materials
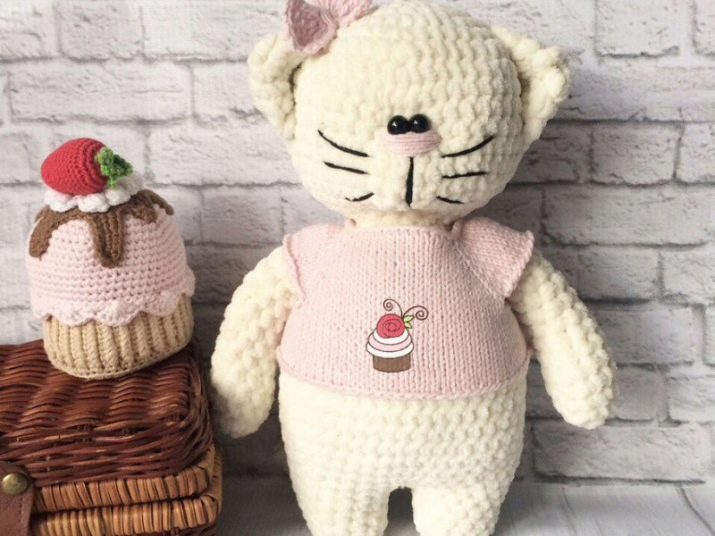
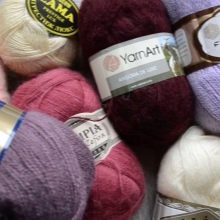
For knitting toys, you must carefully select the materials. The first thing we look at is yarn. For beginners, it’s best to use iris yarn, and acrylic yarn is also ideal because of its softness, affordability and a variety of colors. Experienced knitters can use thin cotton yarn, but given its “capriciousness” for amy toys, it fits worse.

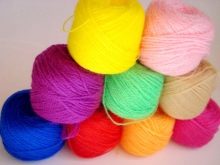
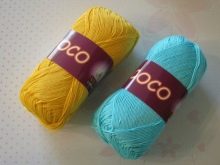
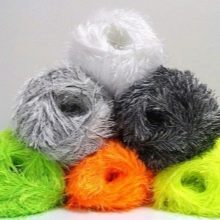
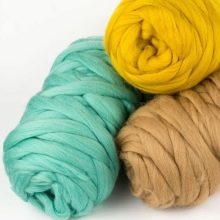
It is best to use amigurumi to give weight. half-woolen or woolen thread. To make it shaggy, you can knit “weed” or mohair yarn, but then the toys should be knitted, not crocheted. Want to get a teddy beast? Take the marshmallow yarn.
Also, quality is important for threads, only a straight thread without knots and seals is suitable.
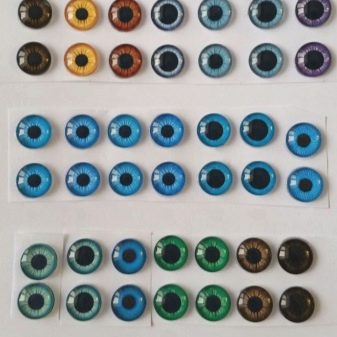
The second thing that is required for the manufacture of toys is small accessories in the form of eyes, spouts. Additional details can be connected independently, or you can buy ready-made eyes with eyelashes. Some craftswomen make such elements from improvised materials, most often from buttons.
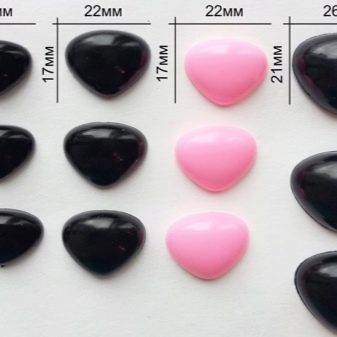
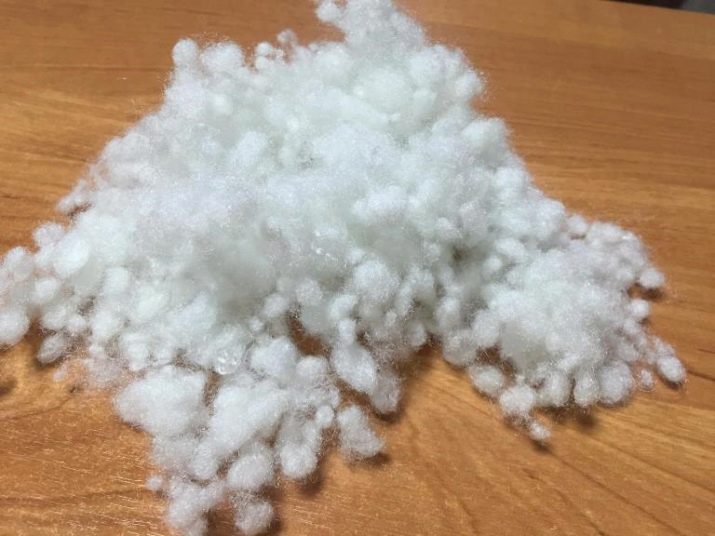
The third, but no less important point is the filler. Use as a filler cotton wool, feather and fluff, synthetic winterizer, holofiber, cereals and even silicone balls. We will analyze each of them in more detail.
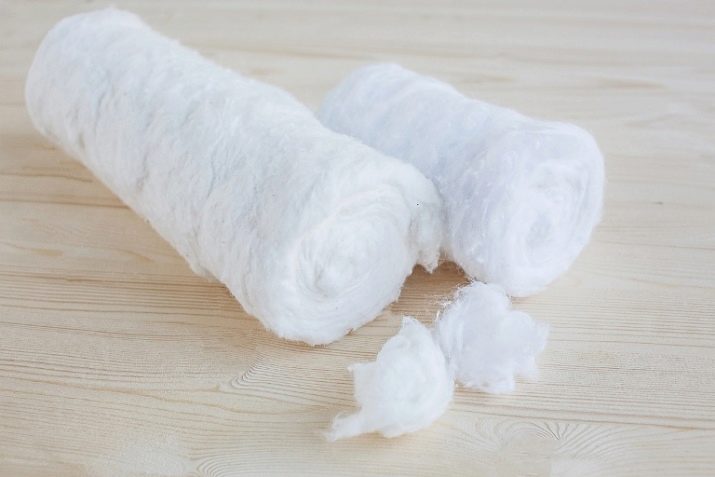
- Vata. The advantages of using only its availability. Vata has the ability to clump, a toy with such a filler will very quickly lose its shape.
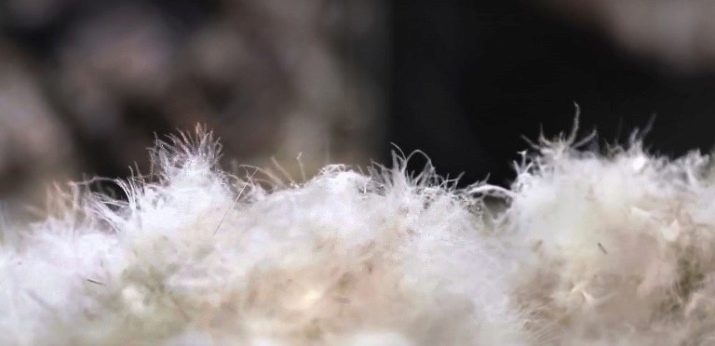
- Fluff and feather. Like cotton wool, they will not keep in shape. In addition, a product with such a filler will be difficult to wash.
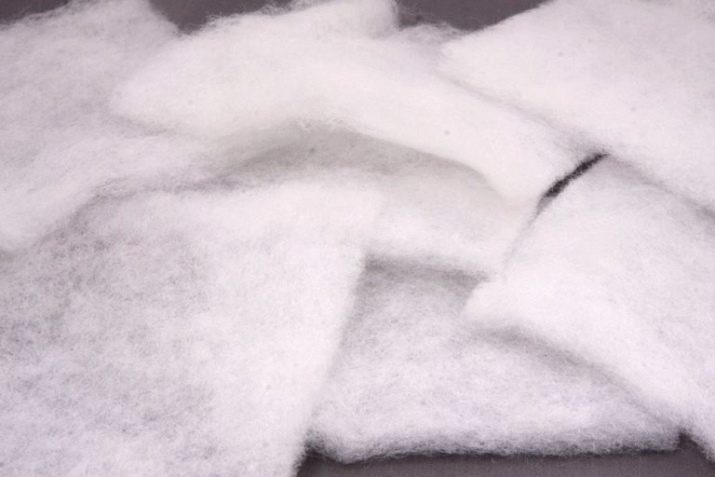
- Synthetic winterizer. This synthetic fiber is good for stuffing, but it should be fairly dense, as the synthetic winterizer, especially cheap, can roll into lumps.
- Hollofiber. It is also a synthetic material. Due to the fact that holofiber in balls does not roll and holds its shape well, it is an ideal filling for amigurumi.
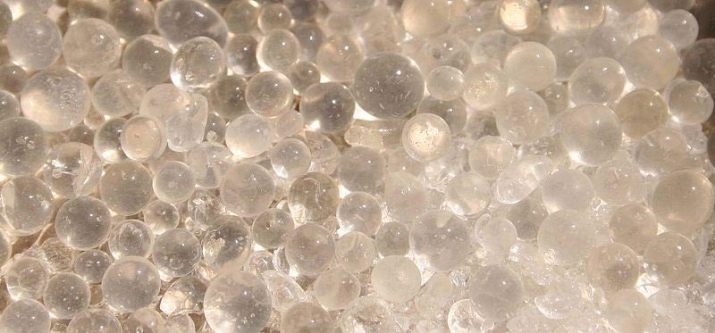
- Cereals and silicone balls. They are not quite common fillers. They are added for "development" toys. This type of filler develops tactile sensations in children.
What tools are needed?
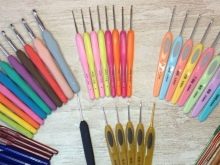
Amigurumi are most often used to create toys. hooks from No. 0.6 to No. 2.5, however, for beginners hook number 1.5. For the required density of knitting, you need to take a hook much less than you need to knit a particular yarn. The material of which the hook is made does not matter, it can be metal, plastic, wood and other material.
The best solution would be to use metal hooks.
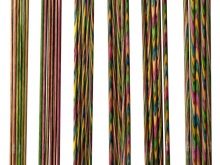
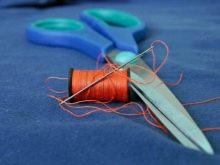
For knitting additional parts, such as clothing or accessories, it is easier to use knitting needles. Of course, toys can also be knitted, but this is not very convenient due to the size of the parts. If it is more convenient and more familiar for you to knit, then it is better to use from No. 1.5 to No. 3. The scissors should be fairly sharp so that the thread can be cut without effort. You will also need needles for stitching parts and sewing them together.
Interesting ideas
All knitting begins with an amigurumi ring, it is created from a sliding loop. When untied, the loop is tightened so that the hole in the center does not remain. The ring is knitted in two ways. The first method is done according to classical Japanese technology, with a double main loop in which one thread is pulled. The second method is to tie a simple ring. The difference between these methods is that with the second method you do not need to make the main loop double.
Almost any toy in the presence of a scheme and description of the work is not a problem. Amigurumi can be not only a toy, but also in the form of a small pillow.
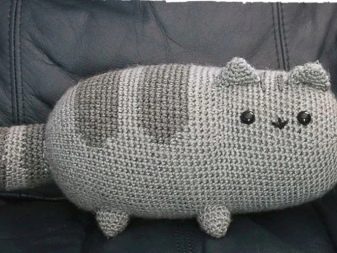
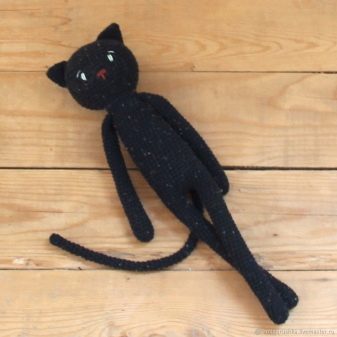
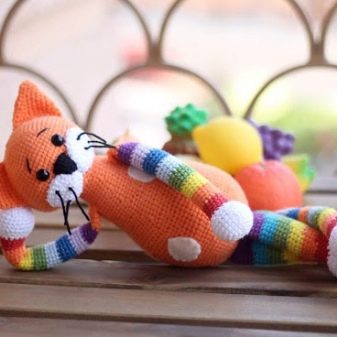
Prudent cats are common patterns for amigurumi, such as the cute long-legged cat.
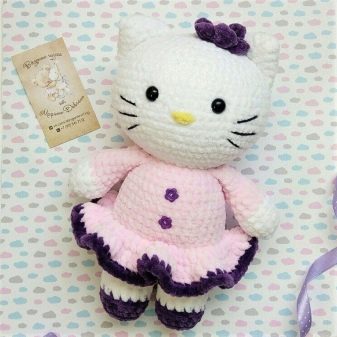
Very popular knitted Hello Kitty cats in a dress and with a pink bow.
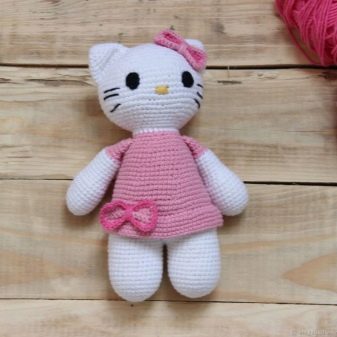
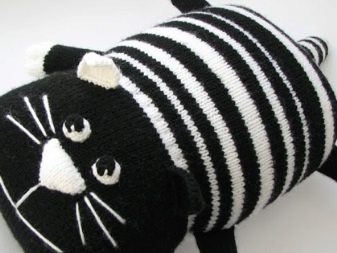
There are many original ideas for knitting different models of cats, including a striped cat or a completely black and fluffy cat.
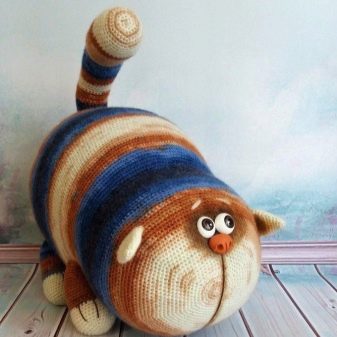
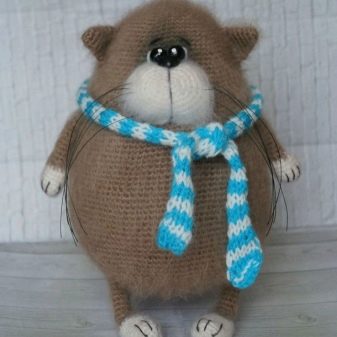
Another good example is an anti-stress toy in the form of a fat cat. There are many different kinds of knitting information on the Internet, such as amigurumi books, descriptive schemes, or master classes. You can start with a simple basic model and gradually knit what your imagination prompts.
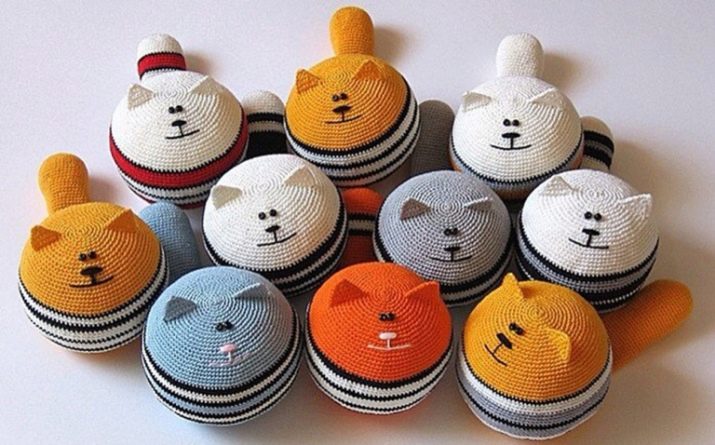
Simple toys
For beginner knitters, we present a brief master class (hereinafter MK) on knitting a simple cat toy. We divide the whole process into several stages.
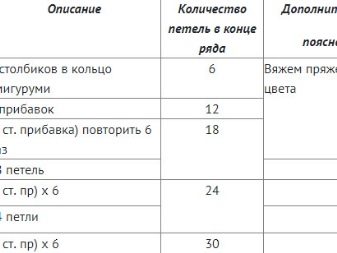
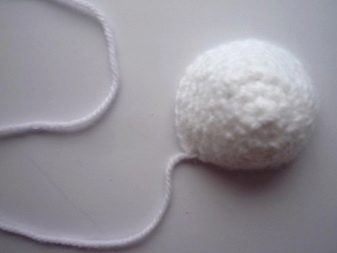
- Let's start with the head. We knit as standard, 6 columns in a ring. 2 chain - 6 incremental columns (12 loops). 3 row - 6 increments in one column (18 loops). 4 chain - 6 increments in two columns (24 loops). 5 row - 6 increments of three columns (30 loops). 6 chain - 6 increments of four columns (36 loops). 7 chain - 6 increments of five columns (42 loops). We knit the eighth row in the same way as the seventh (42 loops). 9 chain - 6 increments of six columns (48 loops). We knit the tenth row similarly to the ninth (48 loops). 11 chain - 6 increments of seven columns (54 loops). 12 row - 6 increments of eight columns (60 loops). The thirteenth row repeats the previous (60 loops). 14th chain - nine columns of 6 increments (66 loops). 15 chain - ten columns of 6 increments (72 loops). Rows from 16 to 21 we knit in the same way, 72 loops. 22 chain - ten columns of 6 decreases (66 loops). 23 chain - decrease in nine columns 6 times (60 loops). 24 row - decrease in eight columns 6 times (54 loops). 25 chain - decrease in seven columns 6 times (48 loops). 26 row - decrease in six columns 6 times (42 loops). 27 chain - decrease in five columns 6 times (36 loops). 28 chain - decrease in four columns 6 times (30 loops). 29 chain - decrease in three columns 6 times (24 loops).

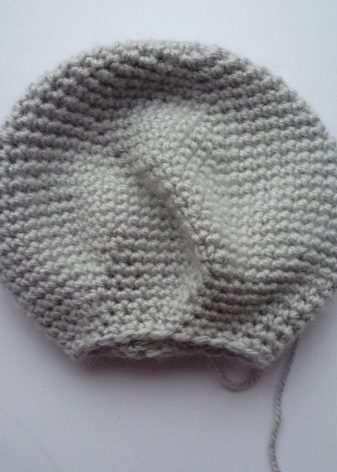
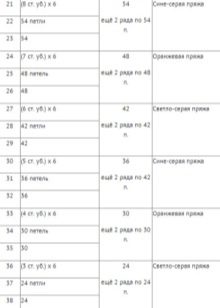
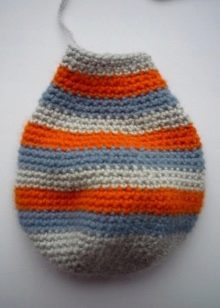
- We knit the torso. 1 chain is a standard ring. 2 row - 6 columns of increase. 3 row - 6 increments in one column. 4 row - 6 increments of two columns. 5 chain - 6 increments of three columns. 6 row - 6 increments of four columns. 7 row - 6 increments of five columns. 8 chain - 6 increments of six columns. 9 row - 6 increments of seven columns. 10 row - 6 increments of eight columns. From 11 to 20, a row of 60 columns. 21 chains - 6 decreases in eight columns. 22 and 23 rows of 54 columns. 24 chain - 6 decreases of seven columns. From 25 to 26 rows of 48 columns. 27 row - 6 decreases of six columns. From 28 to 29, row 42 of the column. From the 30th row - 6 decreases in five columns. From 31 to 32 rows of 36 columns. From 33 rows - 6 decreases in four columns. From 34 to 35 rows of 30 columns. 36 chain - 6 decreases in three columns. From 37 to 38 rows of 24 columns.
- We knit a cat lower legs. We start with the ring. 2 chain - 6 increases. 3 row - 6 increments in one column. 4 row - 6 increments of two columns. 5 row - 6 increments of three columns. 6 row - 6 increments of four columns. Rows 7 through 10 with 36 columns each. 11 row - three columns of decrease. 12 and 13 rows we also knit 33 columns each. 14 row - 6 columns of decrease. 15 row - 3 columns of decrease. From 15 to 17 rows of 24 columns. 18 row - 6 decreases in three columns. 19 and 20 rows in 21 columns. 22 chain - 3 decreases in five columns. 22 and 23 rows of 18 loops. 24 row - 3 decreases in four columns. 25 chain - 15 columns. In the same way we knit the second foot.
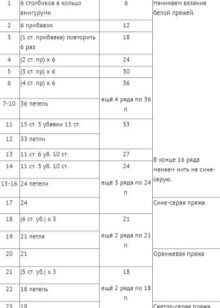
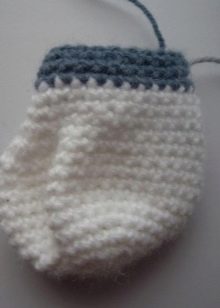
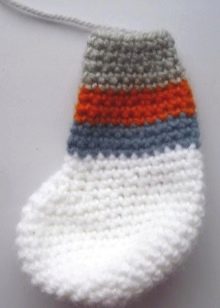
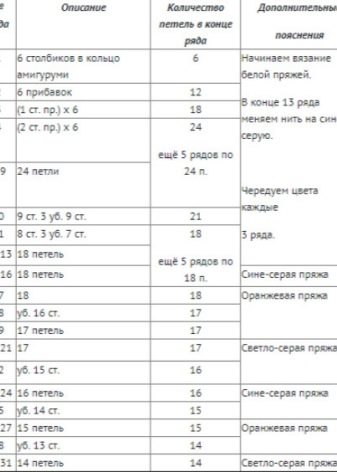
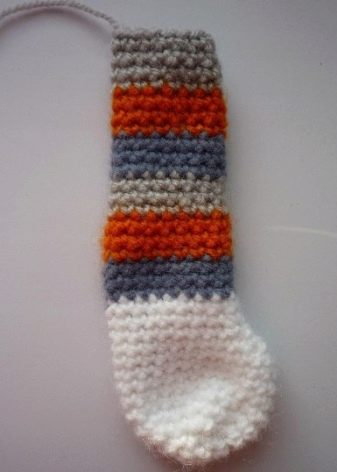
- We knit the upper legs. We knit a standard ring. 2 chain - 6 increases. 3 chain - 6 increments in one column. 4 row - 6 increments in two columns. From 5 to 9 row of 24 columns. 10 row - 9 columns, then three decreases and another 9 columns. 11 row - 8 columns, three decreases and 7 columns. From 12 to 17 rows of 18 columns. 18 chain - decrease of 1 column. 19 row - 17 columns. From 20 to 21 rows of 17 columns. 22 row - decrease and 15 columns. From 23 to 24 rows of 16 columns. 25 row - decrease and 14 columns. From 26 to 27 rows of 15 columns. 28 chain - decrease and 13 columns. From 29 to 31 rows of 14 columns. Similarly, we knit the second upper paw of the cat.
- We knit a muzzle. We start, as always, with the standard ringlet. 2 chain - six increases. 3 row - 1 column of increase six times. 4 and 5 chains of 18 columns. 6 row - 2 columns of increase six times. 7th chain - 24 columns. 8 chain - 3 columns of increase six times.
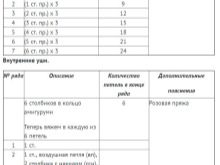
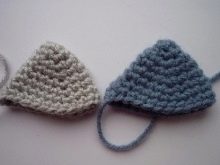
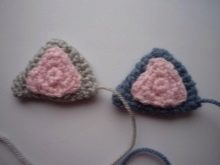
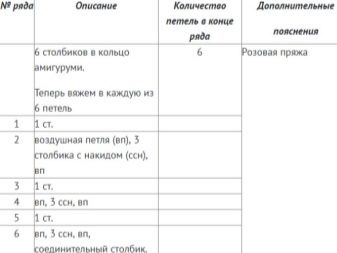
- The ears of the cat fit in two parts. The outer part of the ears, knit in two parts. 1 chain is a standard ring. 2 chain - 1 column of increase three times. 3 row - 2 columns of increase three times. 4 chain - 3 columns of increase three times. 5 row - 4 columns of increase three times. 6 row - 5 columns of increase three times. 7 chain - 6 columns of increase three times. The inner part of the ear is also knitted in the amount of two pieces. We start with 6 columns in a ring. 2 chain - 1 column. 3rd row - 1 column, air loop, 2 double crochet, air loop, 1 column. 4 chain - 1 column. 5th row - 1 column, air loop, 2 double crochet, air loop, 1 column. 6 chain - 1 column. 7 chain - 1 column, air loop, 1 double crochet, air loop, 1 column. The last is the connecting column.The inside of the eyelet is sewn to the outside.
- We knit the tail, the length of the tail depends on your desire. 1 row - 6 columns of the ring. 2 row - six increases. 3 row - 12 columns. 4 row - 1 column of increase six times. 5 row - 2 columns of increase six times. From 6 to 9 rows of 24 loops. 10 row - six columns decrease three times. From 11 to 13 rows of 21 loops. 12 row - 5 columns of decrease three times. From 15 to 19 rows of 18 columns. 20 row - 4 columns of decrease three times. From 21 to 30 rows of 15 columns. 31 row - decrease, 6 columns. From 32 to 36 rows of 14 columns. 37 row - a decrease of 5 columns. 38 row - decrease of 6 columns. From 39 to 40 rows of 13 columns. Next, we knit from 12 to 20 rows additionally, to the required tail length.

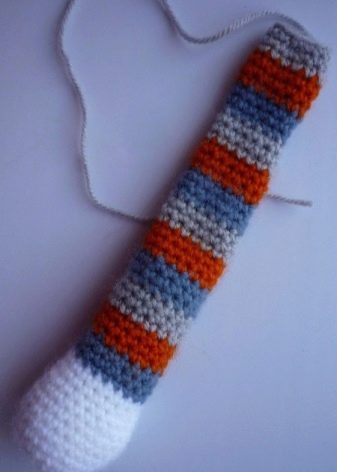
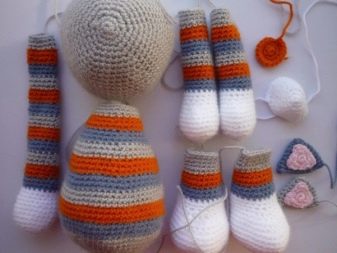
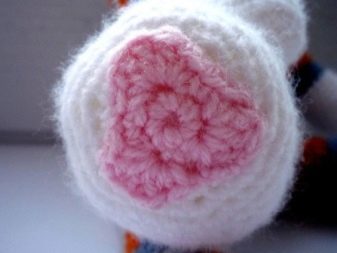
- Add filler. Glue or sew eyes on the face. We sew the head and body, sew the ears. About 7-8 rows from the center, sew the hind legs, sew the front paws higher, add the tail at the back. We knit the nose with a ball or embroider. We embroider the eyebrows and mouth. As a result, we have a happy cat.
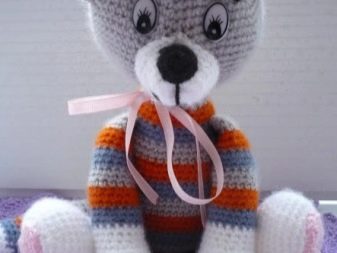
From a few details
Almost all toys are knitted with individual parts, which are then sewn together.
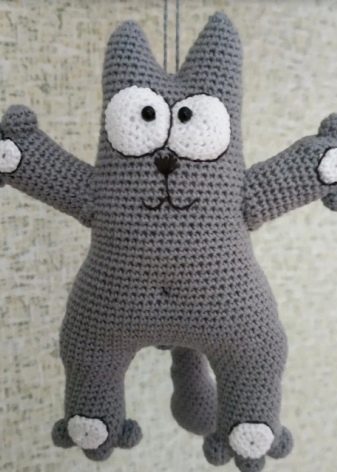
- Just look at the ami toys, for example, cat Basik or Simon. Cartoons to the craftswomen throw up a lot of heroes and ideas.
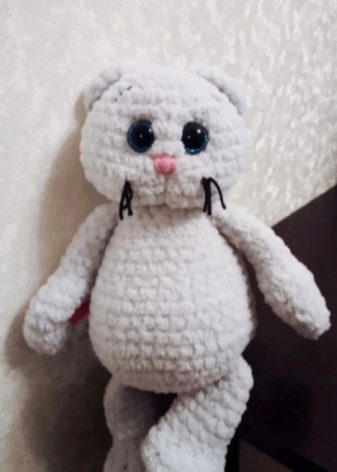
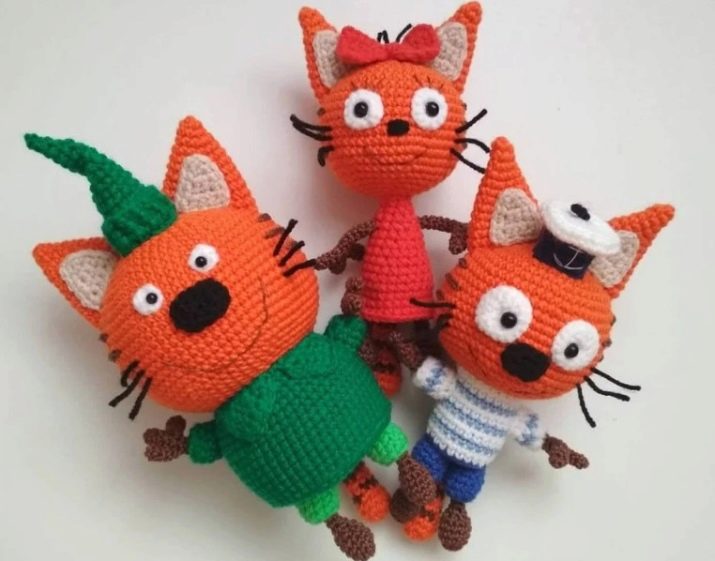
- Another very good example is the photo trinity of kittens Caramel, Korzhik and Kompot from the cartoon "Three Cats". Children will be delighted!
- Also incredibly similar to its hand-drawn prototype. Cat Matroskin from Prostokvashino.
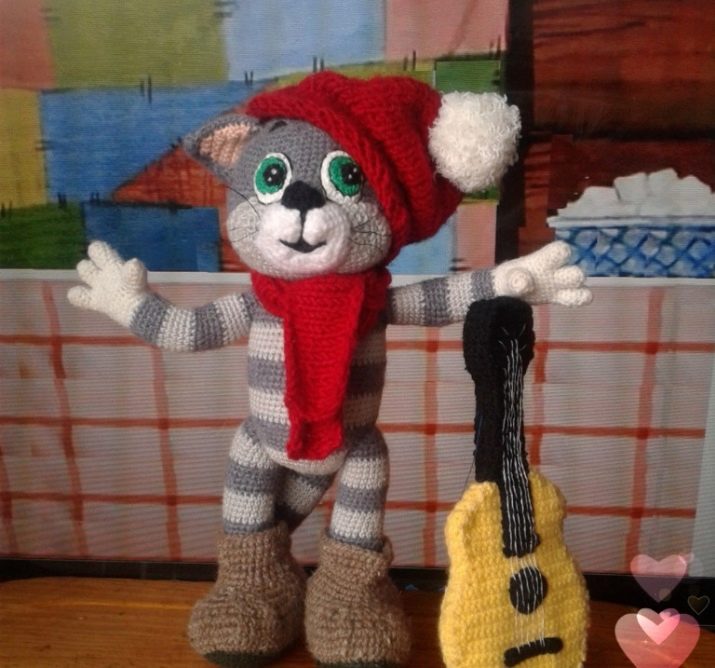
- Wonderful kitten woof also looks lively and playful, in addition, in a couple he can tie a puppy Ball.

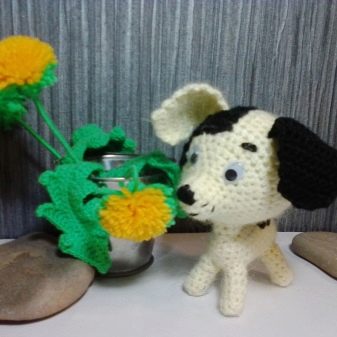
Amigurumi is not only a type of knitting, but also a very exciting creative process. You can show imagination and tie the toy not just according to the pattern, but according to your inner vision.
In addition, knitting has a beneficial effect on the nervous system and fights stress well.
Crochet cat pattern amigurumi with a description in the video below.
