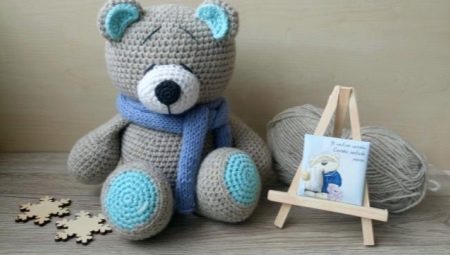
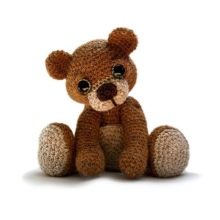
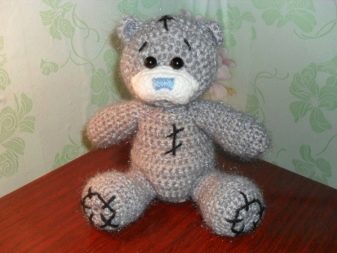
The Japanese technique for knitting miniature toys - amigurumi - has long been recognized among needlewomen around the world. With its help create kittens and bunnies, piglets and elephants, little dragons and unicorns. Today we will try to tie another popular favorite - Teddy Bear. You will find a detailed description of the knitting process in the article.

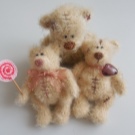
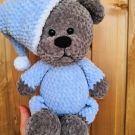
Features
The main feature of amigurumi as such is a special way of knitting - in a circle. A Teddy bear tied up this way should be especially sweet.
The color of the teddy bear is best to choose beige or gray (classic Teddy colors), but experiments are also possible if desired: white or chocolate yarn is perfect.
The amigurumi toy cannot be more than 10 centimeters, so in our material we will present a knitting pattern for just such a teddy bear-baby.
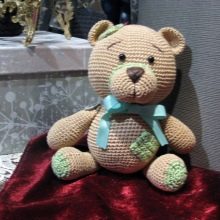
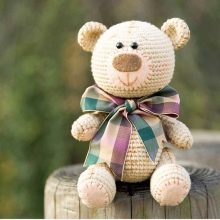
Tools and materials
Of the tools, you only need a crochet hook (it is best to take No. 2 or No. 2.5 to ensure a denser knit) and a needle with a wide eye for the final stitching of toy parts.
More materials come in handy.
- Yarn. A Teddy bear can be knitted from "grass" (the product from Kamtex is best) or from plush yarn. "Grass" is also good because the finished product can be combed.
- Stuffing. Take sintepuh or holofiber - they are hypoallergenic, do not roll, keep their shape well.
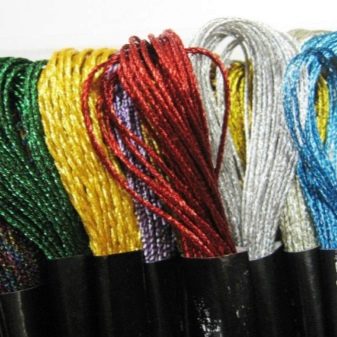
- Thread floss. You will need threads of blue (for embroidering the nose) and black (for the eye) colors.
If you want to supplement the teddy bear with an accessory (heart, bow, ball), then also prepare materials for their creation.

Knitting technique
Below is a detailed description of the crochet pattern of a Teddy amigurumi bear 10 cm in size. If you want to knit a big bear, just make more loops and, therefore, knit more rows.
The abbreviation "sbn" means a single crochet.
Head + carcass:
- we collect 1 row: we knit the ring amigurumi - 6 loops;
- 2 row: add 2 sbn to each loop - in the end there should be 12;
- 3: we knit 1 sbn, add two to the next loop, repeat this 6 times - 18 loops should turn out;
- 4: we knit 2 sbn, add 2 again in the next loop, repeat 6 times - it will turn out 24;
- 5: we knit 3 sbn, increase in the next loop - 2, repeat - 6 times, in the end it will turn out 30;
- We knit 6–11 rows without increases, that is, each of them should have 30 stitches;
- 12: we knit 6 sbn, then make a decrease by 1 loop and repeat this action 4 times (decrease by 7, 14, 21 and 27 loops), as a result, there should be 27;
- 13: 5 sbn, decrease by 1 loop (6, 12, 18 and 24), 24 remain;
- 14: 4 sb, decrease by 1 (5, 10, 15, 20), there will be 20;
- 15: 3 sb, reduce 1 (4, 8, 12, 16), the rest - 16;
- 16: 2 sb, reduce 1 (3, 6, 9, 12), 12 should remain in the row;
- 17 and 18 rows we knit 12 loops, without increases and decreases;
- 19: add 2 sbn to each loop - it will turn out 24;
- 20: we knit 2 sbn, add 2 to the next loop, so repeat along the entire row - it should turn out 32;
- 21: we knit 3 sbn, add 2 to the next loop, similarly we knit the whole row - we get 40 stitches;
- 22–27 rows we knit 40 loops each;
- 28: we knit 6 sbn, on the 7 loop we make a decrease, we knit the whole row in this way, that is, we reduce the 7, 14, 21, 28 and 35 loops, 35 remain in the row;
- 29: 5 sbn, decrease by 1 (6, 12, 18, 24, 30), the rest - 30;
- 30: 4 sbn, decrease 1 (5, 10, 15, 20, 25), 25 will remain;
- 31: 3 sbn, decrease by 1 (4, 8, 12, 16, 20), the rest - 20;
- 32: 2 sbn, decrease 1 (3, 6, 9, 12, 15), 15 will remain;
- 33: 2 sb, reduce 1 (3, 6, 9, 12), the row will decrease to 12 loops;
- 34 row: we knit 1 sbn, we also reduce 1 (2, 4, 6, 8) - only 8 stitches will remain.
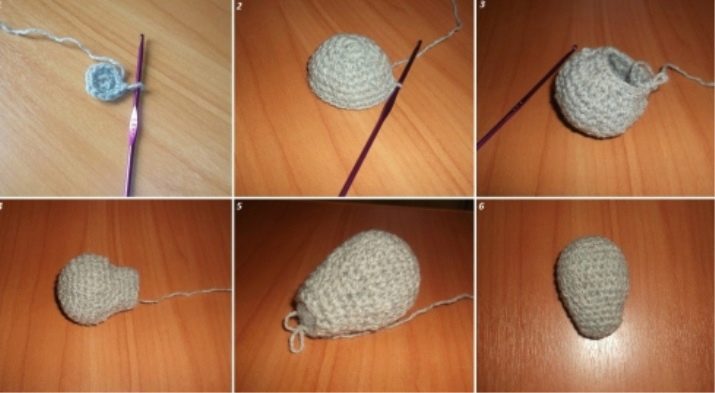
Close the hole: we knit the thread in the opposite loop, cut, tie a durable knot, and then with a hook hide it inside the carcass.
An explanation is needed regarding packing. As you already understood, the 17th and 18th rows form the neck of the toy, and in this place the hole will be narrow, so you need to fill your head immediately after knitting the 18th row. The body can be stuffed on the 31–33 row.

We knit an eye (two pcs.):
- 1 row: we form an amigurumi ring of 6 loops;
- 2 row: 1 sbn, add 2, repeat - we get a row of 9 loops;
- 3-4 rows - 9 sc.
We fix the thread and leave a long tip sufficient to sew the ear to the head. So it will be much more convenient than sewing with another thread.
Handles (two pcs.):
- 1 row: we form an amigurumi ring of 6 loops;
- 2: we knit 1 sbn, add 2, repeat 3 times - we get 9 loops;
- 3: 1 sbn, add 2, repeat - 13;
- 4-7 rows of 13 sbn;
- 8: we make decreases on 3, 6, 9, 12 loops - 10 will remain;
- 9-10 rows: 10 each;
- 11: 3 sbn, add 2, repeat - get 12;
- 12–13 rows: 12 each;
- 14: decreases on 3, 6 and 9 loops - 9.
We knit in the opposite row, fix, leave a long thread for sewing the handle to the carcass.
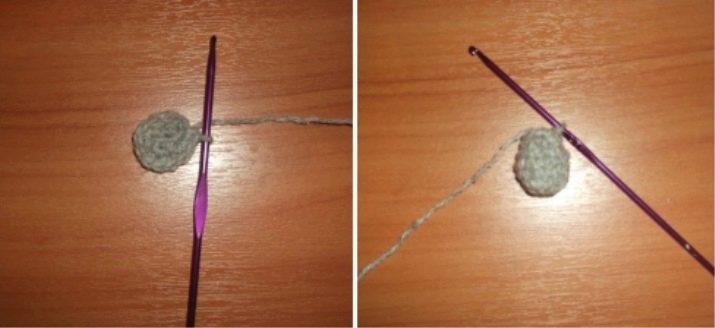
Legs (two pcs.):
- 1: 6-loop amigurumi ring;
- 2: 1 knit, add 2 to the next loop, repeat 3 times - 9 will work;
- 3: 1 we knit, 2 add, we repeat - 13 loops;
- 4-7 rows: 13 each;
- 8: decreases on 3, 6, 9 loops, in the end you get 10;
- 9-10 rows: 10 each;
- 11: 3 sbn, add 2, repeat - 12;
- 12: 3 sc, additive 2, repeat - 15;
- 13, 14 rows: 15 each.
We knit in the opposite wall, fix, leave a long thread for sewing the legs to the body.

Tail:
- 1: ring of 6 sbn;
- 2: 1 sbn, add 2, repeat - 9;
- 3: 9 sc.
We fix, leave the thread.
Muzzle:
- 1: 6-loop amigurumi ring;
- 2: 1, add 2, repeat - get 9;
- 3: 1, add 2, repeat - 13;
- 4: 1, additive 2, repeat 19;
- 5-7 rows: 19 each.
We fix the thread, leave the long end.
Toy assembly workshop
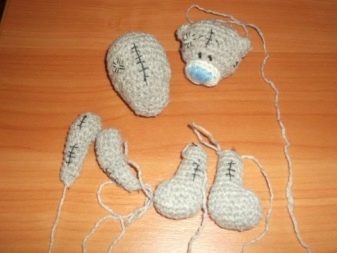
- Pre-fill the carcass, legs and handles with the selected filler.
- The easiest way is to sew the legs first, moving in a circle. The knot after the end of sewing is best hidden inside with a hook.
- Sew the pens.
- Next, proceed to sewing the muzzle. You need to fill it almost at the end of sewing.
- Ears and tail can not be stuffed.
- Embroider the eyes and nose with thread floss.
You can watch a master class on how to tie a Teddy bear in the next video.
