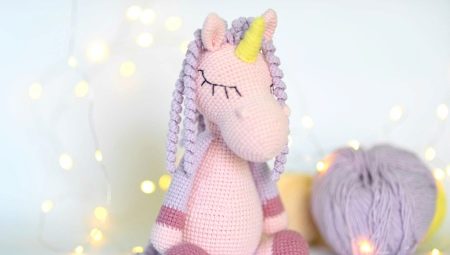
Fairy creatures like both children and adults. They look especially cute in a knitted version. One of the popular heroes of fairy tales, comics and cartoons is the unicorn. This interesting character embodies beauty, grace and tenderness. The unicorn in the hands of a skilled craftswoman is able to come to life under the quick movements of the hook.
Features
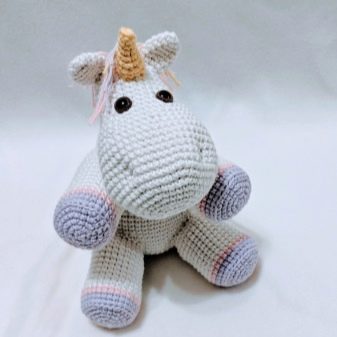
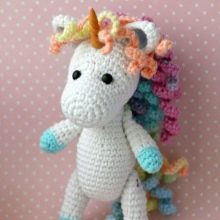
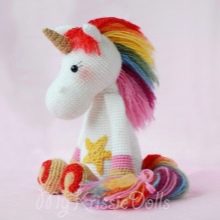
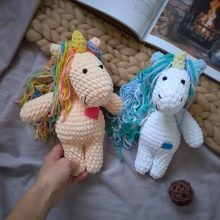
There are many fairy tales in which the main character is a unicorn. This hero will be a great gift toy for both children and a person who wants to give a piece of tenderness. An interesting gift option will be a crochet unicorn amigurumi.
Do not be afraid that this magical beast will not work. Today there are many different master classes that can teach knitting using any technique. Among the presented samples, there will certainly be a suitable one for certain skills, and for the personal preferences of the binder.
Even if suddenly the suitable option is not so easily found, you can connect your own imagination and create something unique.
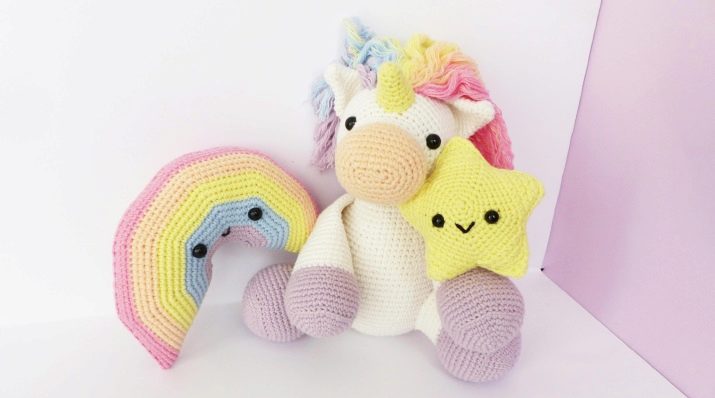
In this case, you can safely experiment with both colors and shapes. For example, a toy can turn out to be very funny or, on the contrary, as similar as possible to those handsome unicorns that are often portrayed in fairy tales.
Of course, if the crochet experience is not too great, then you should first clearly follow the steps given in the master classes. It is advisable to choose instructions in which each step is described in great detail. This avoids many errors.
Most often, it is proposed to bind separately the head, trunk, paws, ears. When all the parts are ready, then it is recommended to connect them together. You can do this by knitting or stitching.A cute knitted unicorn will be a wonderful decoration and will give a lot of pleasant emotions to both its author and all those who see him.
Tools and materials
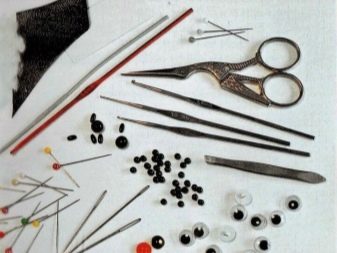
Before choosing tools and the necessary materials, you must first decide which master class will be used. If you want independent creativity, you should first make a drawing of the toy, and then create a pattern for knitting. Of course, there are a number of devices without which to create a fabulous cutie will definitely not work.
The hook is selected one or more. The size of the main tool is selected based on the thickness of the thread and the dimensions of the future product. Most workshops suggest using hooks No. 2 and 2.5, less often No. 4. To highlight a horn, you can choose a smaller hook for it than for the rest of the product.
Threads (yarn) are most often chosen purely cotton or cotton plus polyester. As for flowers, everything here is exclusively individual.
As a filler, you can use cotton wool, synthetic winterizer, syntepuh or anti-stress balls. The main thing is that the material can hold its shape, and after crushing it quickly restored.
Knitting is advisable to choose the same number as the hook. If the number of the main tool is 2, then the knitting needles should be selected under No. 2.
Eyes can be made yourself from improvised materials by connecting imagination. However, it is better to purchase ready-made sewing patterns that will definitely be able to reveal the entire depth of the tenderness and sweet beauty of the unicorn.
Scheme in the form of symbols with decoding or just text with detailed explanations. The second option, of course, is preferable, especially for a beginner.
Marker application simplifies the display of the desired row, which will avoid errors.
Stitching needle finished parts of the toy.
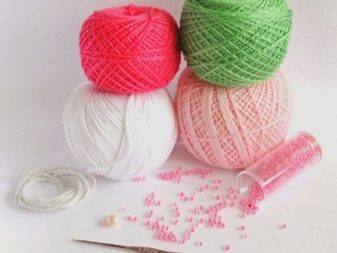
Of course, in order for the fabulous unicorn amigurumi to turn out for sure, it is still worth stocking up on inspiration and desire. These two components are required for any creative process. All good toys have such an important component as a part of the master’s soul.
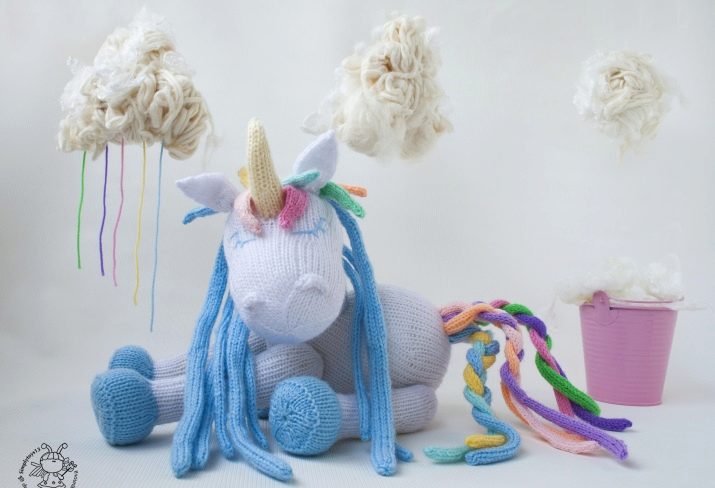
Master Class
To make a unicorn from a cartoon so that everyone likes it is quite simple. To do this, it is enough to clearly follow the scheme. Very interesting options are obtained from plush yarn, you can also often see a pink handsome man with curls. The description usually begins with the head of the toy.
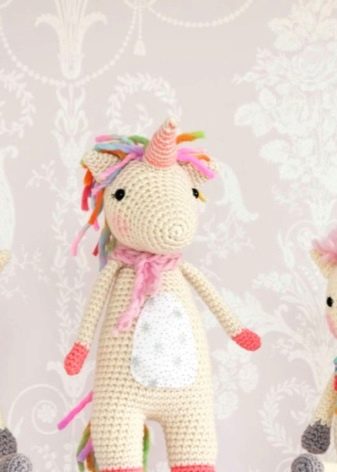
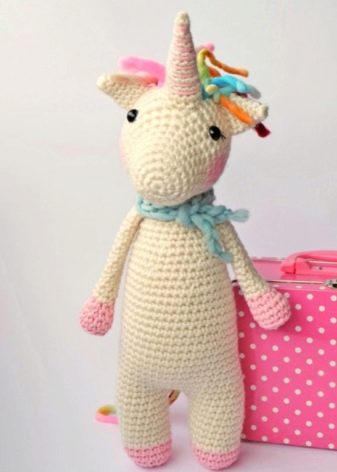
In total, at this stage, 22 rows will need to be connected. For knitting, you need to remember the single crochet. They will be connected to the head, as well as other parts of the unicorn.
It is necessary to dial 6 loops in a circle amigurumi, which is often called magic. Then tighten the loop and place the marker.
Now add one more loop to each loop to make 12 loops.
The first column is simply knit, the second column is an increase in the loop. The result is 18 p.
Knit the second column, the third - an increase. The result is 24 loops.
From 5 to 8 rows inclusive, all the columns are simply knitted.
In 9 row 3 we knit a column, in 4 one loop is added. In total, 30 loops should be obtained.
The 10th row includes knitting a 4-column and increasing by a loop of 5. At the exit, 36 loops are formed.
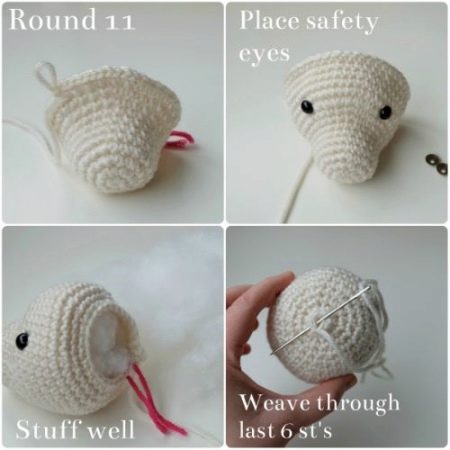
In row 11, we simply knit the 5 column, and in 6 add a loop, so that in the end there are 42 loops.
From 12 to 16 rows everything fits in without any changes.
Further, each subsequent row should be reduced in a loop starting from 6. On row 22, the number of loops should be 6.
For the arrangement of the eyes, it is best to choose a space between 11 and 12 rows. Moreover, there must be at least eleven stitches between them. Of course, first they should be tried on for the future place without sewing.
When the head is ready, it should be filled with suitable material, and then carefully connect the last row.
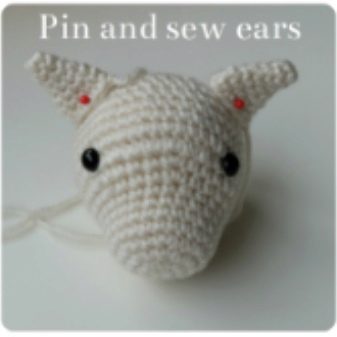
Ears for the head are better to knit separately. At the same time, do not forget that there should be two of these parts:
- make five columns from the amigurumi circle, tighten the loop, place the marker;
- on the next row (3) all loops are repeated;
- further, we make an increase in 2 loops, and we knit the next row (5) without changes;
- on the 6th row, again, we simply knit the first column, and the second with an increase in one loop;
- on the last 7 row, you just need to knit all 10 loops, and then tighten the empty loop.
It is advisable to leave a long thread. You do not need to type these details.
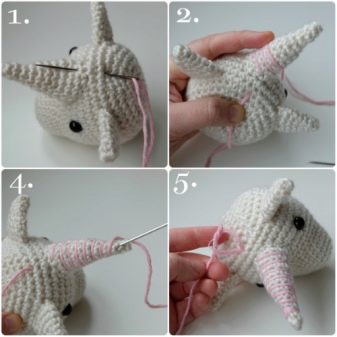
For paws, you can take a brighter color.
- Like the previous elements, you need to start with the amigurumi ring in 6 loops.
- From 2 rows, one should be added to each loop, so that in the end they will turn out 12.
- It is worth paying attention that the 3rd row fits into both walls of each of the loops.
- We knit the next two rows (4 and 5) without changes.
- Starting from 6 and 21 inclusive, you should take yarn of a different shade, preferably lighter. All the loops on these rows are simply knit, without increases.
At the end, the thread must be cut off, leaving a small tip for tying in the body. For sewing you will need a more authentic thread. Do not forget about the moderate filling of the paws, so that it does not turn out very tight.
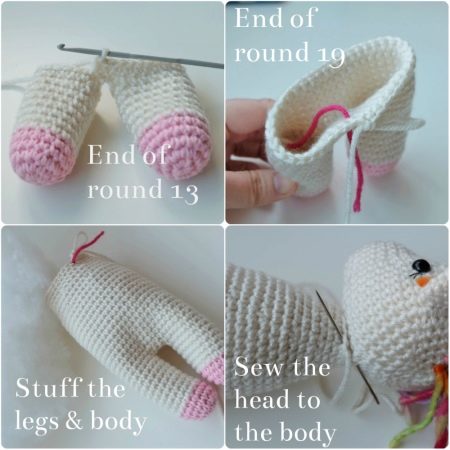
Knitting legs and torso is most convenient together. You need to start with the legs, for which the same shades are chosen as for the paws.
- The first row consists of an amigurumi ring of 6 loops.
- Next, in each loop you need to knit one more extra to get 12 (2 row).
- In the 3rd row, an increase is made in every second loop.
- From 4 to 5 knitting is carried out without changes.
- From 6 to 12, the shade of yarn changes and then simply knits.
- Now you need to fix and cut the thread, but only on one leg. On the second, this is not necessary to continue to knit the torso.
- It is important during the knitting process to gradually fill the body and legs with filler to avoid unnecessary problems. The connection of the legs is carried out by two air loops.
- Knitting the torso should begin with 18 loops and 2 air loops for the connection. It fits in the same way for the second leg. In total, 42 loops should be obtained. The next row (16th) simply knits a loop into a loop.
- Next, one row - an increase in the loop in the eighth, an increase in 15 points, then we knit 8 points and make an increase in 1 loop. Next - we knit the resulting 46 p. We repeat this combination of two rows again, only now the number of loops after the increase will be 50.
- After that, seven rows are knitted without changes. Next, it is necessary to gradually reduce 6 loops with each row until there are 16 stitches. Then a couple of rows simply fit, the thread is fixed and cut off.
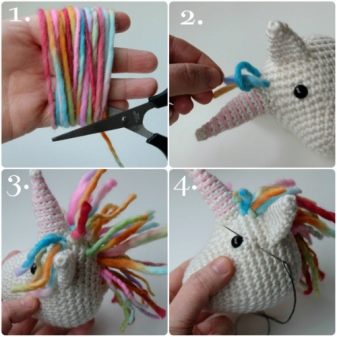
The mane and tail are made with spirals of 50 loops. Enough for 15-20 pieces per head and tail. Also, they can be made simply from threads. For the horn, 4 loops are typed into the magic circle, and then a gradual increase is made along a pair of loops until their number reaches 12.

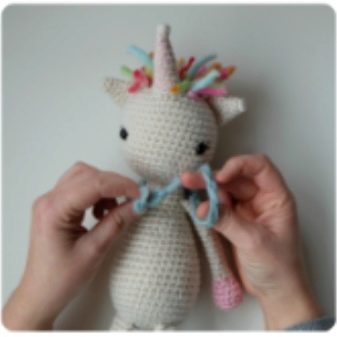
The last step is to collect all the elements together. It is advisable to first sew everything on the head (eyes, ears, horn, smile, mane), and then the body with legs, legs and tail. To make it for beginners it is quite simple, but to cover up small errors, you can use stitched clothes made of organza or other material.
Interesting ideas
Of course, unicorns themselves are beautiful, but you can make toys even better. To do this, you can come up with a keychain with this magical creature.
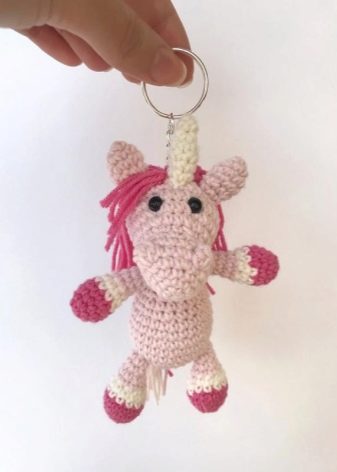
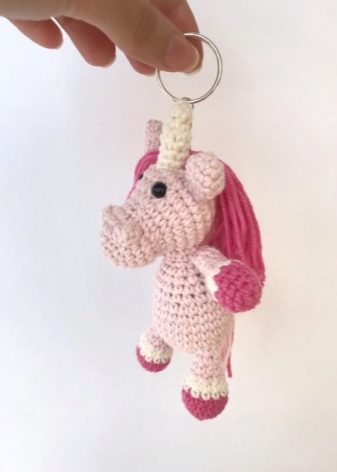
These cute fabulous animals in dance or sitting on small pieces of furniture look very original.
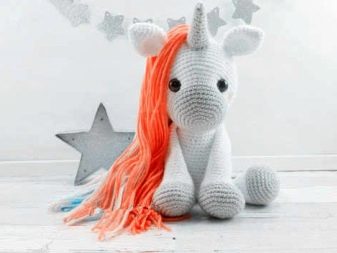
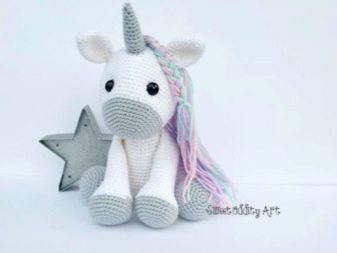
The sleeping unicorn looks no less interesting and gentle.
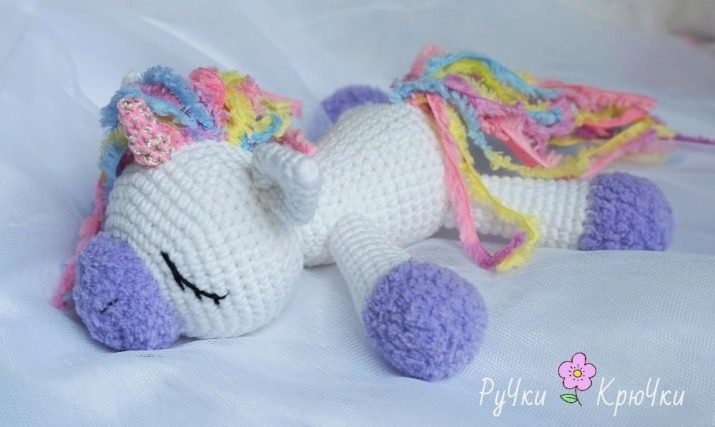
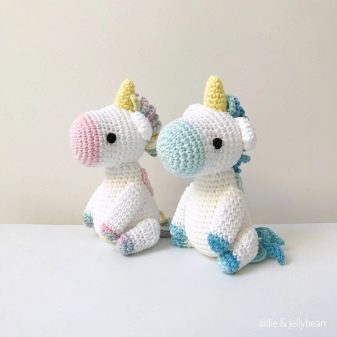
You can make several figures at once in different poses and colors, so that they turn out to be a real intricate plot for games. There are many ideas how to make an original unicorn, and they are limited only by the imagination of the master.
To learn how to tie a unicorn with amigurs, see the video.
