For a comfortable life of fish and plants in the aquarium, in addition to changing the water, caring for water filters, the illumination of the reservoir is important. The closed world of a home reservoir needs lighting, as there is not enough natural light to function properly. Inhabitants of the aquarium require "artificial sun" from 10 to 12 hours a day. The best solution to this problem is to use an LED strip as a backlight.
LED backlight specifics
Before using LED strip as a lamp in a home pond, you should carefully consider the calculation of the power of the lamps. Cheap and low-power LEDs will not be able to provide high penetrating power of light through the water column and will only illuminate the top layer in the aquarium. For uniform illumination of the aquarium landscape, it is generally accepted that for each liter of water, approximately 0.5 watts of power and 40 lumens of brightness are required. It should also be noted that for reservoirs with a volume of more than 200 liters, these calculations double.
For herbal aquariums and reservoirs with a height of more than 60 cm, calculations are made based on a power of 1 watt per liter of liquid and a brightness of lighting from 60 lumens. It must be remembered that every 10 cm of depth reduces the light intensity at best by 50%.
In any case, after installing the lighting, it is worth observing the fish and plants for 3-4 weeks to select the optimal level.
LED selection
For the right choice of lighting LED strip you need to pay attention to the following parameters:
- size of the aquarium;
- species of fish and plants living in the pond;
- degree of moisture resistance and moisture insulation (IP) of the tape;
- power and brightness of LEDs;
- LED strip length;
- backlight duration.

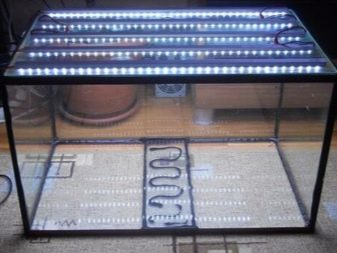
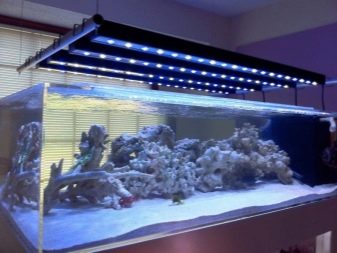
In most cases, the LED backlight is mounted in the lid of the aquarium, but to decorate a home reservoir, you can place it on the bottom and walls around the perimeter. Only tape with IP68 moisture protection is installed under water. Do not forget that a long time the backlight from the depth of the tank can adversely affect the behavior of fish and plant growth.
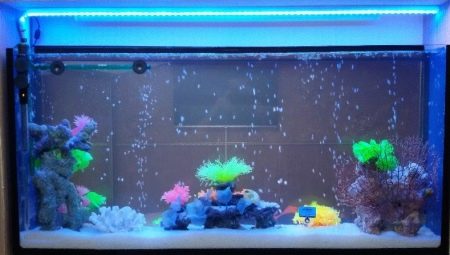
If only fish live in the aquarium, then you can use the simplest LED strip with a white spectrum of light. But do not go too far: if there is too much light, then the inhabitants of the aquarium may begin to hurt, and the water will get an unpleasant odor and become cloudy.
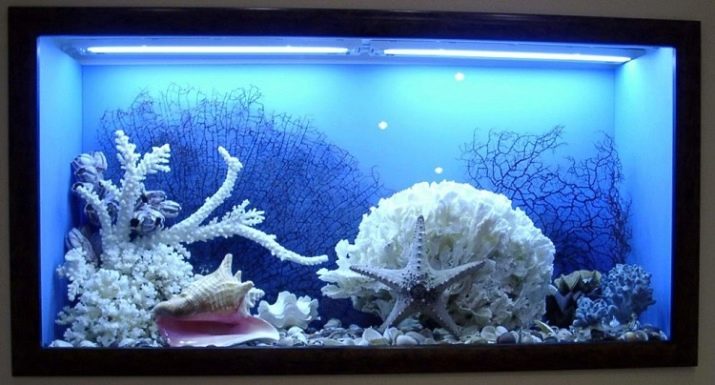
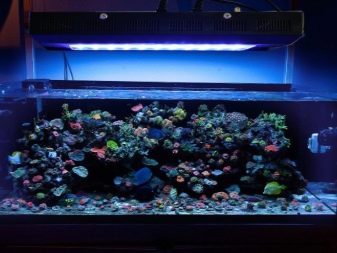
For a reservoir with plants, one should more carefully approach the choice of the spectrum of light, the power of the lamps and their placement in the tank. In addition, algae requires precisely red-orange and violet-blue lighting, preferably combined with each other.
The further development of vegetation in the aquarium depends on properly selected lighting.


Positive and negative
Consider the positive and negative aspects of using LED backlight.
Pros:
- installation does not cause difficulties;
- low power consumption;
- when working, it does not emit heat, which negatively affects the comfortable life of the aquarium population;
- the ability to install directly into the water, since the tape is waterproof;
- Long life, far exceeding normal lighting;
- in the manufacture of LEDs only environmentally friendly materials are used, the lives of pets will not be exposed to threats;
- the ability to make lighting yourself.
Only one minus: pretty high price. This disadvantage is more than covered by the other advantages of LED lamps.
Based on these parameters in accordance with your capabilities and taste, you can choose LEDs that provide economical, durable and practical lighting in the aquarium. When buying them, we advise you to pay attention to the products of well-known and trusted manufacturers, since the products of Chinese firms very often do not correspond to the declared indicators.
Install LED strip in the aquarium
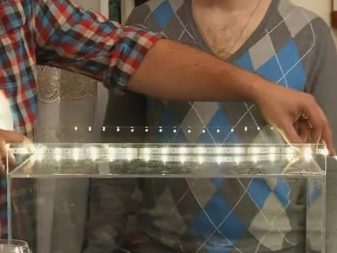
Installation of LED lighting, despite the apparent complexity, in fact, does not require special knowledge and skills. This is the easiest and safest way, especially for beginner aquarists.
To set the backlight, we need the following tools and materials:
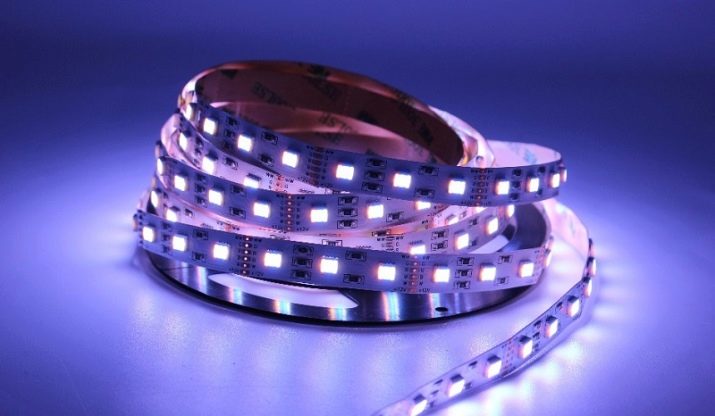
- LED strip (from English Light-Emitting Diode);
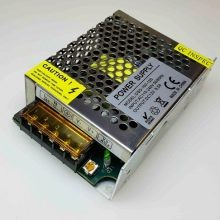
- Power Supply;
- waterproof glue;
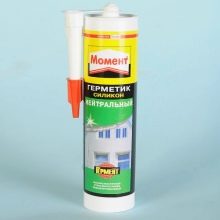
- sealant;
- scissors;
- stationery knife.

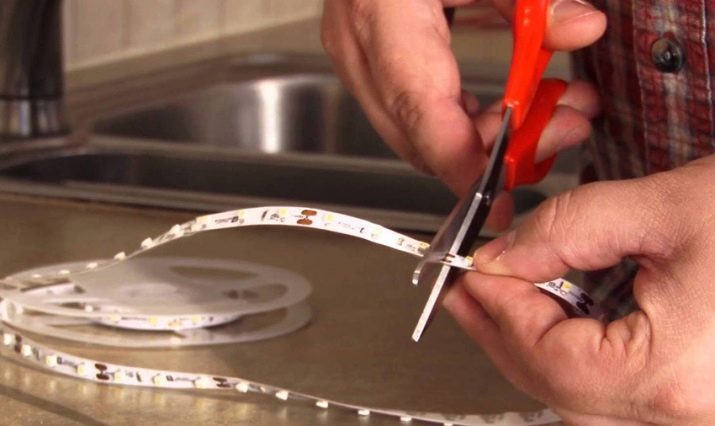
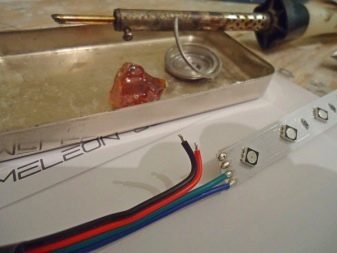
Installation of the lamp begins with the fact that it is necessary to cut off a certain amount of tape to make the backlight. Rule seven times measure and cut once here is just what we need. On the tape, a special icon marks the location of the cuts. If you cut in another place, then this piece will remain inoperative. It is better not to make mistakes and carefully monitor how and where to cut. Using scissors, we separate the required amount of tape, focusing on the icons. This operation should be repeated as many times as needed for the installation of lighting.
Having received the required number of identical parts of the diode strip, we connect to the power source from the electrical network. To do this, we clean the edges of the tape from a silicone film that protects the lamp from moisture in places of direct contact. We make a neat incision so as not to damage the current-carrying tracks.
If you do not make significant efforts, then ruining the wiring is quite difficult.
Remove the cut off protective layer. Below it are electric wires, one of them is a plus, and the second a minus. In the same way we clean all the segments that are prepared for the lamp.
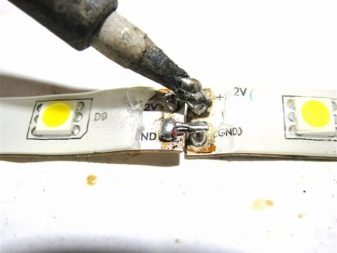
Next, we proceed to soldering, connecting together all the segments, leaving only one end, which is the end of the tape, unused. After soldering two segments together, we check the operability by connecting to the power supply - plus to plus, minus to minus.
The check must be carried out sequentially so as not to later find out in which place the breakage occurred or simply there is no contact. After we solder all the sections together, we again conduct a performance check. If everything works, then proceed to installing the lid of the aquarium on the body.
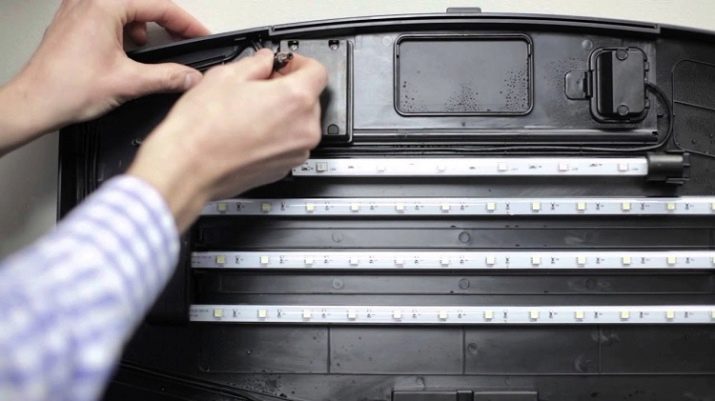
Before sticking the tape, degrease the surface for reliable adhesion. You can wipe with any solvent. The LED strip itself has an adhesive base, it does not need to be cleaned.
We glue the tape on the cover, once again check whether everything works. Then we seal with insulator all places of soldering. We fix the supply wires with glue. If the tape has a level of protection lower than IP 65, it will be correct to place the lamp in a protective box to protect against water vapor. The power supply and the on / off device is located on the outside to prevent moisture from entering and create conditions for proper heat transfer.
Output
Diode tapes as the main light source in the aquarium will eventually displace other types of lamps due to their cost-effectiveness and efficiency.

You can find out how to choose a power supply for the LEDs in the aquarium from the video below.


