Currently, the choice of T-shirts is very wide and varied, but everyone wants to create something original and special. Sewing a T-shirt with your own hands is cheap and very easy. This lesson will help to spend time with pleasure, since the pattern of this product is easy to build, does not require a large amount of fabric, and the whole process does not take more than two hours.
To create such a product, it is necessary to have general sewing skills, attentiveness and a desire to create an unusual author's thing. In the realization of such a dream, some necessary information will help in building a T-shirt.
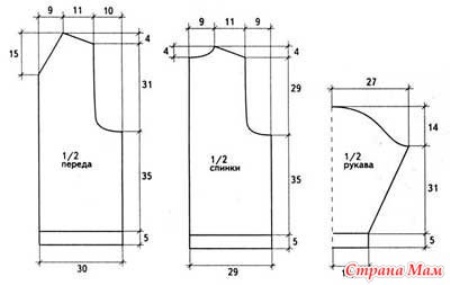
Building the basis of the pattern
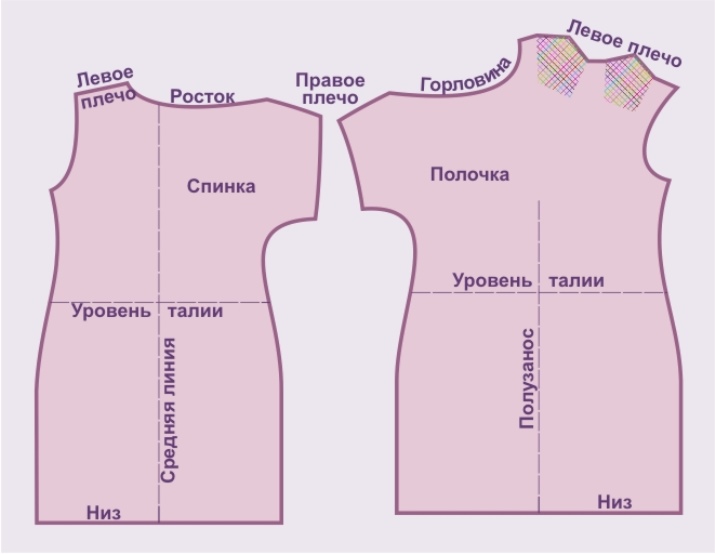
To properly build a pattern of any T-shirt, you need to make a drawing of the basis on paper. It can be noted that this drawing is simple, since there is no need to draw a tuck of the chest and waist, which will greatly simplify the task.
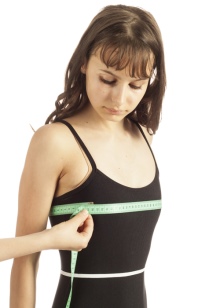
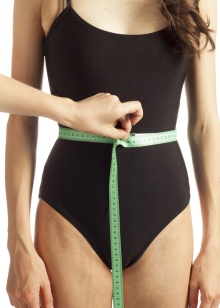
First you need to take measurements in strict sequence: neck, chest, waist, back width. They are divided in half, as the drawing is being built in half size.

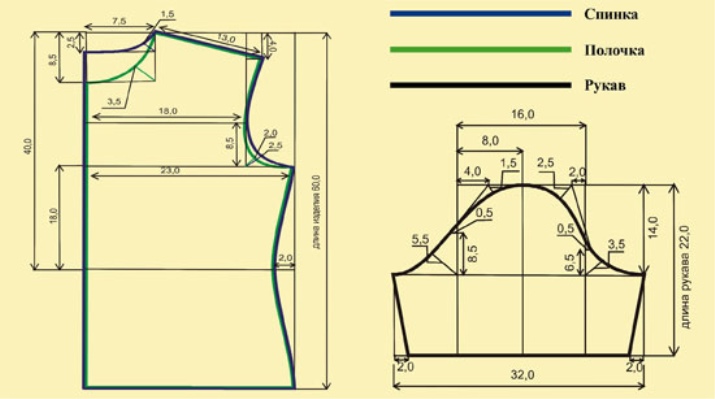
Next, build a right angle. From this angle down we mark the length of the product, to the right we postpone 1⁄2 of the chest circumference. Draw down the height of the chest, drawing a straight line. This will be considered the depth of the armhole.
On the resulting line, measure 1⁄2 of the width of the back and mark with a point. Now we count the armhole. Divide the chest circumference by 2 and add 3-4 cm. From the obtained points we draw perpendiculars.Now on the drawing, the back, armhole and in front of the product are marked.
We divide the armhole zone in half and draw a line down. It will indicate a side cut of the product front and back. Additionally, taking a measurement The length of the waist of the back, lay down this measurement down, draw a horizontal line - this will be the waist line. From the waist down we postpone 18-20 cm, mark the line of the hips.
Now you need to build a neckline. We calculate the measurement, divide the neck circumference by 3 and add 0.5 cm. We lay this measurement at the top of the right angle, called the width of the neck of the back. We put a point, from this point we draw a line 2.5 cm high and draw a neckline. Of the two perpendiculars drawn at the highest points, lay down 2.5 cm and set the notch.
Now you need to build an armhole.
From the upper point of the neck through point 2.5, lay out the measure shoulder width +1.5 cm, draw a line. In the drawing, from the right angle of the front up, we postpone 2.5 cm, draw a horizontal line, transfer the width of the neck of the back to this line. To calculate the depth of the neck of the front, you need to add 1 cm to the width of the neck of the back. From the upper point of the neck of the front, draw a shoulder width of + 1.5 cm. Connect the extreme points with a curved armhole line.
Next, build a sleeve.
We draw a right angle, lay down the length of the sleeve, draw the width of the sleeve to the right, it is calculated according to the formula: divide the chest circumference by 3 and add 6 cm, put a point. Put down 3⁄4 of the depth of the armhole down - this is the height of the okat. In the drawing, the sleeve width is divided in half, indicated by a mark. From this point, to the right and left, draw lines to the depth of the sleeve, draw the line of the okata. The resulting drawing will be the sleeve of a T-shirt.
In the video, watch a workshop on tailoring the product.
Modeling
This is, first of all, the development of clothing models, in which it is important to take into account both the taste characteristics of a person and the characteristics of a person's figure. In other words, this is a certain basis for the manufacture of the product. Modeling consists of four stages: analysis of the idea, selection of the basis for the product, the introduction of changes for the resulting basis and tailoring of the garment.
For a complete understanding, you need to disassemble some models of t-shirts.
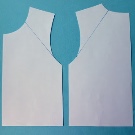
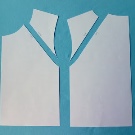
Shoulder T-shirt Dress
We cut the resulting base of the t-shirt pattern into details of the front and back. We put these details on tracing paper. To get a flat shoulder, you need to increase the length of the shoulder seam. We put a mark and connect the smooth line with the armhole, we get a deflated line of the sleeve.
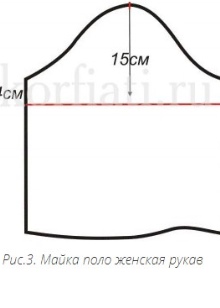
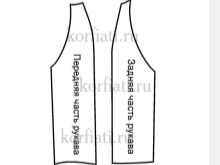
With one-piece sleeve
A feature is the sleeve cutting along with the front and back. These sleeves are diverse in shape, size, depth of the armhole. From the upper point of the shoulder of the back and the front, draw a line denoting the length. At the depth of the armhole, draw a parallel line. From the final point of the length of the sleeve, draw a perpendicular. Seamlessly connect the points with the waistline.

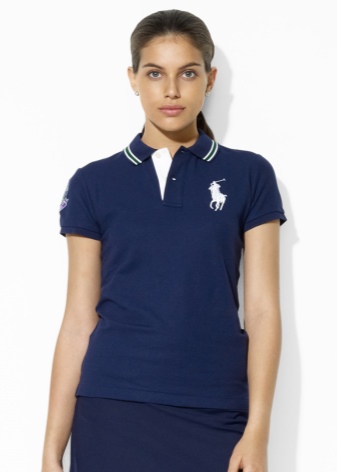
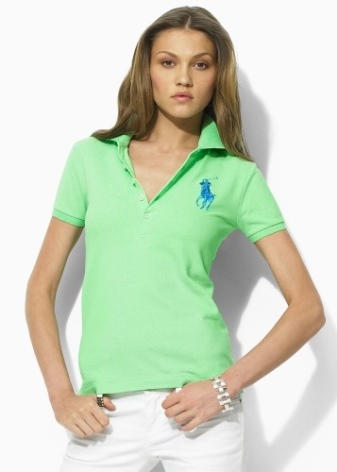
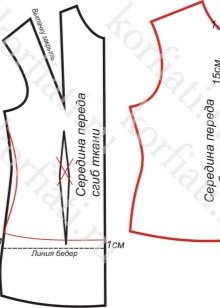
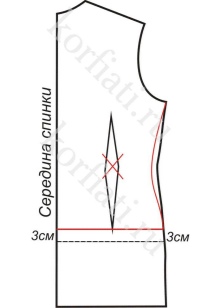
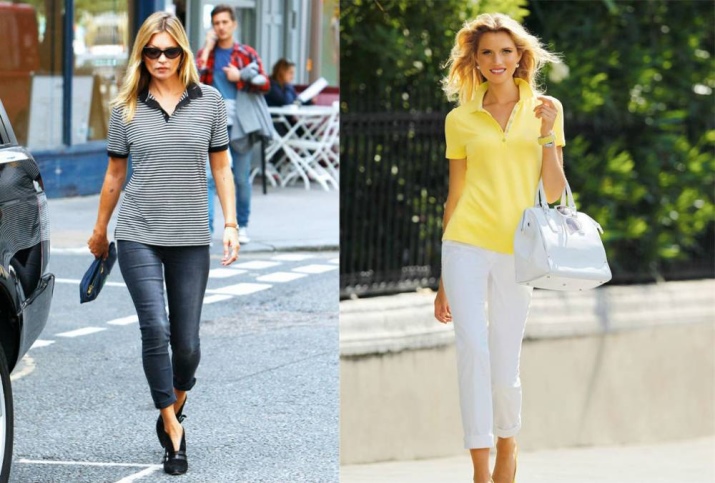
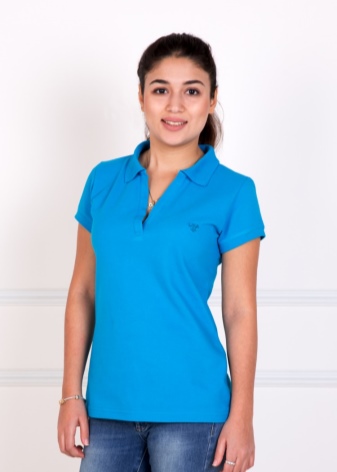
Polo shirt
On the front pattern, note the depth of the polo closure (about 15 cm). Separately, we cut the bar, in the finished form, 3.5 cm and a length of 16 cm. We shorten the sleeve to the desired length, reduce the base of the front and back by 2.5 cm along the side seam for fit. Additionally we build a collar.
A master class on sewing products and building patterns - in the next video.
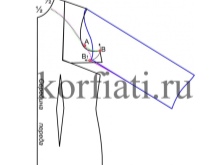
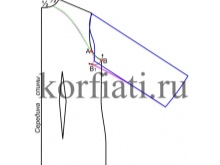
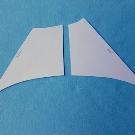
Raglan sleeve
We impose the front half of the sleeve and the T-shirt on top of each other, aligning the shoulder sections with the upper point of the sleeve itself, which is at an angle with a slight slope. It is worth taking into account, the greater this slope, the more convex the sleeve will be.
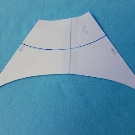
We divide the neck of the back in half, put point A. From point A we draw a tangent to the armhole. The intersection of the tangent with the armhole is point B. AB divide in half, draw 1 cm perpendicular upward, connect with a smooth line.
On the front of the neck we postpone 4.5 cm, mark with point A1. We connect it tangent to the armhole, we get the point B1.Divide A1B1 in half, lay 1 cm perpendicular upwards, connect with a smooth curved line. Then, we cut all the details on paper, glue the remaining back and armhole to the sleeve.
The following is an example of a multi-layer sleeve.
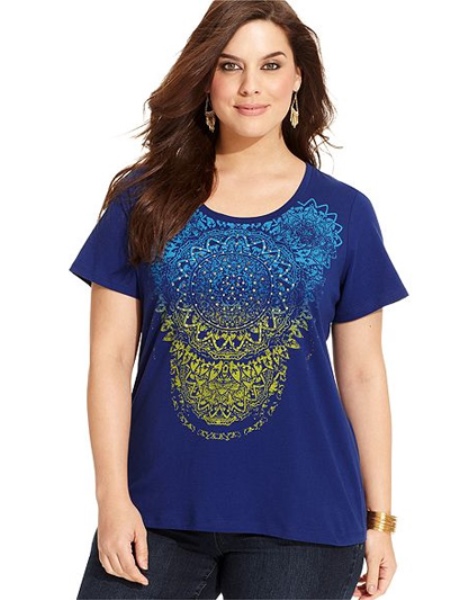
For full
The pattern of the T-shirt for the full is not particularly different from the pattern of a regular T-shirt. To do this, you need to cut the front and back from the bottom to the shoulder seam and push it a couple of centimeters, depending on the completeness of the figure. Then, along the armhole and side seam, add 1.5-2 cm to expand the product.
We offer to see a master class in sewing large T-shirts in the next video.
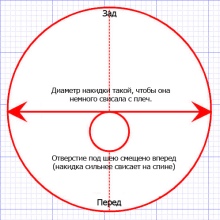
Hooded
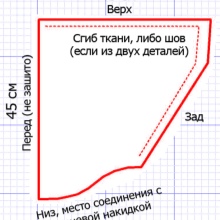
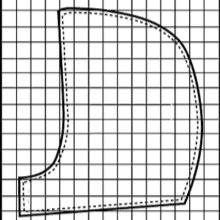
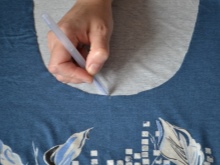
On the front we postpone the desired length of the hood, on the pattern it is calculated through the crown of the head to measure the distance from the middle of the back to the middle of the front. The hole for the face depends on the model selected.
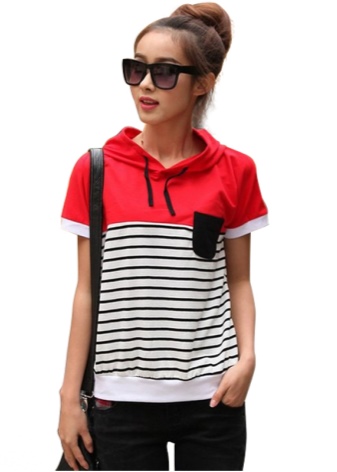
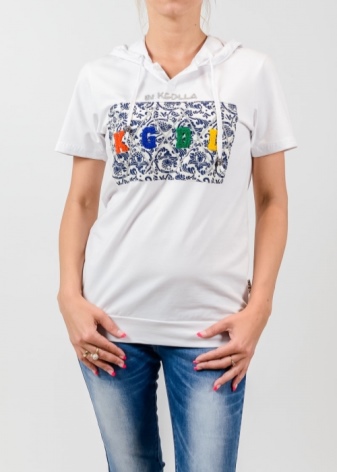
A circle or oval can serve as a shape, it depends on your own preferences. This style has 2 side and shoulder seams. This t-shirt is not only convenient, but also original.
V neckline
This cutout option is the easiest. It is suitable if there is not enough time for more complex processing.

To do this, take the front pattern, mark the depth of the V-shaped cutout (about 10 cm) on it. Such a neckline should be perfectly aligned, without any deviations. You can mark with a ruler or draw a smooth line with soap. We connect a straight line with the point of the neckline, we get the original neckline of the T-shirt.
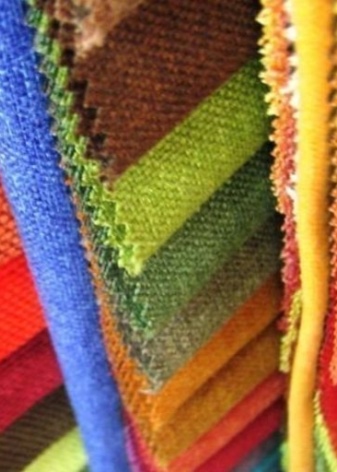
What fabric is sewn from?
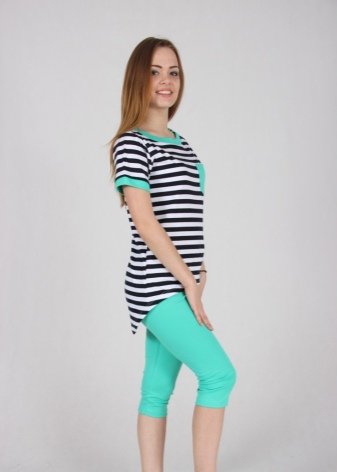
Currently, every woman’s wardrobe cannot be imagined without t-shirts. This thing is endowed with such properties as practicality, convenience, maximum comfort and versatility. It is suitable not only for sports, but also fits perfectly into the everyday look.
So that the T-shirt does not cause discomfort when wearing, it should be pleasant to the touch, this, first of all, depends on what the thing is made of.
Let's look at a few examples of fabrics from which to sew a practical t-shirt.
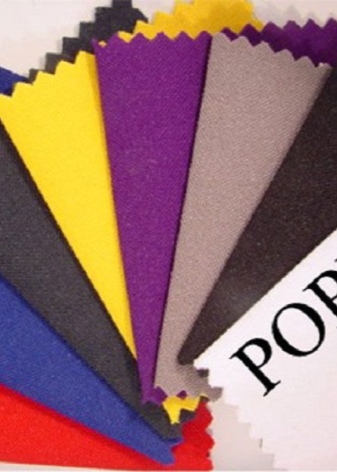
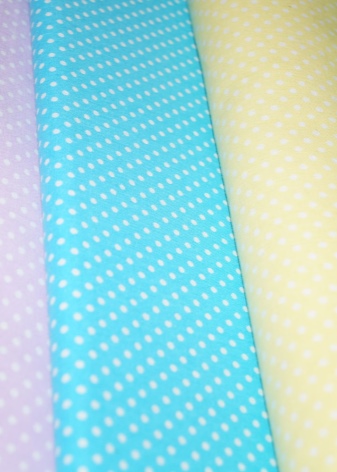
Poplin
This fabric is made from natural cotton. Thick and thin threads, interwoven, create a special texture inherent in this fabric. It is painted only with the help of environmentally friendly dyes, thanks to which it has a very high stability.
This material has a lot of advantages. Poplin does not fade, has a high level of strength, a pleasant texture, retains heat, does not crease, is hypoallergenic, and has an affordable price.
To choose a really high-quality poplin, you need to look if the addition of synthetic fibers is indicated on the label. If they are, such a poor-quality fabric, it is very dangerous for allergy sufferers, does not absorb water well and easily wrinkles.
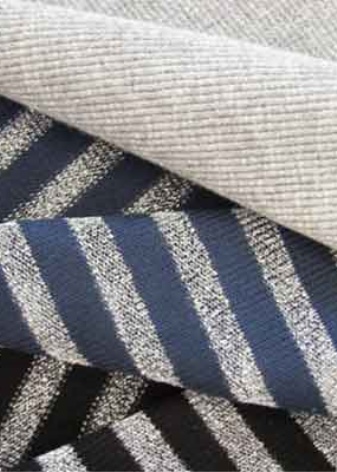
Knitwear
This material is knitted from natural or synthetic threads on a typewriter. The loops of which it consists can change position and stretch, due to a specific location. The starting materials are yarn and threads.
One of the advantages is the structure of the fabric, which does not crease. Knitwear is airtight, which is why it warms in cold weather, and warms on hot days. It stretches perfectly, thereby adapting to any shape and is easy to care for, since it does not even require ironing.


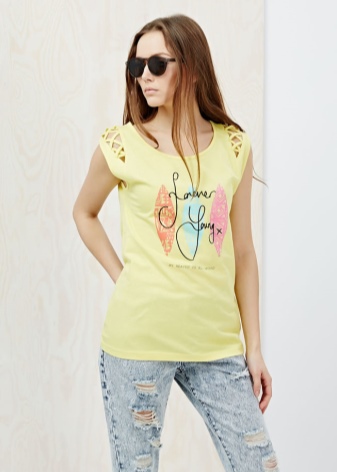
Cotton
This fabric is one of the natural. A cotton T-shirt is perfect in the summer, as such a fabric quickly absorbs moisture and maintains a comfortable temperature for a long time.
It is breathable, cotton fabrics literally "breathe" on the body of any person. Such fabrics do not deform during washing, are strong enough and stable, which is why things can not stretch or shrink. Even with frequent washing, they do not lose a number of these characteristics.
The main advantage is that fabrics made of cotton do not crumble when sewing and are pleasant to the touch.
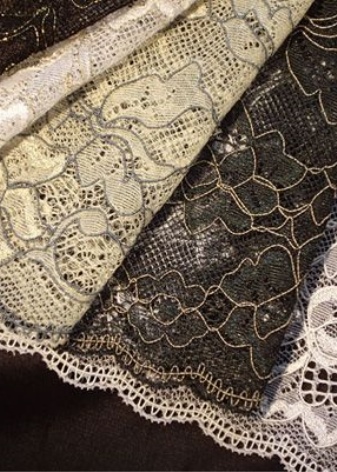
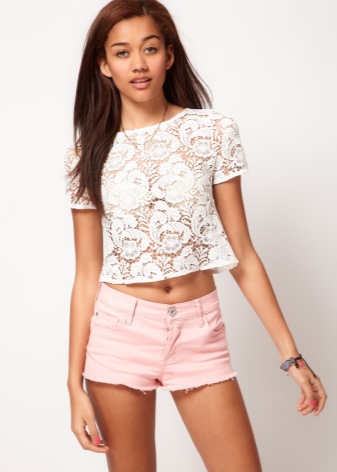
Lace
Currently, lace t-shirts are becoming increasingly popular. In combination with the correct bottom, such t-shirts give the owner an elegance and sophistication, bring notes of romance, dreaminess and tenderness to her image.
This fabric has an elegant openwork pattern that attracts attention. It is universal, breathable, has an interesting texture. A t-shirt made of lace will be not only beautiful, but also elegant. It is she who will add notes of festivity to the image.
Kulirka or cooking surface
This material is made of cotton, which is what gives the fabric many excellent properties. It is strong enough, but at the same time it is very light and airy.
It does not stretch, does not sit down after washing, it keeps its shape remarkably. A t-shirt made of kulirka is perfect in the summer, as it absorbs moisture from the skin, but at the same time it has good breathability.
Thanks to special loops, the cookery surface does not wrinkle, retains its original appearance even after washing, does not require ironing, therefore things from this fabric can be stored in a closet and put on without using an iron.

Interlock (two-layer)
Interlock consists of 100% cotton, is a two-sided fabric, therefore it has a second name - two-layer. It is very durable and resistant, able to take its original shape even after washing and stretching.
Interlock retains heat in cold weather, protects against hypothermia. It is easy to iron and retains color for a long time. This is one of the natural and hypoallergenic materials, and most importantly quite easy to care for.
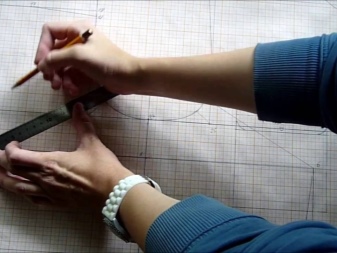
How to cut?
To get everything perfectly smooth, you need to make a pattern on the fabric on a perfectly flat surface. In addition, you will need scissors, tools to help with the markup, a ruler and crayon.
The existing fabric must be used rationally, closely decomposing the available parts. First you need to expand all the large patterns and patterns that have a fold. The back and collar must be placed so that their center is located on the fold of the fabric, since they do not need to be cut. Next are the smaller parts, and so on to the smallest. You need to start cutting only when the entire pattern is completely marked with soap or chalk on the fabric.
Parts having a fold and a second pair are located face to face on the back side. This is very convenient, because it is on this side that you can make various kinds of notes: pockets, the location of buttons, folds. Thus, these chalk marks will not be visible on the front of the product.
Sewing products marked on the back is very easy, namely those parts that have a pair.

The front side serves for the location of parts that do not have a pair, which must be joined due to the existing pattern or pattern. When cutting them, it is necessary to determine the correct location of the part.
Do not forget about the correct location of the direction of the shared thread of the part with the shared thread of fabric. Since the fabric along the shared thread is less likely to distort.
There are several types of layout:
- Longitudinal fold (Folds in half with the front side inward).
- Transverse (Folds inward along the transverse line with the sides inward).
- Two folds (The fabric is located on the warp threads).
- U-turn (This layout is not economical, because there are many attacks. It is used when arranging parts that have an asymmetric shape).
- Partial bending (Deployment of the fabric is carried out to the width, respectively, along the warp thread, since parts with a bend need a lot of space. The remaining parts are located on a fabric placed in one layer).
- Turn (It is used in the case of a small footage of fabric, it is cut and turned 180 degrees).
- Oblique (It is used if the details need to be made more mobile, it is laid out, respectively, along the oblique).
It should be noted that when choosing a layout, it is necessary to take into account the features of the fabric and the pattern itself.
All about the correct layout of patterns on the fabric in the next video.
How to sew with your own hands: a master class for beginners
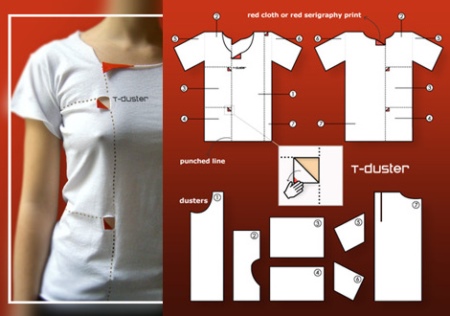
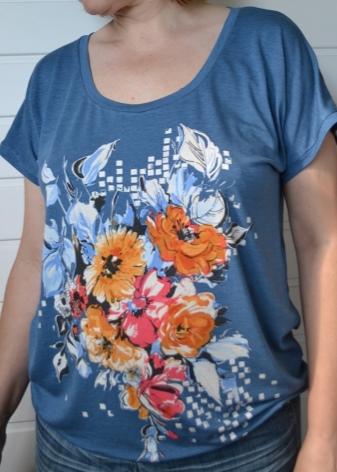
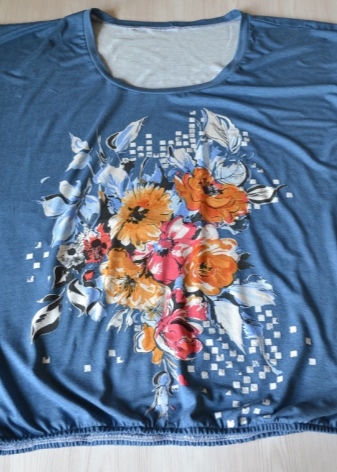
A self-created t-shirt will make the image original, different from others. Sewing such a necessary wardrobe thing is quite easy, and most importantly, it does not require large expenses. To achieve greater uniqueness, the resulting product can be decorated with various stripes, beads or ribbons at your own discretion.
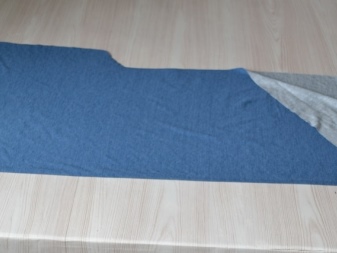
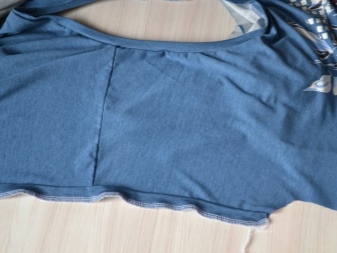
If there is an unnecessary t-shirt in the closet, you can create a new product on its basis. To do this, it is necessary to undo the old product, iron the seams and transfer everything to paper. The main task is to check the fit of both the shoulder and side seams so that everything looks even. The armhole is not needed, because with such a model of the product the shoulders are lowered.
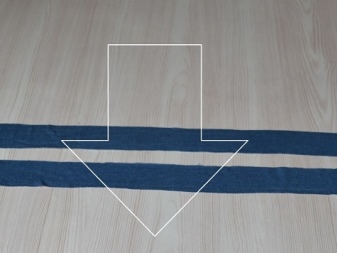
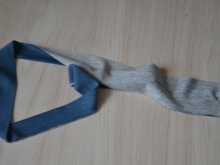
The remaining pieces of fabric will serve as the edging of the neckline. Parameters such as width and length must be calculated independently, it all depends on personal wishes.
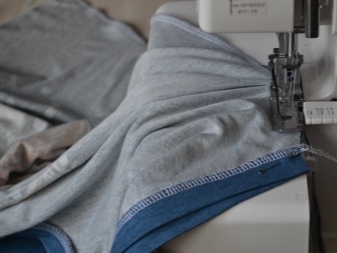
Tailoring
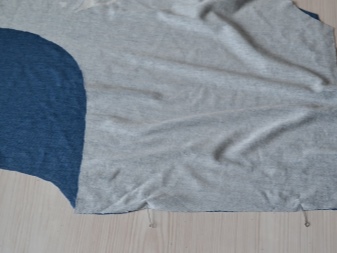
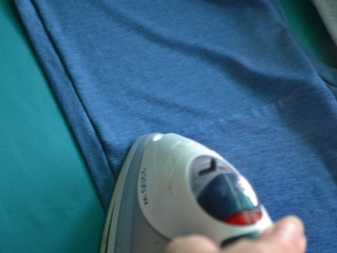
First you need to process the shoulder seams, folding the front half and back, chipped with needles. To sew such a T-shirt you need an overlock, so the seams on the product can only be swept over. After the seams are removed, the product will take on just such a look.
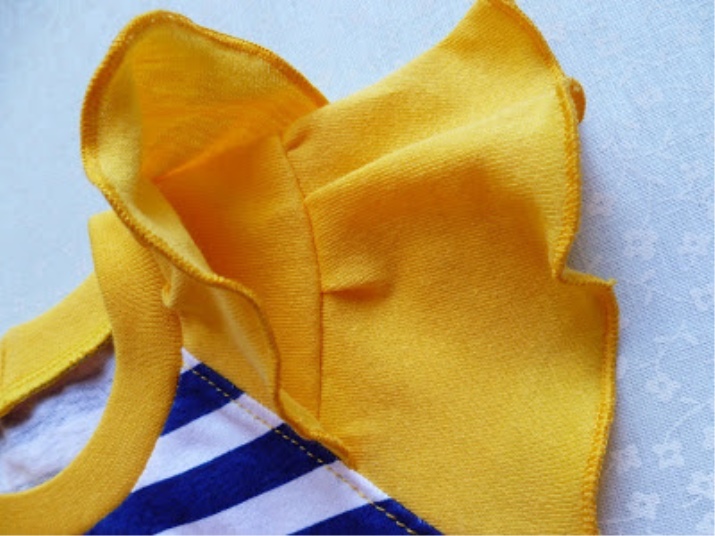
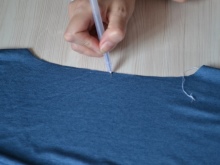
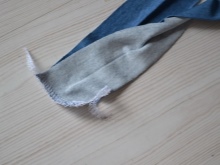
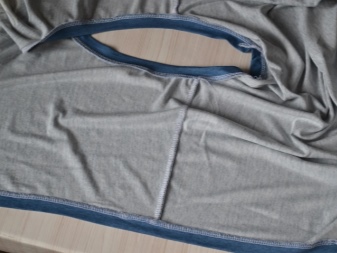
Neckline
- To do this, it is necessary to divide the front and back into 2 equal parts, marking the points with soap or a pencil. These marks must be placed strictly in the middle and on the sides.
- Next, you need to fold the back and the shelf in half and put even more points.
- On the side of the backrest there should remain laid allowances, which were obtained by ironing the shoulder seams.
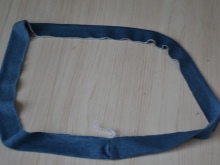
- The strip must be smaller than the circumference of the neck. In this case, the edging will not be reversed.
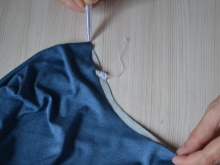
- Sew the edges of the strip.
- Now it needs to be chopped and ironed, then on the circumference of the resulting edging we put the points dividing it into four parts.
- We connect the points of the front, back and edging, so that the seam of the inlay is located behind.
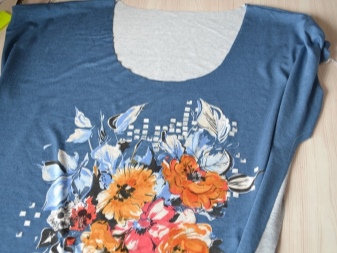
- After the seams are overcast, the neckline will be finished.

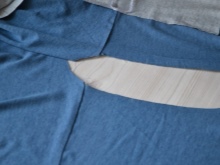
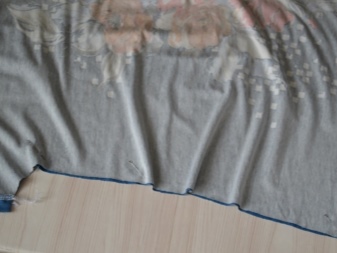
Armhole Processing
This step is very simple - you just need to sew a strip with an armhole.
- Iron the slanting inlay on the ironing table.
- We connect the side seams and make a hem.

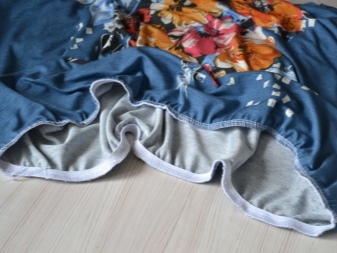
Side seam processing
We sweep the side seams, connecting the edges.
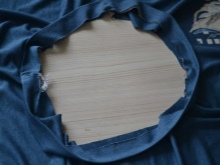
Bottom hem
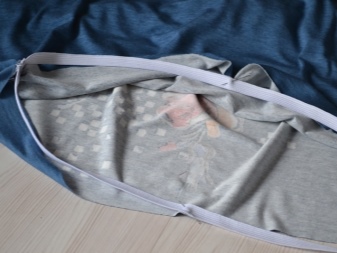
- At the bottom of the T-shirt there will be a medium-sized elastic, the length must be measured depending on the proportions.
- Sew the edge of the elastic to the edge of the shirt.
- Cover the remaining gum with a t-shirt.
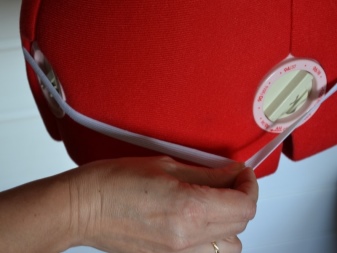
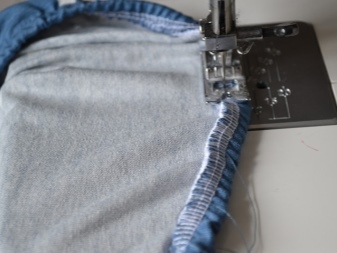
Having made one more line on a surface, it is possible to mask an elastic band. It is in such a simple way that your wardrobe has replenished with an original, author's T-shirt.
You can see even more master classes in the following videos.