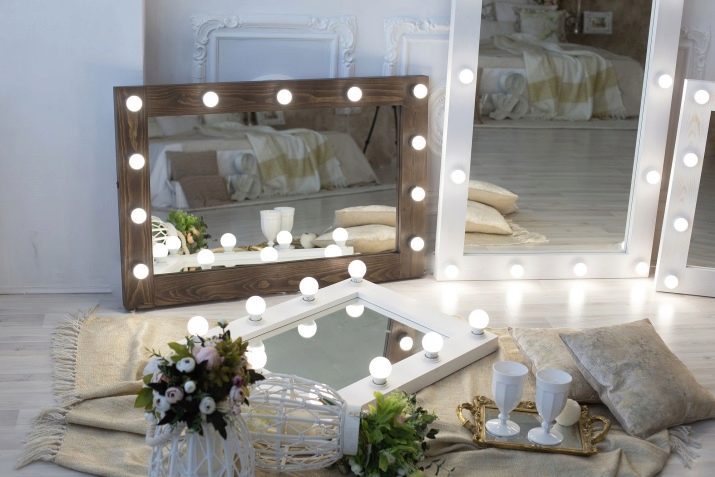
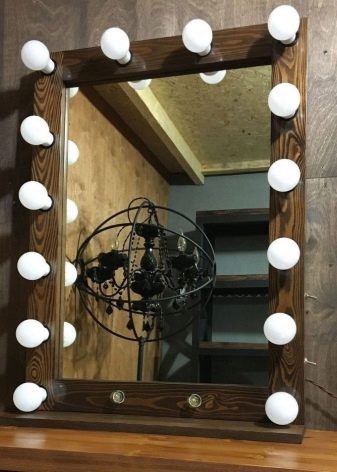
The make-up mirror today is the dream of many girls, because this piece of furniture not only gives the room a twist, but also allows you to perfectly cope with applying makeup. If the models presented in the store do not like the landlady too much, such a mirror can be made with one's own hand.

Choice of style and design
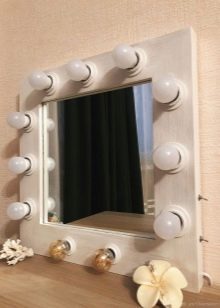
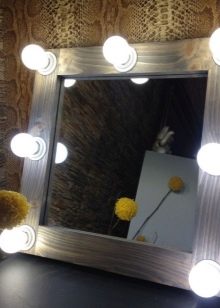
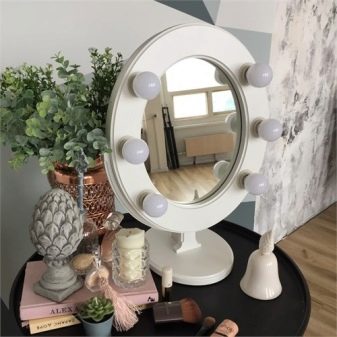
DIY make-up mirror can be of various sizes and shapes. For example, the design can be round or oval, square, rectangular or even octagonal. The floor-mounted design made without a frame is also popular.
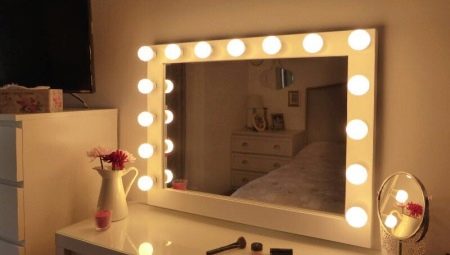
Classical examples of make-up mirrors are geometric designs in the form of a square or rectangle with a width of 50 cm.
Larger options are selected only when this allows the free space of the room.
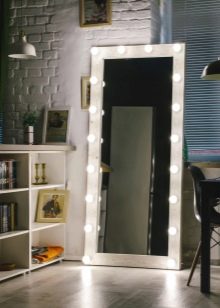
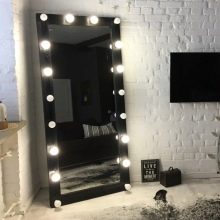
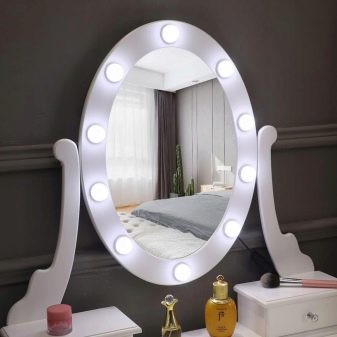
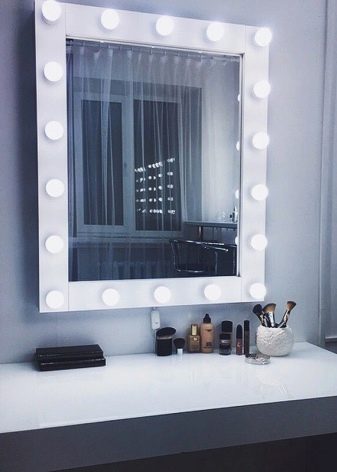
Oval mirrors fit perfectly into classic interiors, and full-length mirrors not only allow you to complete your makeup, but also fully appreciate your outfit. As a rule, the second variety is framed in white, black or silver shades.
Since the drawings of make-up mirrors, in principle, practically coincide, You can take one basic scheme as a basis, and then adapt it in accordance with your own preferences. Of course, the main requirement for the design of the mirror is its compliance with the general concept of the interior.
Necessary materials
A number of basic materials will be required to make a make-up mirror. In fact, have to prepare boards and bulbs with cartridges, and circuit breaker with wire and plug for mains. Of course, you can not do without the tools used to process materials, that is drills with drills and grinding skins.
For decorative design, it will be necessary to prepare paints and varnishes, stain and glue. The mirror itself will also have to be mounted on something.
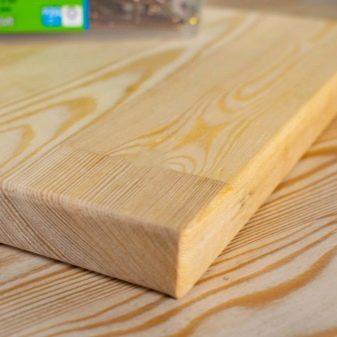
A beautiful and reliable design will be made of solid wood, but as a more economical option it is worth using a laminate or chipboard.
Most often for furniture a pine board is used, when buying, it is important to keep track of the minimum number of knots, especially in places that interfere with drilling. Nevertheless, the pine board becomes covered with cracks over time, as a result of which the mirror is bent, and therefore, this material cannot be called durable.
To create a high-quality element of the situation, it is better to use a more expensive furniture panel.
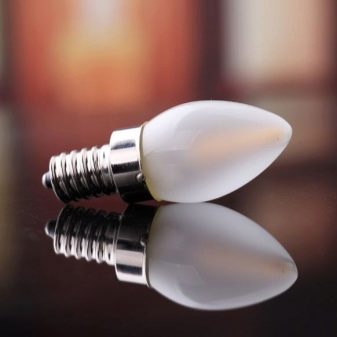
It is recommended to select only LED bulbs for the make-up mirror. It’s better to take a flask so that its light is not harsh, but soft and scattering. The optimal glow temperature is 4000K, although figures equal to 4100K or 4200K are also considered acceptable. If you purchase just such a light bulb, you will be able to create a white neutral light, ideal for applying makeup.
By the way, it is enough to mount bulbs only from above and on the sides. The bottom row only increases the cost of equipment, in addition, often interferes with the work of the makeup artist.
The optimum light power of a make-up mirror made by hand varies from 3 to 4 watts, although an indicator of 5 watts can also be involved. It is important that there is no ripple. Cartridges should be selected in accordance with the used bulbs.
There are options made of ceramic, silicone or highly resistant plastic, not afraid of thermal effects. I must add that many professionals recommend purchasing it LED options. Such lamps are able to serve for more than two years, do not break when falling and practically do not heat up.

Manufacturing recommendations
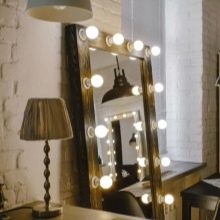
In order to make a beautiful make-up artist’s mirror yourself, you need to follow the detailed instructions step by step. Even before the start of installation work, it is better to determine the appearance of the structure. For example, in a minimalist bedroom filled with clear geometric shapes, a square or rectangular mirror would look better and for a romantic boudoir in the style of Provence, an oval frame is much more suitable.
It is recommended to place the floor mirror, which allows you to see yourself to your full height, in spacious rooms with high ceilings, decorated in one of the modern styles.
In addition, it would be nice to make a frame in this way, so that it "echoes" with the decorative elements available in space.
Frame assembly
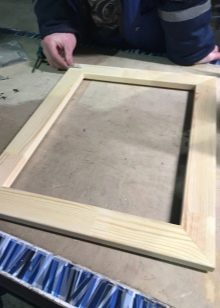
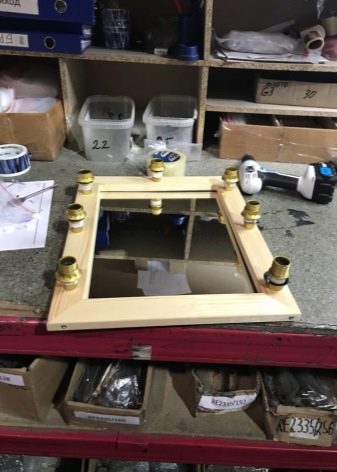
The first step in creating a make-up mirror is to assemble the frame. To create the frame, you need 4 pairs of equal bars - two short and two long. When determining the size, it should be controlled so that the inner perimeter was 1-1.5 cm larger than the mirror itself.
The standard indicators of the frame are sides equal to 30 and 75-80 centimeters. The width of the board in this case does not exceed 9-10 millimeters, and its thickness ranges from 18 to 20 millimeters. Inside such a frame, a mirror with sides of 55 and 65 centimeters fits perfectly.
Having assembled a rectangle from individual planks, they can be fixed among themselves simple glue for furniture. During this process, care must be taken that the glue does not leave streaks.
The use of staples in this case is not encouraged. If ugly cracks and seams appeared on the structure, then they can be treated with a moisture-resistant putty.
If necessary, additional individual parts can be fastened together by reliable metal corners.
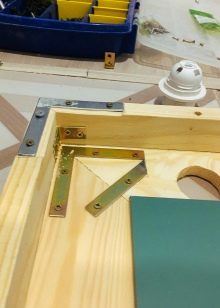
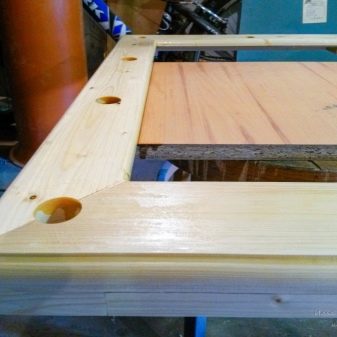
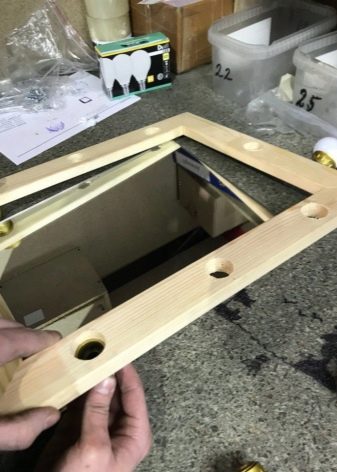
Preparing lamp holes
When the glue dries, you can proceed to create holes for the bulbs. As a rule, it is installed from 8 rounds and more. Two bulbs must be in the upper corners, and the rest must be mounted at regular intervals.
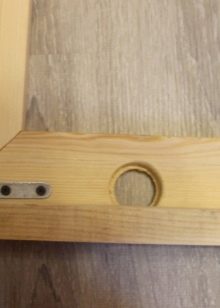
Cartridge Holes E27 It’s easiest to do with a pen drill, whose diameter is 38 to 40 millimetersand for E14, a diameter of 26 millimeters is more suitable.
To make the hole neat, it’s better to drill from two sides: wait until the tip of the pen appears on one side, and then immediately turn the board over.
Finished holes are sanded with sandpaper. Before painting the frame Be sure to wipe off dirt and dust.
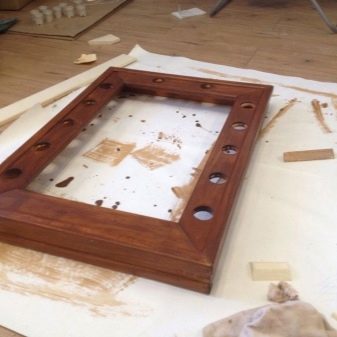
Frame decoration
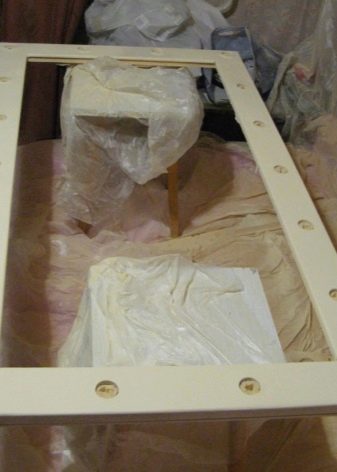
The easiest way to decorate the frame is through regular painting. It is better to act according to the instructions, following the conditions specified by the manufacturer. This is where you can read how long it takes to dry the layers, whether it is possible to apply the substance with a brush or only with a rag. It must be mentioned that the mirror frame should be painted on both sides.
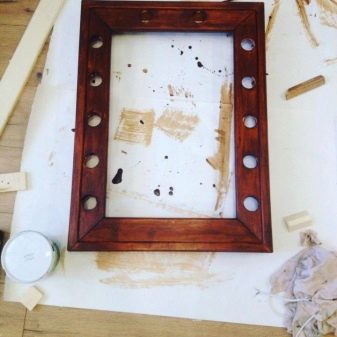
An element of the situation can be treated with a spray can of paint or first coated with a stain, and then varnished.
Appearing during work the pile should be removed with sandpaper, but only fine-grained, and then again varnish the surface.
No less successful solution is the use of acrylic tint in combination with oil on wood, applied in two layers.
Cartridge mounting
When buying, it’s important to track so that the cartridges are not ordinary, but with a locking ring, for example, E27 or E14. Each element is disassembled into components by unscrewing the mounting washer and bottom, after which the end of the wire is wound through the hole.
Specialists recommend giving preference to a two-core sample with a cross section of 2 * 0.75 mm2.
Having removed part of the insulation, it is necessary fix the cores inside the cartridge using special contacts with the screws. In the next step, the cartridge can be reassembled and inserted into the frame.
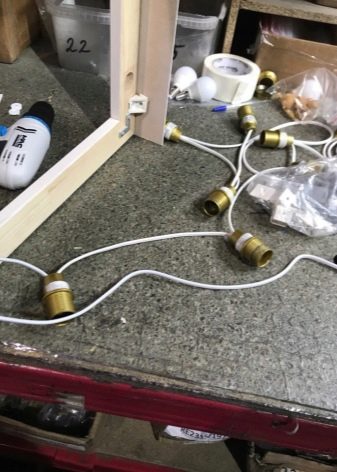
Network connection
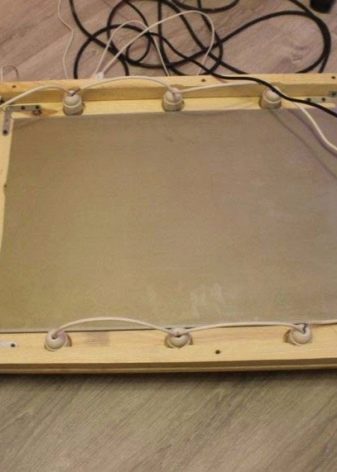
In order for the make-up mirror to work successfully from the network, it is important to provide parallel connection of individual bulbs. After that, it is recommended to hide the dangling wires in a special cable channel made of plastic and fixed on the rear surface of the frame.
The plug must be positioned at the very end of the cord, making sure that a switch is mounted between it and the first lamp.
Only one phase core will have to be passed through it. By the way, it will be much easier to initially purchase cord with built-in switch on the cord.
Professional Tips
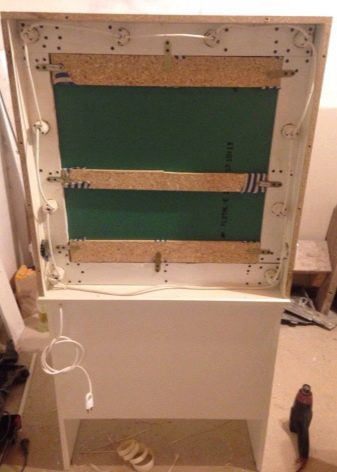
In addition to making the frame itself, an equally important point is its fasteners on the table. Most often for this purpose Self-tapping screws are used, supplemented with plastic washers. It is plastic that will not allow the mirror to crack, but it will provide the required fixation. Herself a reflective plate is most often glued to a transparent glue, designed specifically for this purpose.
On the table, the finished frame can be fixed on furniture corners screwed into the frame on one side and on the bottom surface of the table on the other.
It is better to use 2 to 4 fasteners. Basically, such a mirror can even be hung on the wall.
A number of useful tips regarding the use of visage mirrors can be obtained from specialists. For example, keep children away from him, as electricity is connected to the structure.
It’s a good idea to place a display surface above the makeup cabinet, to immediately secure a place for its storage, as well as at a comfortable distance from a seated person. By the way LED bulbs must always be taken with fuses for maximum long-term operation.
If necessary, they can be supplemented with a device for regulating brightness.
In no case should luminescent models be taken, since they distort perception, which means they can damage the main process - applying makeup. Near the table, it will seem perfect, but in daylight it will lose its quality. Warm shades of the lamps will be more pleasing to the eyes, but the cold ones will highlight all the imperfections of the skin, and they can be masked.
In general, the number of bulbs may vary depending on the dimensions of the frame, but two of them must be mounted at eye level for more comfortable operation. It must be added that a similar illumination can be arranged on the wardrobe.
See how to make a make-up mirror with your own hands in the video.


