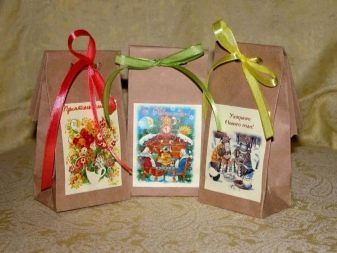
Nothing enhances the status of a gift like a beautiful package. However, for small presentations, a beautiful package is often quite enough. The material in this article will tell you how to make such a package yourself.
What can be made of?
Despite the fact that different materials are used in the production for the manufacture of gift bags, at home it is more advisable to take something that holds its shape well. This means that neither cellophane, nor fabric, nor foil paper are suitable - you have to rely on paper. At the same time, it can be very diverse, in work can come in handy:
- sheets of paper of A4 or A3 format;
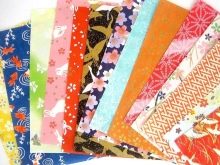
- paper for scrapbooking or origami;
- standard width paper wallpapers;
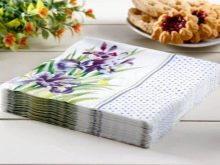
- napkins for decoupage.
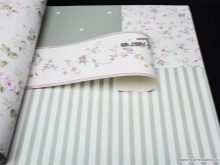
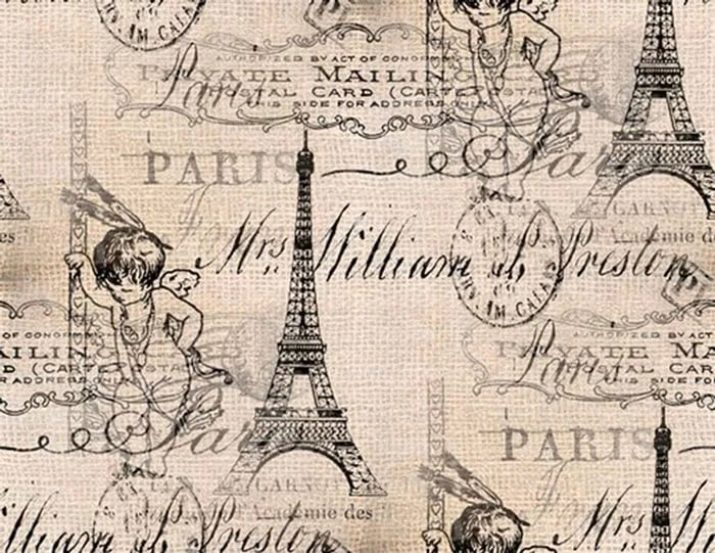
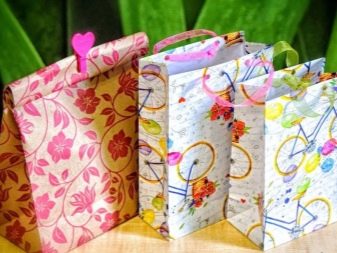
Foil paper is often not amenable to gluing, in addition, it does not hold its shape, and therefore the package of it will not look beautiful, despite the luster of the material. Wallpaper often allows you to create some of the most interesting types of gift bags: they are durable, strong, beautiful and often stylish, because today paper wallpapers are presented in the widest assortment, they can be childish, fabulous. Among the drawings there are prints on the theme of Paris England, graffiti.
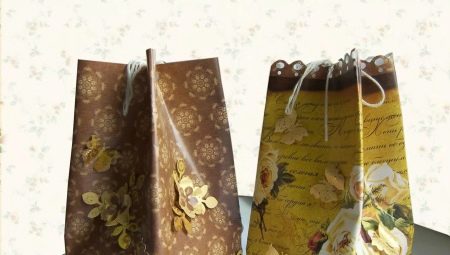
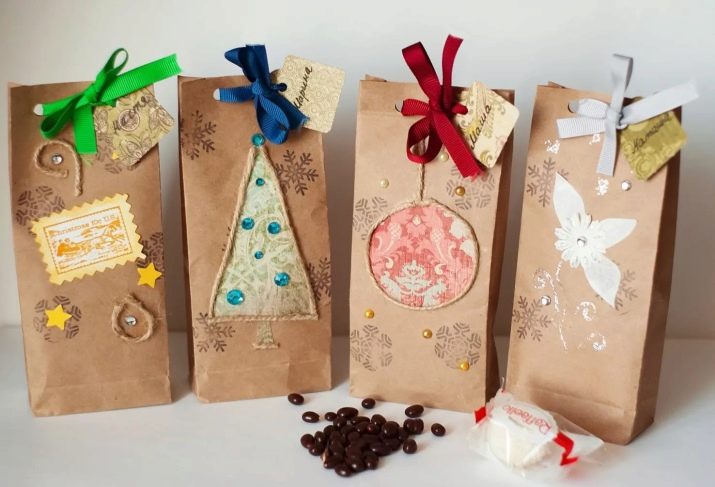
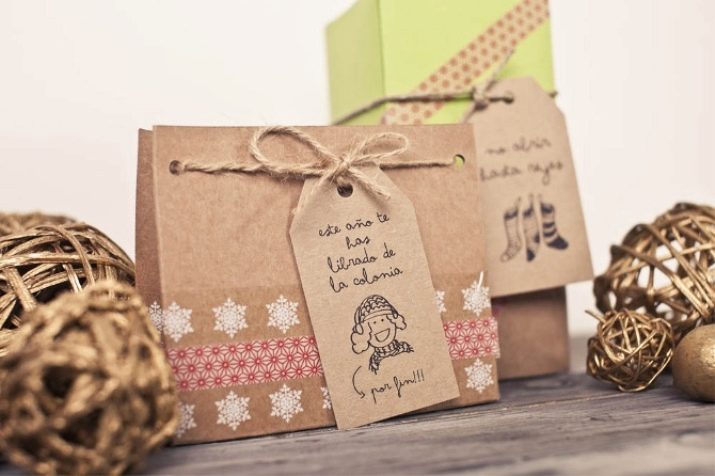
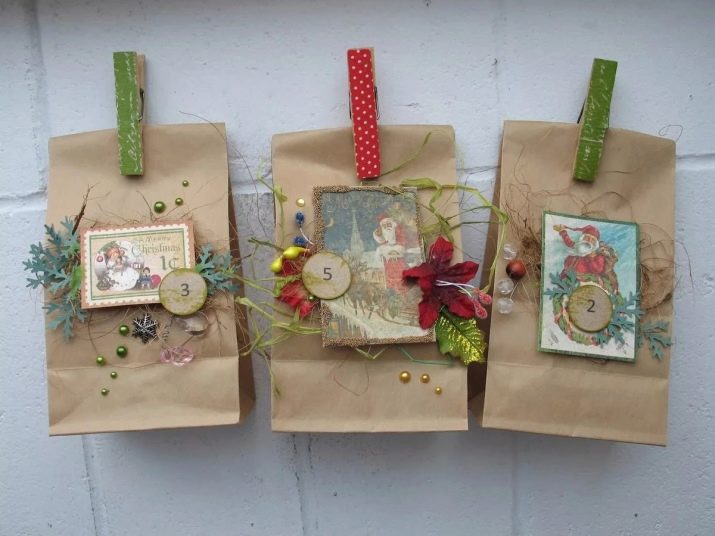
Gift bags made of craft paper look great. In addition, you can make special paper yourself by choosing your favorite design, downloading it and printing it on a color printer. Using exemplary technology, paper for newspaper printing can also be made. Unlike a regular newspaper, it will keep its shape, differing in the strength of the finished product.
The only drawback of printed paper is ink instability when wet.
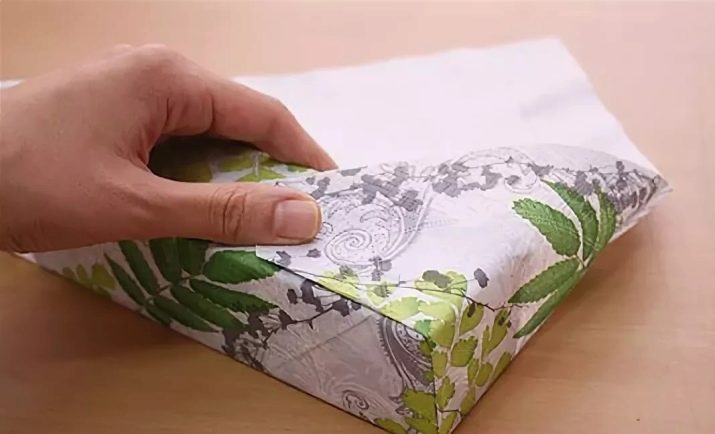
If napkins are taken as the basis for decorative paper, then before proceeding with folding the gift bag, it is necessary to separate the decorative layer of the napkin and, after covering the entire area of a regular sheet with pencil glue, glue it. Wherein it is important to gently adhere a tissue, initially preventing the formation of air bubbles. After the napkin is glued, you need to give the paper some time to take shape so that it does not skew later.
Auxiliary components
Depending on what kind of gift package you want to make, you may need to work:
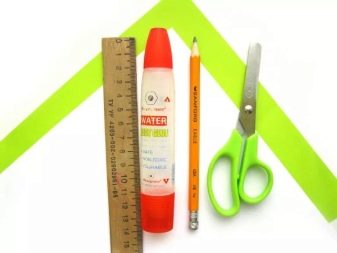
- glue stick (PVA or even “Titan”);
- ruler and simple pencil;
- hole punch and scissors;
- clothesline or satin ribbon;
- small greeting card;
- cardboard or cardboard wrapper;
- decor elements (approximately the same as for scrapbooking).
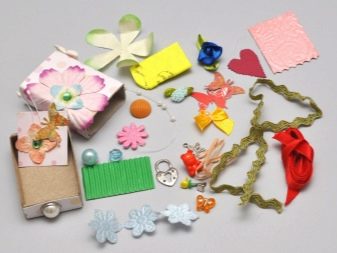

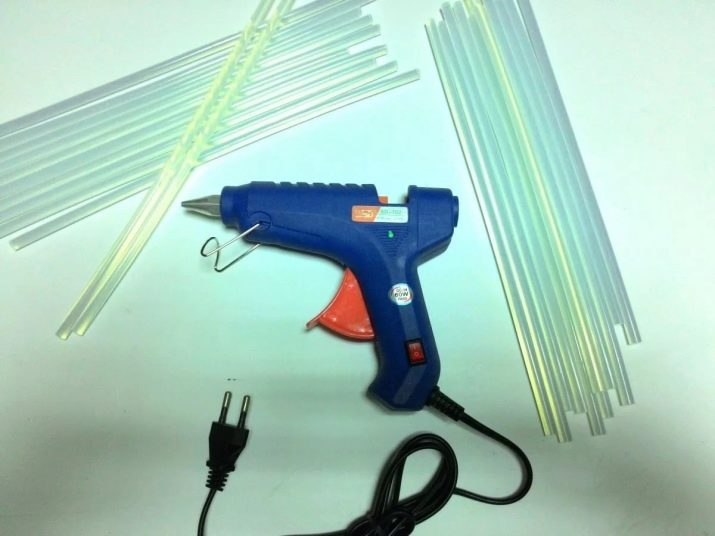
In addition, a hot glue gun may come in handy. As for the decor elements, as a gift bag, you can use various cut flowers, geometric shapes, confetti, crocheted small flowers, large sequins in the shape of shells, leaves, flowers, as well as other decorative motifs.
Choosing this or that option, it is worth considering the type of glue. For example, paper decor adheres perfectly to ordinary glue for paper and PVA. If you need to fix sequins or knitted decorative elements, you should use hot glue or glue "Titan", which is often used by artists involved in creativity.
How to fold?
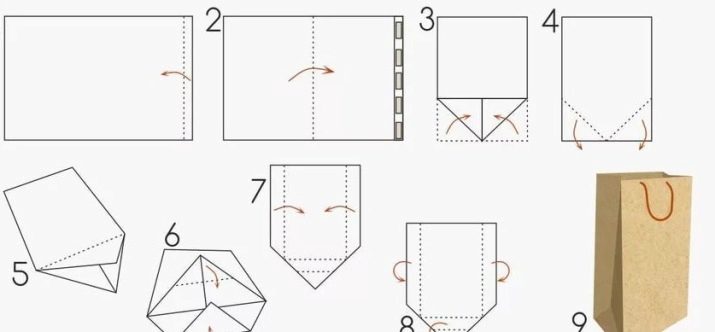
Making a DIY gift bag is easy. After you have prepared all the necessary items for work, you can proceed with its implementation. You can use the approximate scheme.
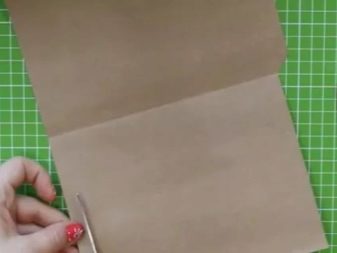
- Decorative paper is laid down in front of itself.
- Approximately 1-1.2 cm recede from the left edge and bend this allowance.
- Inside under it lay auxiliary paper, which will not allow excess glue to enter unnecessary places.
- The allowance is glued with glue, then cover the paper on the second side, glued, forming a paper tube. The auxiliary paper is removed after gluing.
- The resulting paper tube is folded in half. In this case, one side face will be located strictly along the glue allowance, and the second - opposite it.
- They are determined with the width of the bag, for which 3-4 cm are measured to the right of the glued allowance and a paper tube is bent at this mark.
- Pressing a new side face and holding the workpiece on the surface of the desktop, draw your hand to the side on the right, thereby determining the fourth face. All lines clearly bend. At this stage, the workpiece looks like a box without top and bottom.
- An allowance for pens is made from above, bending the upper edge about 3 cm. To place it inside the package, the allowance is unbent and wrapped inside.
- After turning out the allowance for pens, you must once again walk along the top of the side faces with your fingernail to get clear edges of the top.
- To make the package exactly resemble a store analogue, the width of the side faces is divided in two and bent inward. At this stage, the package has the top and the sides folded inward.
- Proceed to the design of the bottom, the width of which is about the same as the width of the lateral edges at first. The allowance is wrapped in itself, clearly pushing through with a fingernail.
- The bottom allowance is bent, bent in the opposite direction to obtain a clear line. Further, the corners are bent upwards, combining the former lateral side with the bent bottom line.
- They unfold the whole structure, bend inward first the sides of the bottom, forming a trapezoid on the sides of the package, then one of the sides.
- Its central part is glued and glued to the second part of the bottom. It is important that the width of the bottom and sides coincide, all the excess will have to be cut off.
- At this stage, strengthen the bottom and the place of attachment of the handles, using ordinary cardboard. To do this, cut rectangular strips: one should correspond to the bottom, the other two fit under the upper allowances.
- The cardboard bottom is glued, after which the side allowance is again sent inside, and the bottom itself is bent to either side of the package from the outside.
- Glue cardboard under the handle. The allowance should not capture the sides of the workpiece.
- They take a hole punch and use it to pierce holes for ropes. After that, the ropes of the required length are cut off, their edges are scorched, threaded into holes and knotted on all four sides.
If you plan to hang a small greeting card on a pen, put it on the rope before tying knots to prevent the rope from falling out.
Alternatives
In addition to the basic scheme of folding a paper bag for gift wrapping, there are many variations in its design. For example, the same ropes can be replaced with satin ribbons. If you don’t want to bother with the top due to the lack of a hole punch, you can simply fold the upper edge of the packaging bag with an accordion after the present itself is placed in it. Other origami patterns allow you to create gift boxes, others include sticking decorative pockets.
You can come up with various decorative elements that will be a kind of locks for a bag. In addition, if you wish, you can even print out a scan of the gift bag and fold it. As a rule, such designs are intuitively easy to assemble. Often for this you need to glue the side edges and collect the bottom. The top can be fixed with narrow satin ribbons, decorative buttons. In addition, it can be openwork, which is done through a figured hole punch.
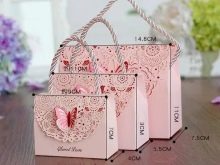
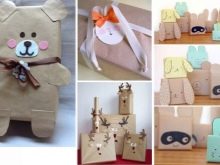
Packages themselves may not at all resemble standard packaging designs - their shape can be beaten in the form of funny animals, butterflies, handbags or umbrellas. For greater similarity, such products are often stitched on a sewing machine, thereby simulating textile seams. Other products resemble cone-shaped food bags.

See below for how to make a DIY gift bag.


