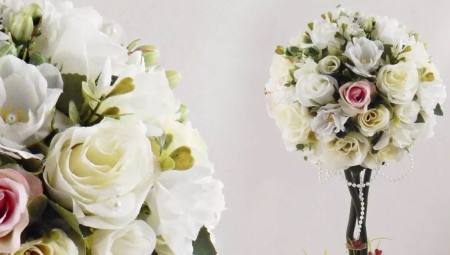
Beautiful wedding topiary can complement any festive ceremony. With their help, you can make a table decor, and they are often presented to newlyweds. Such handmade jewelry can be made independently or purchased ready-made to order. Making topiaries yourself is very exciting, this process does not require much effort and time, and most importantly, almost all the necessary materials can be found at home. Next, we will take a closer look at the wedding topiary technology, the necessary materials and tools, as well as get acquainted with the nuances of choosing finished decorative trees.
Features
In the old days, the word "topiary" was used for beautifully designed trees in the garden. Today, this is also referred to as handmade decorative trees that can be used at theme parties, as well as for decorating houses as interior attributes.


A variety of topiary can be used as wedding decorations. They can be created in any color scheme, as well as using a variety of decor. It can be fabrics, and satin ribbons, and various beads with stones.
Wedding topiary can be done independently, with a minimum of effort and maximum patience, as well as by studying the basic techniques for creating “trees of happiness”. That is what many masters call topiary.
A wedding topiary can have a variety of sizes and shapes. Mostly masters make exactly round crowns of trees, but heart-shaped options are not uncommon, which in the best way can emphasize the importance of the day for newlyweds.


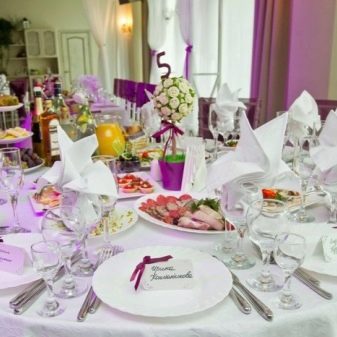
Topiary can be located on the table with the newlyweds and guests. They can also be used for photo shoots. Many of them look so natural using artificial materials that they can hardly be distinguished from real trees with fresh flowers.

How to choose?
Ready-made topiaries for weddings, ceremonies and evenings with guests should be selected based on the characteristics of the holiday, paying particular attention to the color scheme, as well as the external content. Some brides may prefer organza topiary with birds and hearts, while others may want to see lush orchids on the trees.


It is important when choosing or ordering a topiary to take into account the age of the newlyweds, national traditions and the venue of the celebration.
As for the selection of materials, here everything is a little more complicated. Most of the materials for the tree of happiness can be found at home or you can make components from improvised means. For example, to make a trunk for a future tree, you can use thick wire, but its appearance is unpresentable, which means that it will have to be decorated, for example, with a ribbon or cord.
It is best to buy finished trunks and blanks for the crown of the future tree in specialized stores. Making them yourself is very difficult.
As for the flowerpot, where the tree is placed, its size will depend on the size of the future tree, and therefore it should be chosen according to this criterion. Flowerpots or flower pots can have a neutral color, they can easily be painted with special paint or wrapped with satin ribbon. In general, here you can not limit your imagination.

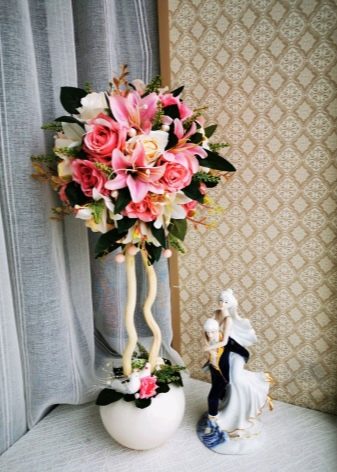
As for fabrics, it is not worth saving when choosing them. If there is a desire to make topiary from organza, it is better to buy it floristic, it holds its shape perfectly. The same goes for fabric for flowers. Stones, beads and rhinestones should also be of good quality, because at the wedding all the details are noticeable.

Tools and materials
Wedding topiary can be made in several ways using different materials. The basic necessary set of inventory to make a wedding topiary on your own, includes:
- scissors;
- base ball;
- polyurethane foam;
- glue;
- stapler;
- flower pot;
- finished barrel or its alternative, for example, thick wire;
- decor and fabrics (tulle, organza, silk, satin), crepe paper can also be useful for creating a tree of happiness for newlyweds.

Execution technology
Let's consider a step-by-step master class on how to make a simple wedding topiary from crepe paper with your own hands.
To create, you should prepare:
- crepe paper of several colors, for example, pastel colors;
- trunk, ball blank, flowerpot;
- glue, mounting foam, stapler;
- additional elements of decor if necessary.
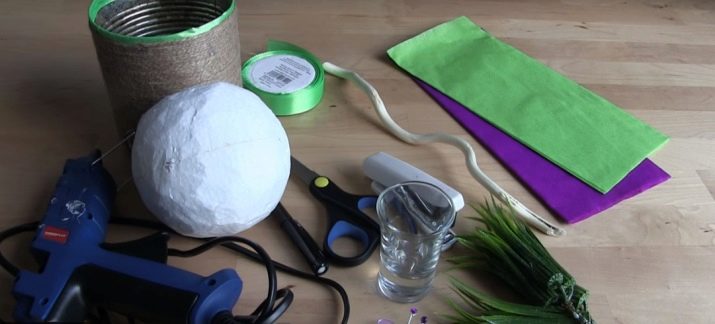
Step-by-step instructions are presented below.
- The finished tree trunk must be inserted into the foam ball stock and glued.
- Then, add some mounting foam to the flowerpot and insert the trunk there. It should be located directly. Allow the workpiece to dry for several hours.
- Then you should take crepe paper. Paper strips must be folded in half to make a square, fold it four times and fasten. You can use a thread, or you can use a stapler. Cut the circles, and then form the petals and flowers of the desired shape.
- Make as many flowers as needed for the topiary. Fix them on glue. If necessary, add beads.

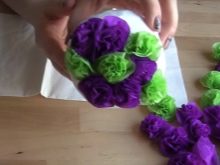

Note: crepe paper flowers can look very realistic. They can be done in different ways, the main thing is to start practicing.
On the wedding anniversary, you can make a topiary of coffee beans, decorated with a decorative veil of the bride or a cute hat.


Topiary in the shape of a heart looks advantageous. And the topiary with flowers from foamiran look the most elegant, as a rule, their brides buy by reservation. If you have skills in working with foamiran, then repeating the topiary according to the general instructions and placing flowers on it will not be difficult.

The topiary for a ruby wedding is usually performed in red. Shades of red not only symbolize love, but also emphasize the importance of a ruby date. Consider the process of performing a topiary for a ruby wedding. For work, we need:
- a flowerpot as a basis or a beautiful dish;
- trunk;
- polystyrene hollow heart base (with space in the middle);
- white artificial flowers;
- thick silk or satin ribbons;
- glue, scissors.

We do it step by step.
- We connect the trunk to the heart base and fix it with glue.
- Then we place the workpiece on a dish and glue it with it or place it in a flowerpot. If a flowerpot is selected, it must first be filled with polyurethane foam so that the topiary is stable.
- Then we wrap the heart with a silk or satin ribbon of your favorite shade. Carefully fasten the tape in the most inconspicuous place. For these purposes, it is better to use hot glue. It is worth noting that some craftswomen sometimes make wrapping figures with ribbons before they connect to the trunk. To whom it is more convenient to work.
- Then we place additional decor on the figure, including flowers and beads. They are also fixed on glue. You can complement the product with bows from thin ribbons.

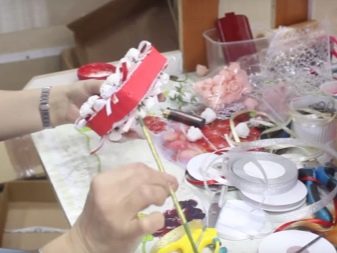
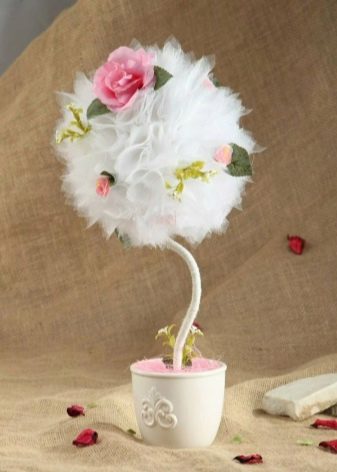
As a wedding topiary, trees with a lush crown of organza fungi are perfect. Such "trees of happiness" can also be done at home without any problems.

Summing up, we can say that it is not difficult to make a topiary, the main thing is to understand the essence of the process and do everything carefully, without rushing.
You can learn more about the intricacies of making wedding topiary from the following video.
