
The birth of a child for most families is the main and perhaps the most pleasant event in life. It is not surprising that relatives and close friends wish to congratulate the newly made parents. An original and non-standard gift, which will bring not only surprise and positive emotions, but also benefit, is a gift made by your own hand from diapers, which will be used in the future as intended by a new family member.
Many may be surprised, but from diapers, indeed, you can make many interesting and unusual gift structures.
Not everyone knows how to make an original gift from diapers, so the article will describe the basic methods for implementing this task as soon as possible and with an accessible list of necessary materials.
Basic nuances and rules of work
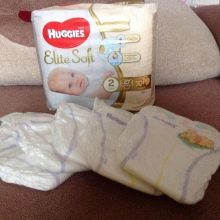
To begin with, you should decide on the diaper company and its size. It is advisable to use those that are well suited for babies, and it should be purchased not only in one size, but in several, because the baby grows very quickly, and with it the parameters change.
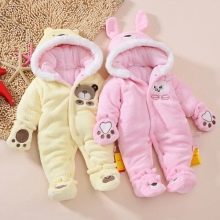
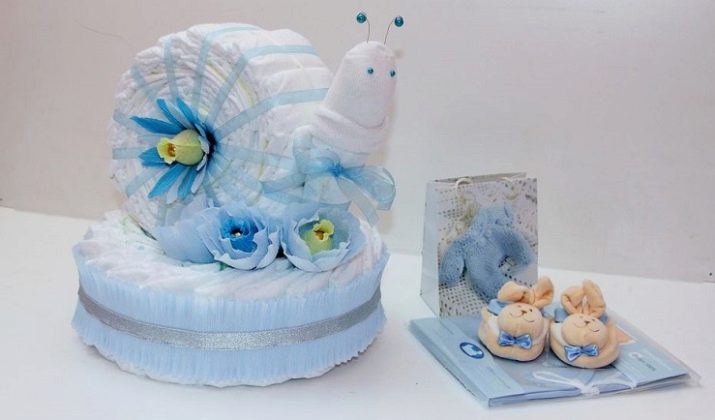
It is also important to use those shades that correspond to the gender of the child so that the gift looks as beautiful and appropriate as possible. For example, boys use green, blue, or beige shades, while girls use violet, pink, white, and neutral beige.
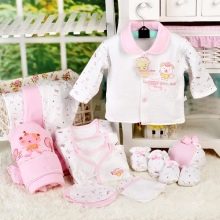
During the assembly of the gift, other components may be needed depending on the chosen shape. It can be children's things (hats, vests, socks, anti-scratches and sliders), satin ribbons of various sizes, diapers and even towels for the baby.
They decorate the product according to their own views on beauty, even toys are used.
There are certain rules that must be followed when assembling an interesting design for a child.
- Hands should be clean and classroom should be sterile. It is not recommended to twist the diapers, as the inner part has a protective layer, and it should not come into contact with anything other than the child’s body.
- If there are pets in the apartment, then it is better to remove them away from a sterile place and temporarily take them out of the room. This is done so that there is no wool on the diapers, which can easily cause allergic reactions in the child, not to mention unhygienic.
- If during assembly, additional objects made of plastic and fabric are used, then they must be carefully processed before use (wash with soap or an antiseptic, iron). The same thing happens with special ribbons or laces that will hold the entire structure together.
- Use only natural and hypoallergenic materials.
- In order to protect the future product from bacteria, it is advisable to paste on a table for working with ordinary cling film.


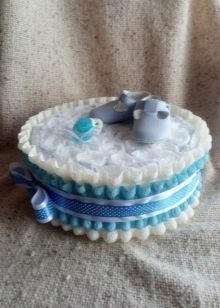
Cake Present
The most popular and beautiful item that can be made from diapers is a cake. It gives a lot of opportunities for decoration, while it looks like a large-scale and incredibly attractive gift.
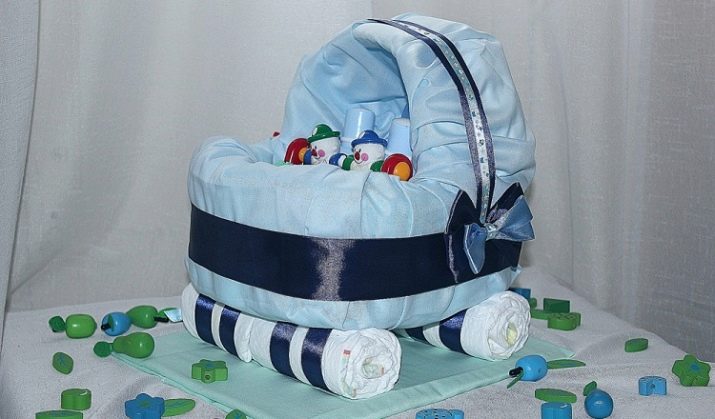
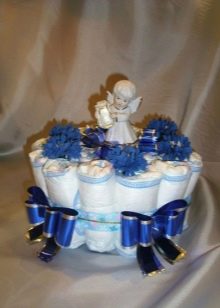
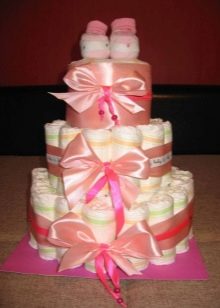
First, decide on the number of layers. The gold standard can be called three-layer cakes, which are decorated around the entire perimeter with children's toys, rattles, wide satin ribbons and even such useful things as scissors, nipples and bottles for newborns.
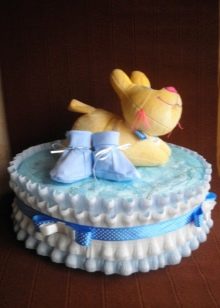
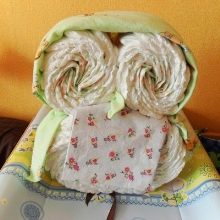
The easiest way is to make a single-tiered diaper cake that will look cute and charming, at the same time, even those who do something for the first time with their own hands will succeed. He will need at least 11 diapers, a beautiful diaper, wide ribbons, hot melt adhesive, scissors and jewelry (in this case, small booties).
To make such a cake, you must follow certain points.
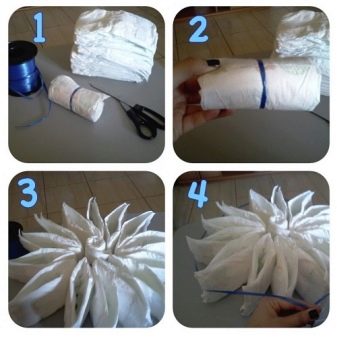
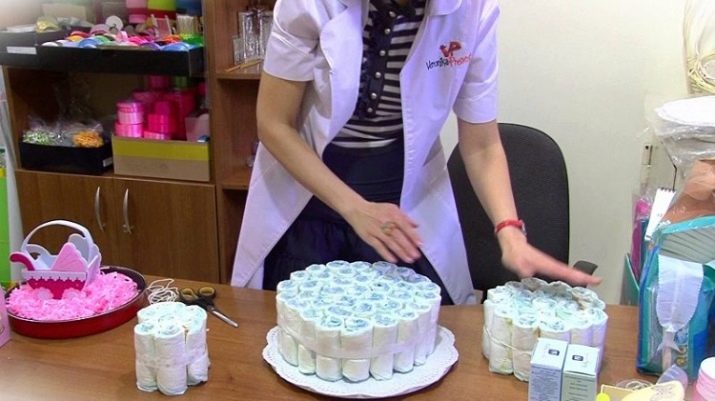
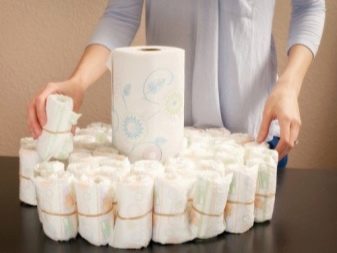
- A roller is made from one diaper, which is fixed with a regular tape. The roller base is installed on the table, and around it the rest of the diapers are placed in a circle.
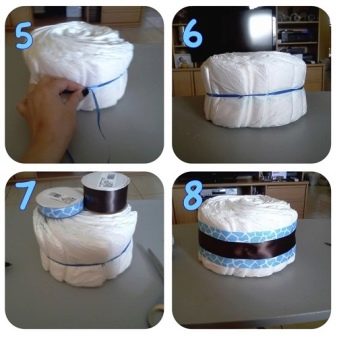
- Then they are gradually rolled around the main roller, and the structure is fixed with a wide ribbon so that a circle appears in the form of a regular cake. The base is ready, and it can be decorated according to personal preferences.
- You can completely wrap it in a beautiful multi-colored diaper, wrap it with a bright ribbon and tie it with a bow. At the top, small baby booties or a soft toy are attached, which will be a great decoration.
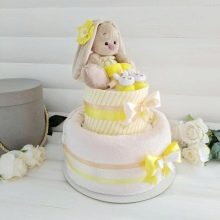
There is another way how to make such a cake. To do this, all the diapers are twisted with a small roller, and then one is placed in the middle, and the rest around it, thus forming a round base. The base is fixed with a wide ribbon, on which another thinner one is attached, which results in a cake that is quite similar to the real one.
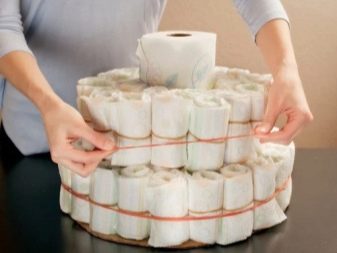
In this way, you can make several layers, but then you need to make each base slightly smaller than the previous one in order to comply with the necessary parameters.
For the manufacture of three tiers on the cake you will need at least 80-85 diapers, ribbons of different widths, a round base made of cardboard from paper towels (you can make it yourself), cardboard, threads, beautiful fabric or paper in the color of diapers, hot-melt adhesive, a pair of pins and items for decoration.


In the absence of a round base from paper towels - it must be made independently. Thick cardboard is suitable for this. It folds into a small narrow tube and sticks together in such a length that the future cake should be. Next, the tube must be glued with a beautiful fabric or paper along the entire length to give an aesthetic appearance.
After that, the base for the cake from the same cardboard is prepared. For this, a circle of such a diameter is simply cut out, which one wants to see in the future as the first layer of the future product. It is desirable to glue the cardboard, like the tube, with cloth or paper to match the diapers.
When these steps are behind, you can safely proceed to the assembly of the cake. To do this, each diaper is folded with a small roller and fixed with threads, after which the tube is glued to the base in the middle. Already to it in a circle gradually attach the diaper rollers so that they fill the entire base in several circles.
For the second tier, the foundation is no longer required. The rollers are installed on top of the first layer and are mounted around the tube in the same way, after which the third layer is fixed. Each layer is wrapped with a wide ribbon that will hold all the diapers together and at the same time give great appeal to the product. On top of it, you can fix another tape, but narrower, which will add multilayer. In addition to the tape, you can use baby diapers, on top of which the tape is already attached. The cake is almost ready, but it requires decoration from various children's things, toys and ribbons.
You can attach a soft toy or baby booties to the top layer. They do this with ordinary pins, because then they can be easily removed and do not spoil the diapers. To decorate the top will also help a beautiful large bow, which is made of multi-colored ribbons matching each other in color with a glue gun.
It is desirable to decorate not only the top, but also each tier of the product. Small bows made of satin ribbons, rattles, nipples and bottles, small soft toys, socks, and hats are great for this. It is not difficult to fix them on the product, because they perfectly cling and are held by ribbons that attach to the wide tape fastening the diapers.
Other options
Cakes are just a small part of what you can think of from diapers as a gift for young parents. For instance, The owl from diapers, diapers and children's socks looks beautiful.
For work you will need: 40 diapers, cardboard, fabric, paper, a diaper, socks, a pair of flowers, elastic bands, a bib, threads, tape and cotton wool.
To get started, twist 20 diapers in a circle. This can be done both in the master class with cakes, and in a slightly different way, when diapers gradually fit into the lid from the round box one to one and as a result a round base is obtained. With the rollers you get the same good and strong base, so the choice of manufacturing method depends on personal convenience. In the end, everything is fixed with elastic bands.
For the face of an owl you will need 20 diapers. Of the 10, one part is made and secured with an elastic band, and of the remaining 10, the second part, which is also secured with an elastic band.
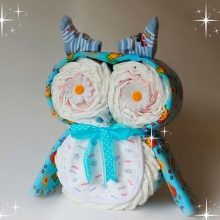
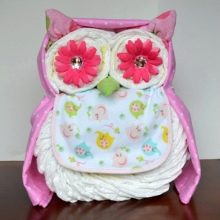
Next, you need to assemble an owl from three components, fastening it all with a diaper, which is located above the head (folded so that a long flat line is obtained in the width of 10-15 centimeters), and its edges hang from the sides, simulating wings.
The diaper is fixed with a tape in the middle of the owl, separating the head and body. It is tied with a bow for beauty, and in this case, between the muzzle and the body, you need to place a bib, which will become the front of the owl, and a small twisted piece of fabric is the future nose. Artificial flowers should be used as eyes, which are fixed with hot glue. Additionally, you can make a gift bow.
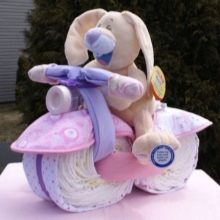
Using such techniques, you can make a variety of designs from diapers, and make their design original.
The main thing is to use the ideas proposed in this article and present them in a non-banal way.
You can learn how to make a cake-lock out of diapers from the next video.


