When modeling and sewing a wedding dress, each figure must be approached individually, since on this day all attention is focused on the bride. Therefore, this article contains patterns of long and short wedding dresses, original and traditional, practical and very elegant, strict and sexy. A step-by-step description of tailoring will help you create your own unique wedding dress.
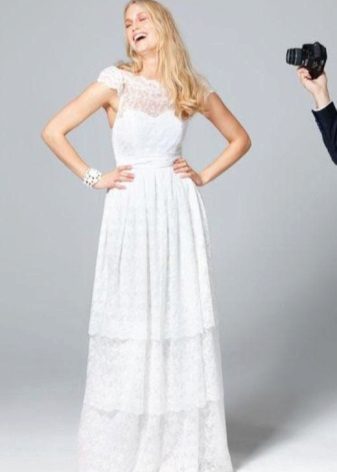


Dress with an open back
A long wedding dress with a three-story skirt and an open back looks very romantic and at the same time sexy. A flirty bow will give along a piquancy. The dress visually draws a figure, which is very good for brides of short stature.

Pattern
Transfer parts onto a large sheet of paper to fit your size. Do not forget to add allowances: at the cuts and at the seams - 1.5 cm, at the hem of the bottom of the dress and lining - 1 cm. You can make a more accurate pattern of the desired size using the RedCafee program.
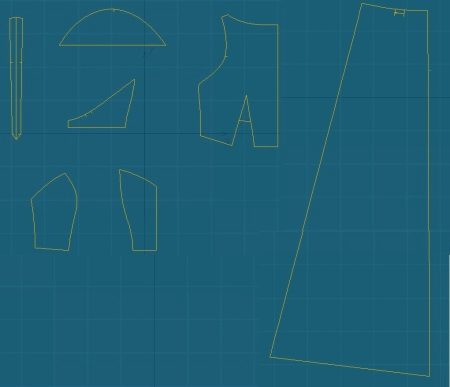
Cut
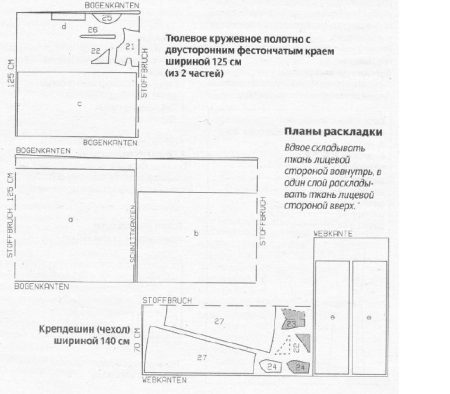
From lace fabric with a double-sided scalloped edge, cut according to the layout:
- Front bodice with a fold - 1;
- Backrest - 2;
- Sleeve - 2;
- Shoulder strap - 2;
- All details of the skirt (lower, middle and upper tiers);
- Strip with scallops for the neckline is approximately 40 cm long and 7 cm wide.
Please note that when cutting sleeves and skirts, their lower edges should be on the scalloped edges of lace fabric.
From organza Cut 2 parts of the straps and 2 edges of the armholes 4 cm wide, taking into account the allowances, edges for the drawstring.
From satin or crepe de Chine:
- The central detail of the bodice before - 2;
- Lateral detail of the bodice - 4;
- Bodice of the back - 4;
- Before the skirt with a fold - 1;
- Back cloth of a skirt - 2;
- The belt is 2.3 m long and 34 cm wide, which should be 17 cm when finished.
Sewing
Setting up festivals
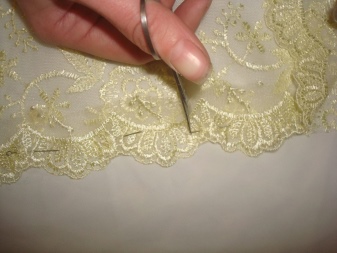
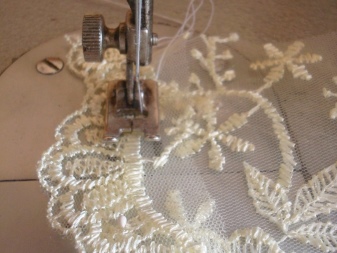
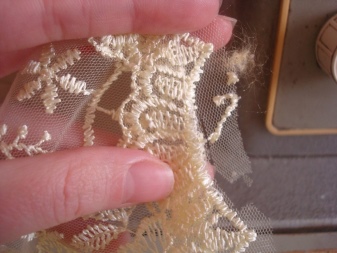
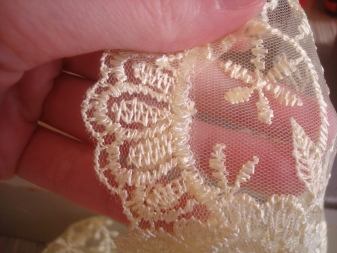
- Iron the fixative flies on the seamy side of the bodice along the neckline. Pin the lace strip to the bodice. At the same time, scallops should protrude 1.5 cm behind the neckline, the middle scallop is located in the midline.

- Cut a straight cut of the strip in several places to the lower edge of the motif on the festoons, so that it is easier to shape the neck. Along the edge of the motifs, lay a narrow, dense zigzag stitch. Cut a straight cut and a seam allowance close to the zigzag stitches. Cut the protruding ends of the strip on the shoulder sections and sections of the armholes of the front bodice. Remove the stikfliz.
Sewing straps
- Stitch tucks on the lace front bodice and iron. Stitch the front and back bodices. Cut and iron the seam allowances.
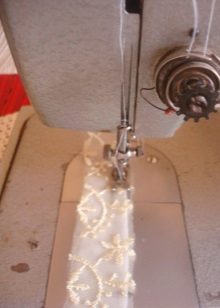
- Sweep lace and organza straps. Fold along the fold line with a lace cloth inward and stitch. Turn out the strap and iron the seams. Sew a second strap. Baste them to the shoulder sections of the front bodice.

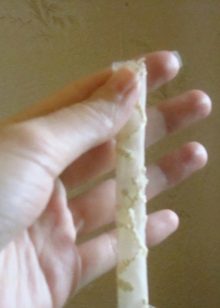
Sewing sleeves
- Pick up the sleeves. Sweep the sleeves into the armhole of the front bodice and sweep to the straps.
- Fold the oblique sidewalls of the organza armhole in half with the outer side up, iron them. Pin to the upper section of the front and back, while the bend should be at a distance of 1 cm from the seam line. Stitch the hem and sleeves with one line.

Sweeping the wings
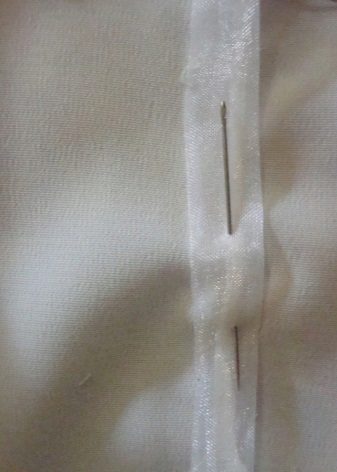
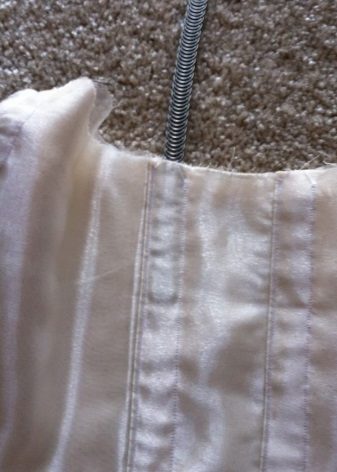
- Make embossed and side seams on the details from the front satin bodice. Flatten the seams. Pin the linings for the organza drawstring over the embossed and side seams to the outer part and sew on both sides at a distance of 5 mm from the seam.
- Stitch the upper sections of the two layers of satin on the wrong side, leaving areas for sewing strapless on the back. Remove the cover and iron the top edge.
- Cut the tape with the bones along the length of the wings. Paste them and fasten the ends.
- Sweep the lace front bodice with a satin cover along the sections of the armholes of the front and upper sections of the back. The inner part of the satin bodice on the back is not fixed. Straps insert into the holes in the back, pin and try on, then fasten.
Tailoring skirts
- Sew the side seams on the satin skirt. Lay and sweep the creases along the top cut of the skirt. On the lower tier of the skirt made of lace fabric on the back, measure 16 cm for the cut in the middle section from the top. Put tags. Tuck and stitch the cut allowances. Make similar cuts on the remaining tiers of the skirt. Bend the edges. Assemble the upper sections of the tiers of the skirt together and connect with the cut of the skirt from the satin. Satin allowances for the rear cuts of the satin skirt should protrude.
- Tie a skirt to the bodice.
- Sew a hidden zipper.
- Sew a scarf.
Bodice Draped Wedding Dress
A fluffy light skirt and corset draped with delicate tulle are a great option for a wedding dress for girls who want to show off their elegant neck and beautiful shoulders.

Pattern and cutting
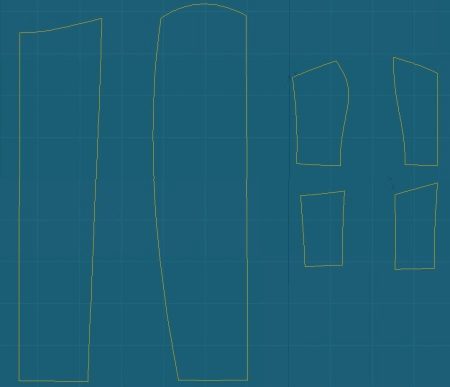
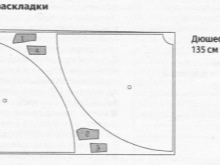
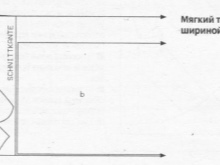
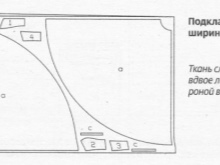
From duchesse and lining, open to the front:
- The middle and side details of the front bodice - 2 each;
- The middle part and the side bodice of the back - 2 each;
- The front canvas of the skirt - 1;
- The back of the skirt is 2.
From tulle Cut out 2 drapeable parts of the front and back. Also remove the linings from the lining.
Sewing
- Stitch and iron embossed seams on the front and back bodice. Stitch grindstones.
- Assemble the longitudinal sections of the draping parts of the front and back, as well as the middle sections of the front, evenly distributing. Attach details from tulle to parts of the bodice of the main fabric, bind and fasten.
- On the front bodice, grind the middle and side seams and iron. Over the side seams, lay the stitches and stitch them.
- Stitch side seams on a duchess skirt. From the top of the middle sections of the back panels of the skirt, measure down 20 cm to sew the zipper. Pick up the top cut of the tulle skirt. Sweep both layers.
- Sew the skirt with the bodice of the dress and iron the seam allowances.
- Sew a zipper and sew the middle seam only on a skirt of duchess. On the tulle skirt, the cut remains open.
- Insert the bones into the wings, after cutting them to the desired length.
- Stitch side seams on the bodice and skirt from the lining. Leave a slit for the zipper. Stitch the skirt to the bodice and iron the seams.
- Stitch the lining and duchess dress over the top cut. Sew a lining to the zipper braid.
- Sew the bottom of the skirt with a zigzag stitch, and make a hem for the bottom of the lining. The petticoat should be 1 cm shorter than the dress skirt.
- Sew a satin ribbon.
Short wedding dress with frill
Pointy flounces on sleeves and a skirt, seized in recesses and embossed seams, add to this effect.

Pattern and cutting
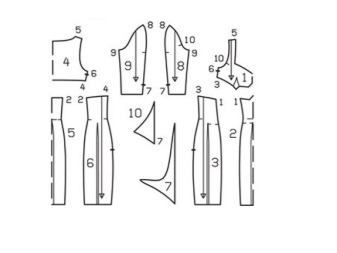
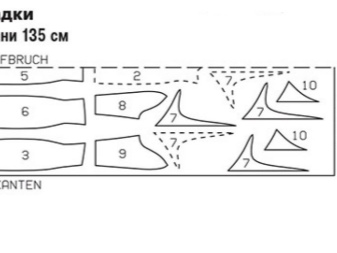
From crepe marquenes or double-faced, softly draped dressing fabric, cover:
- The front bodice with a fold - 1.
- Backrest with fold - 1.
- The middle parts of the front and rear panels of the skirt for 1 child.
- The sides of the front and rear panels of the skirt for 2 children.
- Shuttlecock before - 10.
- Front and elbow of the sleeve for 2 children.
- Sleeves shuttlecock - 4.
Lining open the front and back bodice.
Iron the non-woven fabric along the neck and lower sections of the front and back bodice.
Sewing
- Stitch chest tucks on the front bodice.
- Overlay or zigzag the outer sections of the front shuttlecocks.
- Make a cut in the middle of the tucks on the middle and side parts of the front panel of the skirt. On 6 shuttlecocks, cut off the seam allowance to a width of 5 mm. Fold 2 shuttlecocks and chop the stitching sections. Pin the chopped shuttlecocks to the cut tucks. Stash them, fixing shuttlecocks.

- Chip the remaining 4 shuttlecocks in pairs and pin them to the relief sections of the middle part of the front panel of the skirt. Stitch embossed seams and iron.
- Sew the front bodice with the front of the skirt.
- Stitch tucks on the middle and lateral back of the skirt, and embossed seams on the back of the skirt.
- Stitch the back of the bodice with the back panel of the skirt and iron the seam.
- Perform shoulder seams, then the right side seam. Sew the zipper into the left side seam.
- Sew tucks on the lining, shoulder and side seams. The zipper cut does not grind.
- Sew the lining with the bodice of the dress along the throat cut and zipper, and also take in the cuts of the armholes.
- Sew the remaining 4 shuttlecocks and stitch one at a time to the front and elbow parts of the sleeves.
- Stitch the sleeves.
- Fold the bottom of the dress by ironing the hem and sewing it by hand.
Short sheath wedding dress
Not quite a standard dress for a wedding celebration looks strict and elegant. The advantage of the outfit is its practicality. A dress with a freely lying neckline and a narrower bottom will decorate more than one gala evening.

Pattern and cutting
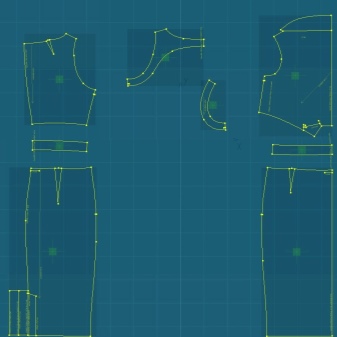
From the fabric with the effect of melalik or light, keeping the form of dress material, open:
- Top of the front - 1.
- top of the back - 2.
- Front and rear set-in belt with a fold for 2 children.
- The front panel of the skirt with a fold - 1.
- The back panel of the skirt - 2.
- Turning the armhole in front - 2.
- Back hem with fold - 1.

Sewing
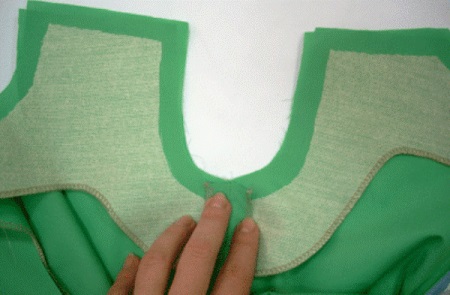
Before sewing, iron the non-woven fabric along the sections of the armholes and neck.
- Sew parts of the bodice of the back and grind the undercuts.
- Sew tucks on the front and back panels of the skirt. Perform middle cuts on the back of the skirt, leaving a cut for the slots.
- Sew the front and rear set-in belts from the lining to the bottom of the bodice of the front and back and to the top of the corresponding parts of the skirt.
- Sew the back and back stitches along the underside of the armhole and neck.
- Grind the armhole stitches to the front armhole cuts. Make notches at the rounding points.
- Stitch a one-piece front neck grinder.
- Sew the right side seam.
- Stitch the zipper into the left side seam.
- Stitch the side seam on the inner set-in belt and stitch it to the outer belt with the wrong side to the wrong side. Sew the slices to the zipper and from the front side, sew stitches in the seams of the outer belt.
- Cut the slots.

In greek style
In the Empire style or Greek wedding dress, it is universal in that it suits any type of figure. The lightness and airiness of the dress emphasizes femininity and gives the bride a special charm.

Modeling
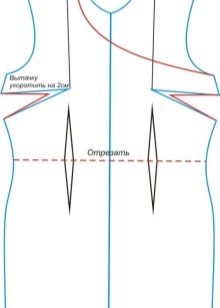
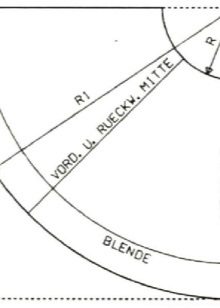
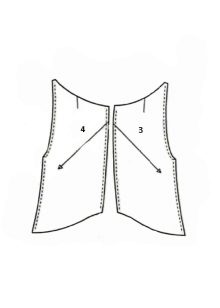
Take the base of the dress pattern and transfer the neckline, as shown in the photo, and shorten the tucks. Measure the length of the bodice. For the back, close the tucks.
Draw a rectangle for the skirt panel. In the upper right corner, draw a circle. To do this, you need to calculate the radius of your waist volume using the formula R = (P / 3.14) \ 2, where P is the waist volume. You also need a rope and a pencil to draw a radius. tie a pencil to a rope, the length of which should be slightly larger than the radius of the waist. Draw the top circle, securing the rope in the right corner of the rectangle, and then draw the bottom, deferring the length of the skirt in advance.
Also cover a draped bodice.
Cut
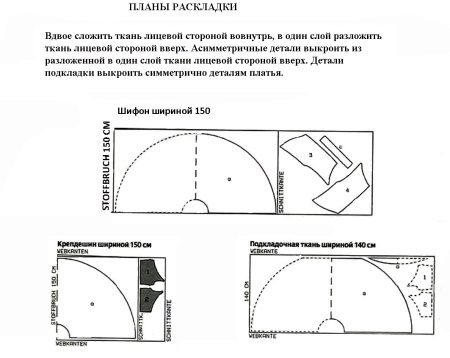
Made from crepe de Chine and lining open the front, back and front of the skirt with a fold of 1 part.
From chiffon Cut draping details of the front and back, as well as the upper skirt with a fold - 2 parts, a slanting inlay.
From organza - a slanting inlay.
Sewing
- Stitch and iron the tucks of the front and back of the crepe de chine and lining fabric. Stitch the left side seam on the details.
- Pick up and sweep the details of the draped organza bodice with the corresponding details from crepe de chine. Make sure drapery parts are tight. Lay out the protruding ends of the draped parts with folds along the lower cut, which are sewn on the sides as little as possible with noticeable stitches with an interval of 8 cm.
- Sew one side seam on the chiffon top skirt. Assemble it along the upper edge according to the width of the crepe de chine skirt. Sweep both canvases. Make side seams leaving a 20 cm cut for the zipper.
- Sew a skirt and bodice.
- Stitch the zipper.
- On the skirt from the lining, make a side seam. Leave the zipper open. Sew it with the skirt of the dress, and sew the cuts to the braid of lightning.
- Stitch the lining with the bodice of the dress along the sections of the bodice and armhole. Leave the shoulder section open. Turn out the lining, and then stitch it to the seam of the skirt and the ribbons of zipper.
- Make the hem of the bottom.


Oh thanks! For a long time I was looking for a lot of patterns of a wedding dress with a description.