
To receive a bouquet and a box of chocolates as a gift is pleasant for any person. A bouquet of sweets will cause not just joy, but surprise and sincere admiration, especially if it is presented on the wedding day. After reading this article, you can choose a decent bouquet for a wedding celebration and learn how to make a sweet bouquet with your own hands as a gift to the bride for the wedding.
Types of candy compositions
The art of making bouquets of sweets is a suite design, one of the most famous areas of floristry. Types of sweet compositions are not much different from compositions from fresh flowers.
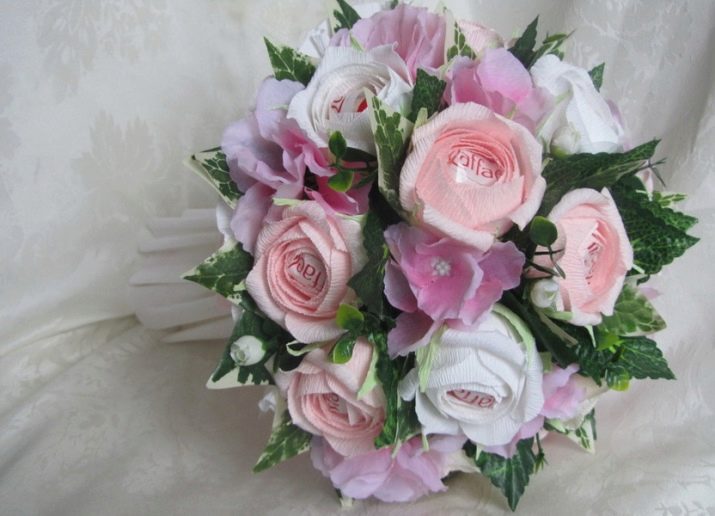
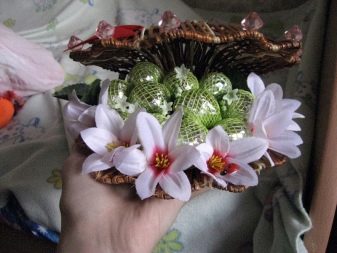
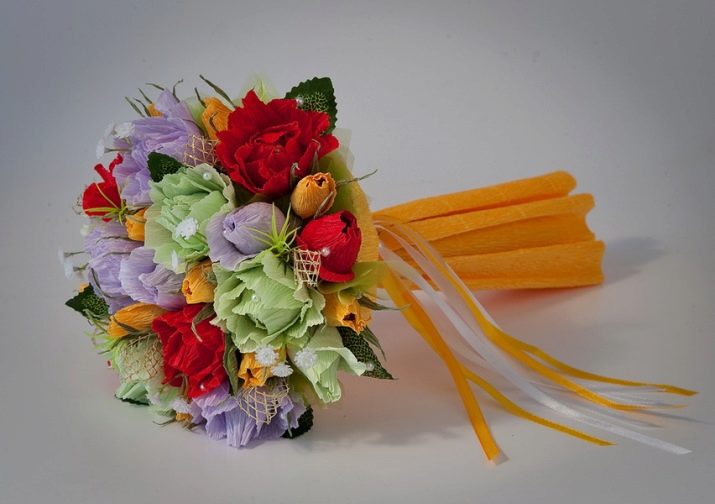
Decorative
Bold and welcome non-standard solutions:
- contrasting colors;
- bright juicy shades;
- decorative inserts from ribbons, artificial fruits, beads, butterflies, dragonflies;
- cones, nuts, Christmas decorations, cinnamon sticks, anise stars, tangerines are fixed in winter bouquets;
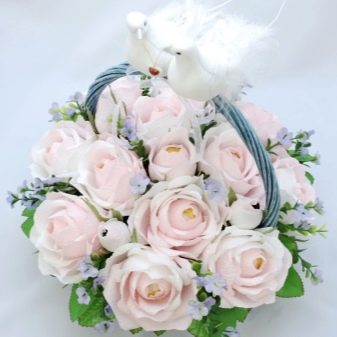
- for the wedding celebration in the composition are placed plaster figures of pigeons, angels;
- use different finishing materials in texture: felt, floristic organza, lace.

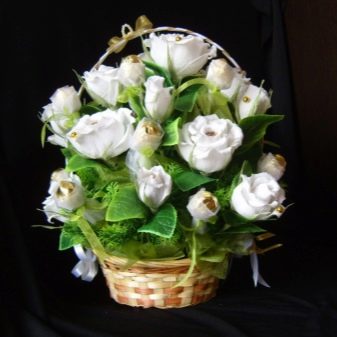
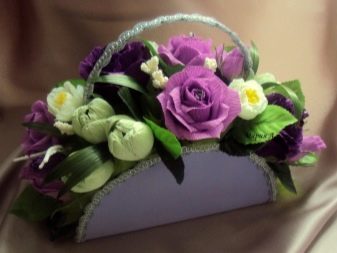
Bouquets are colorful, each detail looks interesting in its own way, but does not stand out from the overall composition. The basis for this type of work can be a portbuketnitsa, a wicker basket, a hat box, a glass, a vase.
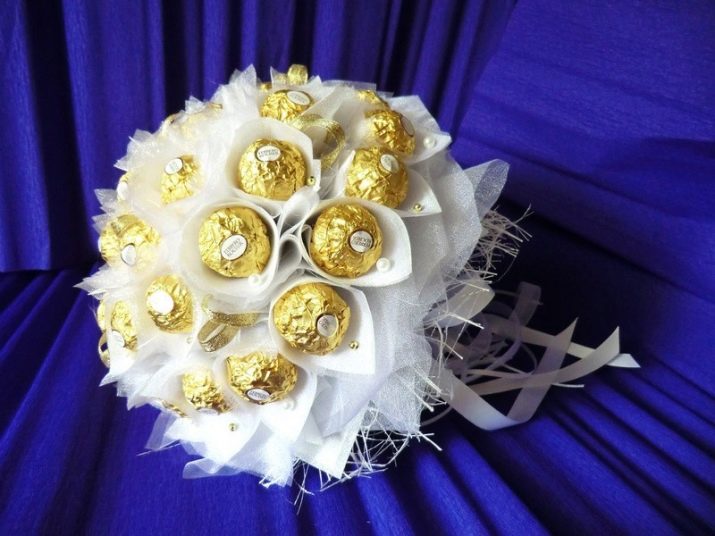
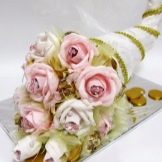
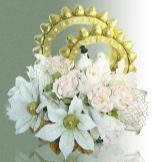
Massive
These are voluminous and magnificent compositions. Contrast and variety of shades is rarely used. Works in one color scale look very gently. Flowers are arranged tightly to each other. The bouquet looks like a big fluffy hat. Decorative elements do not use. The composition should look natural. All the beauty in volume and light negligence created by the hands of the master. This bouquet is a great gift for any occasion.To create a composition, a basket, hat box, portbuketnitsa is suitable.
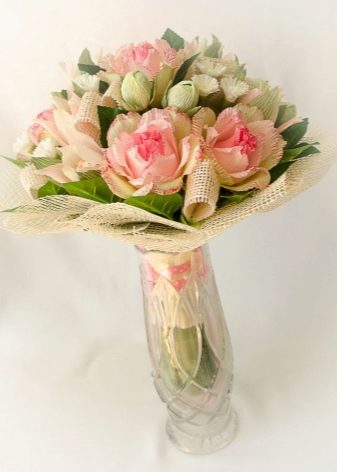
Vegetative
Bouquets are decorated with natural materials. Use:
- driftwood and twigs;
- tree bark;
- moss;
- dried fruits;


- dried flowers;
- nuts
- shells and stones;
- seeds.


Compositions look very unusual. If you are going to a celebration in a rustic or eco style, the choice of such a bouquet is the right decision. Compositions are made on massive glasses or homemade foam bases, decorated with a suitable material.
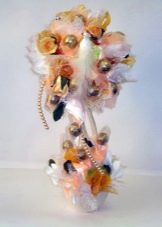
Linear
In this type of composition, plants of strictly defined length are used, which are arranged both horizontally and vertically under a certain slope. There are works in the form of a crescent, an asymmetric triangle, bouquets in the form of the letter S. The basis for such compositions is low wicker baskets, bread bins, decorative plates, vases. Often girls order a cascading bouquet for a wedding, which always favorably emphasizes the beauty of a wedding dress. A handmade cascading bouquet for the bride is formed on the portbuketnitsa.
In the form of candy compositions and bouquets are:
- round;
- triangular;
- square;
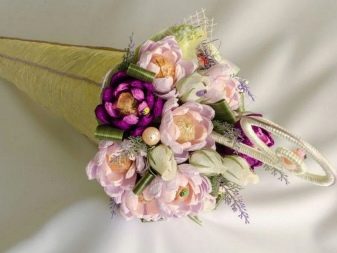
- cone-shaped;
- symmetric and asymmetric;
- unilateral, where the frontal and "back" parts are distinguished.
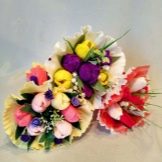


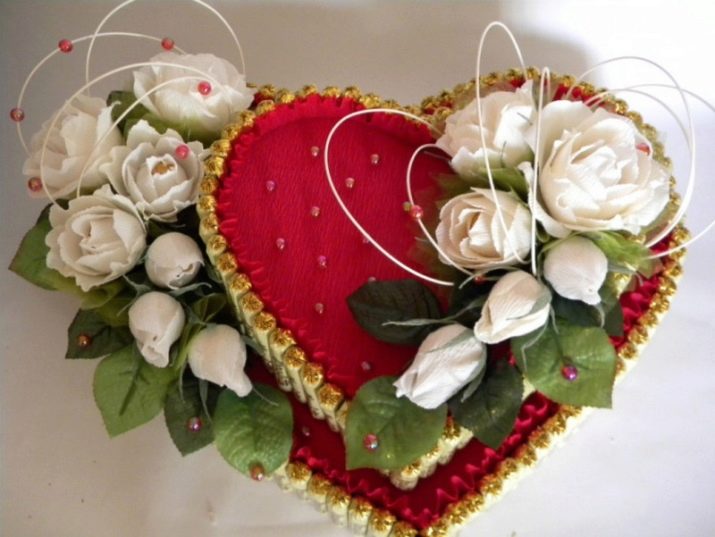
Decorative compositions can take any form. There are sweet bouquets in the form of hearts, balloons, ships, houses, butterflies, animals, musical instruments. Having decided on the type of bouquet, you can make a purchase.
Do not rush to get a gift on the Internet. You can order work from a well-known suite designer, but there is no guarantee that the post office or courier service will deliver your order in the proper form: candy compositions are a very fragile thing. You can buy a sweet bouquet in your city. Take a look at pastry shops, handmade gift studios, and floristic salons.
Choosing a bouquet, you can live to appreciate the beauty and quality of the gift. Be sure to ask about the expiration date of sweets. If possible, ask for a candy certificate. Check how securely the parts are attached to the composition. If the bouquet falls apart in the bride’s hands, it will be very unpleasant.
Necessary tools
You can make a wedding bouquet of sweets for the bride yourself. Enough of patience, the right materials and tools. You will need:
- scissors;
- ruler;
- a spreader;
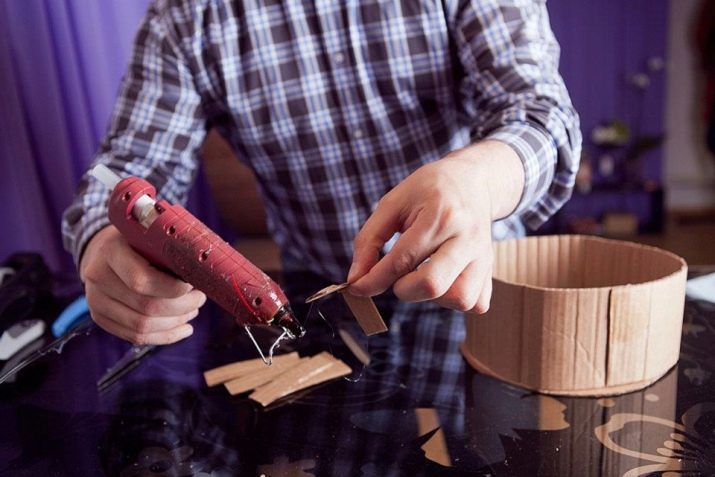
- thermal gun and rods for it 15-20 pcs .;
- skewers and toothpicks;
- floristic wire;
- stationery knife;
- awl;
- pliers that conveniently insert flowers on toothpicks into the composition.

And also you need materials to work.
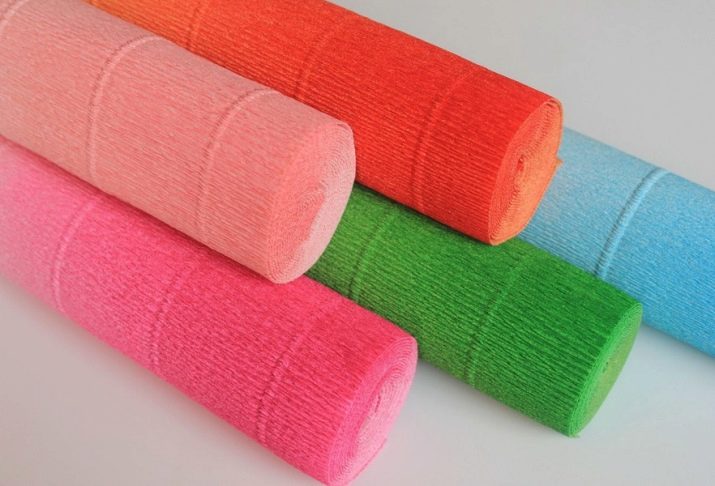
- Corrugated paper made in Italy with a density of 180 grams. You can buy it in shops for creativity and needlework, at floristic bases and in flower shops. Do not confuse crepe paper with crepe paper found in every office supply store. She's not good for sweet design.
- Penoplex. A material very similar to polystyrene, but more convenient for work. From it, the basis for the composition is created, where skewers with sweets will be inserted. Sold in hardware stores. Regular polystyrene is better not to use.
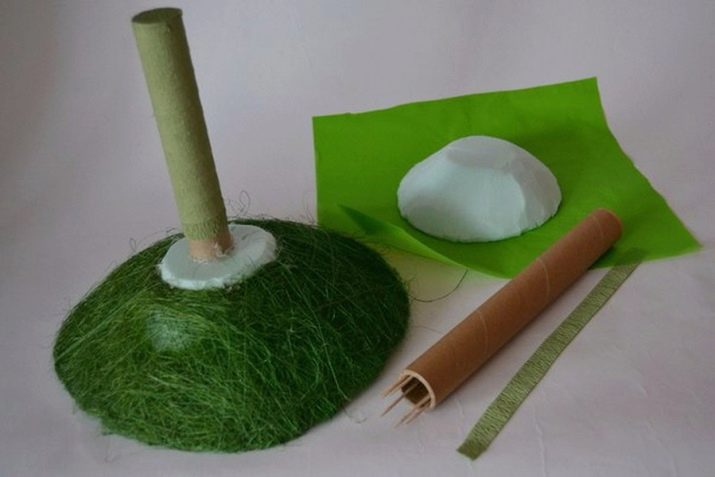
- Polyurethane foam. This is the best basis for bouquets. From it you can create a product of any height and width. Easy to cut. Squeeze the foam onto the newspaper and let it cure well. The material is ready for work.
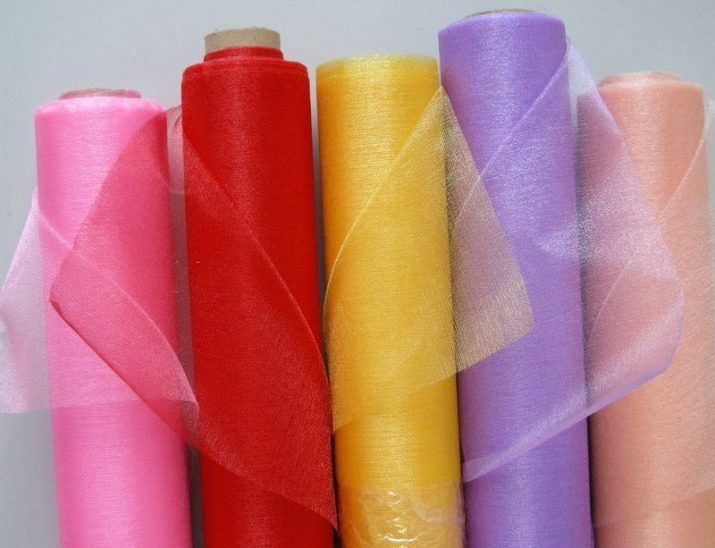
- Floral organza. Differs in greater rigidity, than usual. It is used to create small blocks that fill the space between flowers, and to decorate the base of compositions.
- Satin ribbons. They are inserted into bouquets, with their help you can drape the leg of the portbasket.
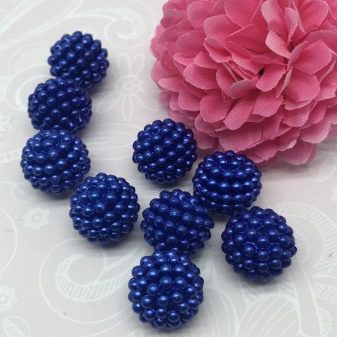
- Decor: beads and half beads, artificial greens, decorative figures.
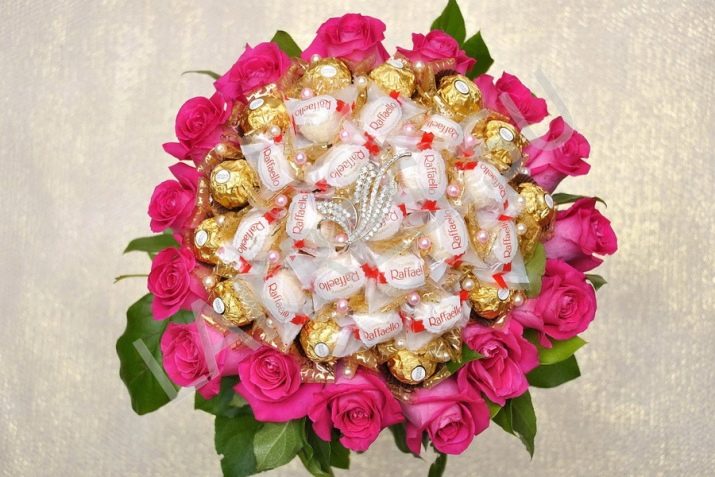
- Candy. For a bouquet of sweets for a wedding, it is better to take Raffaello sweets. They do not melt in hot weather and are not afraid of the cold.They are very convenient for work: they are difficult to crush in the hands, which sometimes happens with inexperienced needlewomen.
How to make a bouquet with your own hands?
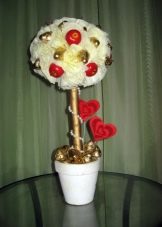
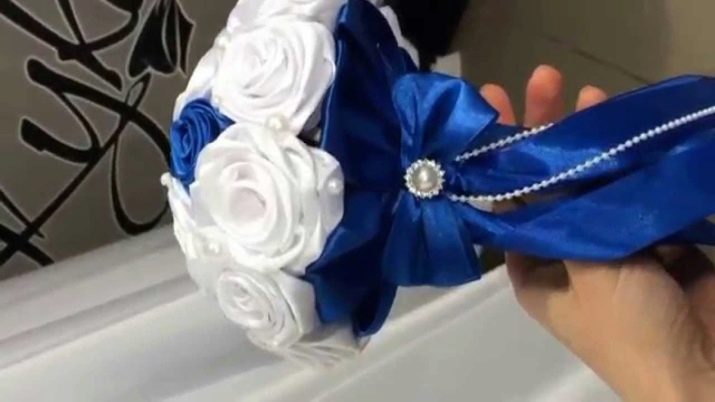
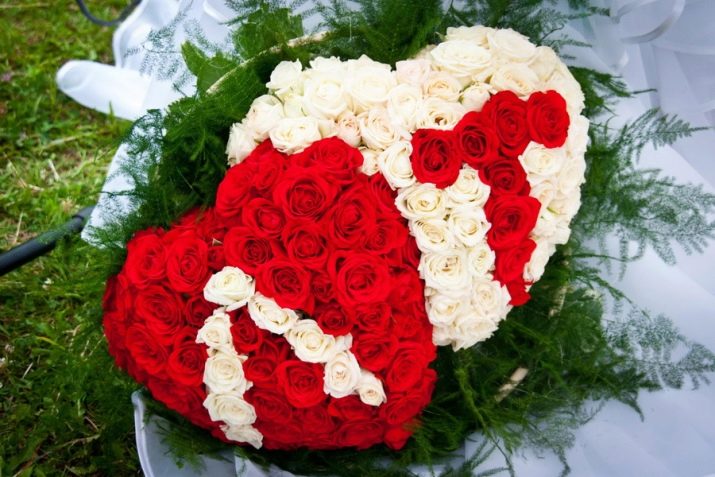
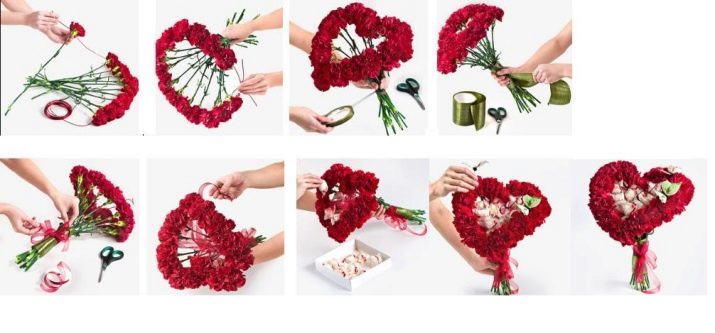
A great gift for the newlyweds is a composition in the form of a heart of roses. Even a novice will do just fine with this version of the bouquet. You can make one half of the heart red and the other white. If the wedding is themed: lavender, lilac, pink, use the appropriate colors. Universal range - white, peach, pale cream, tea color is suitable for the bride's bouquet.
Choose paper of the right color and get to work.
Step 1. We make a pattern: we cut out the heart of the required size from the newspaper.
Step 2 Create the wireframe:
- take penoplex no more than 5 cm thick;
- attach a pattern on it and circle with a felt-tip pen;
- with a clerical knife, cut a heart along the contour.
Step 3 Decorate the base with corrugated paper.

Before working, cut a small piece and stretch it with your fingers. The paper is easily stretched horizontally.
The divisions on paper will help determine the desired height of the parts.
- Put the frame on a roll and cut out the heart 4-5 cm larger than the foam itself.
- Use a thermal gun to stick paper on the base. Glue from the middle to the edges, stretching the paper.
- Stepping back at the edges of 1 cm, cut off the excess paper. Gently wrap the edges and glue to the base.
- We also paste over the reverse side of the heart, connecting the joints.
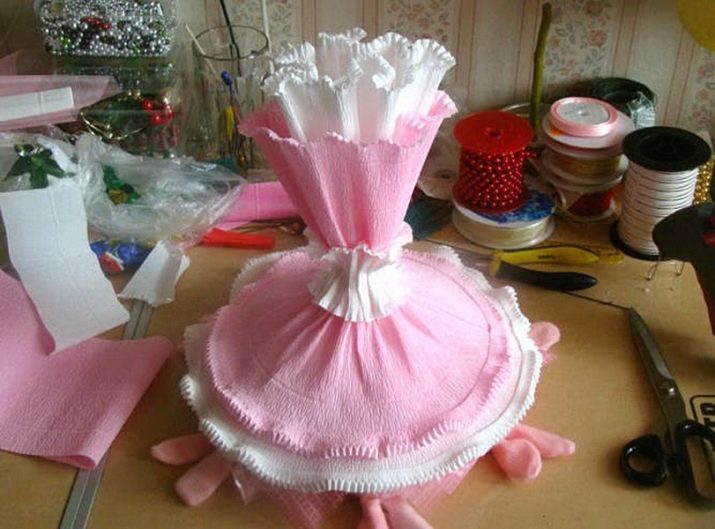
Step 4 Drape the sides:
- cut a strip with a height of 1.5-2 divisions, and along the length of the paper should completely cover the sides of the heart;
- stick the paper tape around the edge of the work;
- fingers carefully stretch the upper edge, creating a beautiful wave;
- the base is ready.
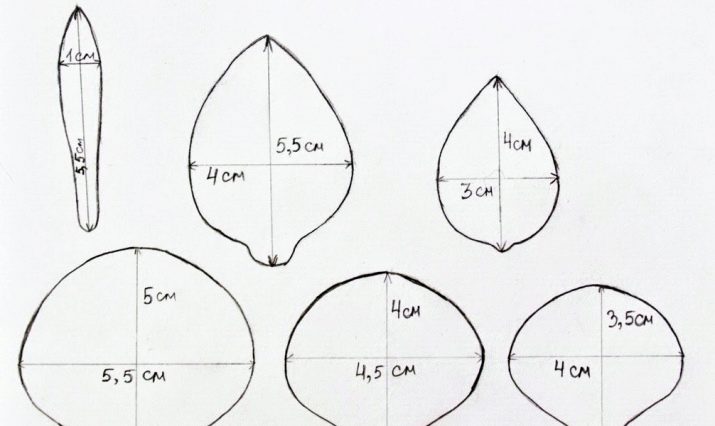
Step 5 Making the petals:
- cut a strip of corrugated paper with a height of 1.5 divisions;
- cut into rectangles 5.5-7 cm wide - these are the petals;
- round off the top of each workpiece, and make the base narrow - the petal should resemble a drop;
- for one rose you need 7-8 petals;
- make the middle of the rose - cut a strip with a height of 1.5 divisions into rectangles with a width of about 10 cm;
- leave the base wide, cut corners, and round the top;
- we take a skewer and with it we straighten and bend the flower petals towards the apex;
- note that the paper has a front and back side, the outer part of the petal is the front side;
- stretch the petals so that they have an arched shape, twist the edges;
- we form the middle - we stretch the central part of the petal, but not to the very edges, creating a bed for the candy, the finished middle resembles small barrels.
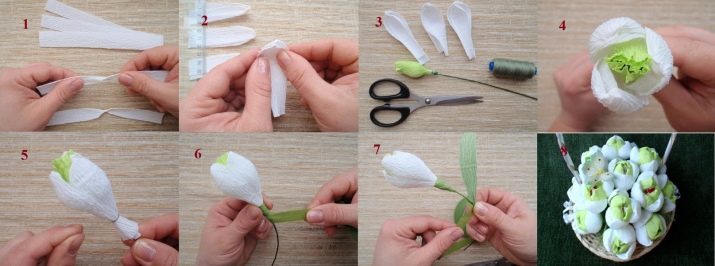
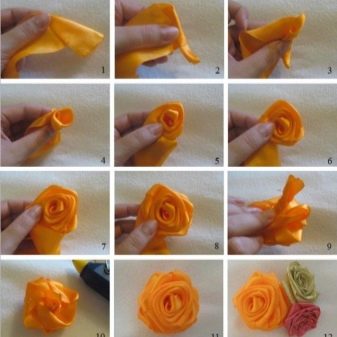
Step 6 We collect the rose, for which we need to perform several actions.
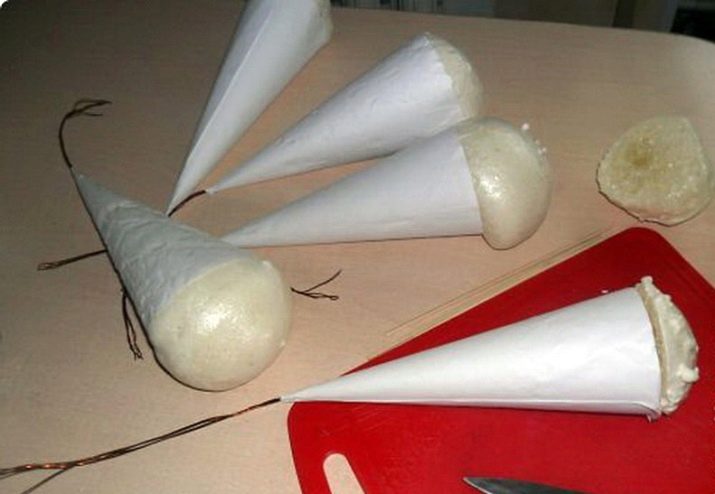
- Prepare the toothpicks. If the base of the composition is less than 5 cm, they need to be shortened by cutting a little from one end. The blunt end of a toothpick is attached to the flower itself.
- Take the candy, tightly wrap it in the middle, putting a toothpick inside. Put a drop of hot glue in the place where the toothpick is in contact with the base of the flower, trying not to get on the candy, and tightly roll the paper around the toothpick. The middle of the rose is ready. The candy should not fall out, and should not be twisted very tight.
- Glue the first three petals to the rose, so that they lay on top of each other slightly overlapping. We drip glue on the base of each petal and firmly press it to the flower.
- Glue the following petals in a circle on top of the previous row, pinching at the base. So the rose will look more natural.
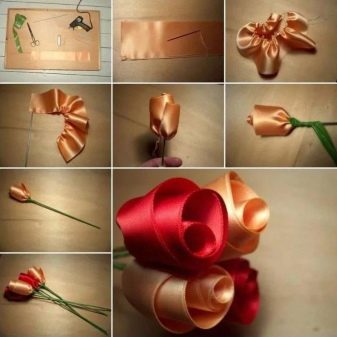
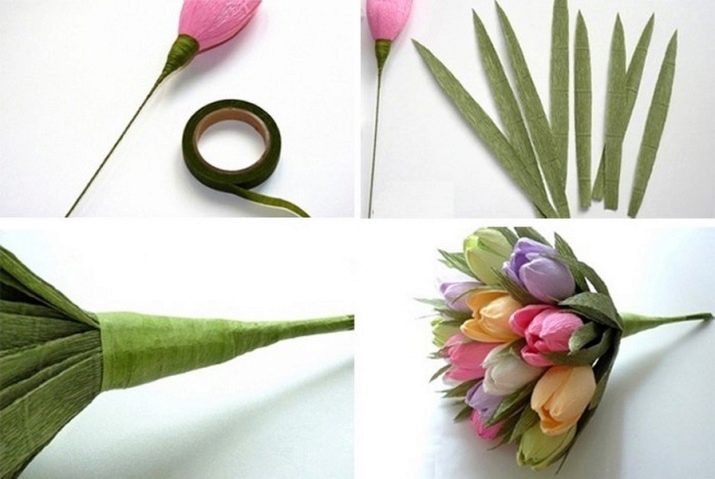
Step 7 Sepals:
- cut out the sepals from green paper, for this we use a strip of paper with a height of 1 division and a length of 15-20 cm, 3 sepals will come out of this segment;
- we retreat from the wide edge of the paper 1.5-2 cm and, on the other hand, cut sharp teeth with a straightener or nail scissors;
- smooth with a skewer, and then tighten the ends;
- apply glue, and glue the sepals to the bottom of the flower and the toothpick, press and twist, and cut off the extra teeth.
Rose is ready.
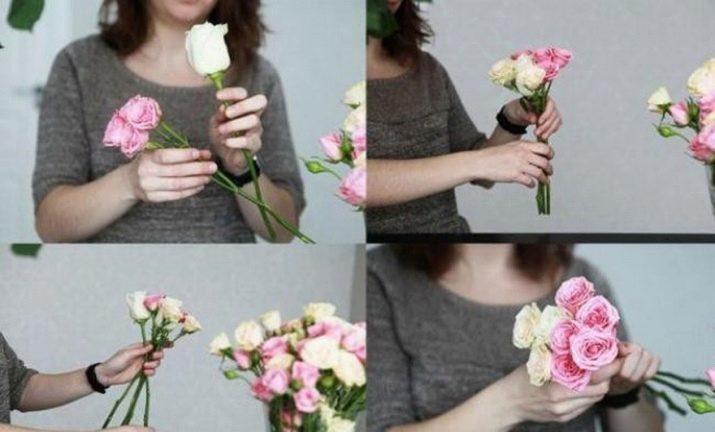
Step 8 We make the rest of the roses:
- count how many flowers you need to fill the heart;
- make the rest of the roses according to the pattern, while the composition should have an odd number of flowers;
- the flowers should not be attached tightly to each other, the gaps are filled with pounds of suitable organza in color.
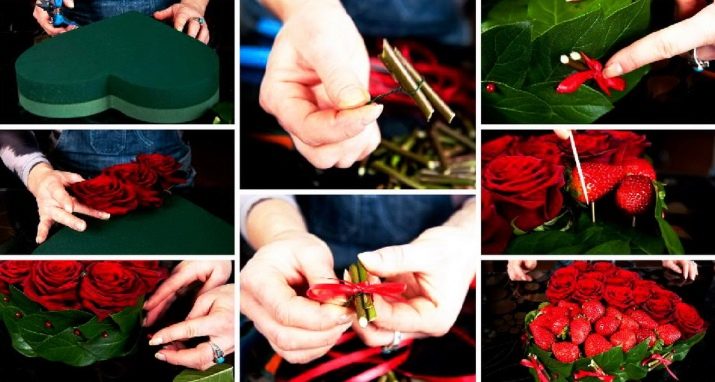
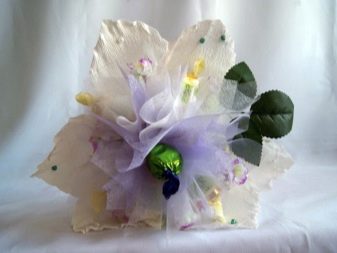
Step 9 Funtiki:
- cut organza into 8x8 cm squares;
- fold the square diagonally so that the ends lie obliquely;
- fold the resulting triangle the same way again;
- In the middle, drop a drop of glue, and glue the organza to the toothpick.
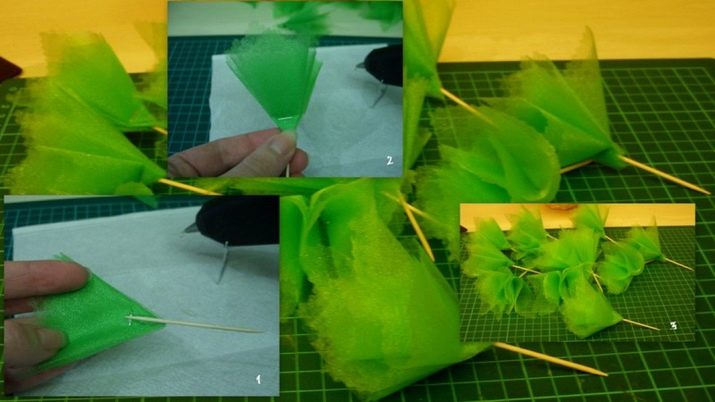
Funtik is ready.
Step 10 Putting the composition together:
- distribute the roses evenly along the base, starting with a sharp corner;
- using pliers, carefully stick the toothpicks into the foam, you can make holes for roses with an awl;
- firmly fix the flowers in place with hot glue;
- fill in the gaps with cubes;
- The wedding bouquet is ready.
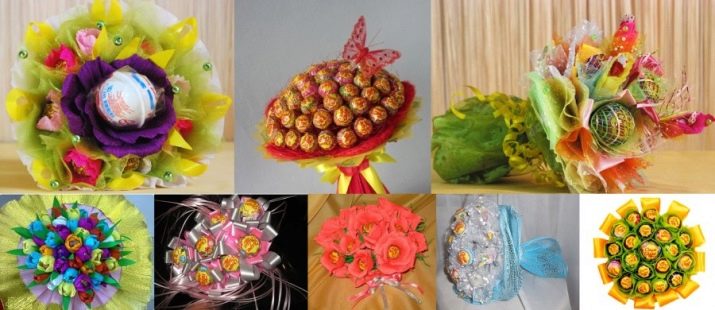
Original examples
The ideas for the original candy compositions are very different:
- miniature rotunda with figures of the bride and groom;
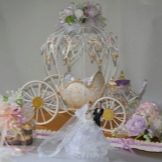
- wedding carriage;
- sailing vessel;
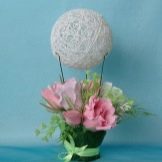
- Balloon;


- wedding rings in a flower basket;
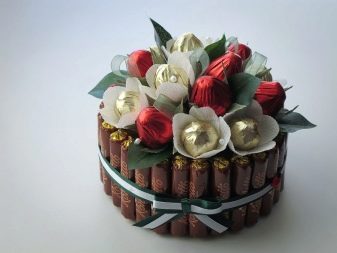
- multi-tiered cake;
- a pair of gentle swans;
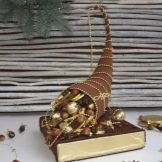
- cornucopia;


- wedding umbrella of the bride;
- a handbag;
- bracelet bouquet;
- candy glamor

- fantastic bird of happiness;
- compositions with champagne bottles decorated for the bride and groom;
- bouquets on the glasses;
- compositions with candlesticks.


Having learned how to make roses in this master class, you can eventually master any composition and please your friends with the delightful art of suite design.
See how to make a wedding bouquet of sweets with your own hands in the following video.


