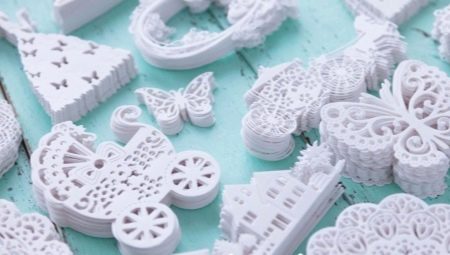
Not a single lover of scrapbooking technology can do without various kinds of punching. They complement the image of the product as a whole. In addition, with the help of such decorative elements you can easily and quickly arrange your creations.
What it is?
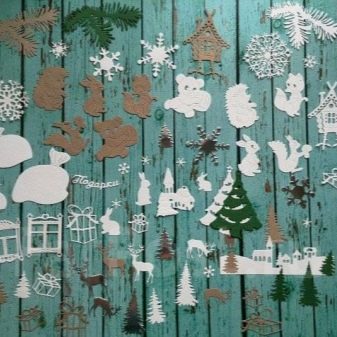
Felling or die-cutting are figures cut out according to a certain pattern from thick paper, cardboard, thin plywood and felt.
They are used to decorate albums for photographs, postcards, cookbooks, business card holders, photo frames and crafts, not related to scrapbooking.
To date, the number of different forms is very large. Among them you can find:
- butterflies;
- bows;
- mini frames;
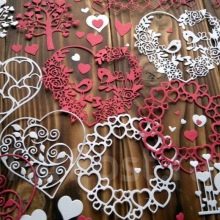
- hearts
- curlicues;
- arrows;
- crowns;
- keys;
- tags
- flowers
- snowflakes;
- letters and more.
All this can be bought ready-made both as a set and individually. Sold in a special store for needlework.
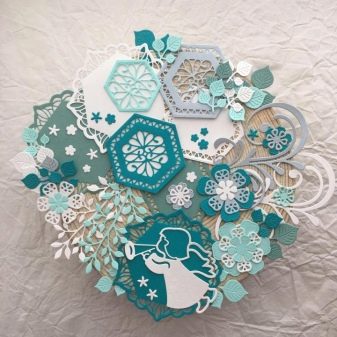
Die cuts are often almost the main decoration of the product: they give airiness and volume, using both an independent element in the composition and the border, that is, located on the edge.
There are various types: coated and without, openwork and ordinary. Cuttings with a coating already have a color or a certain image, and without a coating - these are ordinary colorless figures that can be painted or decorated independently to your liking.
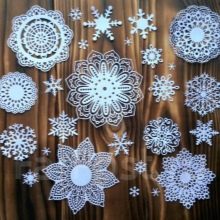

Tools and materials
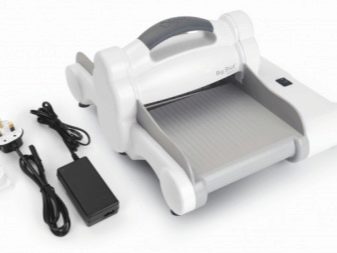
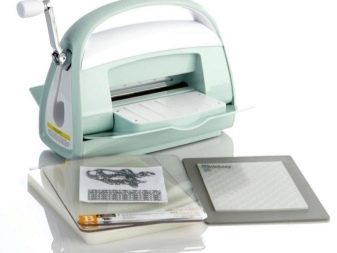
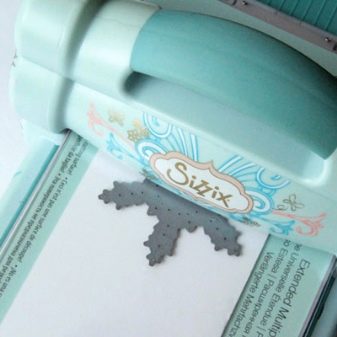
To get these beautiful, interesting elements for the decor, a special cutting machine is used.
If scrapbooking comes from case to case, then it’s easier and cheaper to buy die cutting in a store, as buying a car is not an expensive pleasure.
But if this type of creativity is an income-generating activity, then it is better to purchase this unit.The assortment is large enough, choose to your taste. When choosing a machine, it is necessary to take into account such indicators as:
- equipment;
- the size;
- Can knives from other manufacturers be used;
- price;
- what density materials can be used for cutting;
- quality of cutting knives;
- the convenience of use.
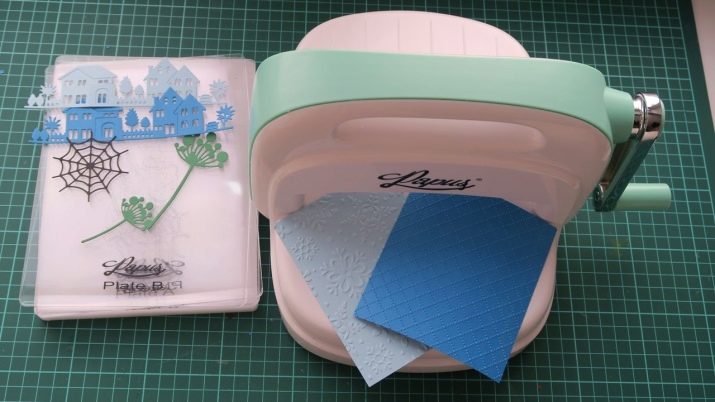
With the help of such an apparatus, it is possible not only to obtain figures of interesting shapes, but also to emboss. It is a crushed print on paper, not cut through. For this purpose, absolutely any knives can be used.
There are two types of cutting machines: automatic, where a high-quality product or embossing is obtained at the touch of a button, and mechanical, where you need to scroll the handle yourself.
Of course, the price of an automatic model will be an order of magnitude higher. Is it worth it to overpay - it's up to you, since scrolling the knob will not be difficult. The cutting process is very simple. The material from which the pattern will be carved is placed on a special plate, the knife is placed on top with the cutting part down, and again the plate. By twisting the handle, the movement of the platform starts and the “sandwich” located on it passes between the two rollers under pressure, thereby cutting through the figure on paper or other material.
There are cars that cut through even thin plates of metal. If you are felling thin tissue, then fold it several times. And on top of the plate you can put another layer of paper. This is the case if the pressure of the rollers is not enough for effective cutting. In general, any fabric material will be cut much better if it is ironed before use.
In addition, thorough cleaning of the knife from residual material will be a good guarantee that the next time you use the slots will be of high quality, and the product can be easily removed from the base.
The plates themselves can also sometimes be turned over to align them. To extract material residues from the stencil and knife, a breadboard knife, a simple awl or a large needle is used. Take your time to throw away the seized particles of die cutting: they can be used as confetti or individual elements of jewelry.
Embossing is done with any of the knives, but a special gasket is used that does not allow the knife to cut through the material. To do this, put the gasket, then a sheet of paper, then a mat, knife, plate and roll through the machine. The result is a wonderful pattern on paper, which is used in the decor of various objects.
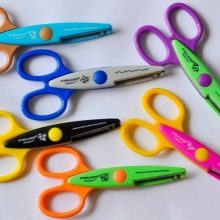
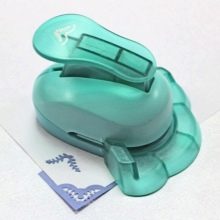
In addition to cars, curly scissors and hole punching tools are used. Both come in different forms. Using scissors, you can quickly and easily make a beautiful edge on paper. Curb hole punch also copes with this task, only the edge is openwork.
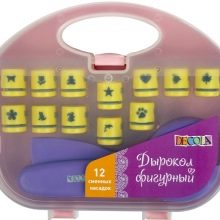
There is a figured hole punch that punches holes in the form of a certain figure.
Pay attention to paper weight recommendations. Using too thin material can damage the hole punch itself. There is also a composter of corners; it makes the edges of the paper beautiful. If there are no such tools at hand, but cutting is really needed, then you can do without them.
How to make?
To make cutting down from paper, fabric, and even wood with your own hands, you need to print it on a printer or draw a stencil. Cut and attach to the base from which you want to get the final result. Next, cut a figure with nail scissors. The process is rather tedious and long. But butterflies, flowers and other details for decoration to cut in this way will not be difficult if it is not openwork cutting.
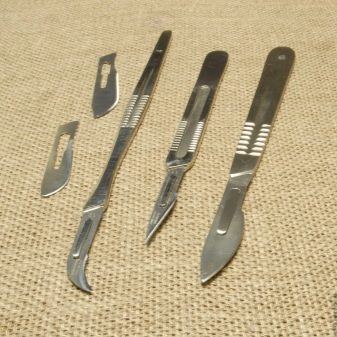
For openwork, it is much more convenient to use a breadboard knife. There are several blade options:
- pointy;
- with rounding;
- pen;
- stationery;
- disk.

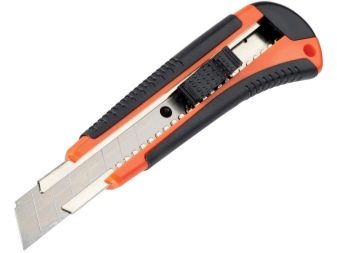
Disc subdivided into blades:
- with a curly line;
- dashed line;
- a straight line.
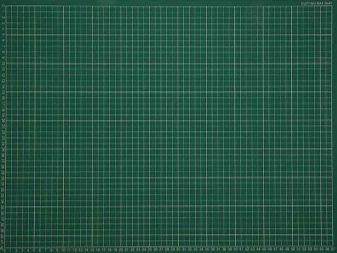
They should be worked on special rubberized mats.They are created specifically for this type of activity; they prevent the sliding of both the knife and the workpiece.

You can make a die-cutting with the help of knives for a typewriter, without using the apparatus itself. On a design paper we put a knife, cutting part down. We fix it with masking tape, after removing excess tack so that when removing it does not tear off the top layer of paper. Next, flip the paper up and with something metallic, for example, with the back of the tweezers, drive with force to the places where the knife is.
Quite a difficult task, but nothing is impossible if you really want to.
DIY embossing is easier to do. Consider a master class.
Necessary materials:
- spray gun with water;
- ordinary rolling pin;
- embossing plate or folder;
- paper;
- ink pad optional.
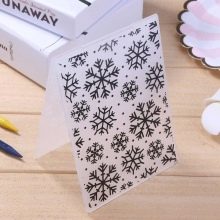
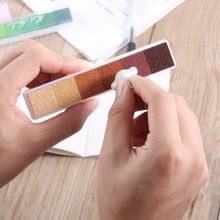
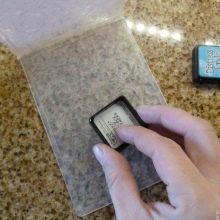
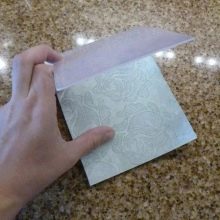
The first step is to sprinkle the paper with water. If you want to get embossed with a touch, then an ink pad of your favorite color, go through the convex parts on the plate. Next, put a sheet of paper in the folder with your chosen side to the painting surface, cover with a lid on top and roll the rolling pin with strong pressure. This is a good alternative, in addition, very budget.

Flowers for scrapbooking can not only be cut out in the form of a flat picture, but also made voluminous from improvised materials. Consider several ways.
To make cotton roses, you need to cut strips of thick cardboard one centimeter wide, and strips of fabric - two times wider. Fold the fabric lengthwise in half and iron it with an iron. Next, screw onto the cardboard with a spiral and iron again. Remove the paper and wind the strips of fabric on a pencil or a thick skewer, forming a rose, stab with a pin. Then cut out circles of slightly larger diameter than the bud from thick paper - here you can use a curly hole punch. Coat the paper with glue, put a flower on top and stick it straightening the petals.
You can insert brads, a button, a bead in the middle - at your discretion.
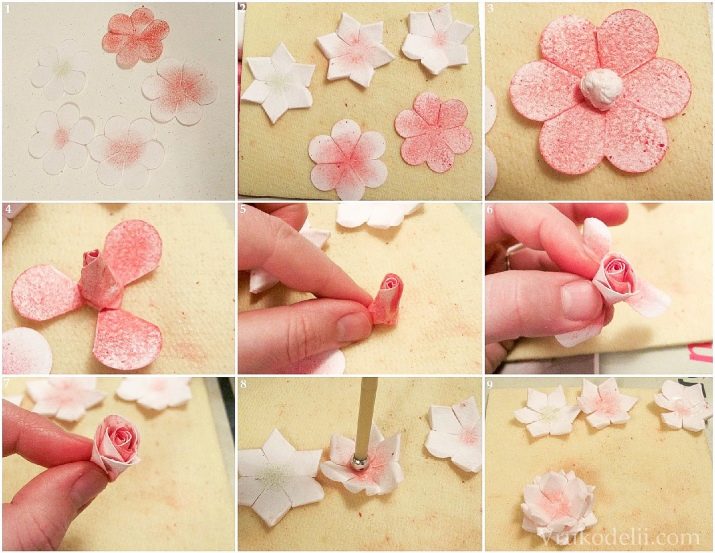
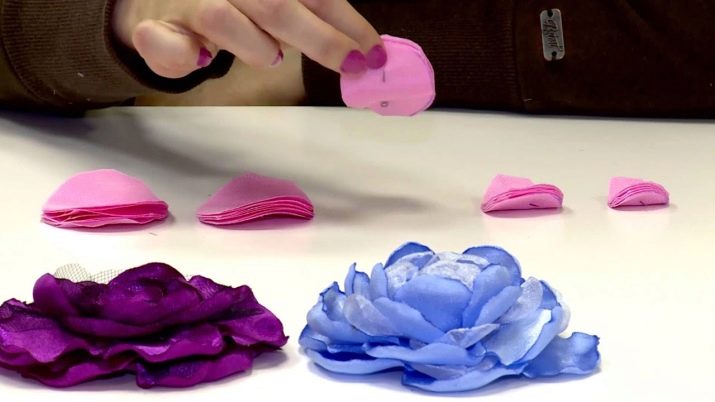
Alternatively, you can make airy flowers from chiffon. To do this, cut circles of a certain size, depending on what size a flower is needed. Five circles is enough for one flower. In order to give the petals a more interesting look, carefully burn them with a lighter or a candle.
Fold each petal in half, drip a little glue in the middle and fold it perpendicular to the first fold.
Next, cut out the basis of the flower in the form of a circle from felt or felt. Apply glue and attach petals. Do not press them with your fingers to the base: through a thin cloth, glue easily soaks the petals completely, as a result of which they will flatten and will not be airy. In the form of a core, rhinestones, beads, beads, glass beads and so on can be used.
A detailed review of the mechanical cutting machine is described below.
