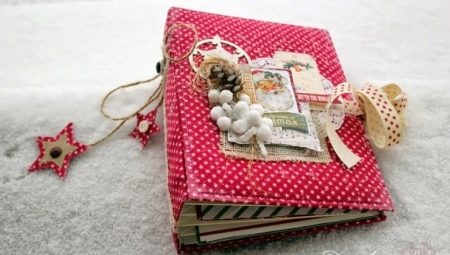
So many magnificent and warm events happen to us in the winter! We spend more time with family, celebrate New Year, Christmas, give gifts to each other. All these events would be great to keep in the New Year's album in memory of winter adventures. Today we will learn how to make New Year's album using scrapbooking technique.
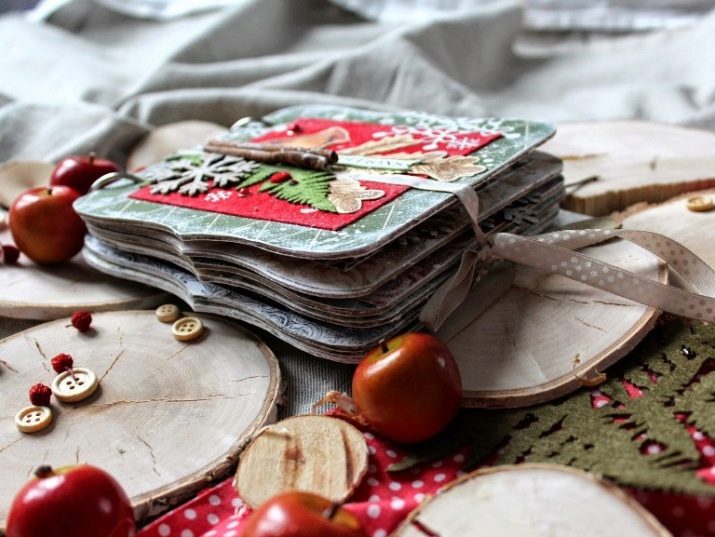
Workshop on making a New Year's album
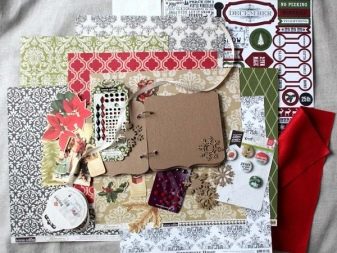
In order to preserve all our memorabilia and photos, we need:
- landscape blank (best on rings to easily flip pages);
- New Year theme scrap paper
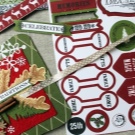
- decorative ornaments;
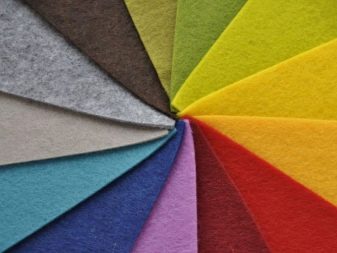
- felt;
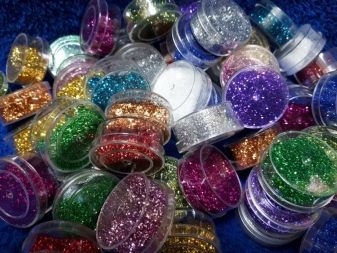
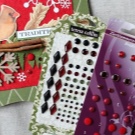
- sparkles;
- cotton wool;
- some white beads;
- gouache (white);
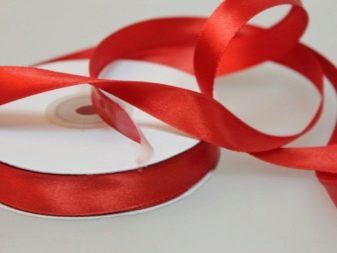
- satin ribbon or a beautiful rope for dressing the album.
Step-by-step instruction
- Make sure that everything you need from the list is compatibleso that there are no strange contrasts: for example, it is advisable to pick up decoration elements in traditional New Year colors - green, red, black. The same colors you can choose glitter and felt.
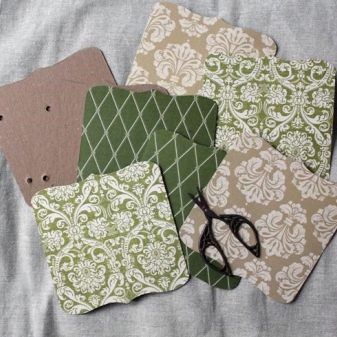
- Prepare the landscape blank. From scrapbooking paper you need to cut out a template according to the shape of our album and stick it on the blank. Try to ensure that the edges match exactly and there are no spaces anywhere.
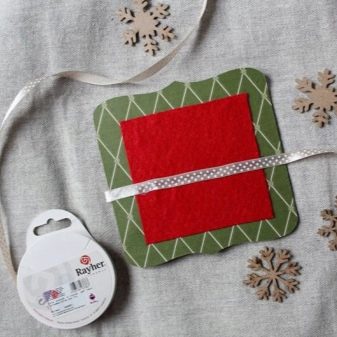
- In order to make the album look warmer and more comfortable, we will use felt. Cut out a figure for your decoration with felt on the front side - for beginners it can be just a square or a rectangle in size of the entire cover.
- You can complicate the task: make a mini-fireplace from several pieces of felt of different colors and stick it to our album. For gluing, you can use either traditional PVA glue or Moment glue for maximum strength, or you can glue the part with double-sided tape - it is invisible and very practical.
Decoration
Now we will take up decorative ornaments.
- We recommend a little practice. in creating the full composition, first on a separate sheet, and then one at a time, transfer each detail to an album and stick it on. Try to keep in your head some kind of New Year's image or just a mood, so as not to leave the topic in decorating the album.
- After all the parts are glued, decorate everything with white beads - he will give the impression of snow falling.
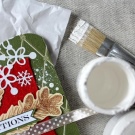
- Sprinkle the product with sequins - to complete the festive decor. As a variation, if no white beads were found, gouache white paint can be used. Dip the brush in gouache and sharply draw through the villi, directing the brush towards the album - the spray will look very much like snow. The difference between beads and gouache is not very big: beads give a 3D effect, but gouache also looks very elegant.
- Among all the colors, gouache or acrylic are the most suitable., because the watercolor will not only look dull, but can also ruin scrap paper.
- Prepare a satin ribbon or ribbon to dress up the craft. Glue it on the front and back of the photo album.
- If there is a desire decorate the ribbon itself with glitter. Let it dry.
- Keeping the same New Year's style, you need to do design of the rest of the landscape pages, but do not do it as intensely as not to overshadow the cover.
- Designate places for photos: You can use ready-made scrap elements and cuttings or outline your backing from high-strength wrapping paper. Decorate your photo frames with a thin layer of cotton wool or brush a semi-dry brush in white paint to create a hoarfrost effect. Coat cotton with drops of colorless glue and sprinkle on top with sequins. Gently brush off the excess by turning the album over.
- On each page draw snowflakes and decorate them with beads and beads.
- Sparkle everything, bind the album with a bow and enjoy the result.
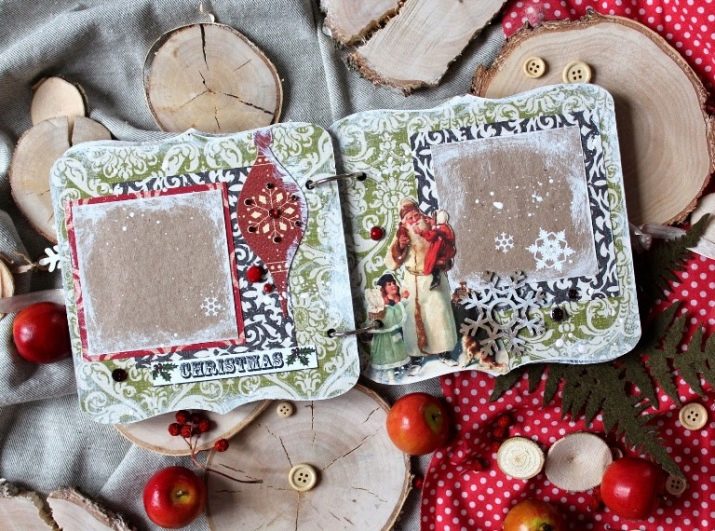
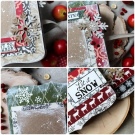
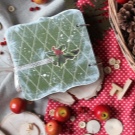
Our New Year album is ready! Now it remains only to arrange a photo shoot for the whole family and paste the resulting photos there.
Watch the master class on creating an album in the next video.
