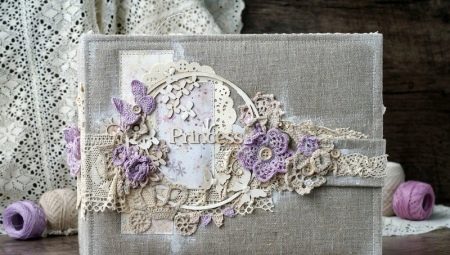
Creative personalities with a romantic cast of character have long been accustomed to creating unusual crafts from the most ordinary things. If earlier this work was a simple hobby, now the creation of decorative masterpieces allows you to get a good profit.
What is scrapbooking?
The art of scrapbooking is mainly carried out by the fair sex, because not every man has the patience and skill to create an unusual applique from improvised materials, let alone minimalistic works.
Scrapbooking, as a term, translated from English means "create a book." This type of artistic direction involves the creation of special decorations for photo albums, notebooks, memorable sections. Each individual craft is unique in its execution. It is not possible to make an identical work; even picking up similar decorative elements will not work.
Even at the time of Pushkin, ladies kept memorabilia for themselves in albums, decorated with their own hands. Their pages contained dried flowers from fans, the first drawings of children, a lock of a loved one. Moreover, each individual page was supplemented by verses of his own composition, the texts of which were displayed in clear calligraphic handwriting using ink and a pen.
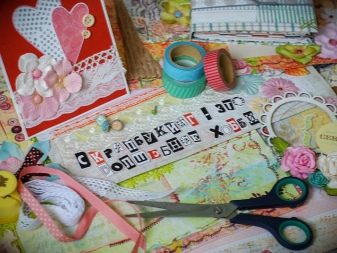
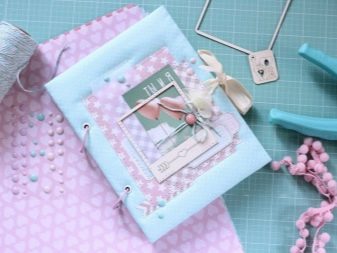
At that time there was not a wide variety of materials, but now there are a huge number of specialized boutiques and shops in which you can purchase any accessories.As for the basic decorative equipment, it can be found in any house among the old things intended to link to the cottage.
The meaning of the scrapbooking technique is to convey the impressions of a short period of time with the help of various decorative elements contained in the whole book. Such albums are often presented to young parents, newlyweds and anniversaries. On the colorful pages are photographs, small things, memorabilia, allowing you to remember the bright moments of the past days.
Initially, the scrapbooking technique was used to decorate photo albums. Now experienced craftsmen are able to add variety to notebooks, prepare unique postcards, as well as decorate various items. It is important to note that in modern scrapbooking, masters begin to apply an interactive approach, where the finished artwork is obtained not only voluminous, but also as mobile as possible. Today, scrapbooking is used even when decorating interiors.
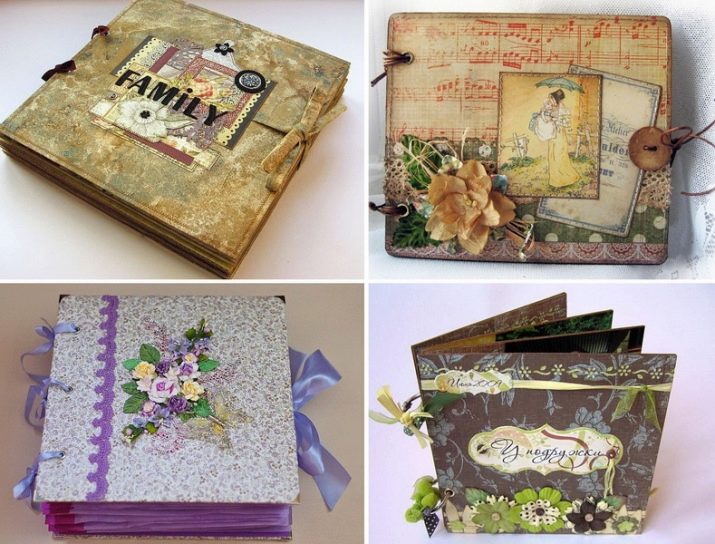
Scrapbooking is a rather interesting activity, which makes you immerse yourself in work as much as possible, and do not notice how quickly time passes. The finished result, especially for beginner scrapers, always causes a feeling of delight, tenderness and pride.
Necessary materials and tools
Despite the apparent complexity of execution, scrapbooking technique requires a minimum set of tools and materials.
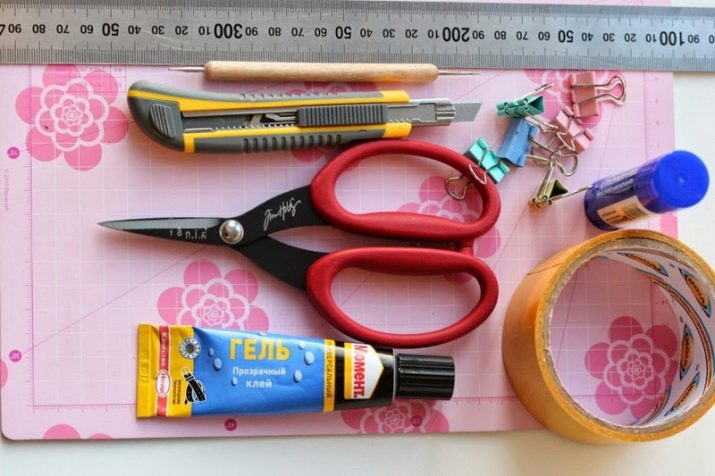
- Paper. In principle, this is the main element of making crafts. Special thick sheets with a pattern and cardboard are sold individually or in whole sets. This material is taken as the basis of the photo album and other types of products.
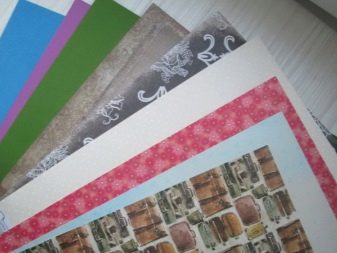
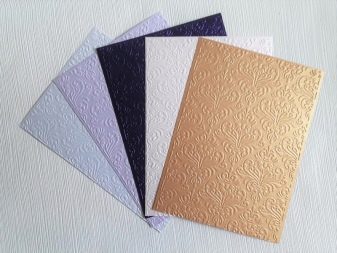
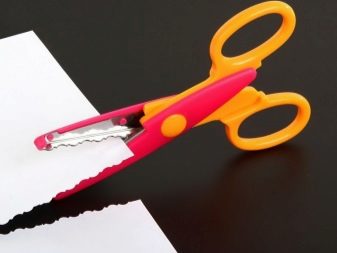
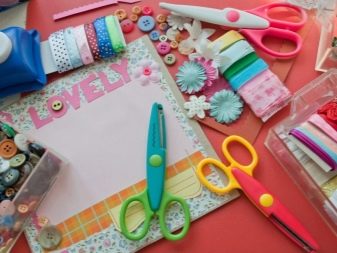
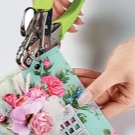
- Scissors. Work in the scrapbooking technique involves the constant cutting of various decor elements from cardboard, paper, fabric and other similar materials. They can be of different sizes, always sharp, to perfectly trim jewelry and patterns.
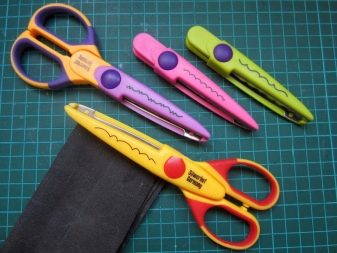
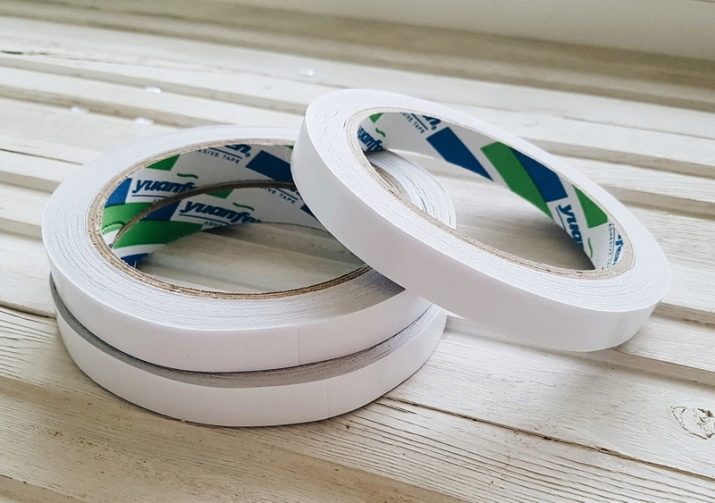
- Double sided tape. Quite convenient and very useful material when working in the scrapbooking technique. It is used to create voluminous scenery. A distinctive feature of double-sided tape is its high strength, when compared with adhesive compositions.
In addition, it leaves no residue, and if necessary, comes off and transferred to another place along with the decoration.
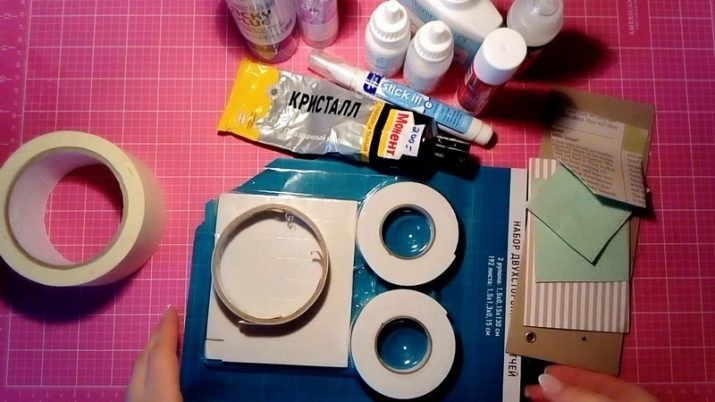
- Glue. It is almost impossible to do without this material. With it, small elements are added.
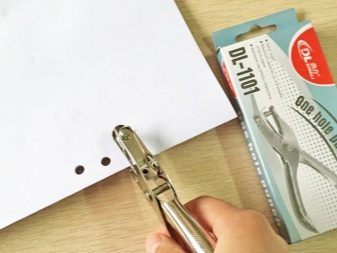
- Hole puncher. According to its characteristics, it is a multifunctional tool, especially when it is necessary to create a special decor. Quite often, with its help, holes are made that contribute to the connection of pages. And when using carved hole punchers it turns out to create a special pattern.
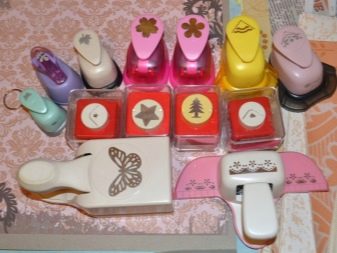
- Stamps. This tool makes it possible to create different labels with an unusual pattern.
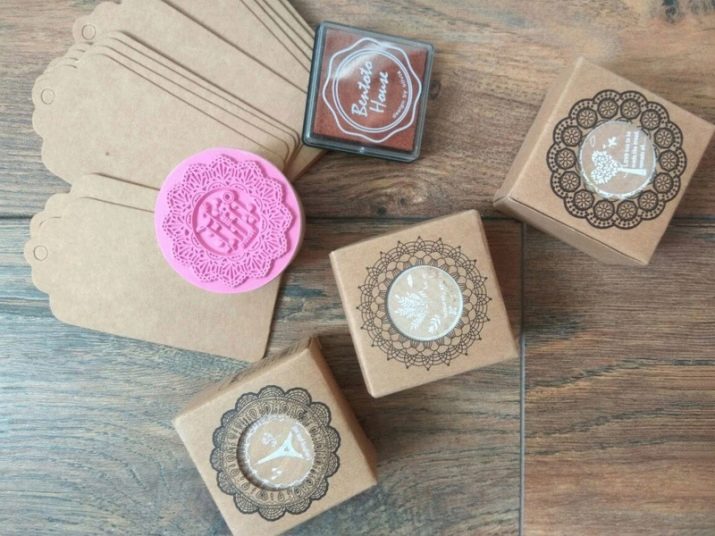
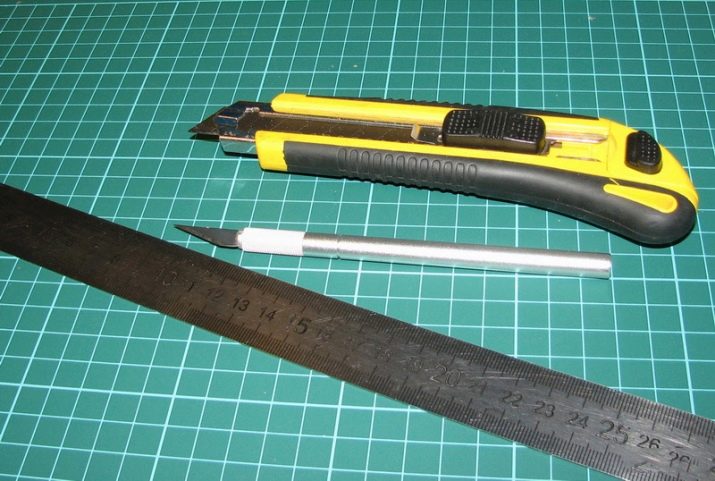
- Office knife or cutter. Items are used depending on the experience of the wizard. It is important that the blade of the cutting object is sharp, as the scrapbooking technique quite often involves cutting thick cardboard into several parts or creating a carved frame for photographs.
- Decorative elements. In this case, it means any things and objects that are out of use, but have not reached the link to the landfill. It can be buttons, beads, flowers from blouses, various patterns, napkins and much more. If you can’t find the necessary elements, you will have to go to a specialized boutique, which offers individual sets with many decorative elements.
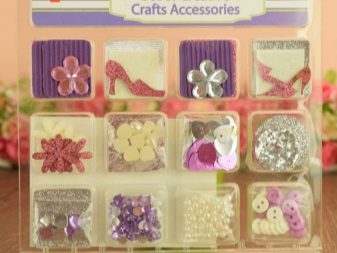
Anyone, if desired, can try his hand at creating a commemorative book or album. Moreover, all the above tools can be found in any home. Gradually getting involved in the work and creating the fifth crafts in a row, the set of materials and tools of the master is significantly increasing.
Choose a design style
To prepare the necessary tools and materials is one thing. But before you start creating a masterpiece, it is important to decide on the style of design.
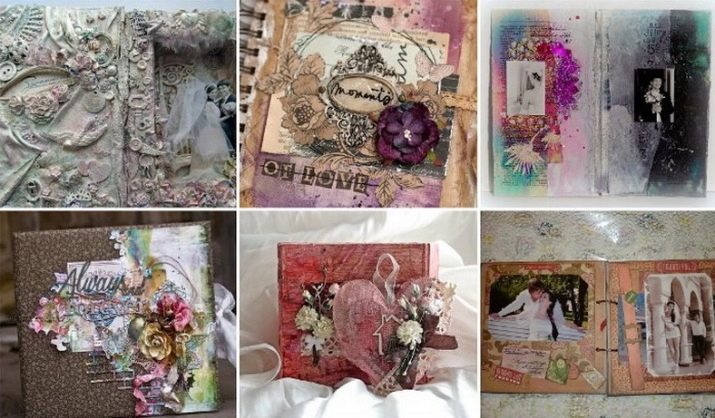
Vintage
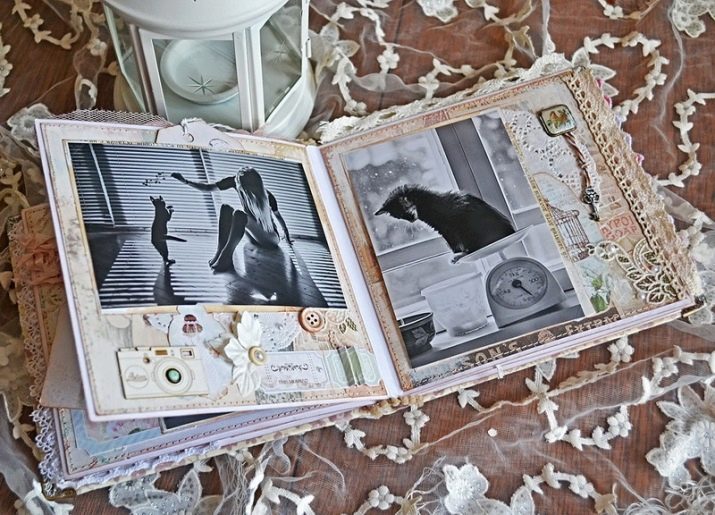
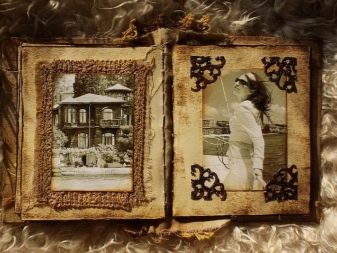
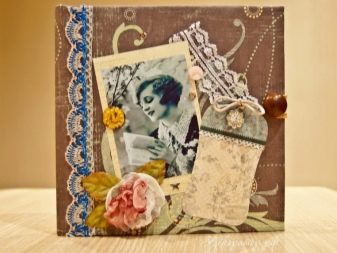
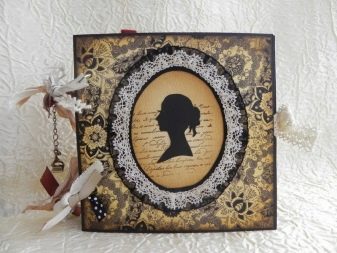
This style involves creating album designs. with a mention of the past. The predominant color scheme is quite muted. Mostly pastel shades are used. On many elements of decor, scuffs resembling antiquity are visible. Old black and white photographs are used as images; clippings from newspapers of the last century will be ideal for the design of a vintage album.
In addition to effects and a color palette, you should consider elements of decor that are suitable for the style. For example, lace, various types of stamps resembling an old pattern, beads of different sizes. Each individual page is saturated with sophistication and high cost. The finished vintage album is ideal as a gift for any occasion.
Shabby chic
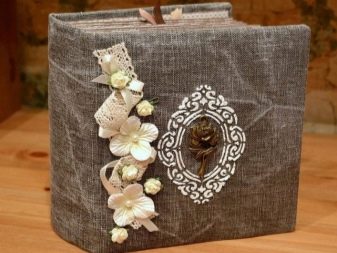
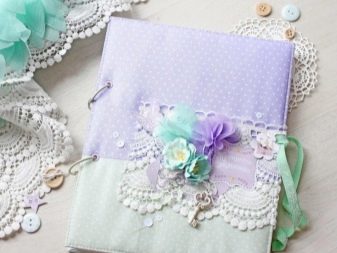
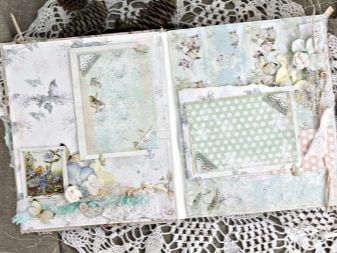
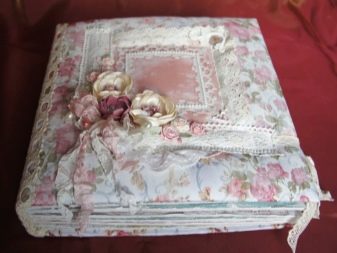
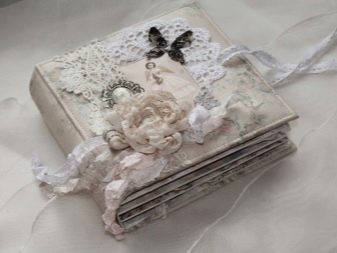
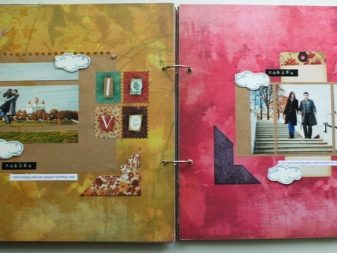
This style involves the use of various decor elements with the image of peas or stripes. He is characteristic plain background of the base with layering in the form of lace of different sizes, patterns, beads, pictures. The color scheme is assumed the use of romantic and light shades.
American style
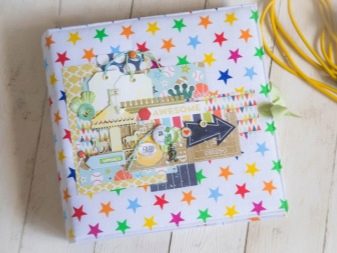
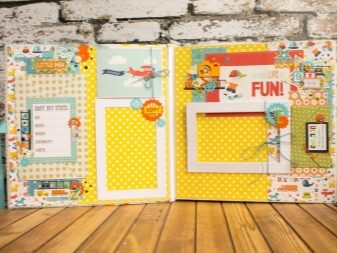
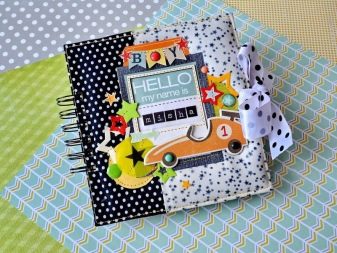
In the modern world, it is a classic design for scrapbooking. Each page of created albums is compiled in the form of a collage. According to the rules, in the American style must be present photographs corresponding to the theme of the album. It can be paper clippings with the image of buildings, watches, and any elements related to the topic of crafts, as well as inscriptions.
Each individual sheet of the whole album has its own specific flavor and reflects the mood of the described day. A rather interesting and modern addition will be the placement of tickets in the album, thanks to which the recipient of the gift could go on an exciting journey and experience a lot of pleasure.
European style
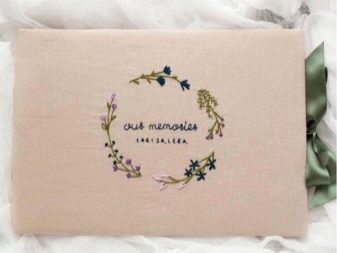
Compared to American style, it is considered more restrained and minimalistic. Most often used when creating mini albums. When composing a composition, each page is decorated with a minimal amount of decor.
The European style pays special attention to drawings created with a pencil or pen. Ready-made graphic pictures are pasted into the album, representing the visual volume. It is supposed to decorate some parts of the pages with a figured hole punch or cut a pattern along the outline of the sheets.
Quite often, the European style is used to create a New Year's gift, where the voluminous elements of winter nature are ideally combined with holiday decorations.
Steampunk
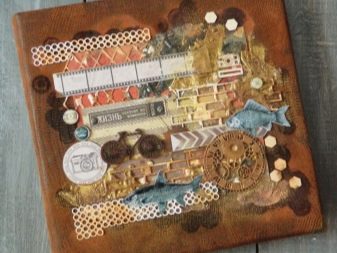
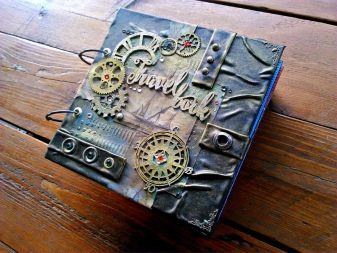
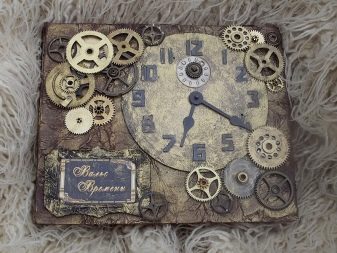
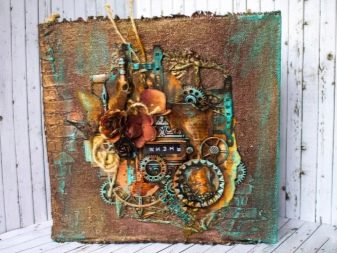
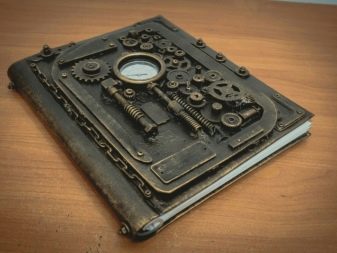
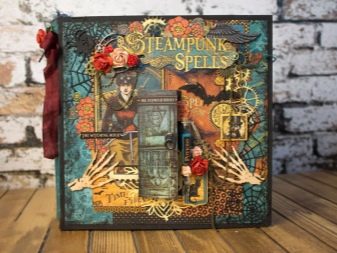
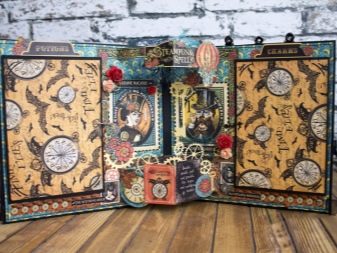
According to its characteristics, it is considered to be more masculine, since it does not allow the use of flowers, beads, ribbons, lace in creating compositions. Steampunk prefers brutal design, which uses decorative elements in the form of gears, miniature mechanisms from old objects, drawings. The main part of the decor is laid out on the cover, the inner sheets are decorated to the very minimum. By color gamut prevail gray and brown tones.
Pop-up
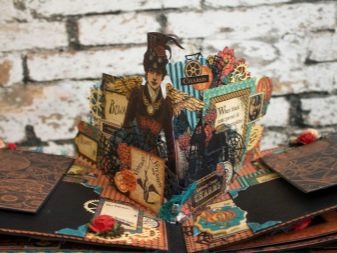
The last couple of years has been in first place among the creators of crafts using scrapbooking. His main idea is to create a voluminous composition of each page of the album. In general, each person encountered a similar design in his childhood. For example, it is proposed to recall books where images of animals or objects came to the fore.
The pop-up style has no restrictions in the color scheme, any shades are inherent in it.
How to make a family album?
In the modern world, people quite often face the search and selection of a unique gift. Walking around the shops and boutiques, it becomes clear that all the items and things laid out on the windows are no different from each other.That is why the idea comes to mind to create something unusual with your own hands, so that it is remembered for a long time and represents a special memory. It should be not just a postcard, but a real photo album with many illustrations and spreads, which will reflect the most memorable and vivid moments in the life of the gift recipient.
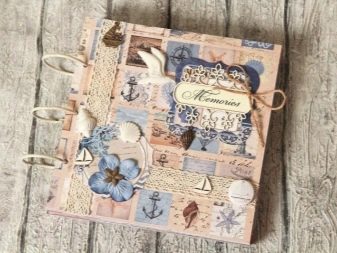
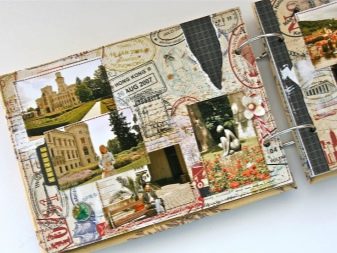
The first step to creating a special composition from scratch is the selection of tools and their distribution in the workplace. It is worth noting that the art corner should not be clogged with unnecessary objects. All necessary elements should be located at hand. Then you can start creating the album itself.
- To begin with, it is important to determine the theme of the album. It can be a gift for young parents or a special souvenir for the groom and bride.
- Having dealt with the subject, you need to understand the style of the future album, due to which the color scheme and decor elements are selected.
- It is very important to decide in advance whether ready-made photos will be used in the album or if you need to leave empty spaces for their insertion. Although decorating an album with ready-made photographs is much easier, as the process of selecting jewelry becomes easier.
- Next, you need to determine the total number of images used. The number of sheets and the binding itself depend on this.
- The size of the photos completely determines the dimensions of the album. So, the standard 10x15 photo sizes are ideal for creating mini albums and clamshells. For a book in A4 or larger format, you can prepare large-sized images or arrange several photos on one sheet.
- The choice of binding is an extremely important task. Assembling the album is much easier on rings, but this will require special tools, namely a hole punch and the rings themselves. If you do not want to create the basis of the album with your own hands, you can contact any scrapbooking store that sells sets of different sizes. Rings are easily replaced with a satin ribbon or you should decide to create a book binding yourself. By the way, when choosing book bindings, it is better to use beer cardboard, which is the basis for the pages.
- The last stage of visual preparation requires determining the type of cover: whether it will be fabric or paper, whether the cover should be tied with a ribbon or closed with a fastener.
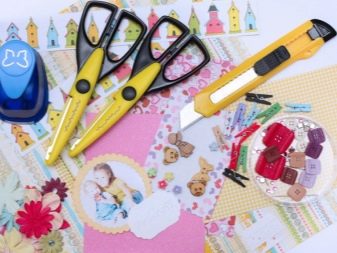
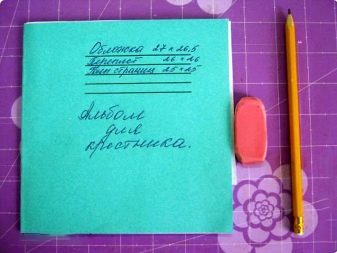
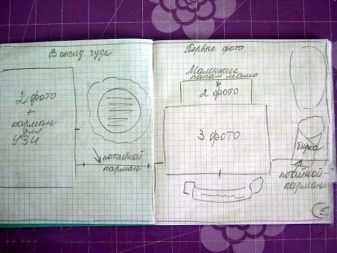
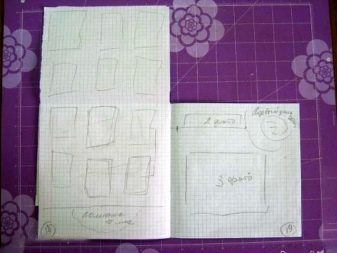
After the master has decided on the main criteria for creating a unique album, you can begin to study the master class.
- First you need to make a blank to fix the cover. A pre-planned book binding involves the design of the exterior of the album only upon completion of work with the internal pages. Thanks to this, it will be possible to calculate the exact size of the binding.
- Add a volumetric decoration to the cover at the end of the creation of the craft, when the inside is already dry and does not require adjustment. If the master decided to create an album on rings or with tape fixation, restrictions regarding the time of creating the cover are removed. Nevertheless, experienced craftsmen advise designing the exterior of the album only after the pages are ready. They already give out the mood of the whole book, so you can perfectly match the color and decor for the cover.
- Thanks to the pre-selected style and knowledge of the subject, you can safely select paper for pages. Next - decorations and stamps.
- After that, it is necessary to start laying out photographs and other images on the sheets.
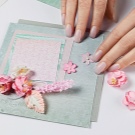
- Next, all the elements are laid out, so far without glue, so that you can move the details of the compositions or change the photo. Based on the outline of the pages, you can begin to glue the compositions of each individual sheet. First of all, flat images and decorations are placed.
- After gluing them to the page you need to put a tangible press. A stack of thick books will do.It is important to note: when fixing elements that play the role of pockets, free space should remain inside the decoration. Three of its sides are fixed as much as possible with glue, and the fourth part remains free.
- The final stage of work - all the elements of the album are collected in a pre-conceived order and fixed.
With binding
After studying the master class on creating an album using scrapbooking, you can begin to step-by-step execution of memorable books with photographs collected in binding. First you need to prepare some materials:
- thick paper;
- sharp scissors;
- adhesive composition;
- gauze fabric;
- inlay;
- finished cover and pages.
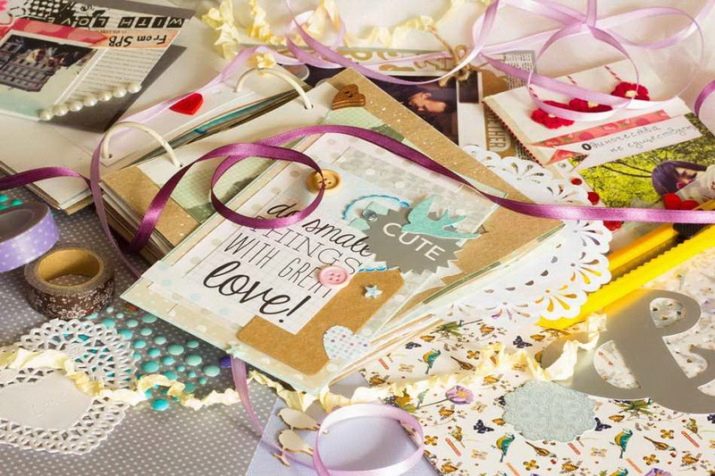
Having prepared the necessary material, you should proceed to the creation of a masterpiece. It is important not to deviate from the instructions presented, otherwise the album will not receive a unique image, evenness and density.
- Prepared paper is cut according to the intended page size, for example, 20x20. This will be the basis for the finished sheets. In some cases, it is suggested to use cardboard, but not necessarily.
- To connect prepared paper substrates, it is necessary to cut strips from the same paper 20 cm high and 3.5 cm wide in the amount of 11 pieces.
- On the upper and lower parts of the prepared strips, it is necessary to draw the middle, so that there is an indent of 1.5 cm on the sides and the central part is 5 mm.
- On the exposed pencil marks it is necessary to draw fold lines. To do this, use a sharp needle or knitting needle. Using a ruler and a sharp object, draw a cut line in pencil sketches. In this way, it is necessary to process all the bands. Thanks to this action, the paper will fold easily.
- The edges of the prepared strips from the upper and lower sides must be cut at an angle of 45 degrees.
- Finished strips are bent according to the outlined contour.
- The next step involves bonding the elements. One side part from the inside of the prepared strip must be smeared with glue and the first page should be glued to it. The same strip adheres to the second sheet.
- A second contoured strip is glued over the second sheet, and a third sheet is glued to it. The whole album is assembled in a similar way. After gluing the workpiece, it is important to dry, after which it is necessary to check that all sheets are tightly fixed.
- To complete the beauty of the binding it is necessary to cut off a piece of gauze, so that the fabric has a margin of 1.5 cm on all sides. The prepared binding is smeared with Moment glue with an indent of 1 cm from the upper and lower parts, after which it is applied to the fabric.
- While the glue is drying, it is necessary to cut off two small pieces of a slanting inlay, preferably in harmony with the color scheme of the album.
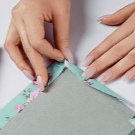
- The upper and lower parts of the fabric binding that extend beyond the album are glued to the inside. That is why they left a margin of 1.5 cm. To create a beautiful contour, an inlay is glued on top of the fabric material. In a similar scenario, it is necessary to process the lower side of the binding.
- Next, you need to prepare a spine of paper. Its width should be greater than the binding by 3 cm and the length by 0.5 cm. On the prepared spine, marks are made in the lower and upper parts with an indent of 1.5 cm and a slot for easy bending. At the same time, the entire middle part is lined by 0.5 cm, after the line they are pressed to get a smooth fold. Finished spine can be decorated.
- Acquired colorful sheets pre-glued over white substrates.
- A self-made spine is applied to the binding, but does not stick, the cover is laid out on top. If there are no comments on the part of beauty and aesthetics, you can proceed to bonding the composition.
- The remainder of the gauze is smeared with glue and applied to the album. It is also necessary to do with the spine by gluing it to the gauze.
- On top of the inside of the cover where the fixed fabric is visible, you need to glue one of the selected sheets of decorative cardboard. The back cover is processed in a similar way.
- Having prepared the basis, you can proceed to the decorative design.
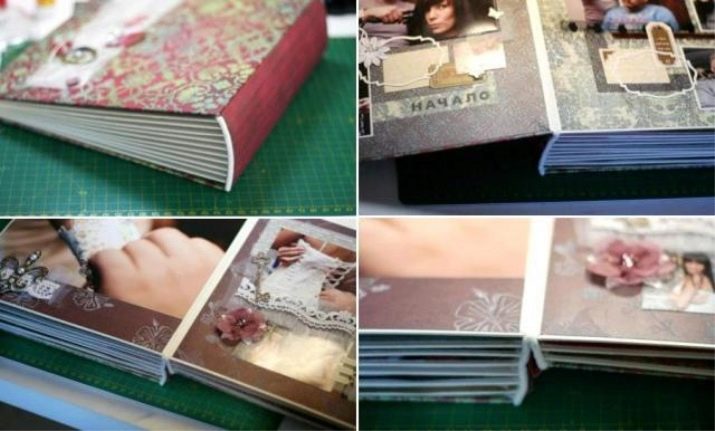
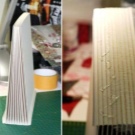
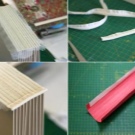
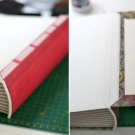
The handmade album is ready, while novice craftsmen have revealed for themselves the secrets of creating cover and fixing the cover correctly.
Wedding
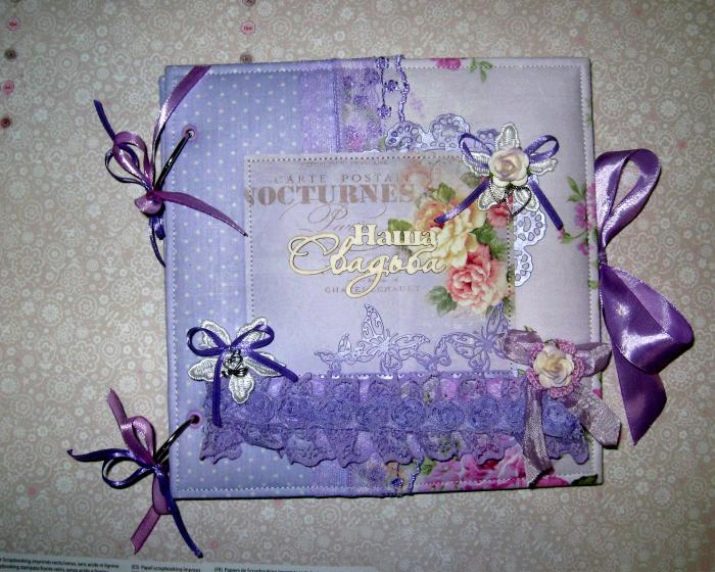
A wedding is considered one of the most significant dates in the life of any person. Among the huge variety of gifts, wedding albums created using the scrapbooking technique are in great demand. In order to present the newlyweds with this masterpiece, it is proposed to familiarize yourself with step-by-step instructions for compiling the crafts. First you need to prepare the tools:
- ruler;
- knife;
- cutting mat;
- glue;
- Scotch;
- cardboard or paper purchased in a scrapbooking boutique;
- colored pens;
- hole puncher.
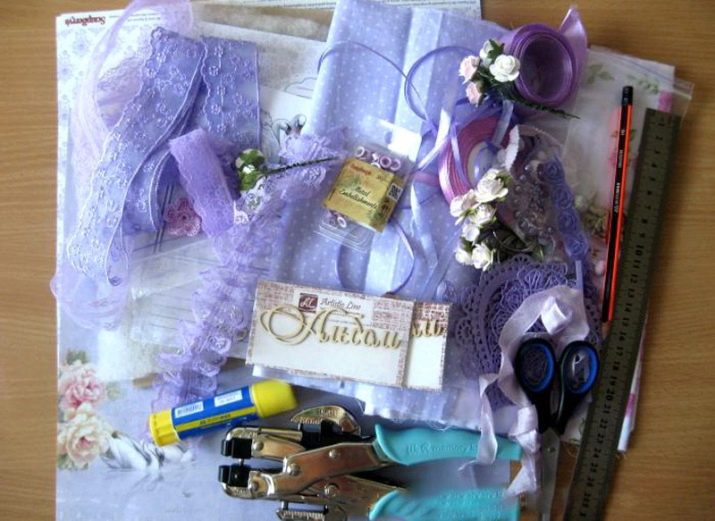
Having prepared the workplace, you can begin to create a masterpiece.
- First of all, you need to decide on the size of the future album. Most often, square options are used, size 20x20 or rectangular, A4 format.
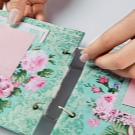
- In this case, the option of binding in the form of rings is considered. Using a hole punch, you need to make holes that allow you to connect the sheets and the cover together. It is necessary to work very carefully, correctly measure the dimensions of the sheet so that all the holes are the same in distance from each other.
- The most interesting thing is page layout. Each separate sheet should tell about the life path of the bride and groom before entering into a marriage. To present a consistent love story, you need to make a small sketch of the future album, arrange the pages for the pages in the intended sequence. On them lay out the allegedly used photos of lovers. As an additional decor, it is proposed to paste a special thick cardboard with recesses, reminiscent of photobooks of the last century.
- Having located the images, you can start decorating the album. First you need to stick flat decorations and pictures on all the sheets.
- Photos are located in the central areas of compositions, and volumetric decor is fixed on top.
- It is important to remember that the three-dimensional image is glued relative to the page on which it will lie. It is necessary to immediately make notes so that when folding the album, the voluminous decor does not come into contact with the oncoming image - otherwise, tubercles will appear that will ruin the integrity of the craft.
- Having glued and folded all the elements of the album, it is necessary to fix the received beauty with fixtures.
If suddenly the rings do not fit in size, it is suggested to use a tape.
Step-by-step mini-album creation
For the most part, a mini-album involves placing special photos of a small format, for example, family members or images of children. It will take a few tools to create it:
- one sheet of thick paper;
- glue "Moment";
- scissors;
- ruler;
- decorations.
Having arranged the workspace, you can begin to work.
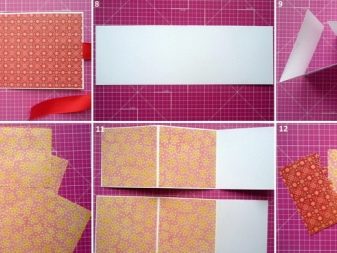
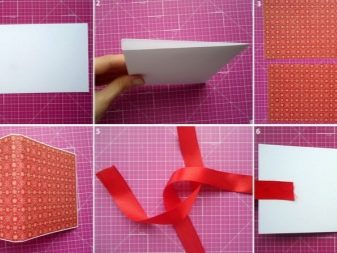
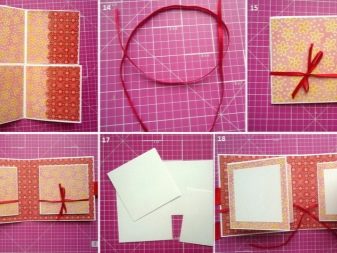
- Prepared paper is drawn into squares of approximately 8x8 cm.
- The cover is proposed to be made a little larger. For accurate use, it can be tied with a ribbon or fastened with a button. It is supposed to use a spring as a binding connector.
- On the prepared sheets, it is necessary to make holes for the spring. To do this, you will need to use a mini-hole punch, which allows you to create close-in holes of the same size.
- The sheets are laid out according to their location in the album book. A photograph is attached to each individual sheet. The decor is placed on top. Thanks to this sketch, it will be possible to change the location of the page elements or to change the concept as a whole.
- According to the decomposed composition, you can proceed to gluing images and decorations. Finished pages need to be postponed for a while until they are completely dry.
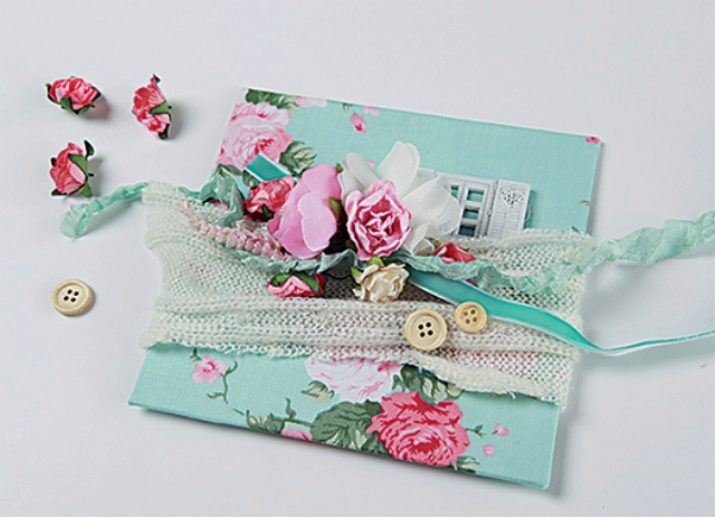
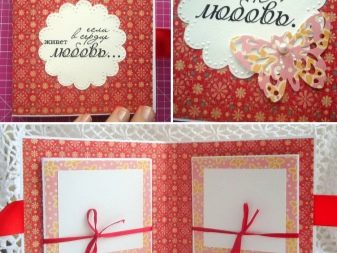
- Now you can work with the cover. When decorating it is proposed to use not only a paper surface, but also a fabric material. At the same time, a small piece of foam rubber will need to be placed in the inside of the cover, which makes the surface of the cover soft. Further, the prepared base is decorated with volumetric elements, fixed with double-sided tape. If necessary, a stamp is placed for the inscription.
- A satin ribbon or lace is placed on the inside of the cover, glued to glue. After drying, another decorative sheet is placed on top of the glued fastener, thereby masking the closing system. According to a similar scheme, it is necessary to work out the second part of the cover located on the back side. Set aside the finished version for a while to dry completely.
See how to make a wedding photo album using scrapbooking in the next video.
