Scrapbooking has long taken its place of honor as a form of applied art. Craftswomen did not like this technique in vain, because with it you can create a huge number of masterpieces.
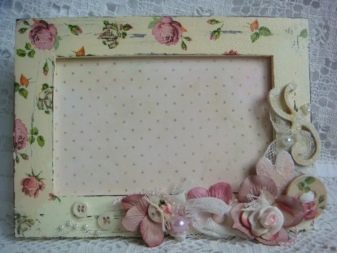
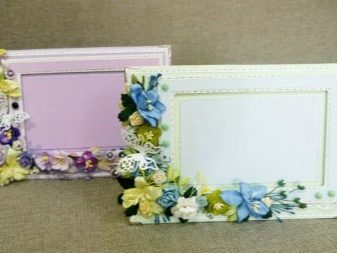
What is scrapbooking?
First, let's talk briefly about the technique itself. The literal translation is “a clipping book”. The first mention of this type of creativity dates back to 1958 in England, then the technique spreads further, and in the 17th century scrapbooking acquired a modern form. If earlier clippings from newspapers were collected and pasted into a book or notebook, then later the masters began to draw poems, quotes, prints and other in the form of collages from clippings of printed publications and memorable trifles. But the real possibilities for the development of scrapbooking opened up in the era of the first photos.
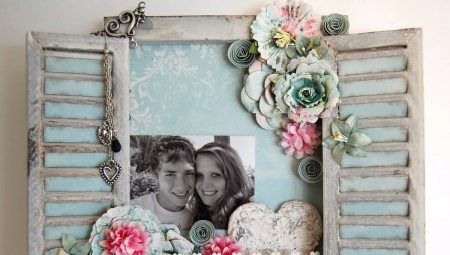
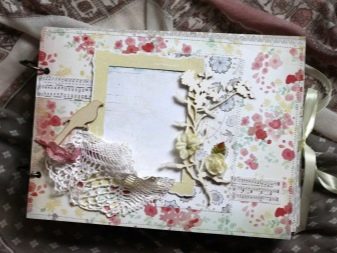
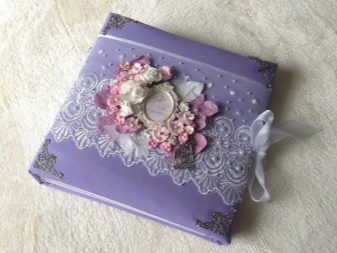
In the modern world, using this technique, not only photo albums and frames are produced, but also cards on any subject, calendars, recipes, wedding wishes books, notebooks, diaries, notebooks and document covers. This article will cover ideas on how to make a photo frame.
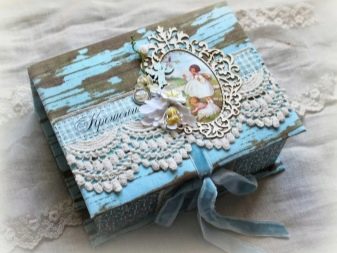
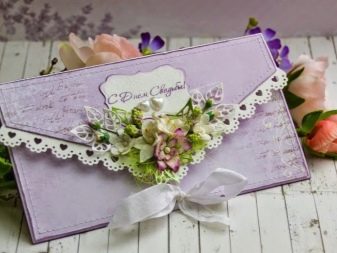
Workshop for beginners
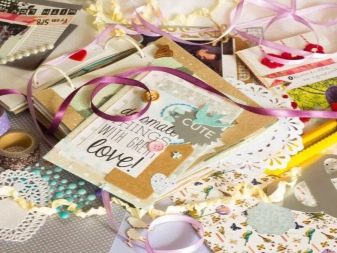
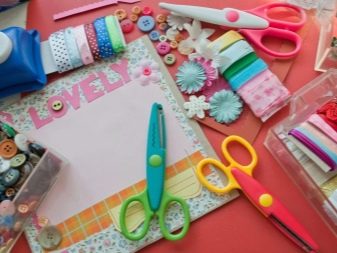
To make a simple photo frame in scrapbooking style, The following materials will be needed:
- beer cardboard;
- ruler;
- glue;
- the cloth:
- satin ribbon;
- cutting down;
- scrap paper;
- stationery knife or scissors.
Make a blank of cardboard with a size of 15x15 centimeters. Inside, cut a window measuring 9x9 centimeters. To round corners, you can use a coin by attaching it to a corner and drawing a round. Thus, each corner will be even and the same.Cut the next part in the size of 15x3.5 centimeters.
Pull back 2 centimeters from the top and make several cuts so that part of the cardboard bends. This will be a kind of leg for the frame.
Next, prepare the fabric, making it more by 1.5 centimeters on each side. Glue the cardboard to the fabric, and then, to cut the window, make cuts from each corner diagonally. Cut off excess material. Fix with glue on the back of the frame. Part number two also glue with a cloth. Take 12 centimeters of satin ribbon and at one end fix on the leg for the photo frame on the side where there is no fold. From a scrap paper, cut out a 12.5 x 3 centimeter rectangle and glue it on the back of the leg, just before the fold.
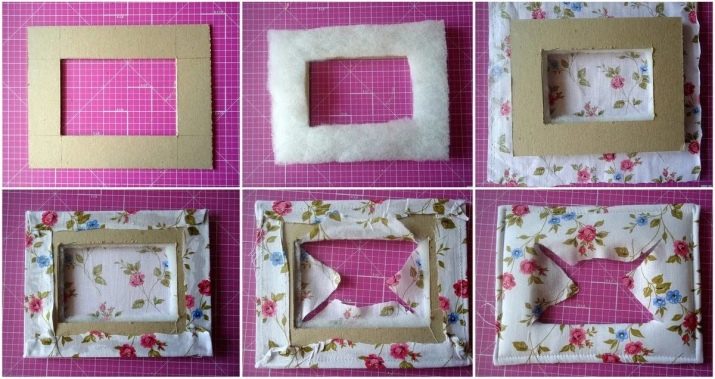
Next, from a less dense cardboard, cut the workpiece 14x14 centimeters, round the corners, back off 2 centimeters on each side and cut a square. This will be the back detail of the frame. Before connecting it, you need to fasten the other end of the satin ribbon in the middle of the photo frame on the bottom, and glue the back part on top.
Next, cut the square 12x12 centimeters from the same scrap paper. Mark the side on which the photograph will be inserted, making a small hole at the edge. Apply glue on three sides, avoiding the one on which the mark was made, and glue to the back of the frame. After that, fix the leg from above, with the part that bends. Mark the center and lock.
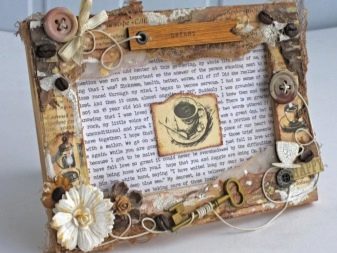
Turn the product upside down and decorate as you wish, using different cuts, laces, feathers, beads and so on. It all depends on the imagination.
Making a triple photo frame
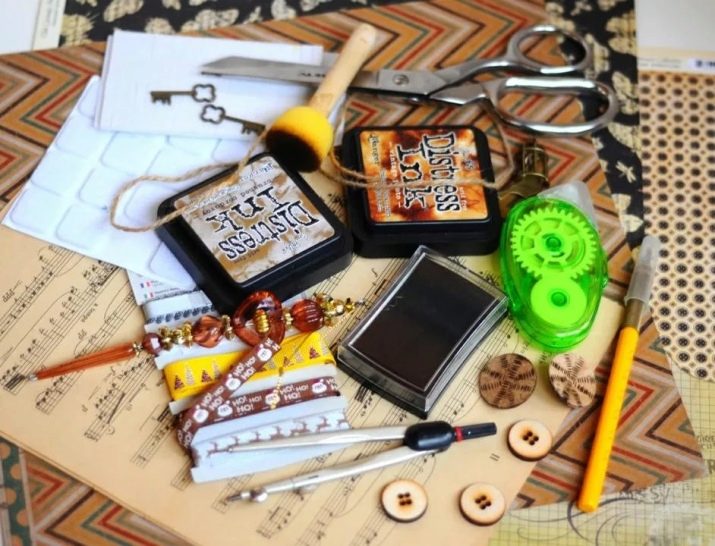
Let's take a look at the step-by-step instructions for making a triple soft photo frame with your own hands, this master class is already suitable for more advanced masters. You will need:
- binding cardboard;
- scrap paper;
- scissors;
- glue;
- felling and other decor at your discretion;
- sewing machine;
- fabric of two types;
- stationery knife.
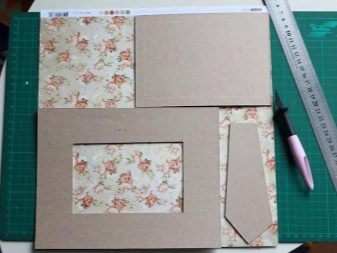
First, on the cardboard, you need to outline the dimensions of the future frame. If you make 10x15 for a photograph, then you will need three 14x19 cut-outs and 2 connecting jumpers with a scoring of 0.5 and 1.8 centimeters. The jumpers have a size of 2x19 and 3.5x19 centimeters. Connect the three parts to the jumpers with glue. Next, you need to cut the sintepon in size so that it is enough on the entire surface, in one layer.
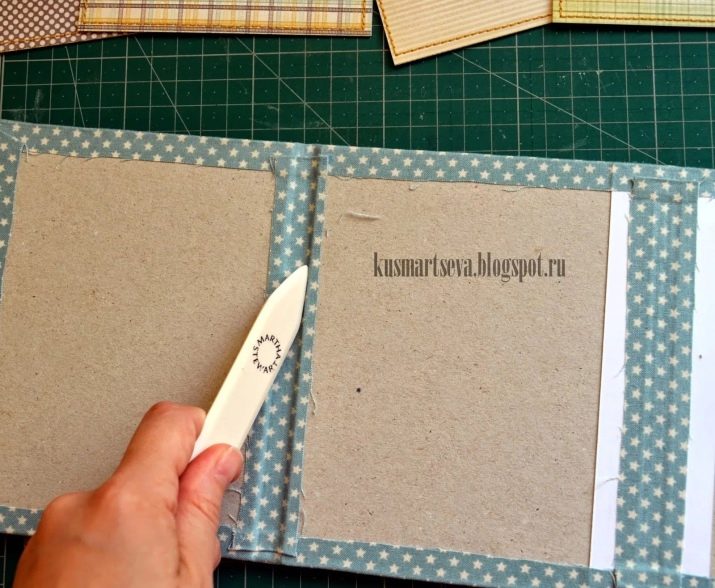
After the synthetic winterizer is glued, you can proceed with the lining of the fabric. Cut and sew together two pieces of fabric one and a half centimeters larger than the size of the photo frame itself in order to make folds. Next, on the back of the canvas we put our triple frame and glue the excess fabric to the cardboard on each side, carefully bending the corners. We pay special attention to jumpers so that the frame bends easily. Next, on each of the jumpers we glue a piece of fabric additionally.
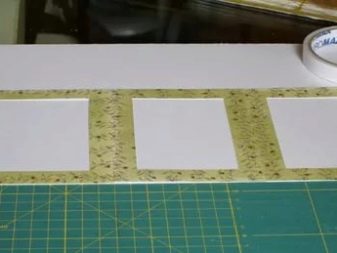
We pass the places along the bend with a ruler or something similar in order to fix and avoid pulling the material. After this, we sew the cover on the sewing machine, stepping back three to four millimeters from the edge. The next step is to create the files themselves, where the photos will be inserted. To do this, we cut out six rectangles of the same size from scrap paper in harmony with the colors of the fabric. You can use paper of several colors, so it will be more interesting to look.
Lay out the sheets so that they are slightly smaller than the cover. In three rectangles, back off two centimeters on each side and cut openings with a clerical knife. Glue on three sides to the other three parts. Each part is glued with the front side. If you have double-sided paper, then select the color range that is more suitable and looks more beautiful.
Do not stick on top, it will be there and then photos will be inserted. Next, sew everything on a sewing machine, stepping back three millimeters and avoiding the upper part.If you want to make a fix for the frame so that it does not open, then you can use an elastic band. Make holes in the top and bottom, in the middle of the cover, with a puncher, and secure with the eyelets.
Now the finished workpiece must be glued to the cover. To do this, it is better to use the "Moment" glue. Here the photo frame is almost ready. It remains only to decorate it. For decoration, use various cuttings, metal decor, ribbons, bows, flowers and so on.
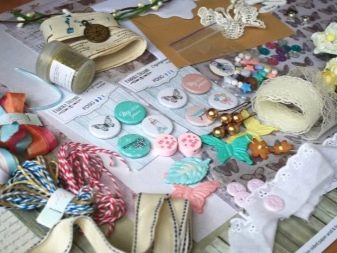
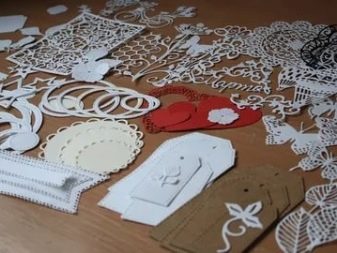
Depending on who you are designing the product for, the decor may be different. If this is a children's frame, then you can decorate it with pictures of different animals, cartoon characters. If the cut is flat and made of thin paper, then To seal, stick the picture to thick cardboard and cut along the contour. This is especially true if the character protrudes beyond the edges of the front cover. Thus, it is possible to increase the total volume of the product by gluing parts of different density and thickness.
The larger the decoration, the more interesting the product looks. A well-selected application from several parts will always make the craft more diverse and unusual. If the product is prepared for a man, then in this case there are many jewelry. For example, the design of an accessory using the origami technique. You can make a shirt with a tie or a tuxedo with a bow tie; a top hat, pince-nez, various antennae and sunglasses are popular.
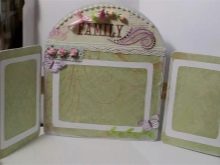
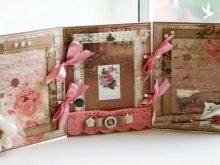
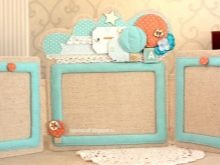
This can be combined with cars made of thin plywood, toppers, printouts with the necessary phrases, and other details of male subjects. For women, too, have their own jewelry. And you can make a card on any subject and for any reason:
- wedding;
- birthday;
- anniversary;
- birth of a child;
- wedding anniversary;
- St. Valentine's Day;
- housewarming.
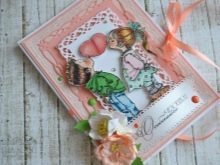
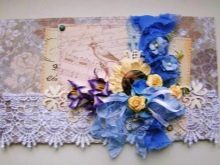
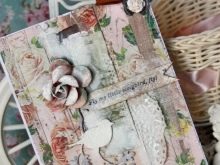
Next, see a master class on making photo frames on 3 photos 10X15 cm.
How to make a metal product?
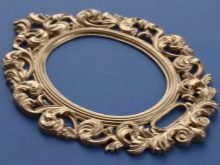
Often metal frames are used for decoration. To make such a design, you will need:
- sheet of thin copper or aluminum;
- awl;
- small hammer;
- scissors for metal;
- marker.
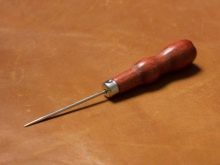
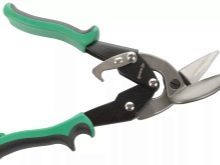
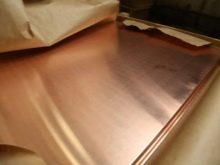
To begin, draw a frame on paper, cut it out, then transfer it to the sheet of metal stencil. Use metal scissors to cut the workpiece. In order to cut it, drill a hole in the middle with a thick drill, and remove the excess with scissors.
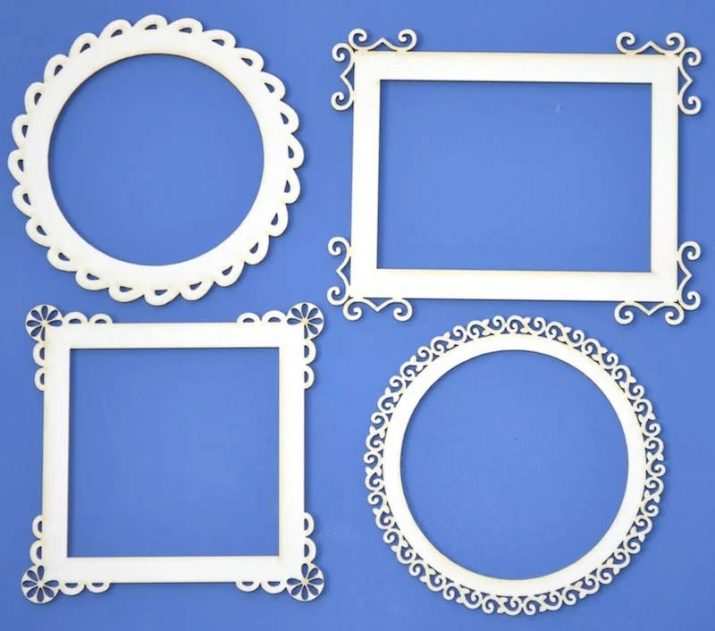
Now there is painstaking work. Mark with a marker the pattern that you want to create. If you need simple lines, you can make them with an awl, just leading along the contour with a certain pressure. This must be done carefully so as not to draw through. A bitmap is created by tapping with a hammer on top of the awl. Impacts must be light and accurate.
Depending on what specific bulge is needed, various tools can be used: screws, screws, knives for cutting wood, edges of coins, scalpels. You can also use a cutting machine, which will take thin metal. It all depends on the size and shape of the future framework.
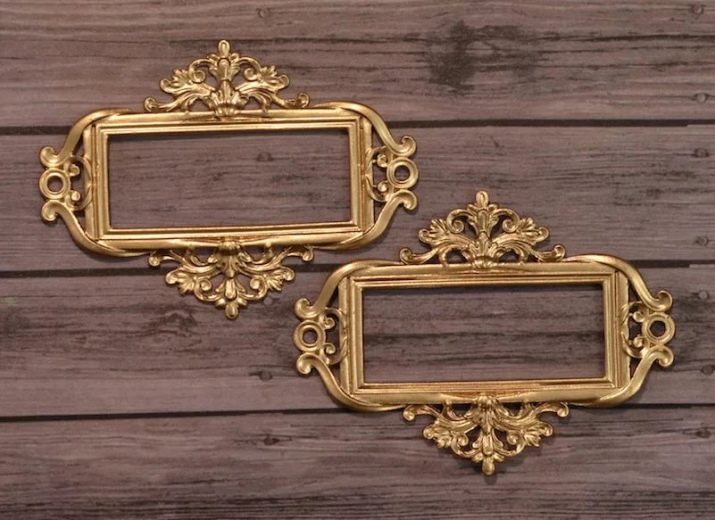
Carefully study what materials the machine is designed to not spoil the material and the device. Also, if you need additional holes, you can use the usual and figured hole punch.
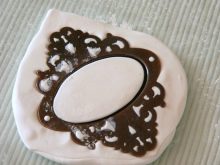
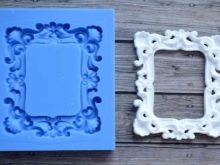
Another way to create a metal frame is This is a piece of polymer clay, dough, plasticine, gypsum. This may require a form.
But if the motility of the hands is good, then you can do without it. Blind the desired shape of the frame, go on top with PVA glue or a primer. Further, you can use plates of gold leaf, silver, copper and others. Or stick the foil.
