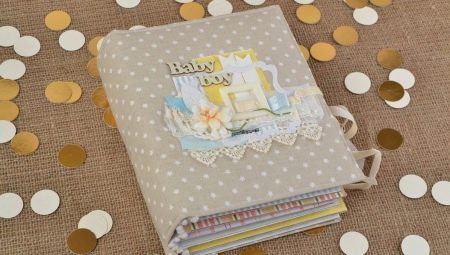
Children so quickly become adults that every parent wants to capture the happy moments of childhood. In the modern photo library, there is plenty of evidence of almost every day of the baby’s life, but most often photos are stored in the memory of electronic devices.
It is much nicer to turn over the pages of a children's album, enjoying the story of growing up your child. You can experience even stronger emotions by creating this photo album yourself. Filling it not only with photographs, but also with observations, poems, funny and touching memories. Embody all this allows the technique of scrapbooking.
Features
This technique allows not only to realize your need for creativity, but also to create unique things in a single copy. Anyone can make a DIY photo album for a newborn or an album for an older boy, even if he does not have the necessary skills. It is enough to stock up on necessary materials, tools, study master classes, where each action is described step by step and turn on imagination.
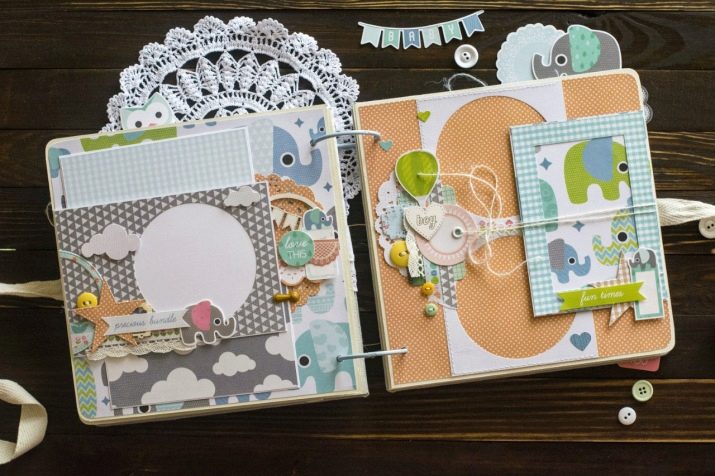
The design of the pages and the cover of the mini-album for boys in the first year differs from girls, but not fundamentally. Most often, this difference lies in the choice of color, theme and prints.
The kid, regardless of gender, is a very gentle and sweet topic, therefore, the themes for design are selected accordingly:
- Teddy bears;
- animals;
- Toys
- cars.
Even if you chose the name of your scrap-piece “Our Little Man”, it does not mean at all that you need to decorate the cover with the image of sports cars and other adult attributes.
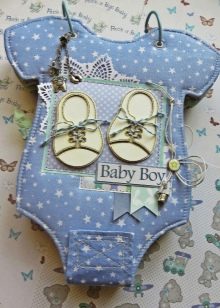
Design and content
You need to start by defining topics and age limits. Even if you create an album for a newborn, it can be limited to the first year of life, or you can increase it to three.
The first year is usually distinguished by month. In each section, it is necessary to include not only a photo, but also record the achievements, the first successes of the baby in this period.
The second and third years can be divided seasonally - summer, autumn, winter, spring, illustrated with appropriate images and descriptions.
After you have approximately figured out how many pages your album will include, what is its subject, you can think over the external design and select materials. If the baby is still completely tiny, it is better to use neutral children's stories, an older child already has his own hobbies and preferences that can be used. One of the most popular decorating styles is the Teddy Bears.
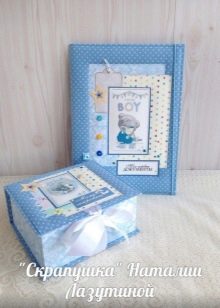
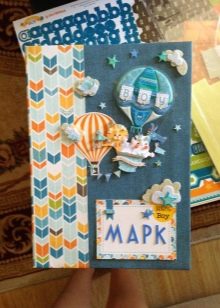
For boys, as a rule, white, gray, blue, blue shades are chosen for decoration.
But this does not mean that you cannot use others: green, brown, beige, red. The choice depends on your personal preferences.
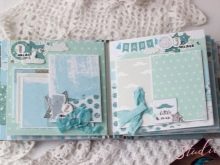
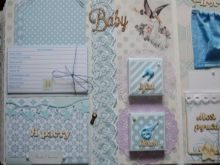
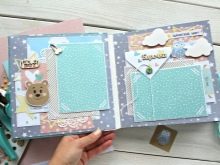
Experts recommend adhering to the following rules, which will be very useful for a novice master:
- think over the composition, use the preparation of preliminary schemes, placing on the piece of paper all future decorative elements;
- use tracing paper, it will save your pages from erasure;
- use curly scissors and hole punchers - they will add zest to the design;
- do not apply acrylic paints with a brush; it is better to use sponges;
- Do not use surround decor inside the album;
- try to fill your work not only with photographs, be sure to include inscriptions, sign photos, you can include poems, wishes, observations;
- use your imagination, but do not be afraid to take other people's ideas, you can take them as a basis and rework in your own way;
- Choose a decor that suits each other and the overall style in color, size and mood.
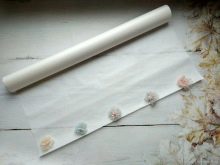
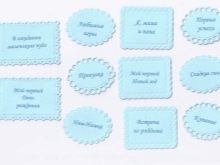
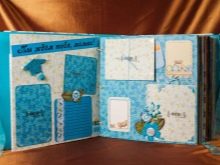
What do you need?
In order to create a beautiful scrapbook for the baby, you need to prepare the tools:
- eyelet installer, figured hole punch;
- 4 eyelets in a suitable color scheme;
- double-sided tape, glue stick or glue gun;
- hole punch for a border;
- a simple pencil;
- ruler;
- scissors - ordinary and curly;
- scrap paper of the right size in the selected subject;
- a little sintepon;
- two rings of metal in the desired color.
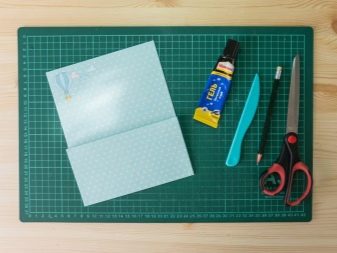
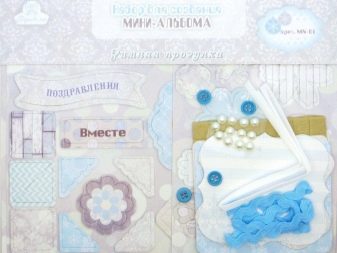
You will need the following materials and decor for the album:
- cardboard of dense quality of the selected format;
- dense fabric in the selected color palette;
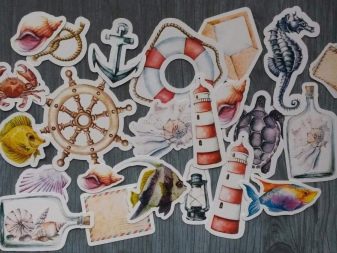
- pictures for decoration;
- a card or other variant of the inscription-title (“Our happiness” “Beloved son” and others at will);
- napkins, ribbons to match the overall design;
- knitted flowers in the same gamut;
- metal brads;
- printed pages for an album on whatman paper or other high-quality paper (you can create them yourself in any program on the Internet or take ready-made ones);
- metal pendants;
- lace, other decor at will;
- tracing paper or parchment.
Master Class
We bring to your attention a step-by-step algorithm for producing a scrapbook in the style of Teddy bears. Choosing decor and materials for it, take fabric in blue and gray colors with asterisks, images with bears on the cover and for pages; select the whole decor in gray-steel and blue palettes, including rings.
Decide on the number of pages, they should not be less than 12 - 1 for each month, but it’s better to do a few more where to add additional information, the order of appearance of all teeth, the first words and phrases and so on.
Sequencing:
- pages are pre-printed, 2 for each sheet on both sides;
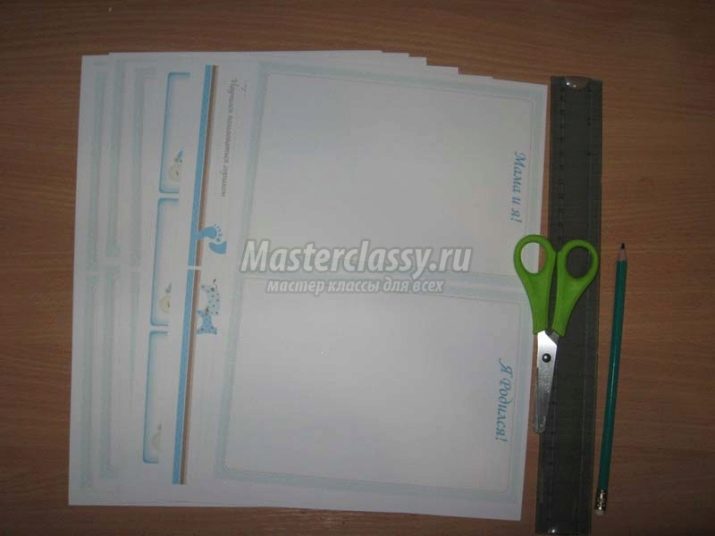
- pre-think the size of the album and cut cardboard, tracing paper under it, form pages;

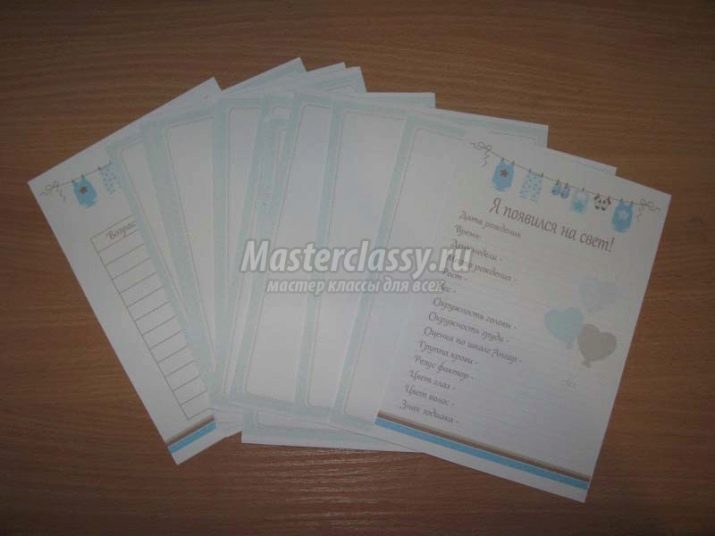
- glue the pages in two by tape, sticking it with thin tracks, slightly fixing the sheets and sew them from the left edge;
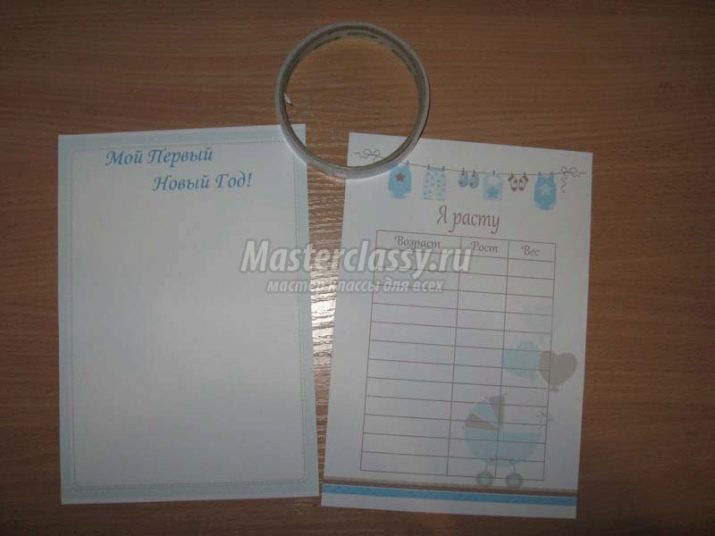
- do these procedures with all the sheets, sew them and thus, you are ready to fill the album;
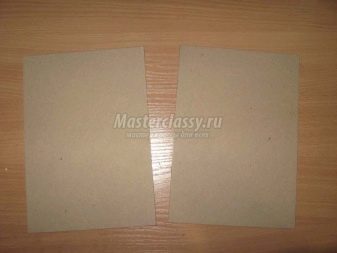
- proceed to the cover and cut out the base of hard cardboard to the selected size;

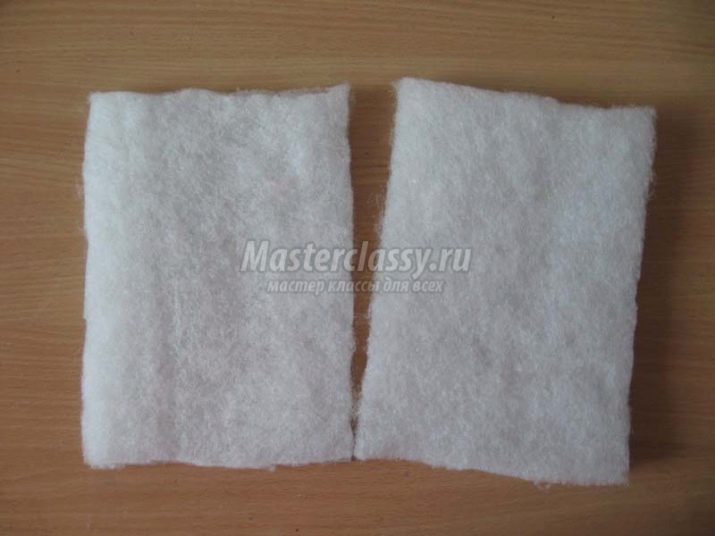
- we form synthetic winterizer sheets of the same size;
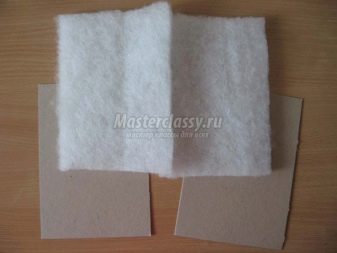
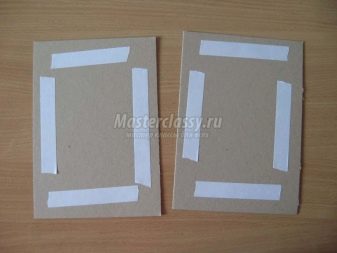
- glue the tape around the perimeter and press the padding pad, they will create the necessary volume;
- Now it’s time to cut the fabric, this is done taking into account a margin of 1-2 cm on each side;
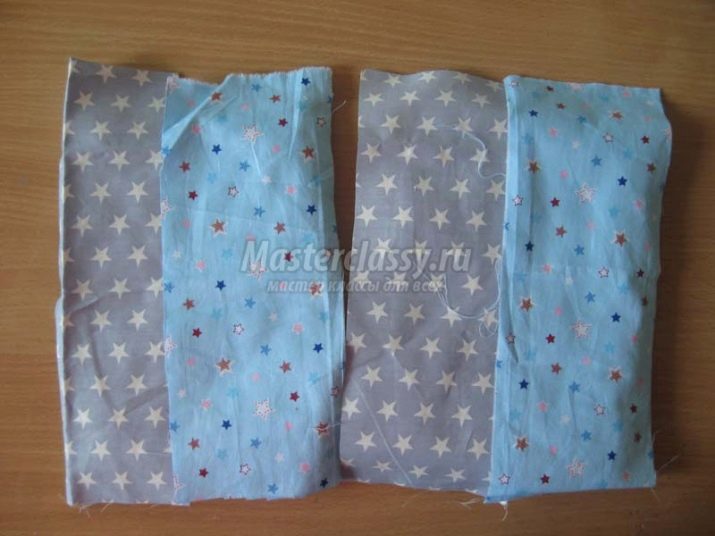
- Steam the fabric blanks properly under the iron;
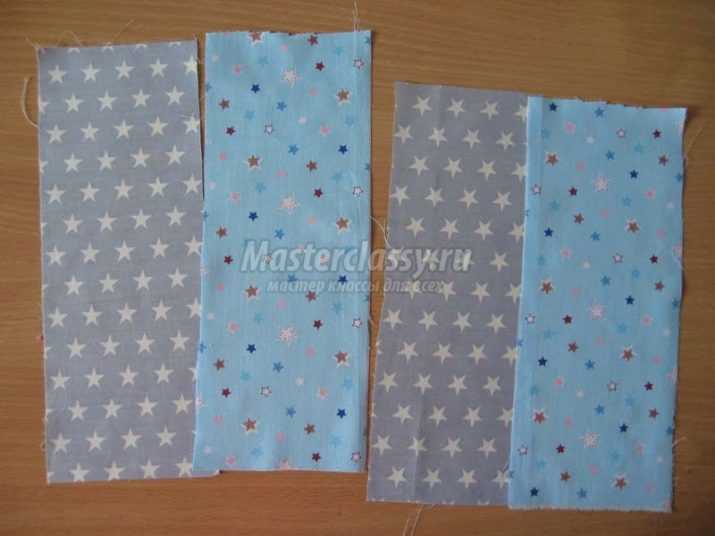
- then sew them together on a sewing machine, sew the seam with a lace strip;
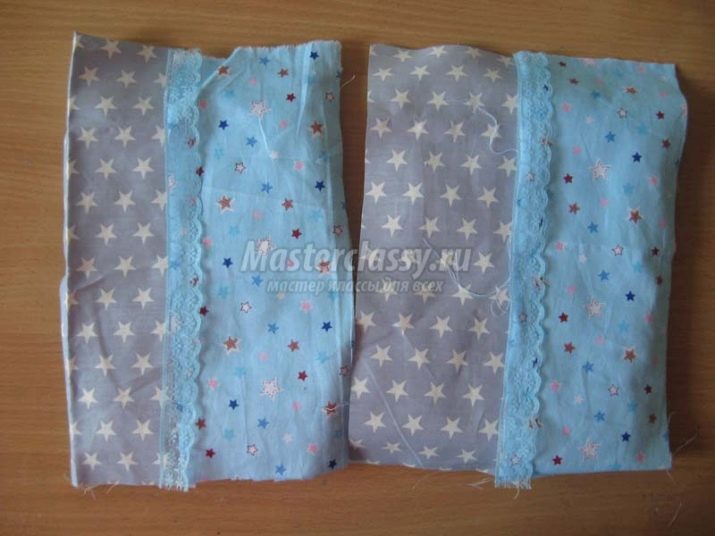
- put the blanks on the fabric and coat with pencil glue from the corners, wrap the fabric and fix it on the glue;
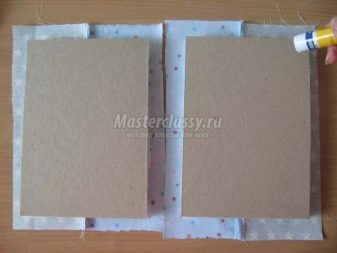
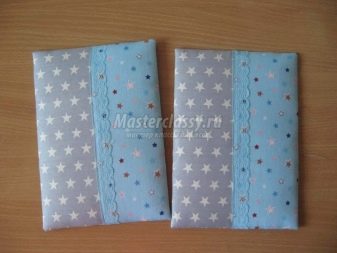
- in the center of the cover on both sides glue the prepared tape - forming future ties;
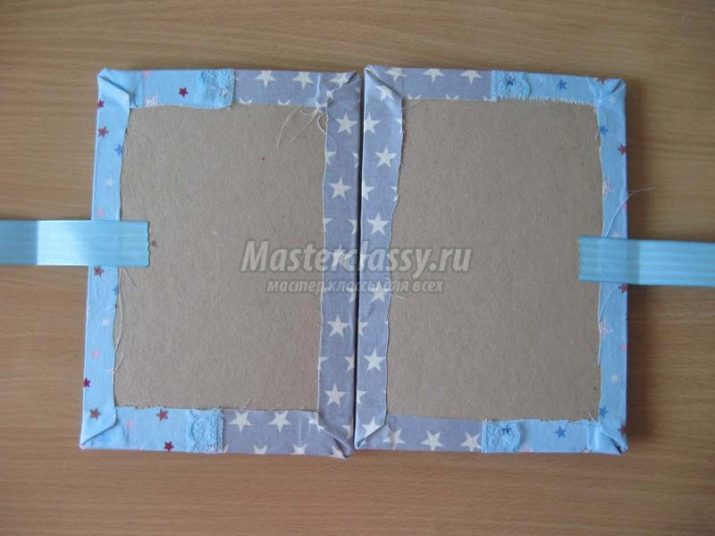
- on the front cover we fix the picture with the bear, the name of the album, other decor elements, we fix them in the appropriate ways - firmware, glue;
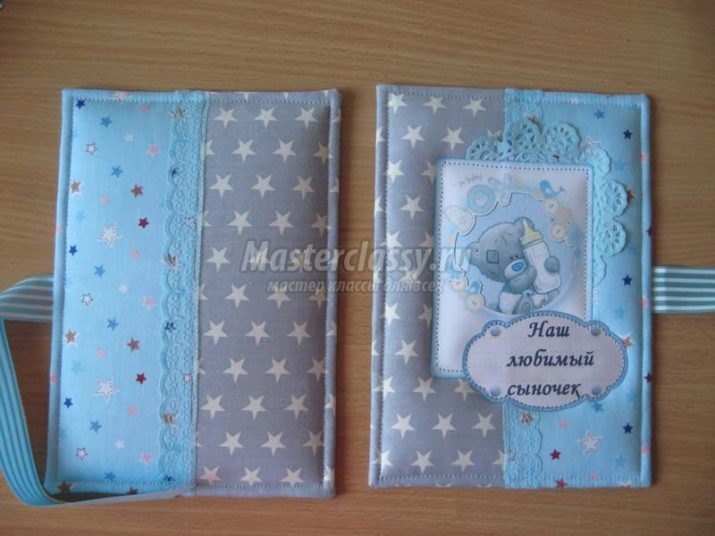
- pendants and flowers are fixed on brads;
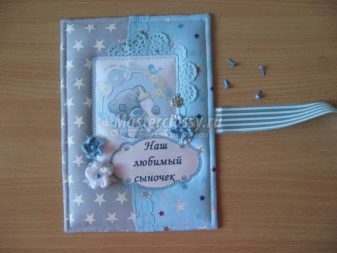
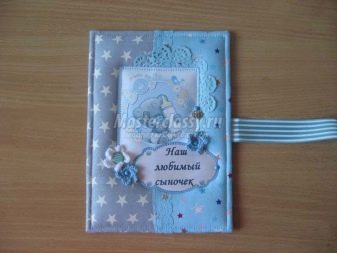
- we form two bookends from special paper and glue it;
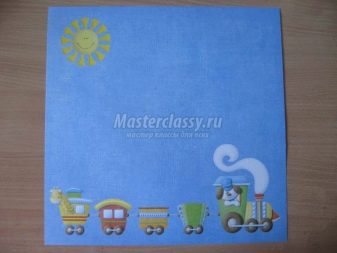
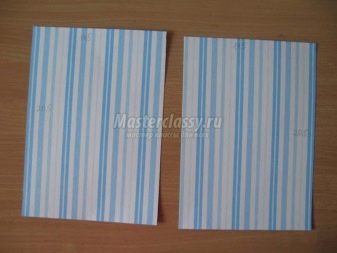
- from the remaining paper, create pockets inside the cover and glue it, apply the necessary decor to the pages;
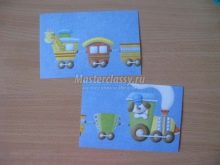
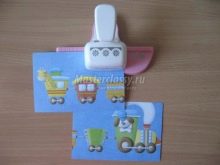
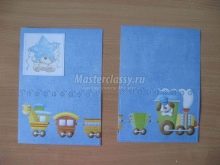
- after everything is glued, the folded album is placed under the heavy press for half an hour;
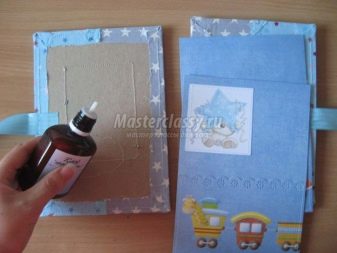
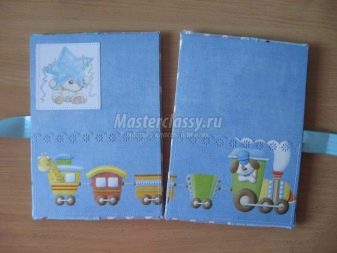
- form holes on covers, insert eyelets;
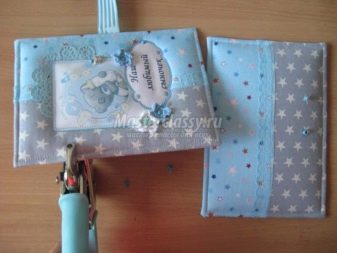
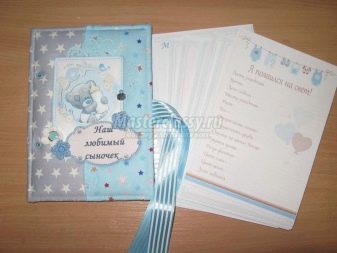
- having marked the pages in the right places, punch them with a hole punch;
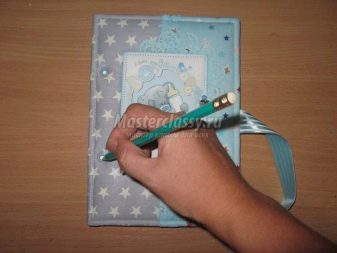
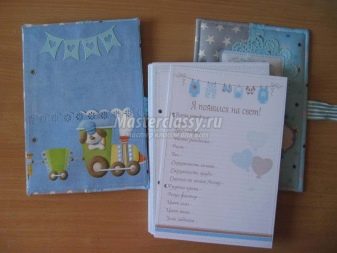
- it remains only to assemble the product by threading the rings into the bottom cover, putting on sheets from the last to the first and completing everything with the top cover.
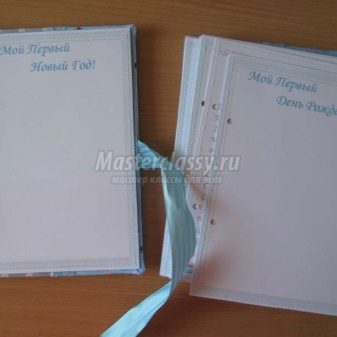
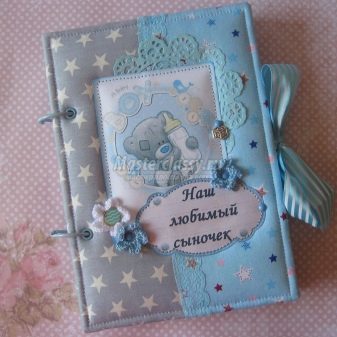
The second workshop for making an album for a boy using scrapbooking technique can be found in the next video.
