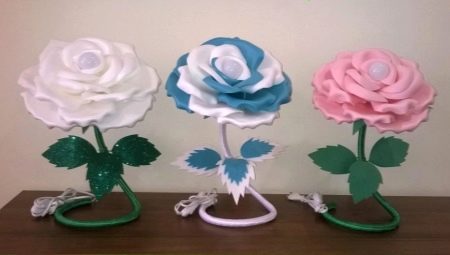
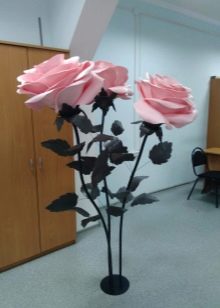
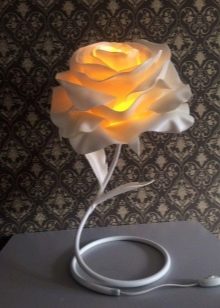
Floor lamps and nightlights are convenient for evening lighting and create comfort in the house. Do-it-yourself flowers-lamps made of isolon look stylish and beautiful in the interior. In our article, we will conduct a master class on the manufacture of a growth floor lamp and a nightlight with a backlight in the form of a rose.
What is isolon?
Isolon is an insulating material for construction work. Usually white or foil. Its thickness is different. For luminaires, an isolon 2 mm thick is excellent. In size, flower lamps are usually made in the form of large or medium bowls. But having shown imagination and ingenuity, you can come up with many variations, including with smaller flowers.
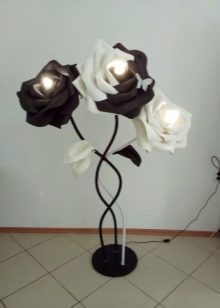
In terms of height, such lamps range from tabletop night lights to floor lamps. According to the manufacturing method, there are plafond flowers and lamp flowers. The former are assembled on a finished, usually spherical ceiling, and the latter are assembled on a sleeve into which the base is then inserted.
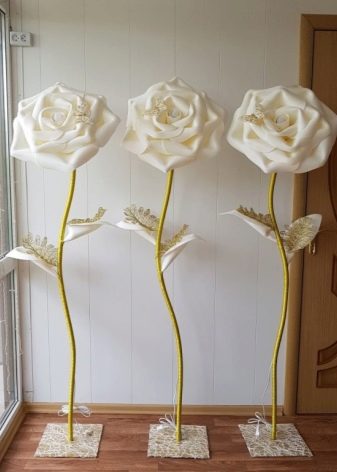
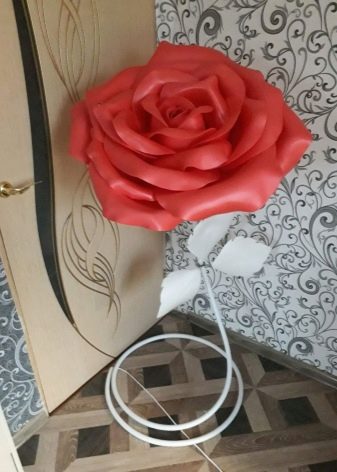
Materials and Tools
For the ceiling you will need:
- blanks of isolon with a thickness of 2 mm (dimensions: 20x20 - 12 pieces; 15x15 - 8 pieces; 20x5 - 5 pieces);
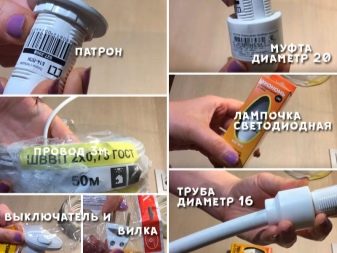
- coupling (the diameter of the wide side of the coupling must correspond to the cartridge so that the cartridge fits into it, the diameter of the narrow side must correspond to the diameter of the pipe so that the pipe can enter the coupling);
- for electricians:
- cartridge with a ring;
- wire 3 meters long;
- switch;
- LED lamp;
- fork.
For the base you need a metapol pipe 1.5 meters long (for a table lamp). For a floor lamp, respectively, longer.
Instruments:
- screwdriver;
- glue gun;
- scissors;
- building hair dryer.

Step-by-step instruction
Shade
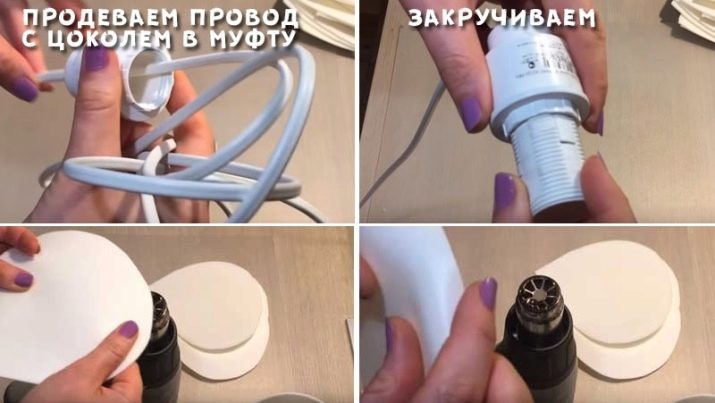
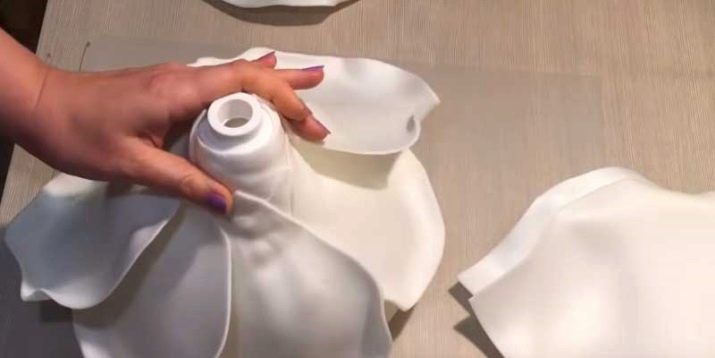
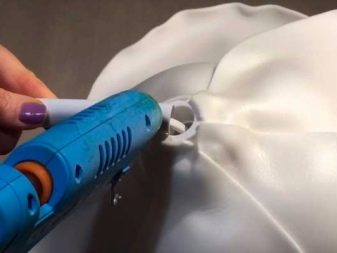
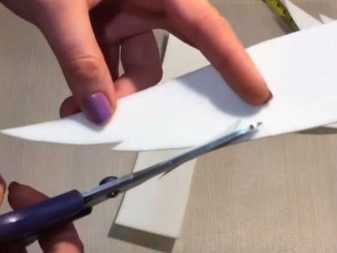
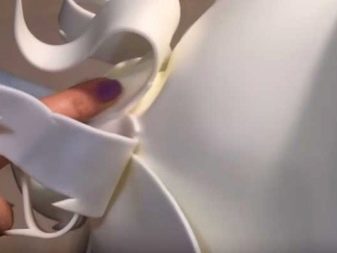
Remove the ring from the cartridge and glue it on the coupling. Cut the petals from the isolon. For two 20x20 workpieces, cut two adjacent corners so that the petals are similar to chamomile, but very wide. For the rest of the blanks 20x20 and all 15x15, we cut three angles so that they take the form of a drop. From 20x5 rectangles we cut out drop-shaped elongated sepals with denticles. We heat the edges of all the drop-shaped petals in turn over the hairdryer, shaping with the fingers. Then, heating them from the back side, from the front side we conduct with the fingers, creating hollows.
We begin the assembly of the bud. We glue the first two (“chamomile”) petals on the coupling towards each other with an overlap, slightly tilting outward. On top of them we fasten in two rows the petals 15x15. Each subsequent petal should overlap the previous one by about half. Similarly, we fix both rows evenly. The next two rows are 20x20 blanks. Glue them.
When assembling, you need to ensure that the upper edges of the petals are on the same level as the first two.
Stem
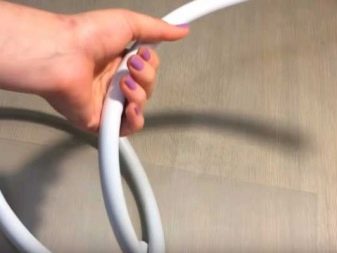
We twist part of the pipe with a ring so that we form a support. We bend the rest of the pipe figuratively. When shaping, the center of gravity must be taken into account so that the product is stable and the ceiling does not “overwhelm” it. We clean the ends of the wire, insert them into the holes of the cartridge and clamp them with a screwdriver with screws.
We pass the cord through the coupling of the lampshade and pass through the stem. Pulling it from the other end of the stem, we clean the ends. Having disassembled the plug with a screwdriver, we fix the ends of the wire with the help of screws and assemble the plug. The lamp will be assembled, it will be possible to attach a switch. To do this, cut the wire in the right place and strip the ends. Next, we disassemble the switch, screw the ends to the terminals (on both sides) with a screwdriver and assemble the switch.
We assemble the product as follows. Tighten the power cord. Glue the sleeve with a glue gun to the pipe. We frame the junction of the coupling and pipe with sepals, covering the glue streaks. It remains to screw in the light and check the lamp.
Varieties of designs
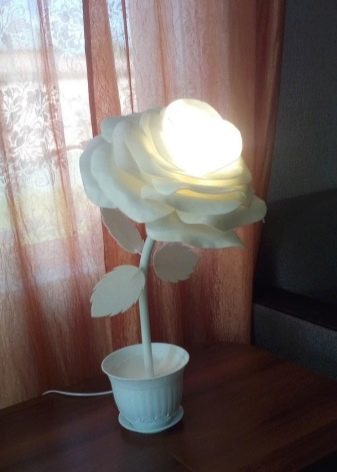
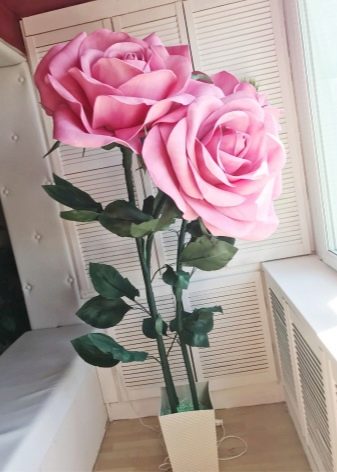
The above describes the manufacture of two varieties of fixtures: bedside and floor lamp. It should be noted that this manual can also be adapted to other designs. Floor tall and bedside nightlights can be installed not only on a stand, but also in a flower pot. To do this, take a pipe along the height of the lamp, a piece of pipe along the radius of the pot bottom and corner.
Then connect them and make a hole in the wall of the pot at the very bottom along the diameter of the pipe. Insert the structure into the pot so that the end of the short tube peeks out of the hole. Fill the space of the pot with a heavy solution for stability, allow to congeal. Now you can lay the wiring.
A wall lamp can be made by taking a shorter pipe and bending it more compactly. What shape to give - tells the fantasy. One of the options is a round or square spiral, it will be compact and original. After that, insert the wire into the pipe. The finished lamp is hung on the wall, having previously screwed in a screw and drilled a hole in the tube. The material for the ceiling can serve not only isolon. It can be made from corrugated paper and foamiran.
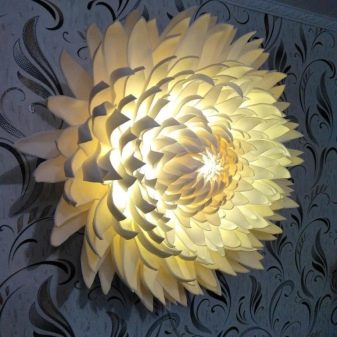
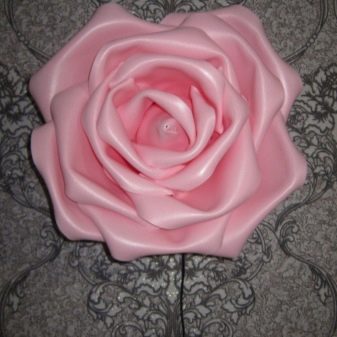
LED bulbs do not heat up, and this gives ample opportunities for creativity using a variety of materials for luminous colors.
If desired, the stem can be formed by wrapping it with a suitable color adhesive tape. Leaves are cut from foamiran and modeled with glue and a hair dryer (the procedure for applying glue along the lines of the veins gives the effect of naturalness). Then they are glued onto a wire decorated with colored ribbon and inserted into the holes drilled in the pipe.
In addition to pink flower buds, you can make voluminous chrysanthemums, peonies, asters, dahlias, as well as poppies, daisies and much more.Since the isolon is not replete with shades, you can paint the finished product to your taste with acrylics or spray or decorate with an oriental slant. The many forms of fixtures and a wide selection of materials gives room for imagination. Determine which of them will look better in your interior, stock up on materials, tools and create your masterpiece!
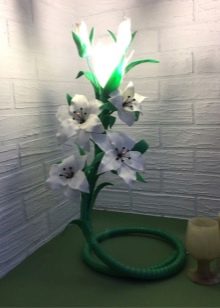
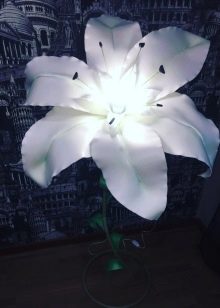
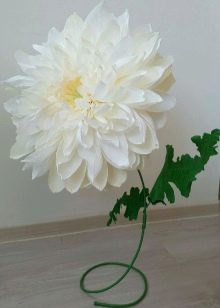
A detailed master class on making an Isolon lamp can be found in the next video.
