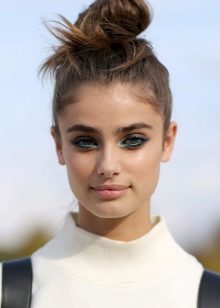
Among the owners of medium and long hair, it became fashionable to make an ordinary bun. Previously, sloppy shuffling was done only at home, tied high on the top so that the hair did not interfere with household chores. Now the bun has become a new type of hairstyle, it has gone beyond the boundaries of the house, and it has become popular to walk along the city streets with it. The more careless the beam, the more stylish your look will look.
There are many types of beams, each unique in its own way. It will look good in combination with any outfit, whether it be a dress, shorts with a T-shirt or a business suit. When playing sports, a high bun is very convenient: the hair does not interfere, and it is not so hot with it.
Features
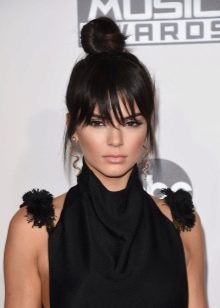
The bundle itself is a common type of styling, suitable for absolutely every girl and woman. One has only to choose the appropriate type of hairstyle according to the type of face and physique. A high beam at the crown will suit low young ladies: it will visually make them taller. A voluminous hairstyle is not suitable for tall thin girls: it will make their image more rude. For broad features, a low bun is recommended.

The main feature of this hairstyle is its simplicity in execution. The bundle can be completely different: tall, low, sleazy, sophisticated, voluminous.
The hairstyle was created for those who are constantly in a hurry somewhere. Each time, everyone improved it and began to use various auxiliary accessories.

Pros and cons of accessory
One of the easiest to use accessories is ordinary gum. It is used in every hairstyle as a main or fixing element.A wide range, affordability will allow you to choose an elastic band for each hairstyle: thin or thick, regular classic or with pebbles, flowers and many others. The disadvantages of cheap rubber bands and often used are their stretching, and they also quickly break.
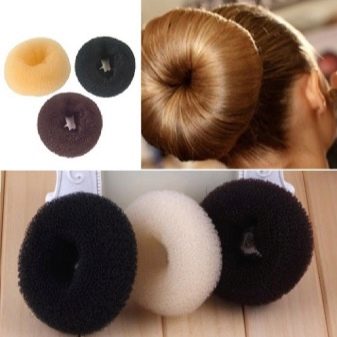
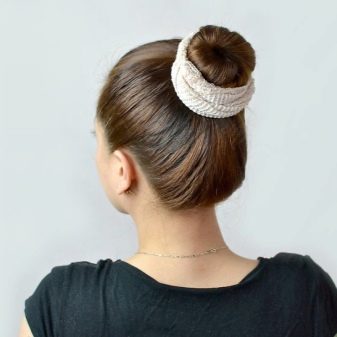
Then they began to use "bagel" (some gum of this kind is called a "donut"). Using it is as easy as using an ordinary rubber band. It is similar in material to a sponge (equally soft), allows you to evenly distribute curls and creates additional volume. They are produced in various sizes and in different colors, which will allow you to choose the “bagel" you need.
If you have thin hair, then it is very important to choose an accessory to match them: then it will not stand out. Due to frequent use and auxiliary fastening with studs, it can break very quickly.

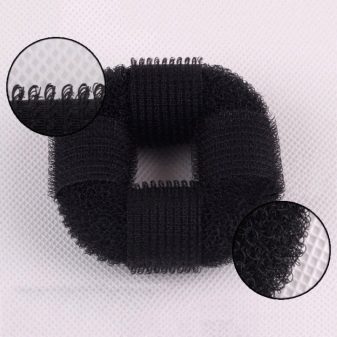
There is a modernized "Collapsible bagel." The material is more rigid, in three places they will be pulled by Velcro to hold hair.
The main disadvantage of this variety of elastic bands for the beam is a very weak spot for fixing.
They are produced in two sizes (22x4 cm and 17x3 cm) and in three colors: brown, black and light.
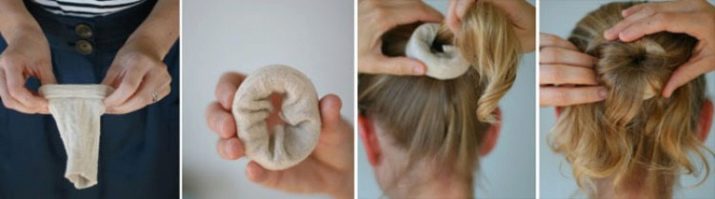
If for some reason you do not have any of the above accessories, but you want to make a voluminous hairstyle, then a regular knitted sock will help you. This accessory was also used by our grandmothers. Accessibility is considered a virtue, because everyone has an unnecessary sock in his closet. One has only to cut off the tip and twist it into the same "donut".
To mask, use a fabric that matches the color of the hair, or wind the hair in several layers.
Types of bundles with elastic
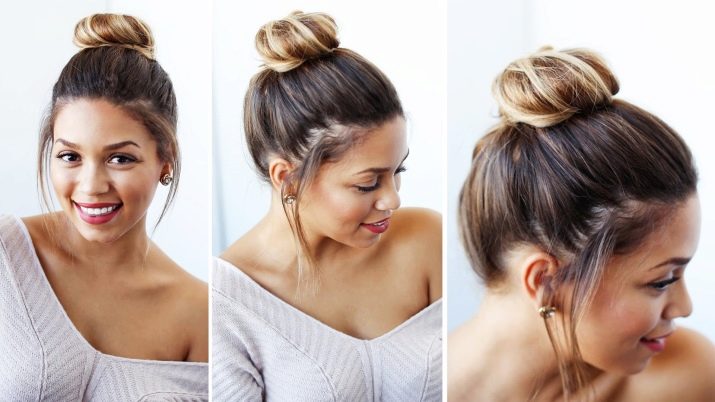
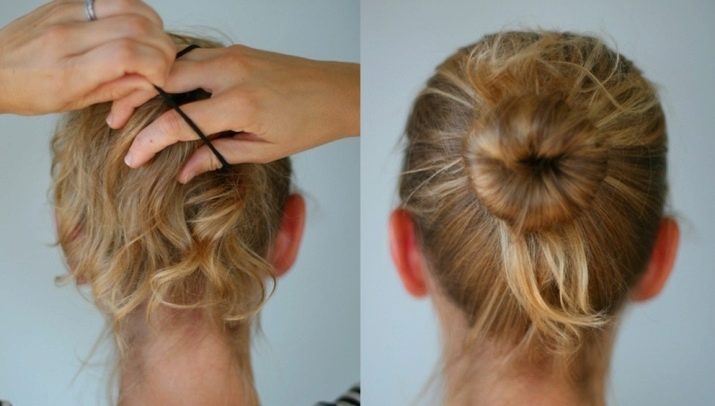
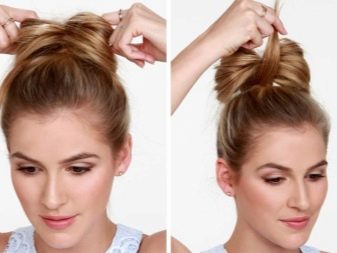
There are many types of bundles with elastic - this is the simplest and quickest hairstyle on hand. To do it, on the top of your head, collect all the hair with an elastic band and twist it in a reel. This hairstyle is more suitable for home or for a walk with friends. It is short-lived, can quickly disintegrate, especially if you have heavy hair.

However, depending on the availability of auxiliary decorative techniques for hair styling, the bundles are divided into several types.
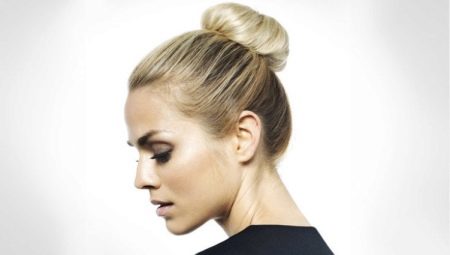
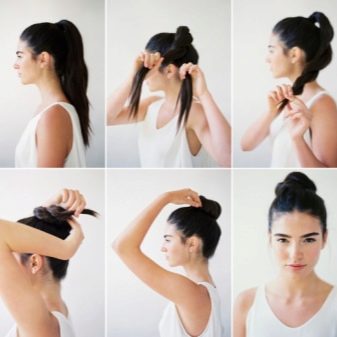
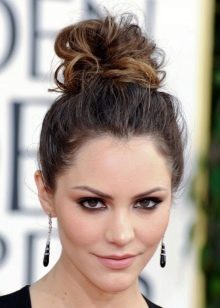
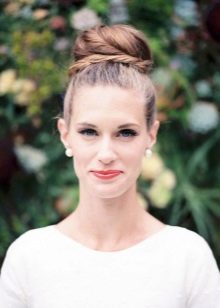
- Ballet bunch. Judging by the name, all ballerinas make it for themselves, but other representatives of creative professions also resort to it: gymnasts, populists and even Hollywood stars. Relate to the classic beam. Tie the tail with an elastic band (choose the one you like best: high or low), twist the hair tightly and twist, fastening with hairpins, around the base. In the end, you can put on a grid or a beautiful elastic over it, or you can leave it like that.
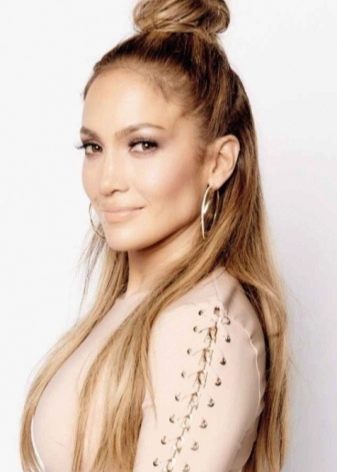
- Malvinka. Comb all the hair back and separate the part from one ear to the other with your hands. Tie the tail and twist it into a careless bundle. There is another, more original option: take small strands near the ears and tie them in the loop at the back, but do not fully stretch the strands, thus dividing the tail into two parts (the upper one is a loop and the lower one is a tail). Divide the upper part in half and between the two loops, wrap the lower part of the tail, securing it with invisibility. Thus, a bundle in the form of a bow.
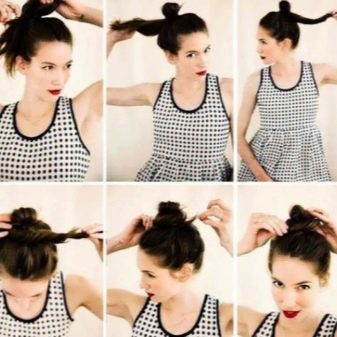
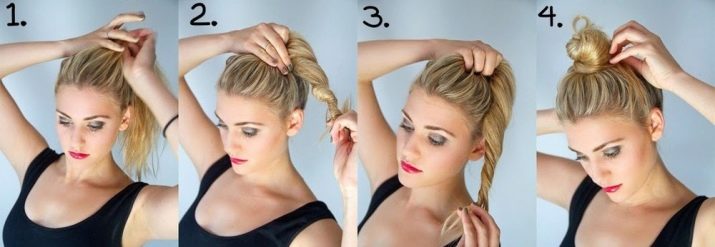
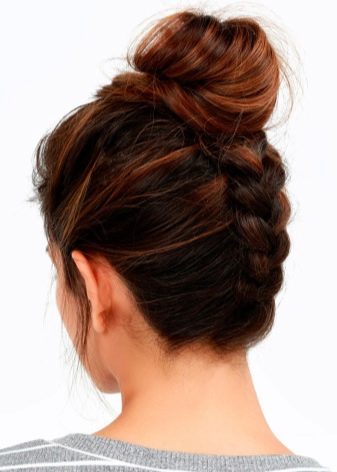
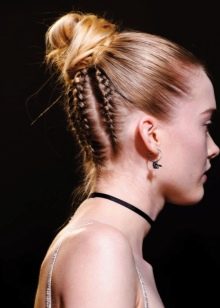
- Harness. Tie a high tail, securing with an elastic band, twist the entire strand into a tourniquet and pull out individual strands with your fingers a little, twist the slightly disheveled tourniquet into a bobbin and fasten with invisible ones. So you get a larger volume and a sloppy look of the beam, which will only add zest to your hairstyle.
- Eyelet. Tie one or two high tails in the form of a loop, that is, do not fully stretch the hair through the elastic bands. Fluff the loop a little, and then wrap the remaining tail around it, securing it with invisibility.
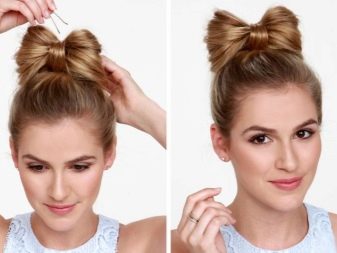
- Bow. Gather all the hair in a high ponytail so that a loop forms on top, and the end of the tail is in front, falling to the forehead. Divide the loop into two equal parts, throwing the end of the tail between them.Fasten on the back side so that the ends are hidden under the bundle. Fix the bow with varnish.
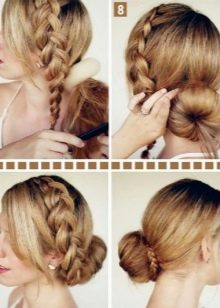
- Wicker. Tie a high tail, then split into two or more strands and braid the braids. Stretch them and twist each separately, securing with studs.
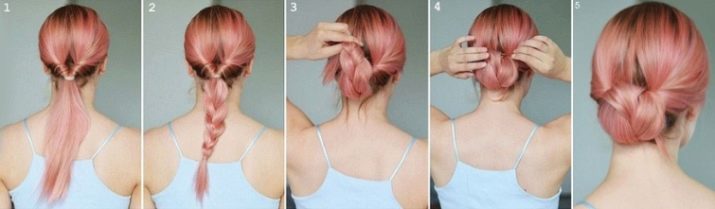
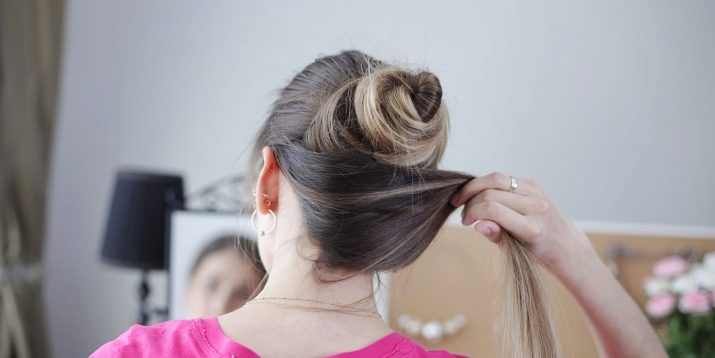
- With an eversion. Suitable for long and medium sized hair. Comb the entire hair back and tie the bottom with an elastic band. Dividing the hair in half, make a hole between the head and the knotted elastic, and turn the entire tail inside it. Then twist the tail a little from the bottom to half and again put all the hair in the hole. Fasten with studs and then decorate by inserting a comb or other accessory.
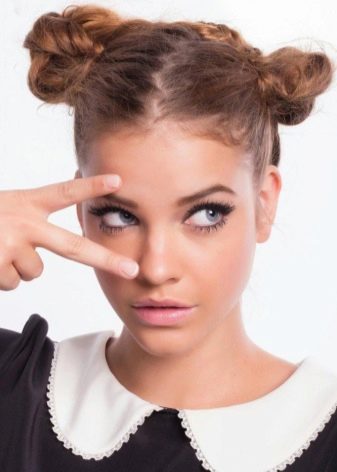
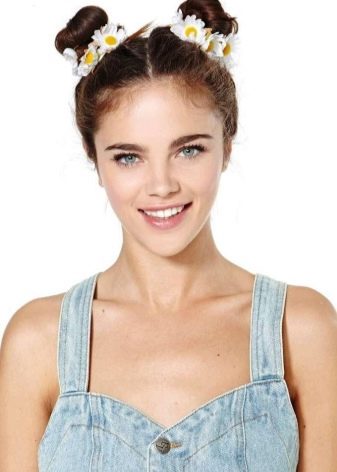
All these bunches can be made on both high and low tail (or even on one side). Recently, among schoolgirls and not only has it become popular to make two symmetrical beams. To do this, you just need to make an even parting and use two rubber bands and a little more hairpins.
How to do it yourself?
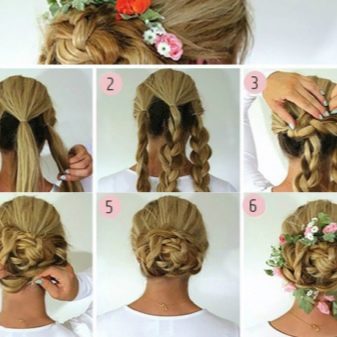
You can create bundles with various types of weaving. So the hairstyle will certainly look festive and original. And you can start weaving both from the frontal part, and from the occipital.
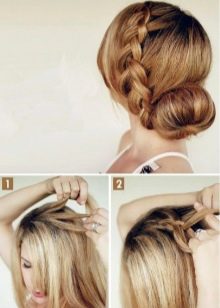
If you have chosen the frontal weaving option, for this, separate the hair from ear to ear and briefly tie with an elastic band or fasten with a crab. Tie the remaining hair in a ponytail (you can bottom or top), and then use any proposed method:
- twist the usual tourniquet and twist in a bobbin, securing with studs;
- weave a few braids or spikelets and separately each fasten;
- use a “bagel”, a twister hairpin or whatever is at hand, making a smooth volumetric bump.
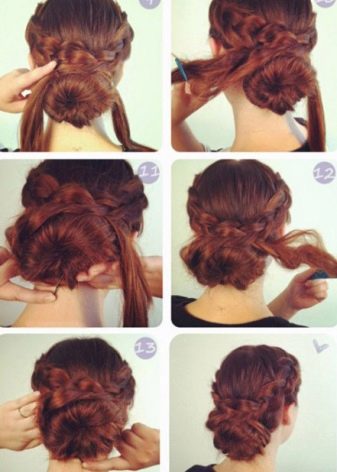
- after the formation of the bundle, proceed to weaving the separated hair. Take a small strand in your hand by the ear and divide it into three equal parts, then weave them like a normal braid, remembering to add additional strands on only one side (at the forehead).
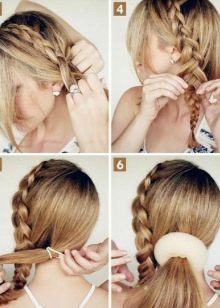
- when all the hair is woven, braid a regular braid and secure it with silicone rubber. Wrap the already finished bundle with a braided scythe around and hide the tail into it, securing it with invisible ones.
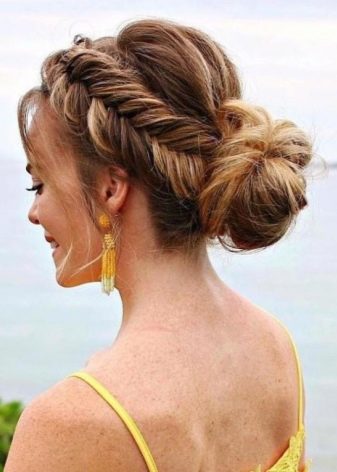
A bundle with a scythe on the back of the head is a little more complicated, as you have to weave from the back of the head and going up. In this case, it is more convenient to lower your head.
To do this, separate the strand from the back of the head and divide it into three, braid like a normal braid, adding hair on both sides. Having reached the top, collect all the hair and tie it with a thick elastic band, twist it into a regular bundle or use a “bagel”.

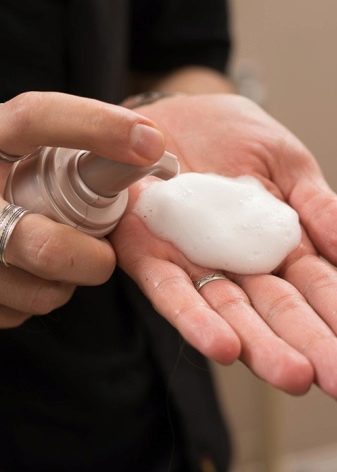
There is another interesting variety - a bunch with a "bagel" and weaving. To do this, you will need two gum of the usual form and one “bagel", and of course, fixing agents: varnish, mousse or foam. If you use foam or mousse, you need to smear them with hair before starting work. After that, comb and tie the hair on the crown with a dense elastic band, thread the “bagel” and distribute the hair evenly over it, then put the elastic on top in hair color. Collect the remaining hair on two sides and:
- twist into a tourniquet;
- braid braids or spikelet.
Then wrap two braided or twisted locks around the “donut” with hair.
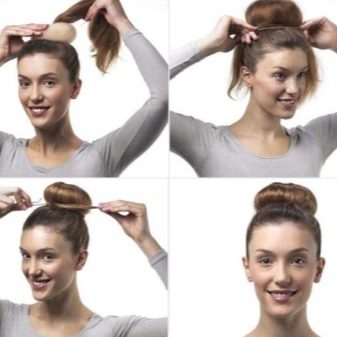
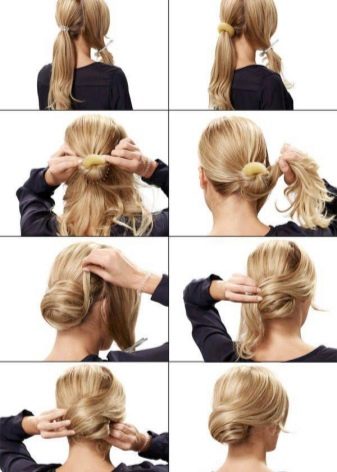
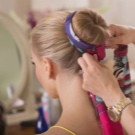
At home, you can also “create” a beam using the twisting method. In this case, a “donut” (regular or collapsible), a twister hairpin, or even a sock can be used. The twisting principle will be similar.
You can also use only gum and invisibility.
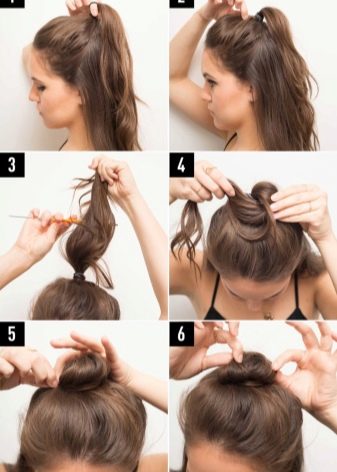
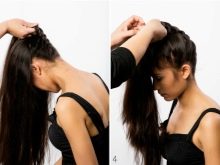
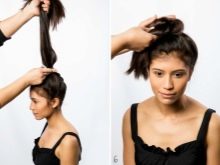
- Comb your hair well. Lift them up and tie the tail.
- Beam twisting process:
- Place the “donut” or sock on the tip of the tail and, holding the latter vertically, twist from top to bottom, while monitoring the even distribution of hair;
- take a collapsible “bagel” or twister-hairpin, place half of the tail and start to curl your hair up, twist the ends to each other and fasten them;
- take a strand of hair from the tail, brush it with foam and start twisting it from the bottom to the very top, securing it with invisibility at the roots of the head;
- do the same with the rest of the hair, securing the twisted locks in a circle, creating an unusual bun.
- For reliability, fasten hair with hairpins or hairpins, and then sprinkle them with varnish.
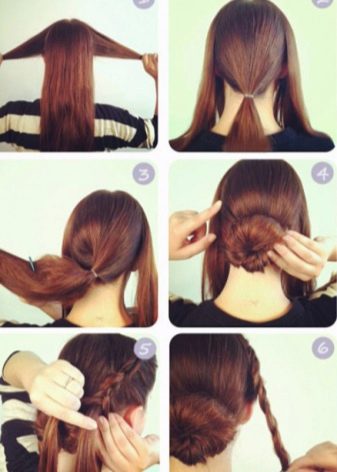
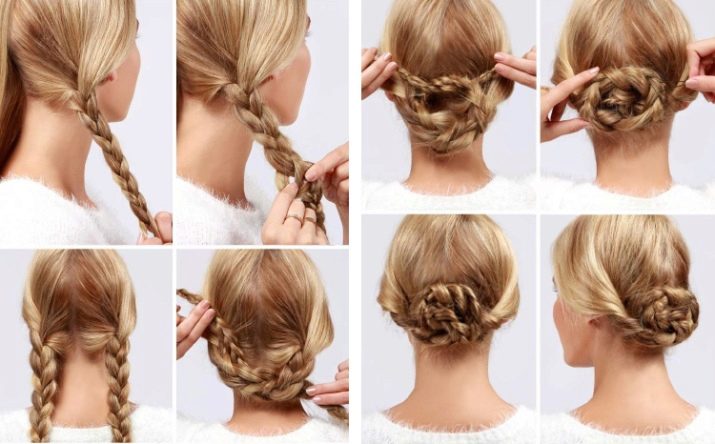
A beam with two braids can also be easily made. As a rule, such a hairstyle is performed on long hair. To do this, it is necessary to divide the hair from the back into two parts and tie two tails at a not too great distance from each other. Weave braids from these tails or twist them into bundles, stretching a little strand, tie the ends with rubber bands to match the hair. Take one of the braids and start twisting it around the base of the other braid, securing it with pins and hiding the end of the tail. Repeat the same procedure with another scythe, only so that bald patches and elastic bands are not visible.
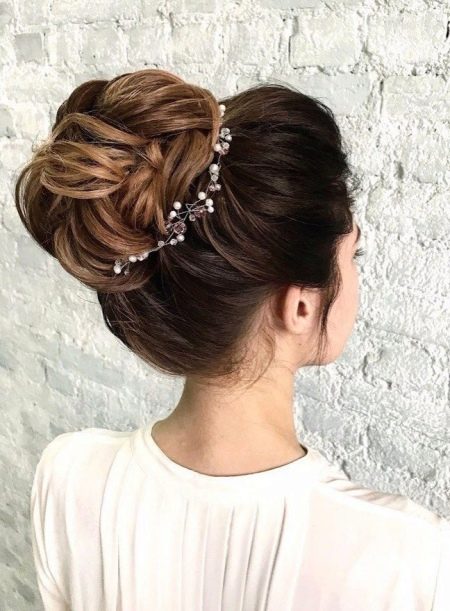
Each of these hairstyles can be created not only for everyday wear, but also for parties, weddings and graduations.
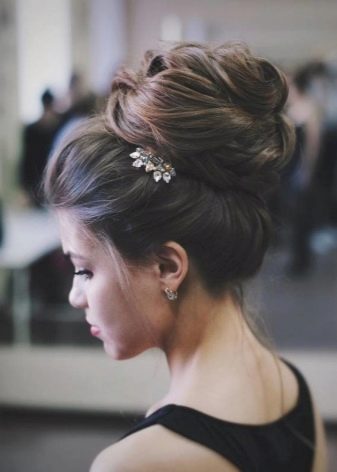
Many hairdressers, before creating, additionally wind the curls or crimp the hair, and then fix it in a careless and very voluminous bundle.
As already mentioned above, such a hairstyle can easily be done at home. The first time, of course, it may not work out, but there is no need to worry - it is worth only a little practice. And then you get a perfect, refined or even sophisticated, romantic hairstyle.
How to decorate?
You can decorate such a hairstyle with various accessories:
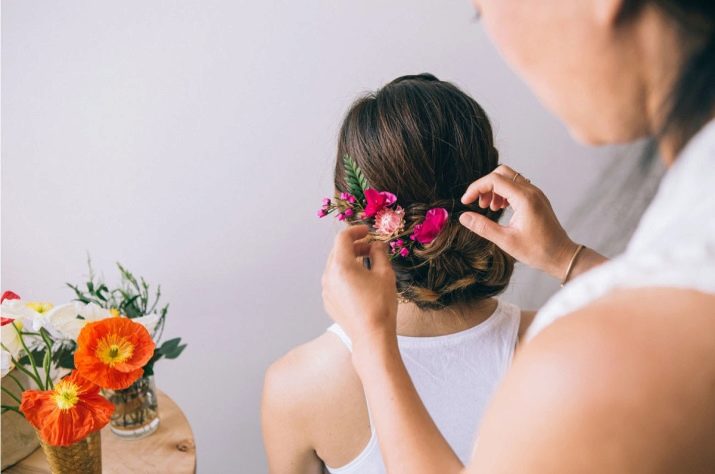
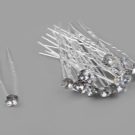
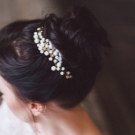
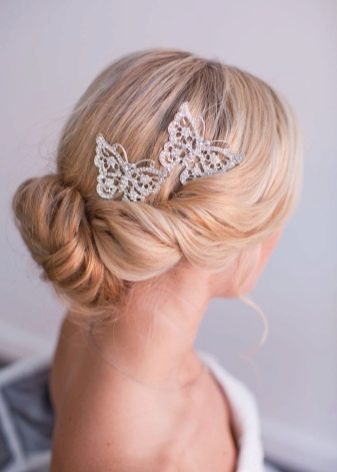
- hairpins or hairpins with pebbles, flowers;
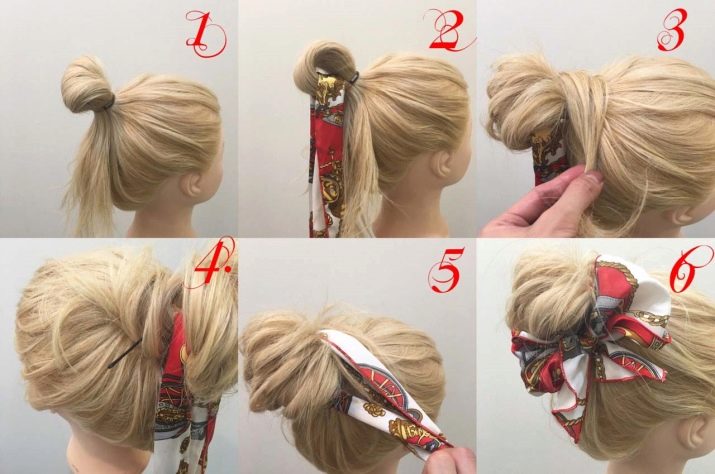
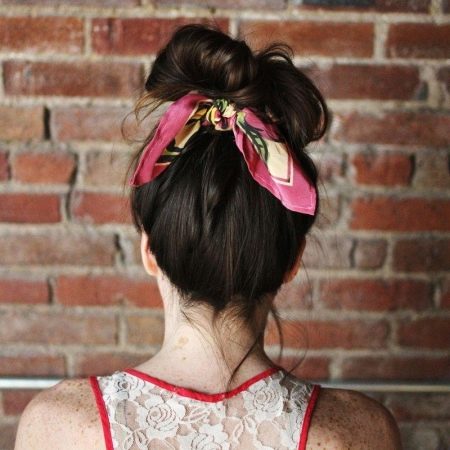
- ribbons and even scarves;
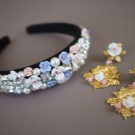
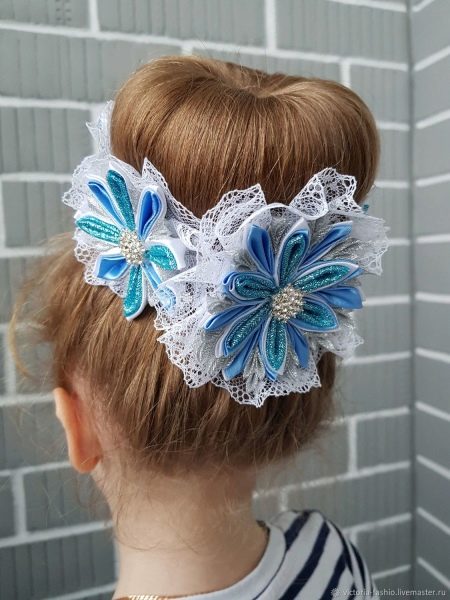
- kanzashi: headbands, bows, bows, flowers (using ribbons, stones, buttons and other elements);
- decorated flowers;
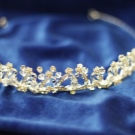
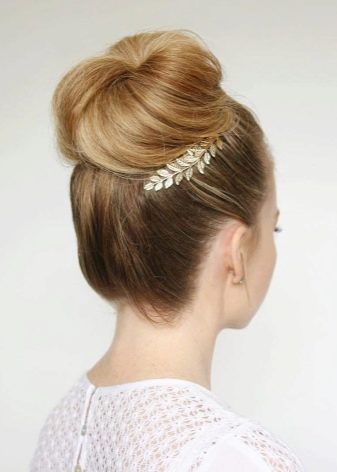
- tiaras, brooches for hair.
The main task when using accessories is not to overdo it.
A more aesthetically pleasing hairstyle will look without their use. If you decide to decorate with any attribute of the above, for example, with metal clips, use only one, securing it to the side.
Having included your imagination, you can also decorate with various jewelry: pendants or even necklaces. So you can feel like an Egyptian queen or a Turkish sultana.
Bows made of ribbons and scarves will create a new image. They emphasize innocence, timidity and bring tenderness to the image of young girls.
Recently, you can often see on little girls jewelry in the form of kanzashi. These products can be purchased in stores with various hairpins, online stores, or do it yourself. It is based on the ability to handle ribbons, folding them into petals and flowers of different sizes, which are then attached with an adhesive gun to an elastic band, clip or comb, depending on the composition received and the desired one. It can also be diadems, headbands decorated with flowers and pebbles.
In the video below, you can see three ways to create a volume beam using gum and bagel.


