Parrots (especially budgies) are very popular pets among residents of our country. However, few people start two parrots at once for the sake of their reproduction. For those owners who are thinking about breeding, it is not enough just to acquire a male and a female that are suitable for each other - for breeding chicks, individuals will need special conditions, because in the first place they need a nest.
Requirements
Having two budgies, many owners wonder why their relationship does not produce offspring. It's all about the instincts of reproduction. Ordinary cages, which usually contain poultry, do not cause them to incubate eggs. Females require a secluded place to reach.
But before you build a house for parrots, it is worth determining their age. The puberty of this species of birds begins with one and a half years and ends in the fourth year of life. The age of budgies is determined by the following criteria:
- head pattern - usually reaches the beak itself and is present only in the youngest birds (younger than six months);
- drawing over the beak wax - if it is absent, it means that the parrot has undergone the first molt, and its age exceeds six months;
- irises around the eyes - are present in the smallest individuals and expand with age, but completely disappear in the eighth month of life.
It is worth noting that parrots have a very strong flocking instinct. For this reason, they multiply more successfully if several pairs live in the same cage or indoors.
However, it will not be enough just to prepare a nest for hatching in a certain period of time It is necessary to provide pets with comfortable living conditions in which they will have a desire to continue their race.
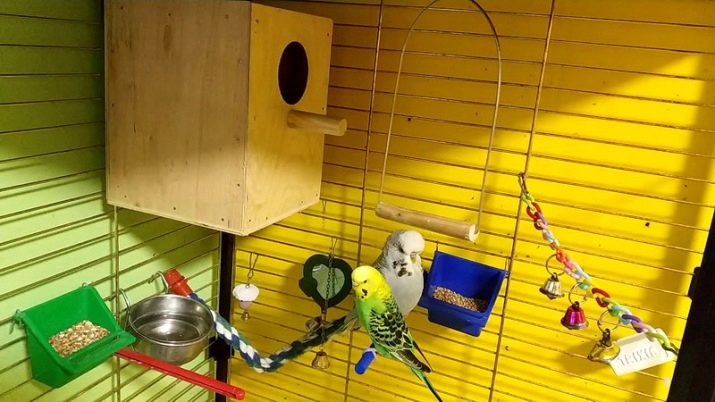
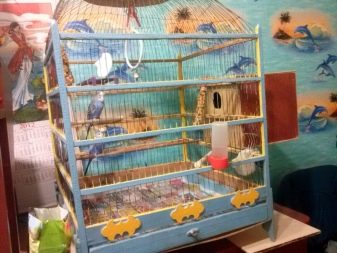
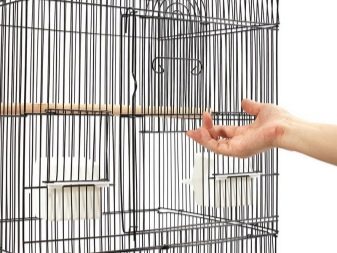
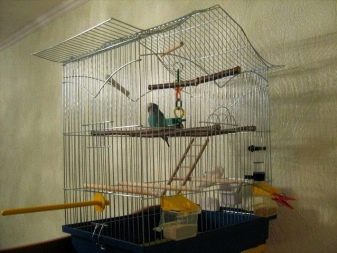
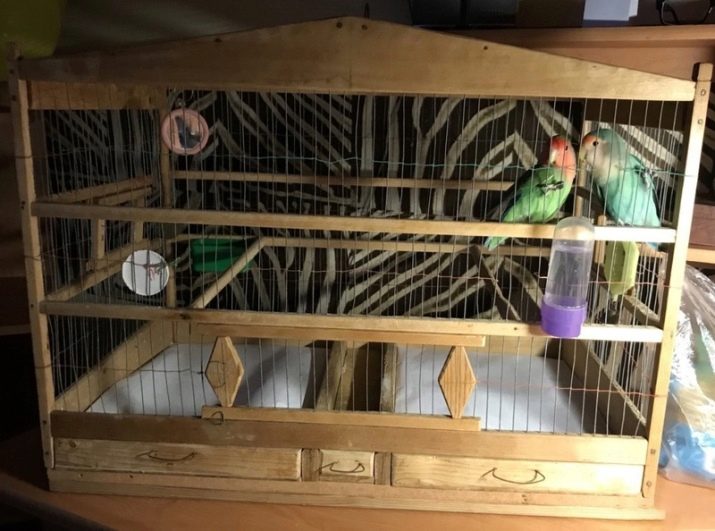
First of all, of course, you need to get a cage that is suitable specifically for budgies. This house has its own characteristics and is not suitable for other varieties of parrots. Many irresponsible owners prefer simply beautiful cells, but this is the wrong approach to the choice. Bird housing must be safe and functional.
Saving on your pets should not be. Fortunately, in most Russian pet stores, customers will find a wide and varied selection of such products.
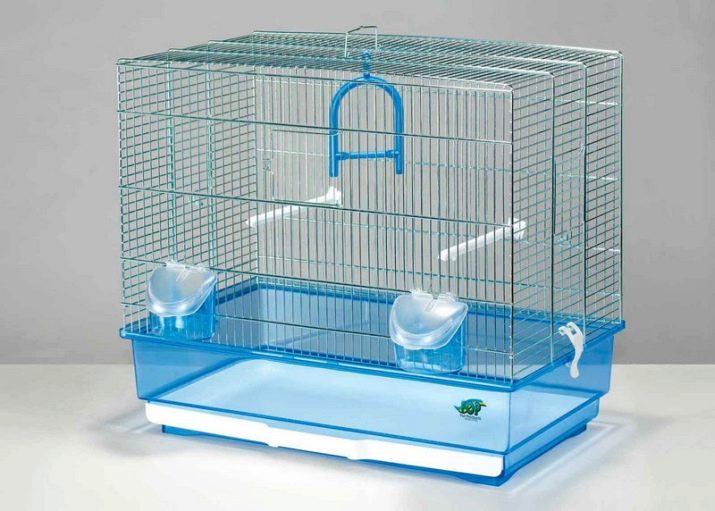
The first thing that catches your eye when choosing is the shape of the cell. The most optimal for budgies is a rectangular shape with a horizontal roof. Due to this, it is convenient to fix various accessories and nozzles on the cell walls.
The second most important parameter is size. The cage should be quite spacious for the bird. Best if she can fly there. The minimum dimensions of the "house" for budgies are:
- width - from 30 cm and more;
- height - 40 cm;
- length - at least 40 cm.
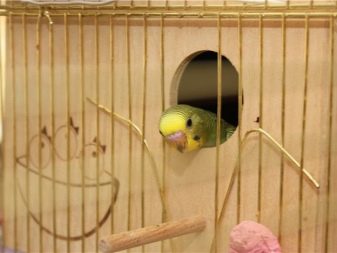
Very often, the owners do not take into account the distance between the rods of the cell, which is a gross violation. It should be from one to one and a half centimeters. At wider intervals, freedom-loving parrots can crawl and get stuck in them.
The cell door should open and close up and down. In this case, the parrot will not be able to open it on its own, and the owner will not forget to close it.
It is worth paying attention to the internal arrangement of the cell.
- If there is a grill on the floor, then it is better to remove it. Birds love to walk on the floor, and grilles only make their movement difficult.
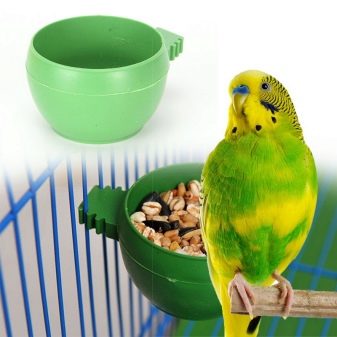
- The feeders, which are the main equipment of the cage, must be open and opaque.
- In most cases, the poles are made of plastic, but because of this corns appear on the legs of the birds, causing them pain. Such devices should be exchanged for wooden ones, which you can make yourself.
It is also necessary to observe the conditions for the location of the cell. The place for her should be quiet and calm, without drafts.
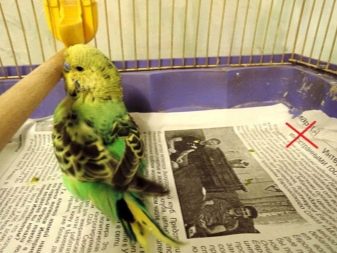
Many owners prefer to place their feathered pets in the fridges, from where they can see the whole kitchen. But the vibration and noise of working equipment can harm the bird. Another serious mistake is the newspaper, which often lay on the bottom of the cell. Ink adversely affects the health of the parrot.
The cage itself needs to be washed at least once a week, and its main elements (feeders, drinking bowls and pan) - daily. In this case, pour boiling water over them in order to disinfect.
The second kind of parrot is considered lovebirds. They are simply created to give offspring. Since these birds do not differ much in size from budgies, cages with similar parameters will suit them. But if a person started a large bird, for example, such as a Karelian, then its dwelling should be appropriate. Minimum dimensions should be:
- width - from 40 cm;
- length - from 50 cm;
- height - from 60 cm.
By the way, you can always build a suitable cage for any parrot with your own hands from improvised means. The main thing is to be guided by all the above requirements in the manufacture.
Kinds
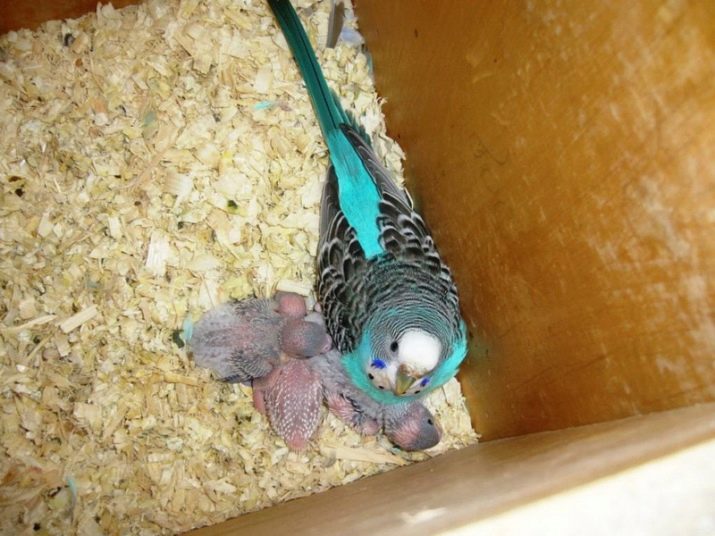
If a sweet couple of parrots lives happily and in abundance, then we can think about their offspring. The chance of a female laying eggs in a simple cage is extremely low. For this reason, she will need a nest.
The first option is a cardboard nesting house. It does not require any special materials and great efforts. Such a nest is made from an ordinary cardboard box, in which it is enough to make a hole with a knife or scissors.
Then you need to place it correctly. The nest can be placed on the floor of the cage itself, if there is enough space.However, experts in this matter believe that the female needs more free space, therefore the cardboard nest can be placed next to the cage or mounted on the roof, if it is horizontal.
If the female moves freely around the apartment and is well oriented in space, then another secluded place can be reserved for the nest, for example, one that the bird itself has chosen.
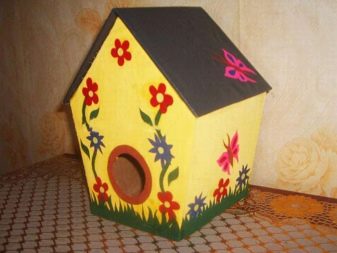
But the cardboard jack has plenty of cons. Firstly, the material is not very convenient for parrots, since it is difficult to move around. Secondly, the birds will constantly peck or chew cardboard, which can harm their digestive system. Thirdly, cardboard is not a very durable material, and a nest from it will fit for only one period of incubation.
More durable and high quality material is plywood. Plywood nesting house is the second option. It can always be purchased at the pet store. However, finding a nest with sizes suitable for large birds, such as Karelians, will not be easy.
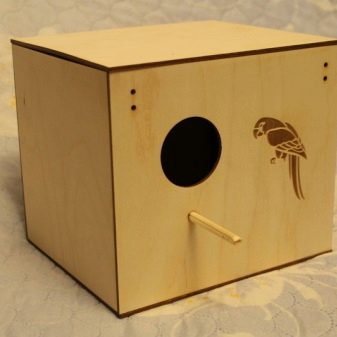
For this reason, it is best to do it yourself, as it is financially cost-effective and takes no more than two hours. In addition, you can make a nest that is suitable in size precisely for the existing cage.
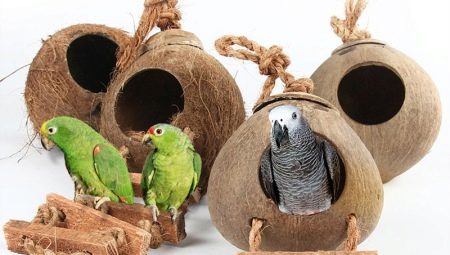
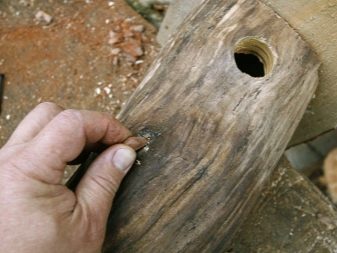
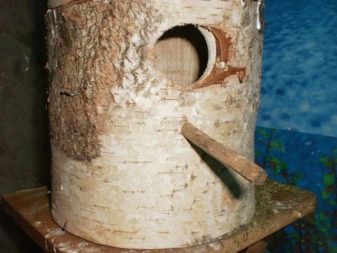
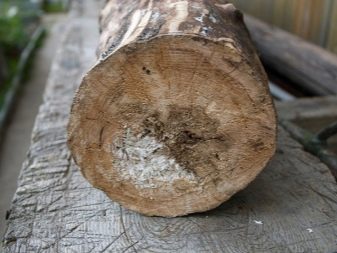
The best, but the most time-consuming option is a holesince for birds it represents conditions close to wild. You can make it from a natural log or stump. But it will be very difficult to find a suitable piece of wood with a rotten inside. So you have to spend time and effort to remove the middle yourself.
Tools and materials
From cardboard
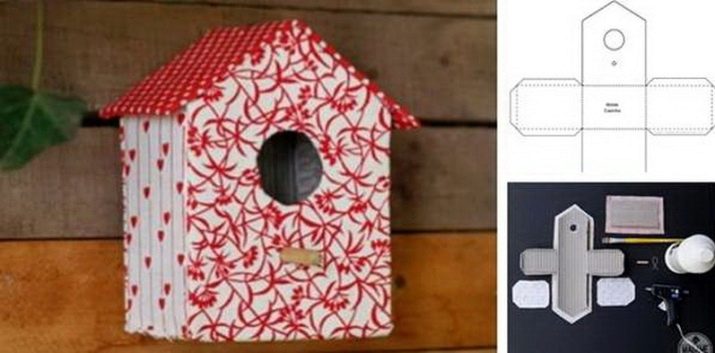
You will need a suitable cardboard box, as well as scissors or a knife. If the box is not at hand, you can use individual pieces of cardboard. Then you need to find the drawing you need on specialized resources on the Internet, transfer it to cardboard sheets, then cut out the parts and fasten them together.
From plywood
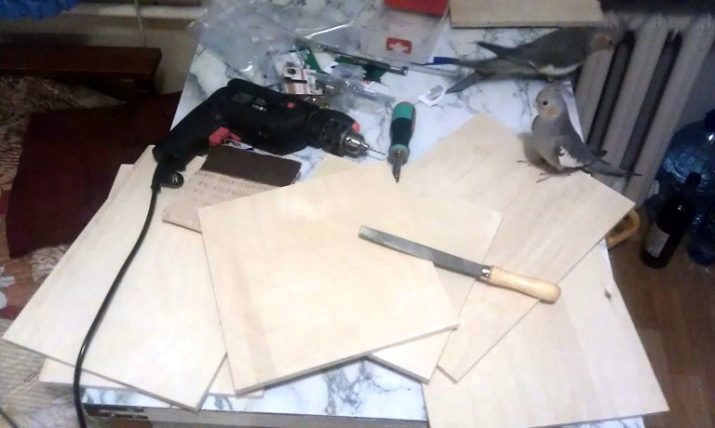
With a plywood house it will be more difficult. The following materials and tools will be required:
- several sheets of plywood;
- self-tapping screws;
- loops;
- drill;
- circular drill.
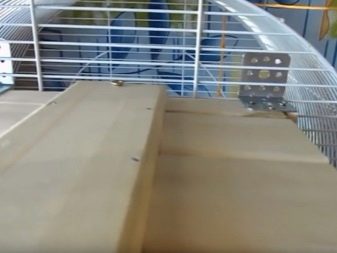
If you want to fix the nest on the cage, you will also need iron corners. Even if a ready-made plywood box was purchased at a pet store, fasteners are rarely available in the kit, or they will not be compatible with the cage. In any case, suitable corners can be found in a hardware store.
Duplyanka
Those who dare to make a duplyanka will have to work hard. The first difficulty is finding the right foundation. If there are no tree clippings in the summer cottage, you will have to go to the forest. Experienced craftsmen advise choosing aspen for this matter, because it often rots in the middle, but the thick layer of wood under the bark remains intact. Of the tools you will need:
- chisel;
- drill;
- wood crowns;
- self-tapping screws.
Having at hand the necessary tools and material, you can proceed directly to manufacture.
How to do it yourself?
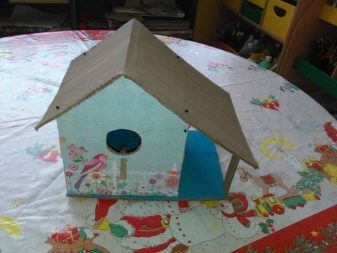
From plywood
First of all, it is necessary to determine the shape of the house and its size. A rectangular box can be vertical, horizontal or combined.
The horizontal shape reduces the risk that the female will damage the eggs at the entrance or exit, but the chicks will be able to leave the nest ahead of time. With a vertical house, the opposite situation develops. For this reason the best option is the combined form.
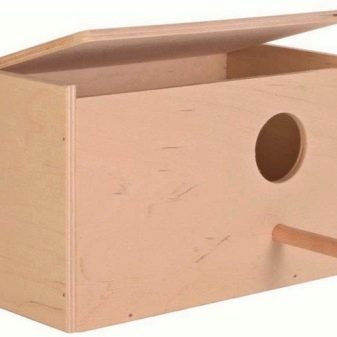
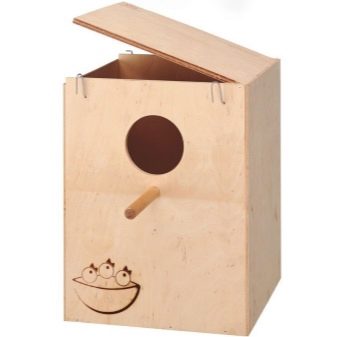
The nest should have the following parameters (for small individuals):
- width - 17 cm;
- length - 25 cm;
- height - 25 cm;
- entrance diameter - 5 cm;
- wall thickness - 2 cm;
- floor thickness - 3 cm.
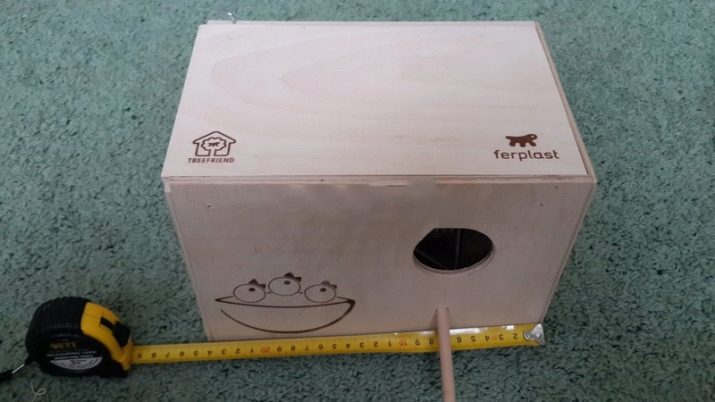
If the parrots are larger, for example, the Korela, the nest can be made wider: up to 20 cm. The main thing is for the female to be comfortable. If the nest is too spacious, the chicks will disperse in different directions, and the female will not be able to warm them all at once.
Below is a step-by-step assembly.
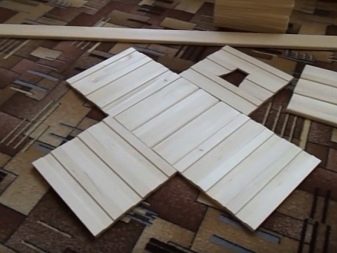
- First of all, you need to make a drawing and transfer it to a plywood sheet.
- Then you need to cut out all the parts of the future house.
- Several holes with a diameter of 1 cm should be made in the side walls so that enough air enters.
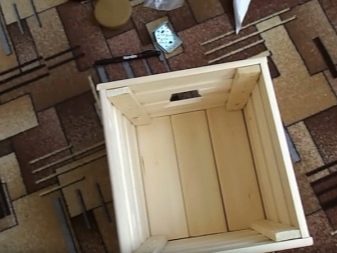
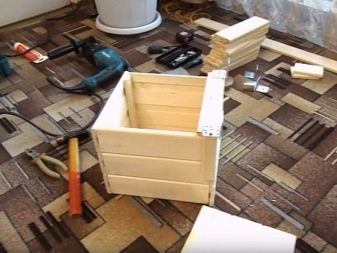
- After this, it is necessary to connect all parts except the roof with self-tapping screws.
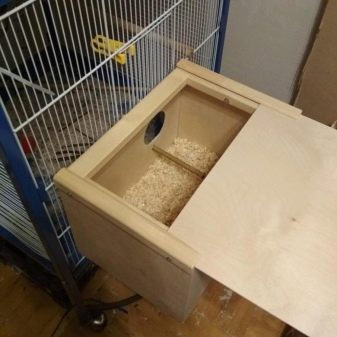
- Place the perch inside. It is recommended to place the sills under it so that the female can more accurately descend to the masonry.
- Sanitize the nest and dry.
- Set the house in the desired place and place the roof on it.
The nest is ready, but not completely. The final touch will be its arrangement.
Creation of a hole
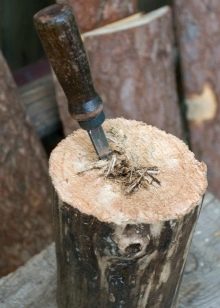
Make it at home will be a little more difficult. For convenient work you will need a workbench. The necessary stump of a tree should have a length of 25 to 45 cm. It is worth paying attention to the following fact: the middle of the workpiece can be rotten, but this should not be the bark.
We divide the assembly into several steps, as in the previous case.
- Clear the trunk of the bark and dry it.
- Clean the rotten middle with a chisel and a hammer, leaving a wall thickness of 2 cm.
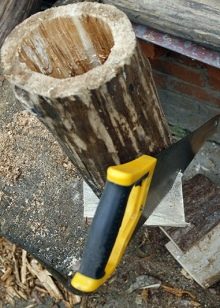
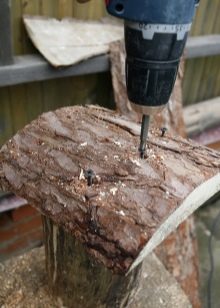
- Drill the entrance with a drill with a crown on a tree.
- Fasten the bottom with self-tapping screws. Any piece of wood or plywood will do. The protruding corners should be cut.
- Disinfect the nest and dry.
- Install the roof in the same way as the floor.
Now it remains to find a place in the apartment where it can be located.
How to equip?
The following are some tips for arranging and maintaining your nest:
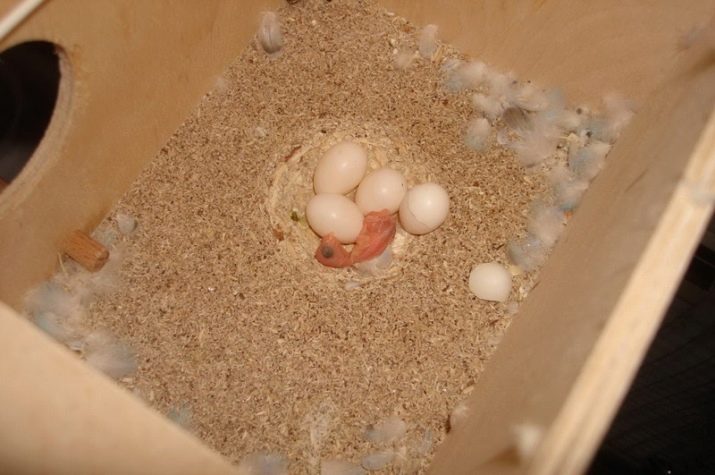
- on the floor it is best to lay dried sawdust of any tree, except conifers;
- it is worth choosing large sawdust so that they do not hurt the budgerigar's legs;
- add one teaspoon of pharmacy chamomile to sawdust to scare off parasites;
- Before hatching the chicks, maintain the average humidity of the nest with a plant pulverizer;
- during hatching, it is necessary to clean the nest from the shell once and change the sawdust;
- when the brood leaves the nest, the house must be thoroughly cleaned and disinfected again.
It’s not at all difficult to create conditions for breeding buddies - you just need to follow the tips described and carefully handle your feathered pets.
See the next video for instructions on making a budgerigar nest.


