Origami is the art of folding various figures out of paper. As a rule, glue is not used in these crafts. If you develop the ability to handle paper, you can make a gift for any occasion. Where to start and how to make more complex modular origami?


Necessary materials
Before creating a simple or more complex masterpiece, You need to purchase some items.
- White and multi-colored paper. To make a card or origami figure, you better use different sheets of paper. The product itself can be monophonic, but on top of it you can decorate with applications: circles, stripes, squares cut from paper of a different color.
- Sharp scissors. For different types of origami, paper of different shapes is used. Both the square and the rectangle can serve as raw materials for your surprise. Therefore, it is better to immediately acquire high-quality scissors in order to use them to cut the desired shape.
- Ruler and simple pencil. With these tools, you’ll just measure the lengths you need to get a rectangle or square.
These items can be obtained at any stationery store, while spending a very small amount. But from them you get a wonderful gift that can please your loved one.


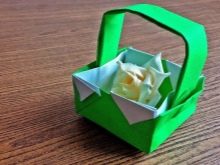
Paper box
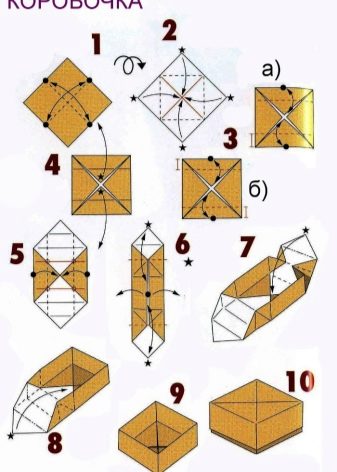
To make a box of paper in which you can put a little surprise, you need a square. You have to choose its dimensions yourself: the larger the side of the square, the larger the box will come out. Now we’ll tell you how to make this origami step by step.
- Fold the square in half and then again in half.
- Turn the square back and lay it upside down. This is true if you use paper that is painted on one side only. Bend the corners of the square to the center. It is clearly visible due to previous folds. The result is a small square.
- Bend the edges of the square to its center and turn back. This must be done to create the fold lines that will be needed later. Do the same action from the perpendicular sides.
- Bend two opposite corners from the center. The result was a kind of "sweetie" in appearance.
- Now bend the side edges of this candy to the middle.
- Now carefully look at the diagram: you need to perform two actions at the same time. Turn the box inside and bend its edges to the center. It's pretty tricky for a beginner, but you can handle it.
- Fold the other side face to the center of the half-formed box.
- Repeat on the opposite side. The box is ready!
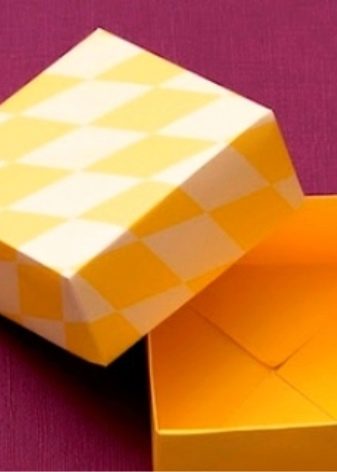
- You can make the second box a little larger, and it will serve as a lid. Then you will have the opportunity to hide a cute surprise in it.
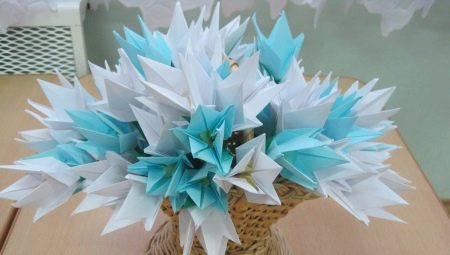
Origami flower
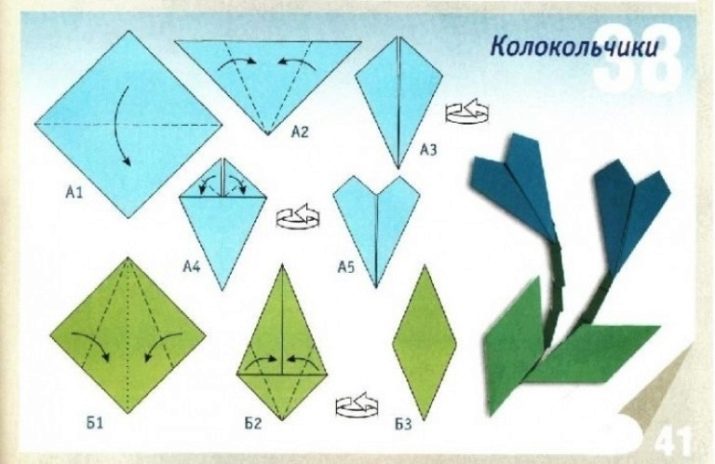
One of the most popular origami figures are flowers. Lilies, roses, and tulips can be folded from paper. They can decorate a bag, card or gift box. To comprehend this art is better from simple to complex, therefore we will show and tell how to make a cute decoration in the form of a paper bell. Make it completely easy. Just stick to the following algorithm.
- Take a blue square sheet of paper and fold it diagonally.
- Fold the edges of the resulting triangle to the middle. Visually get a rhombus. Turn the rhombus with the reverse side facing you.
- Protect the protruding corners as shown.
- Turn the figure back - the result is a bell.
- Now let's take a look at the leaves. Take another square of green.
- Bend it diagonally. Expand and press the edges against the resulting fold line.
- Lower, shorter edges also bend to the centerline.
- Expand the figure - on the reverse side you get an even beautiful rhombus, the future leaf.
Now you just have to collect the composition - stick two bells on the base, draw or cut a stem from paper, attach leaves and fix it all with an adhesive pencil or PVA.
Modular crafts
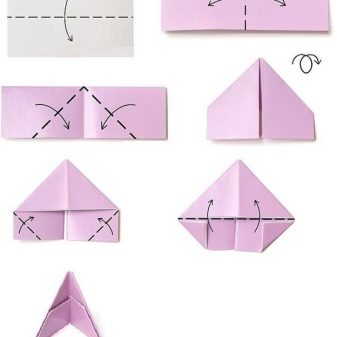
Modularly, origami has recently sharply gained popularity. And this is not surprising, since small elements are not difficult to put together. And large figures are also quite easy to get, assembling them from small modules, like a constructor. Modules come in different shapes, but most often use triangular ones. They can be folded in several ways. Let's analyze the scheme of a triangular module.
- Take a rectangular piece of paper and fold it 2 times in half.
- Expand the rectangles once and bend its edges to the center, as shown in the figure.
- Flip the figure.
- Bend the two protruding edges to the edge of the upper triangle, and then bend them completely.
- Fold in half the resulting module - it's ready!
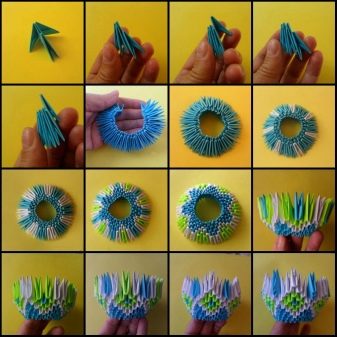
Such modules need to be prepared a lot, since they will form a large complex structure.
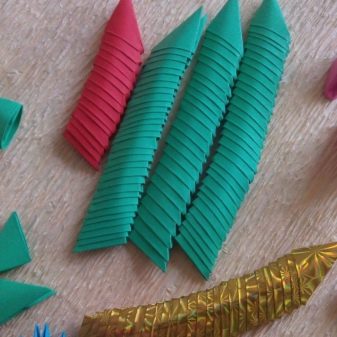
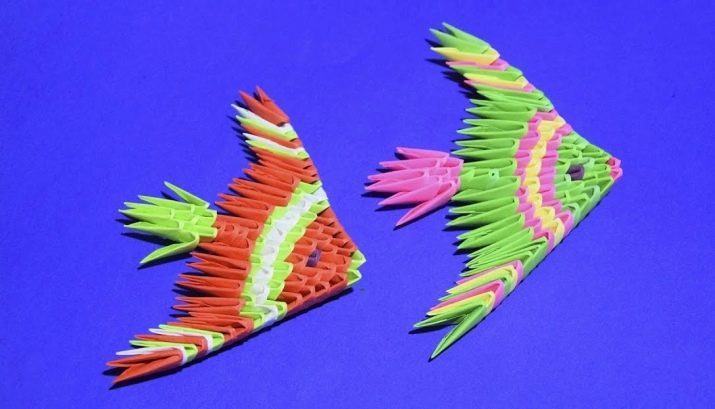
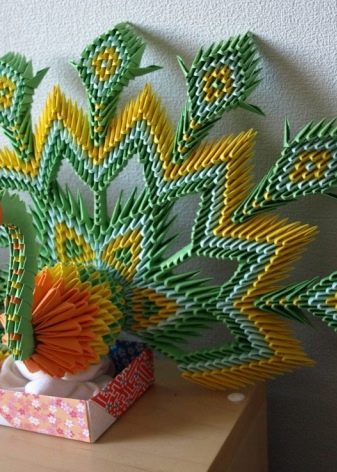
From the modules they make real works of art: different types of animals and birds, dragons, as well as various boxes and candy boxes. Even without a diagram, you can make triangular colorful fish, such as in the picture.
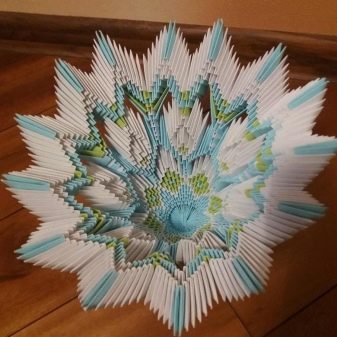
Even without a diagram, you can make triangular colorful fish, such as in the picture.
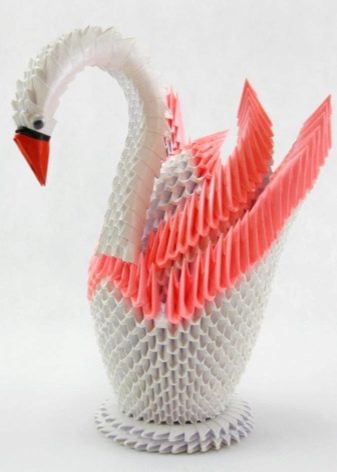
To make smooth bends, for example, for the construction of birds, you can apply the method of the so-called wet modular origami. To do this, paper modules are sprayed with water and bent at the right angles.
Some tips for beginners
Finally, I would like to give some recommendations for those who is just starting his way into the origami world.
- For any origami, at least classic, at least modular, it is better to use double-sided thick paper. It folds better, holds its shape well and does not tear if you accidentally pull it in the wrong direction.
- Follow the instructions clearly and try to fold the paper as evenly as possible at each step. The curvature initially pulls the subsequent asymmetry.
- Start with simple models as you need to get your hand in and learn how to read diagrams. Leave too complex origami for later.
To learn how to make a lily in the origami technique, see the video below.


