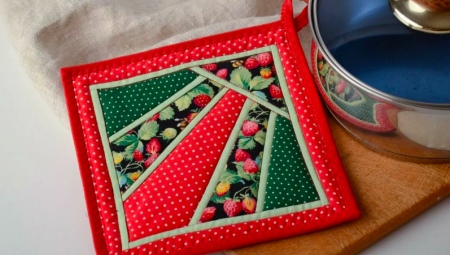
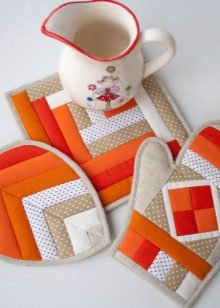
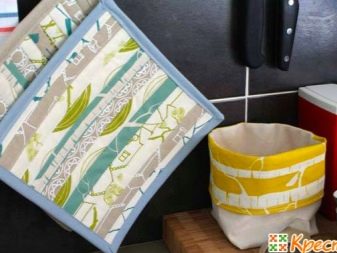
Potholder is the very trifle in the kitchen, which is difficult for real housewives to do without. Today on sale you can find any kind of tack - silicone, textile, knitted. But what is done with one's own hands wins even the most attractive product. Especially popular are the patchwork-style oven mitts, the patchwork technique associated with homeliness.
Features
Purchased tacks have many advantages, but often the shape is not the same, the seam is not the highest quality, the colors are not chosen as we would like in the context of the kitchen. Then there is nothing left but to get down to the work itself. And now about the patchwork itself. This is patchwork, which allows you to create a product from different pieces of fabric. Stripes of fabric are connected into small blocks, and the block forms a particular geometric figure. Pillows, blankets, bedspreads, capes, needle beds and, of course, kitchen potholders are sewn in this style.
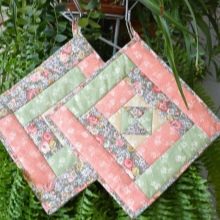
Once patchwork was inevitable - the lack of material forced needlewomen to sew unclaimed pieces of fabric. Today, this is exquisite creativity, from which it blows comfort and warmth. In the patchwork style, potholders are sewn and knitted. The first method can probably be called simpler. It takes less time, yarn, hooks, knitting needles and special skills are also not required. It’s easy to sew tacks even to one who has never sat down at a sewing machine. Their schemes are not so complicated, everyone will learn a simple algorithm.
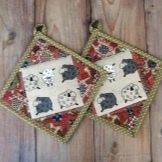
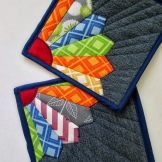
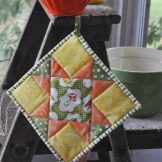
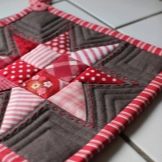
The nuances of sewing are as follows.
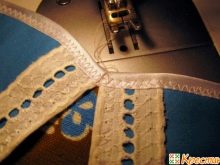
- If the fabric rolls in, it will have to be processed first. - Ideally, this is done using an overlock. But you can just walk through the fabric by hand, with a needle, using a standard overcast seam. And you can just tape the seams and hide inside.
- Tack almost always hang on a hook, therefore, its presence must be foreseen in advance.
- Whatever the pattern, a centimeter allowance should be left for the strength of the product.
- It’s not worth writing with felt-tip pens or pens on a pattern, they may not slip away and shine through from the inside.
Usually, oven mitts are sewn immediately in batches. It’s convenient to make them in pairs: you can evenly fit, you can use the “big + small” set.
Materials
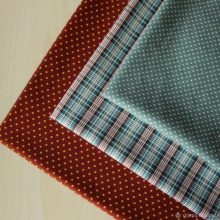
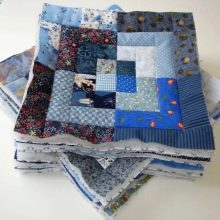
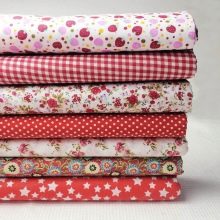
Any dense fabric is suitable for sewing tack from flaps. If it is a natural material, fine. But semi-synthetic fabrics are also suitable. Thermally resistant linen and cotton. If new material is taken, it should be washed, as it may shrink. Denim should not be neglected, it is in the patchwork that it looks organic. It is enough to rip an old skirt or jeans - and denim shreds will become part of the kitchen accessory.
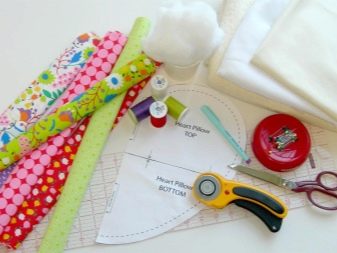
What else is needed for work:
- sewing needle and thread;
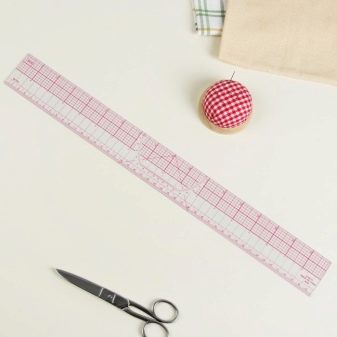
- centimeter and scissors;
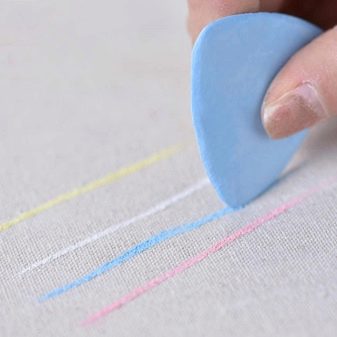
- a piece of soap or chalk;
- pins
- sewing machine.
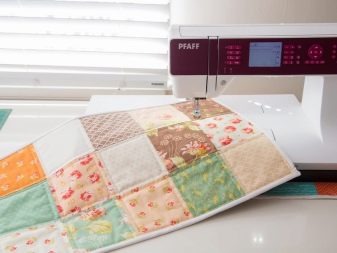
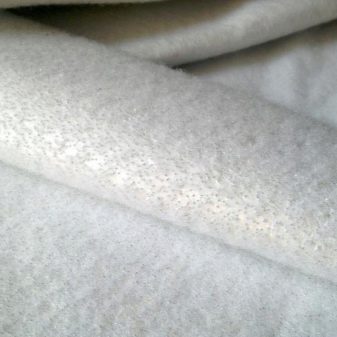
Not necessarily, of course, a tack without filler. It can be formed from a thin padding polyester, batting and drapes are also suitable. If none of this exists, you can fold the fabric in two layers. Of the modern options available, felt is a good filler.
To trim the tack you may need a braid.
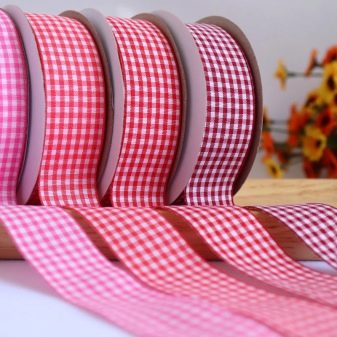
Necessary tools
Basically, you have to sew a tack on a sewing machine. Handwork is not excluded, although it is more difficult to make an ideal patchwork product here. Scissors should be sharp, a centimeter tape - with a brightly marked scale. You need to make a pattern with a small or pointed piece of soap.
It makes sense to store the used patterns in a box, because they can still come in handy. It is possible that in the process of making a tack, the craftswoman will want to make some other product in the kit. Using the same fabrics and the same technique, you can really make, for example, a beautiful path to the dining table or a napkin for open shelves.
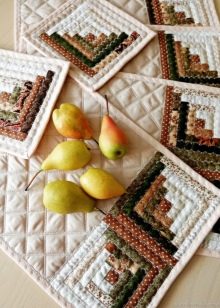
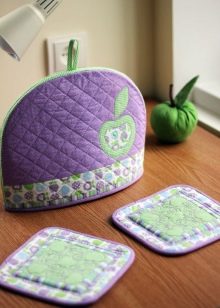
Interesting ideas
Beginning seamstresses use ready-made patterns and patterns. In the proposed technique, it is interesting to sew a New Year’s tack or Easter tack (seasonal kitchen decor), you can make a round product or a tack in the shape of a star, a triangle. If there are children in the house, it is interesting to please their look with an accessory in the form of a mouse or a bunny, chicken or fish.
"Owl"
What you need to work:
- cotton printed fabrics of 6 options (variegated, pea, floral print suitable);
- thin synthetic winterizer or other sealant;
- scissors, threads, needle for fastening;
- sewing machine;
- pins for fastening shreds.
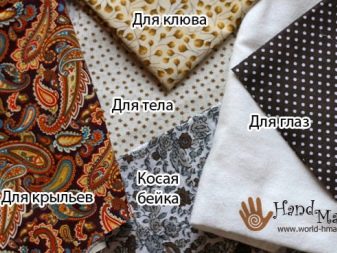
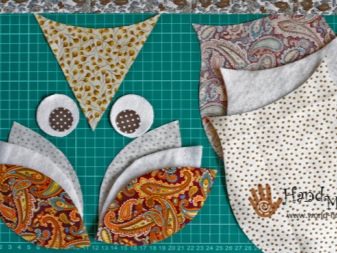
The master class is an Owl tack step by step.
- Print the pattern (template), wash all used fabrics for shrinkage. Before opening the fabric, steam it with an iron. Transfer to the fabric details of the pattern.
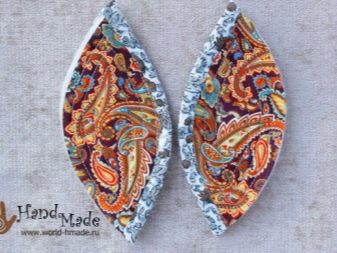
- For wings, you will need 4 parts (2 of a motley fabric with a front picture, 2 of fabric for the tummy). For the eyes, you need 2 parts made of white material, 2 - of dark polka-dot fabric. For the body, 2 parts, for the beak - 1. For the oblique inlay, 4 strips 4 cm wide are needed. For the body, the length of the oblique inlet is 60 cm, for the wings - 20 cm, for the top of the head with ears - 30 cm. 2 parts need to be cut out of the filler for wings and 1 for a body.
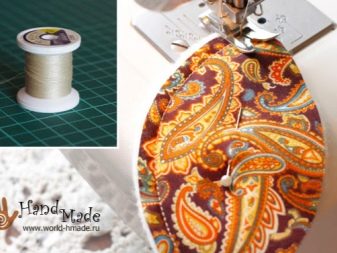
- Sewing begins with the wings. The algorithm for folding parts is as follows: the reverse part is facing down - the filler is the top of the wing face up. Everything is fastened with a pin. Stitches are laid so that 3 seams are obtained on each side of the wing. One of the edges of the wing is processed oblique inlay.
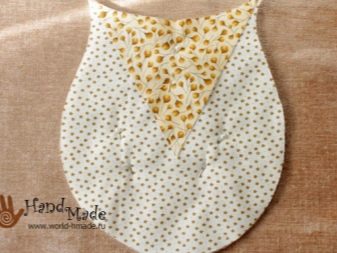
- You can proceed to the body of the owl. The edges of all parts must be combined, chopped with pins the elements of the body, filler and detail of the beak. The beak is sewn on two sides with a zigzag stitch. To seal the seam, take a short stride length.
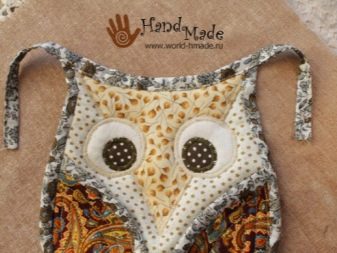
- Next, pins pin the details of the eyes. And also along the contour, the zigzag seam is used.It is difficult to pin pupils with pins, they can be fixed temporarily with two hand stitches. After that, you can calmly stitch their edge.
- Now we need to fasten the details of the wings and the body of an owl. A slanting inlay is sewn in a circle. The ends of the oblique inlay on the bird's head are sewn by hand, since the ears need to be formed.
So, pretty, relatively easy to do with your own hands is a cute owl-tack for your favorite cuisine.
"Square"
To work you need:
- 2 cuts of cotton or flax - squares 24 by 24 cm;
- 24 strips of fabric in different colors (length - 24 cm, width - 2.5 cm);
- 2 cuts of cotton batting 24 by 24 cm;
- border - 250 cm;
- iron, scissors, threads, pins, sewing machine.
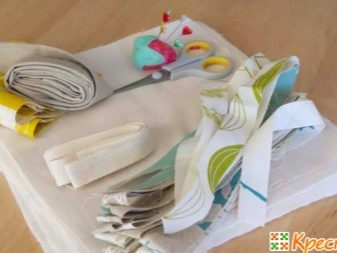
Work algorithm.
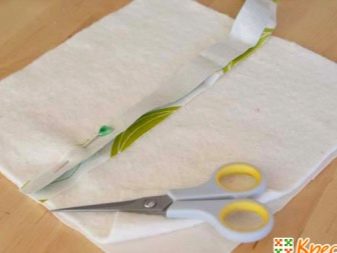
- A plain linen is placed under the cotton batting. 2 square blanks are stacked one on top of the other. From above you need to lay out multi-colored stripes, they are sewn directly to the batting.
- Two strips with the front sides dock to each other in the center of the batting square. Sewing goes on one side. The upper strip should be bent and iron the seam. The other strip is laid face down on the attached one, and the strips are again sewn along the edge. The last strip bends, the seam is smoothed. With the other part of the tack, everything follows the same algorithm.
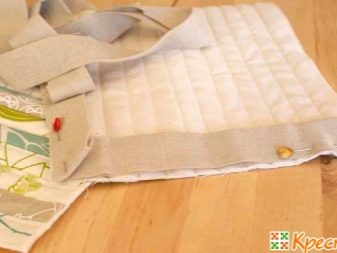
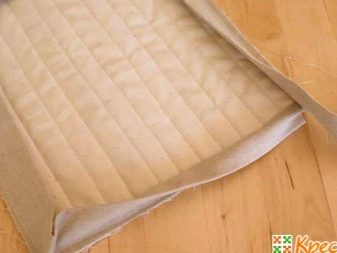
- If you wish, each strip can be finished with a finishing seam.. Next, the border is superimposed on the inside of the product, which is already sewn from shreds. The raw edge of the border should connect to the same edge of the product. The hem is sewn first on one side of the square. Before a new angle, it should be bent 45 degrees. So the border is sewn around the perimeter of the whole product.
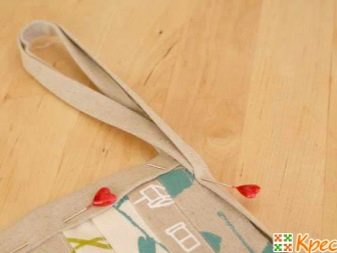
- Next, the border is bent to the front side and this is done until the last part of it is sewn, almost reaching the corner. Cut excess, leaving 9-10 cm borders on the loop. It remains only to form a loop and sew a border to the face of the product.
Square potholders are a classic of the genre; making them is easier than described. You just have to try it!
"Butterfly"
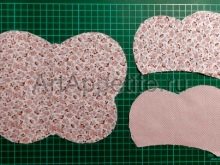
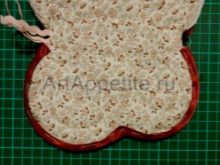
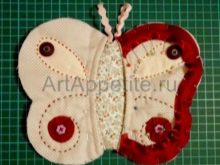
Save the pattern and print it. From any comfortable fabric you like, make details according to the pattern - 2 large for the body and 4 small for the wings. Duplicate parts from the filler.
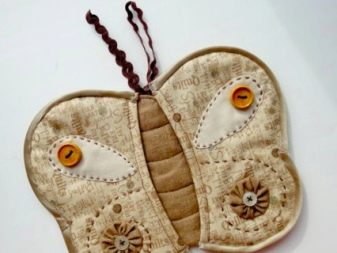
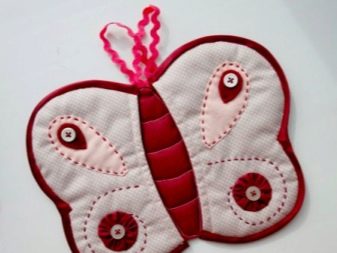
Butterfly in a simple way.
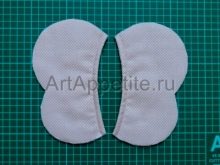
- After duplication of the outer part of the wing with a synthetic winterizer, fold the parts with their faces inward and sew them together on the outside of the wing. Make a few cuts along the fold line (otherwise the wings will puff up). Unscrew and make a stitch to the width of the foot from the seam.
- Each detail of the base is duplicated with a synthetic winterizer. Parts are folded face inward. For the antennae, 2 fragments of braid are cut off, they need to be chopped and laid 2 lines. Incisions are made at the base of the wings, the butterfly eversed.
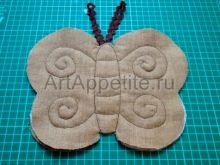
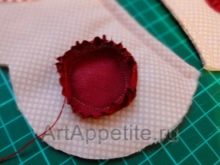
- Next, you need to make a decorative stitch - you can arbitrarily, you can according to the drawing. The wings are decorated with applique. It can be different beautiful fragments, buttons, anything.
- It remains only to stitch to a tie in a butterfly and make a loop.
Before sewing a tack, you need to carefully study the pattern and first understand it theoretically.
"Bell"
Required for work:
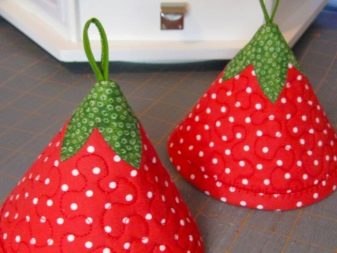
- green and red fabric (author's options are possible);
- lining fabric and heat-resistant lining;
- narrow inlay (better - finished);
- threads and sewing machine, pins.
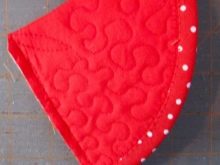
Performing a tack.
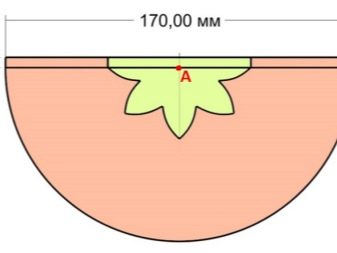
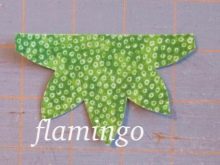
- The pattern must be done according to the proposed sample. 5 mm - mandatory stock.
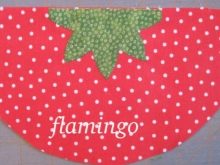
- Sepals need sew with applique stitch or “zigzag” stitch.
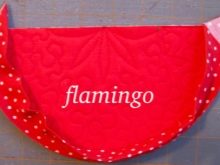
- Next, you need to collect all the layers of the bell, quilting them. Immediately outline the top of the bell. A circle should be drawn from the top of the compasses. Excess tissue is trimmed around this circumference.
- Slices are processed by an inlay. If the finished one and the color suitable was not found, you can cut out the strip itself from the desired fabric. Cutting is performed obliquely.
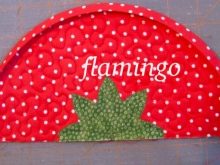
- The edge of the product is trimmed, the excess trim is trimmed. The part must be folded in half by inserting a loop of braid into the corner.Sew it up with a machine seam.
- Neaten sections turn out the finished bell.
Done!
"Cake"
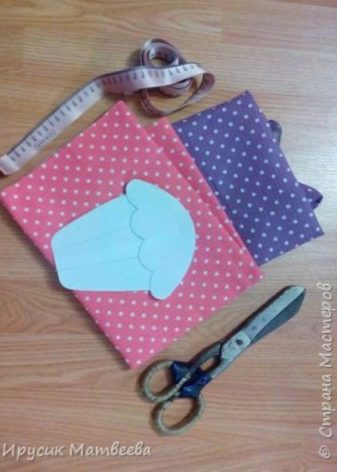
What you need to work:
- fabric of two color options;
- tape and synthetic winterizer;
- button, thread and sewing accessories.
Work description.
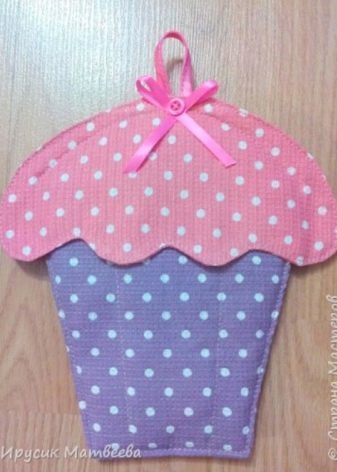
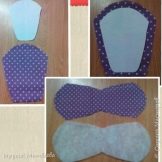
- You can draw a cupcake pattern independently, the shape and size are arbitrary. The fabric must be folded in half, marked and cut out the part. Do the same with sintepon.
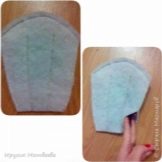
- In the expanded form, the elements should be sewn in the center in 2 lines, folded in half. Next, sew along the perimeter, leaving a small open area.
- Unscrew the parts, make a seam along the edge with an indent of 2 mm. The open part is also affected at this moment.
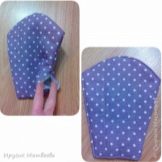
- 2 blanks are cut out for the hat, they should be folded facing each other, first inserting a loop. Stroke, leaving a small fragment open. Then turn out, stitch along the perimeter with an interval of 2 mm from the edge.
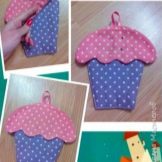
- Fold the main part and the hat, aligning the edge, stitch along the edge. Sew a bow and button to the cupcake.
Cute potholder is ready!
"Heart"
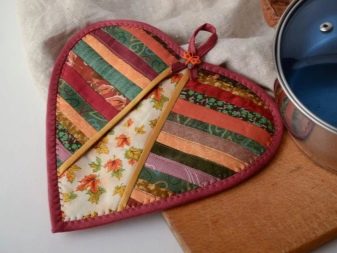
A simple heart-shaped tack can appear in the house on Valentine's Day.
What is needed:
- suitable color and print fabric - for the main part and the sides;
- plain fabric for lower parts;
- flannel or other filler;
- finished inlay;
- Button
- threads, sewing tools.
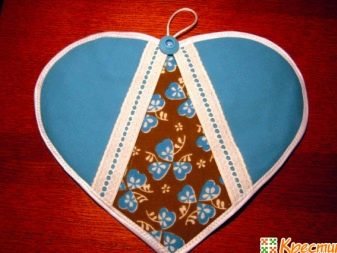
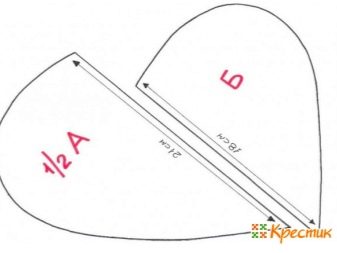
Working process.
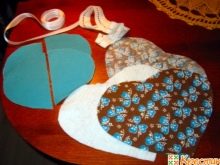
- Patterns are patterned.. All blanks from fabric and filler are made according to the patterns marked with letters.
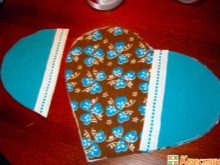
- The upper and lower parts are folded back to each other, a filler is laid between them.
- According to the second pattern, a blank is cut out of colored fabric for the upper sidewalls, from a plain one - for the lower. Details are folded in pairs with the wrong side to each other, fixed with pins.
- Slices are processed oblique inlay. For processing, decorative stitching is more suitable. Excess pieces of tape should be cut off.
- Then the tack is folded, the elements should converge along the contour. Dimensions, if necessary, can be adjusted.
- The perimeter of the product is processed inline. The plot in the center for the future eyelet remains open. An eyelet is made of a 15-centimeter inline. It is inserted at the rear with a downward orientation.
- It remains only to iron the finished tacksew on it a decorative button.
The heart is ready!
Other options
It’s great if the house has the so-called seasonal potholders - by the New Year, by summer and by autumn, by the time of spring awakening. They allow the kitchen to change without serious expenses and changes in large details.
What else can be tacks:
- in the form of an apple;
- standard - in the form of mittens;
- trapezoidal;
- in the form of a leaf;
- nesting dolls;
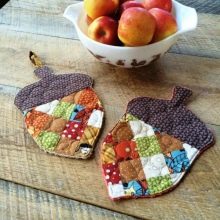
- acorns;
- pumpkins.
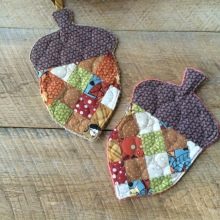
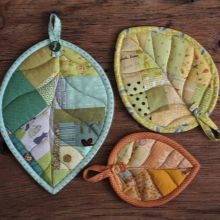
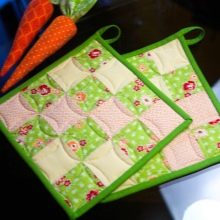
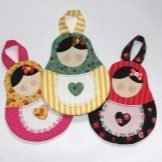
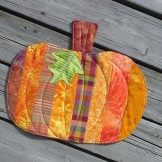
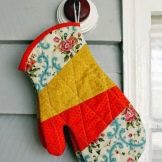
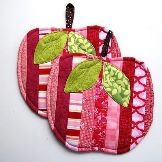
Great if they find a roll call in the interior. This can include table paths, napkins, tablecloths, interior toys for the kitchen (for example, a goose for bags), kitchen aprons and aprons. Decorative covers for chairs and stools go well with patchwork tacks. They can be with a pillow inside or just with any suitable filler. Window blinds are also a good example of textile harmony in a kitchen interior.
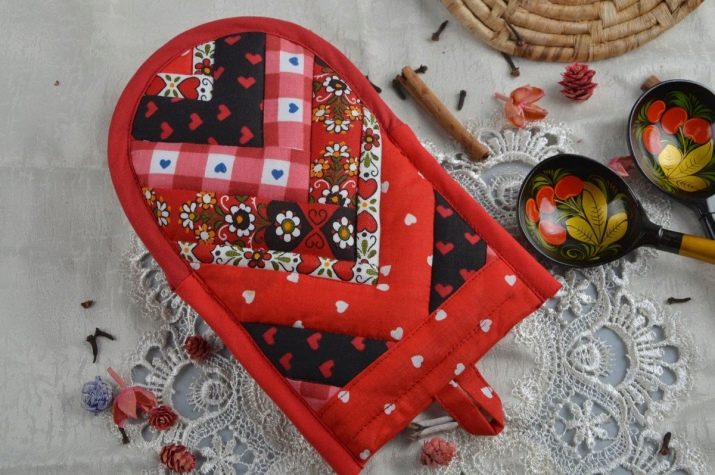
Product Examples
Interesting examples of tack in the patchwork technique.
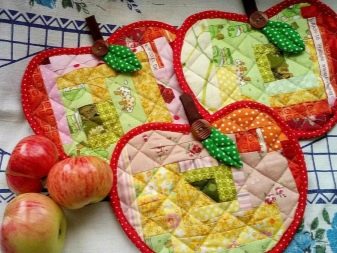
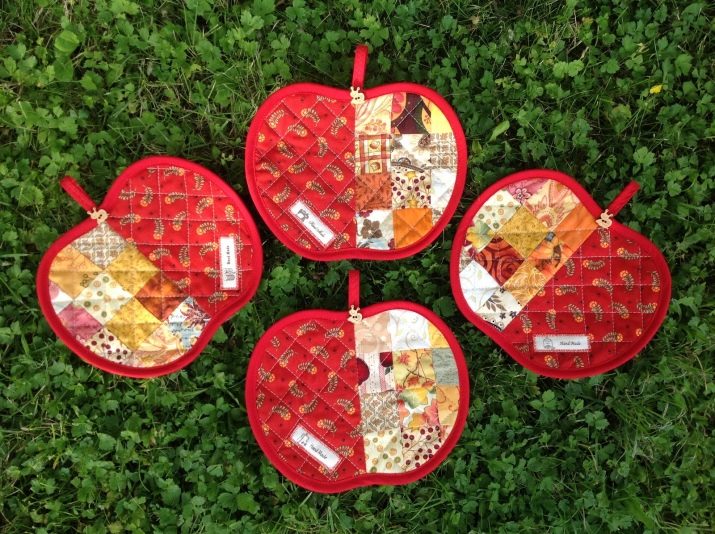
- The apples. Always cute, vibrant, “mouth-watering”. Sewed from strips of fabric, decorated with buttons and felt leaves.
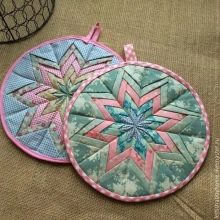
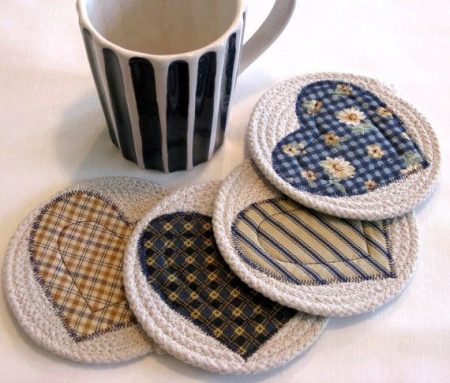
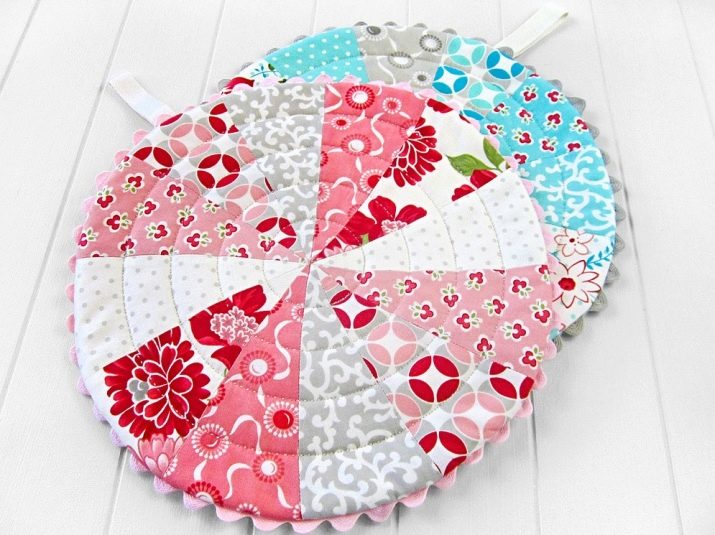
- Wonderful round potholders, which are also used as textile cup holders. Sew in sets. They add comfort even to the most brutal interior.
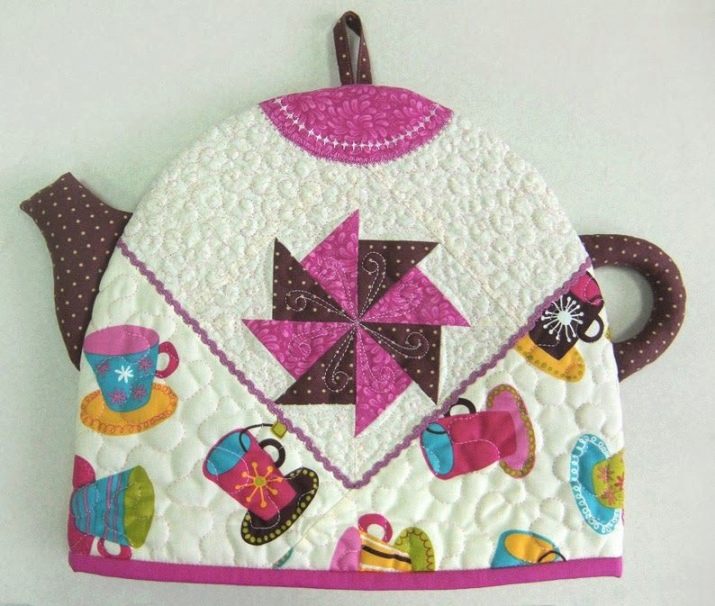
- A mitten in the form of a teapot. Specifically, there is almost no patchwork here, but copyright alterations are only welcome. Perfectly looks like a decor on a wall, but at the same time is convenient to use.
- Another version of a very beautiful round potholder. The most delicate fabrics, sector sewing, taping are suitable for a kitchen decorated in romantic, calm colors.
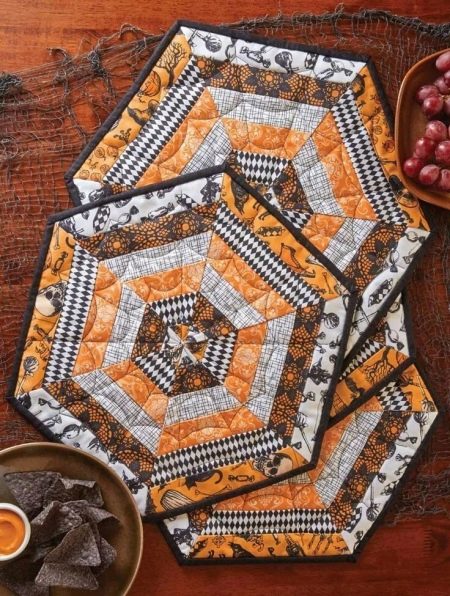
- Potholders in the autumn style. They can be used both for their intended purpose and as napkins to create the desired atmosphere of the season.
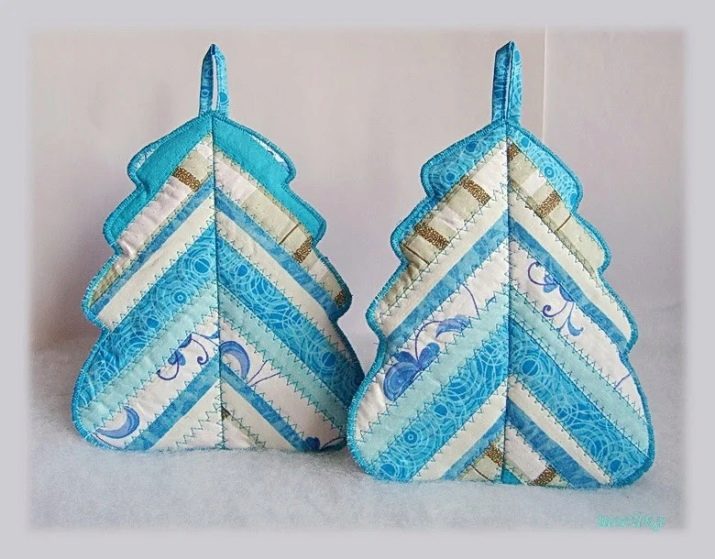
- The sweetest Christmas trees for the New Year's decor of the kitchen.
- Another variation on the New Year theme.
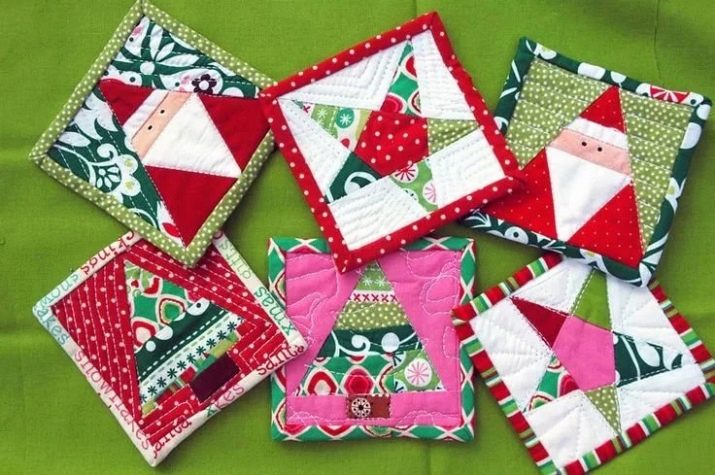
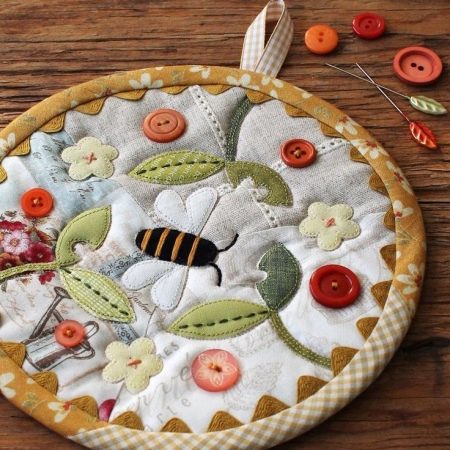
- More than a tack - A true work of art with elegant application.
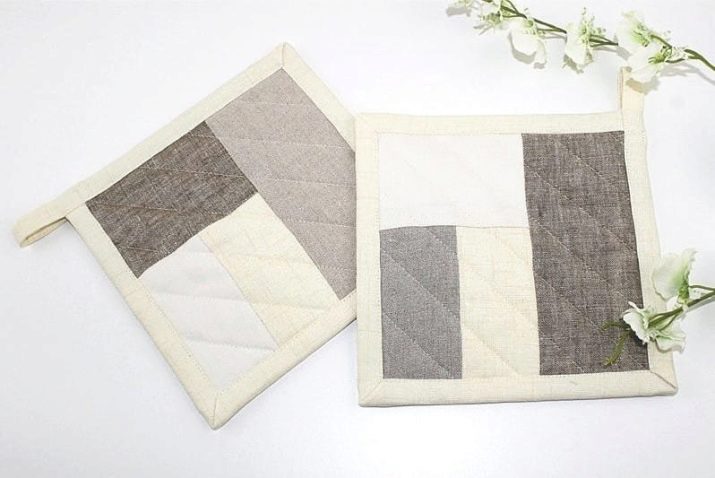
- Inspiration option for lovers of minimalism.
- Patchwork mice - A bit of humor will not hurt in the kitchen.
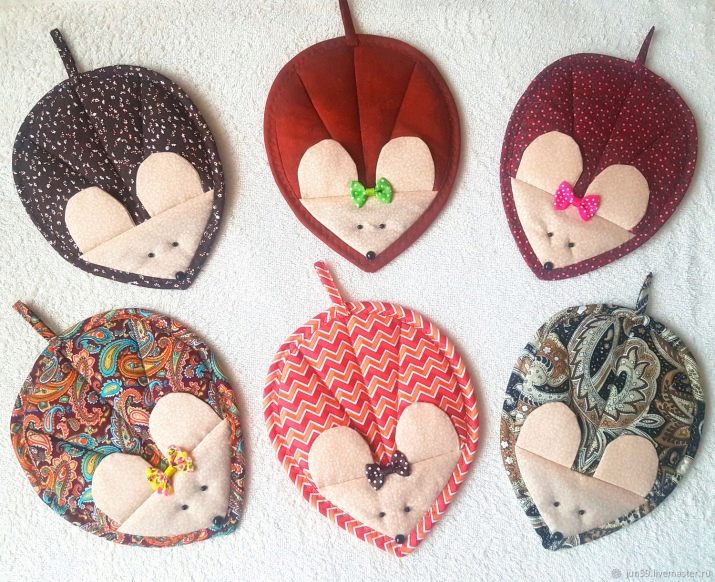
Good ideas and their successful implementation!
A workshop on sewing patchwork-style kitchen gloves in the video below.
