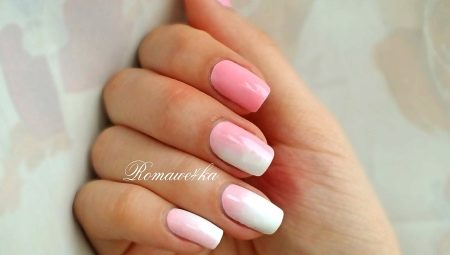
Ombre on nails conveys a smooth color transition from dark to light shade. The global designers of the fashion industry on the threshold of 2010 literally pounced on a new trend. Until now, they have successfully used it in the field of beauty. Stylishly, the ombre effect looks both on short and long nails.
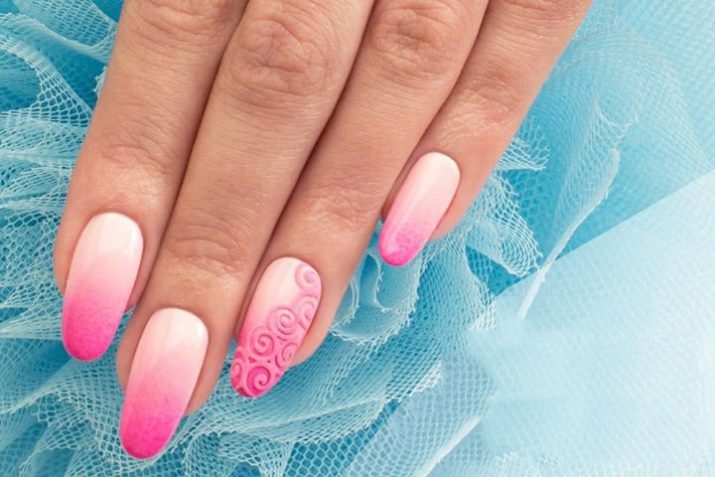
Varieties
The secret of gradient manicure is that it fits equally stylishly both in the image of a young beauty and an elegant elegant seductress. It is important to choose the right combination of pink palette and make a spectacular sharp or smooth transition of shades.
The gradient look of manicure gives endless scope for creativity. Masters create a lot of interesting transitions, using pink varnish colors in the work, as well as a palette contrasting or close in hue.
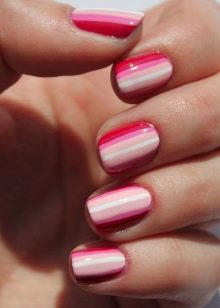
Linear Ombre. The hit of the season is important to perform within the same color scheme. There will be no smooth stretch marks, but the number of tones will increase to seven. "Neil" -designers impose several stripes of any orientation, from light to dark.


Vertical gradient can be done by painting each nail in its own color from a single palette. You can choose several similar tones or just change the brush intensity, the number of layers. The effect of the vertical ombre in this case will be noticeable only when all the fingers are connected together. In other cases, each nail can be individually painted with a vertical “degradation”.

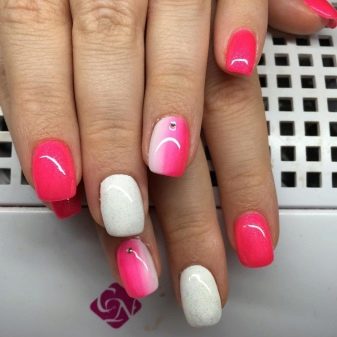
Horizontal stretch performed within the same nail, gives rise to incredible scope for creativity and "nail art" receptions.You can experiment on one hand by combining color transitions from the bottom up (from dark to light) and in specular reflection (from light to dark).
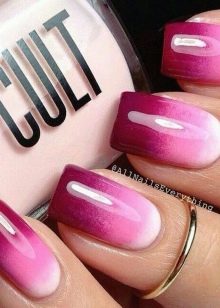
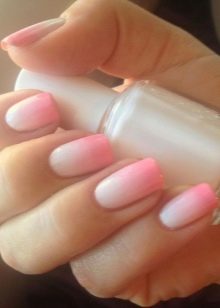
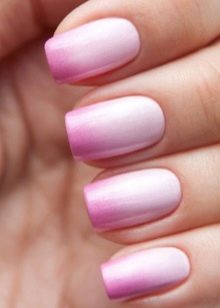
Gradient french It has been in demand since 2017 and still does not lose relevance. The “tandem” of pink pastel colors and white stripes is considered a classic, a smooth transition to which is carried out with the addition of curious textures (rhinestone, sequin, glitter, etc.).
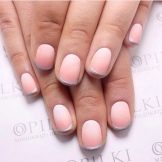
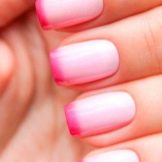

And the original ombre can be made using the technique of moon manicure with the addition of geometric prints, openwork patterns, stickers, stamping, rubbing.
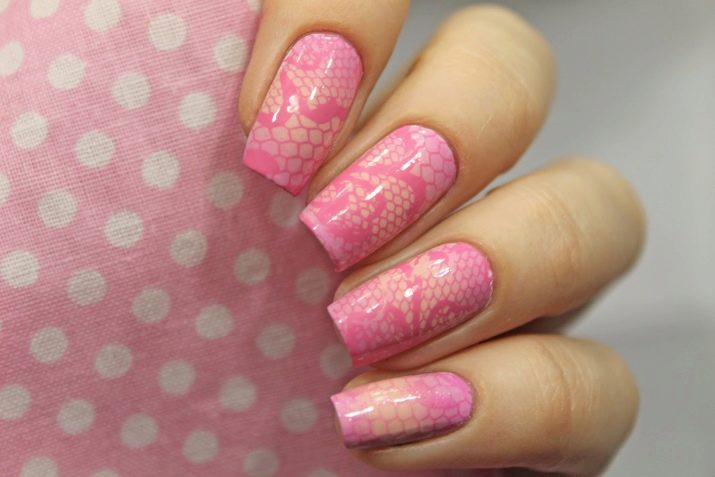
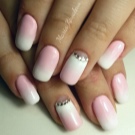

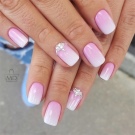
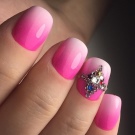
Future look will help you choose your suit, pattern and type of ombre. Gradient pink will suit perfectly the official, casual and solemn version of clothes.
Actual palette and possible combinations
The light pink gradient is associated with innocence, femininity, coquetry. There are several categories of this color, ranging from warm tonality, cold accents based on fuchsia and ending with blurred light colors mixed with gray and blue. At the peak of popularity in the coming season are such shades as:
- pink cloud;
- crystal rose;
- cream with peach;
- powdery with the effect of a worn surface;
- sakura;
- flamingo;
- purple pink.

If earlier “nail” masters delicately darkened light shades, today they also create the most incredible gradient. With the color of spring sunset, such shades as:
- amaranth;
- dark purple;
- turquoise;
- silver;
- White and black;
- red violet;
- green (closer to the swamp, khaki);
- brown.


In color, creativity and “blurring” will be welcomed, and any strict framework will be forbidden. Must have of the upcoming season - any shade close to the skin color in combination with pink: beige, ivory, coffee, etc. The “duet” of tea rose and berry mousse with purple shades also looks provocative. Pink color successfully combines with plum, cherry, graphite, pale cornflower blue, smoky purple.
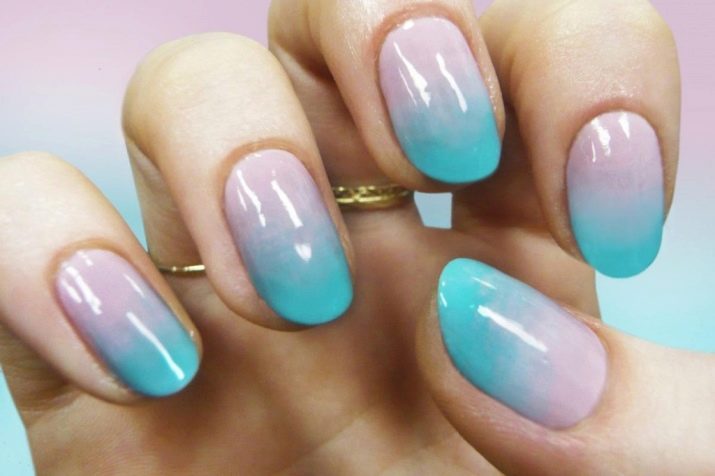

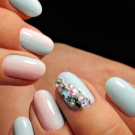
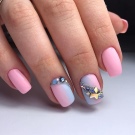

At home
In order to make a stylish gradient on the nails, it is necessary to “arm” with the necessary shades of varnish, a mini-sponge, transparent varnish and a cosmetic cotton pad.
The sponge must be moistened in water and a clear line in dark color should be drawn along its edge. After it, strips of lighter pink shades loom in turn.
The “painted” sponge is first printed on a white sheet to achieve smoother borders between the flowers, and then transferred to the nail. The more porous the structure of the sponge, the more noticeable it will be on the fingers.
It is necessary to get rid of excess varnish with the help of a special liquid and a cotton pad (stick). The result is fixed with a clear varnish. Further, the ombre is decorated with rhinestones, glitter, painting, etc.

Gel polish
When using shellac, the process will be much faster, and the result will be more effective and longer. It is important to prepare a varnish with a clear, dense pigmentation, which can be applied in 2–4 layers. Coloring should begin with a light tone, gradually turning into juicy, dark.
Masters of "nail art" are used to work:
- base and finish for gel polish;
- scallop brush;
- led lamp;
- sticky fluid at the end of the coating.
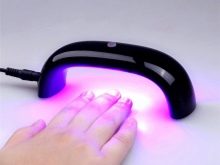

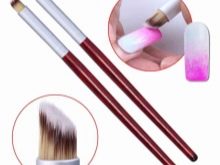
First, you have to work buff, shape the nails, degrease them. Next, a base is applied to the nails, on which a gradient will subsequently be drawn.
For quality work, it is important to choose a comb comb of the correct shape, how to fluff the tool.
Starting from lunula, step by step, with small strokes, it is necessary to stretch the pigment and from time to time to polemicize the result. At the very end, you need to fix the work with the finish coating. To simplify the modern ombre on the nails, many masters use an airbrush. The tool speeds up the process of applying the gradient and makes the result perfectly neat.
Owners of the “rounded square” are recommended to supplement this type of manicure with kamifubuki, rhinestones and rubbing in the confluence of tones. Short nails will visually become larger, and long nails will turn into a real “canvas” for “nail art”. Here it will turn out to display geometric patterns, create an acrylic painting, lace "spider line", beautifully lay spangles.
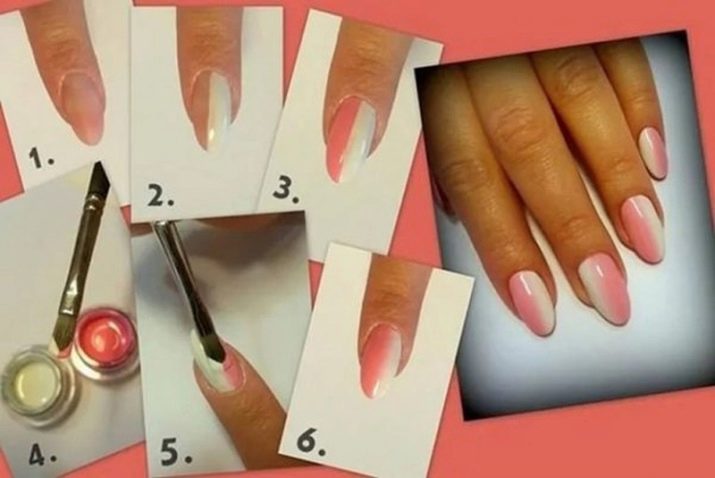
See the secrets of creating the perfect gradient below.
