In the spring and summer, I want to quickly drop the dark shades and dress up in bright, rich colors that will cheer up and bring positive to life. The desire concerns not only clothes, hairstyles and makeup, often you also want variety in manicure. The original idea will be to create a bee design on the nails. In this article, we will consider interesting ideas for manicure with a bee and tell you how to make it.

Who is it for?
The bee design will be an excellent option for young girls who prefer a bright and extraordinary style. Blondes, brunettes or redheads - a similar pattern is suitable for the fair sex of any color type. The length of the nails also does not matter, since the variety of nail art allows everyone to choose something for themselves.
When choosing clothes, you can experiment with images. An excellent option will be the classic total black look, in which the yellow-black manicure will be a highlight. In this form, you can even come to work, but not to a business meeting.
It is better not to do a manicure with a bee for going to a restaurant or a festive event, yet evening outings suggest more standard options that will not stand out much.
In spring, this design can be combined with jeans and a yellow leather jacket. A yellow-black image to match the nails is perfect. In summer, a perfectly bright chiffon dress or a bee print t-shirt tucked in jeans. If desired, you can wear a white dress and sneakers.
It is customary to add a yellow accessory to plain outfits. For example, a silk scarf around the neck or a small handbag over the shoulder. Any bee prints are welcome on the clothes: flowers, a pot of honey and even a bear.
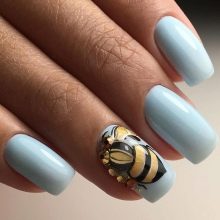
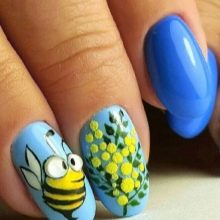
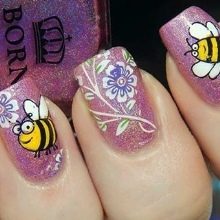
For nail design, it is not necessary to use only yellow and black shades. Any pastel colors, for example, pink, blue, mint or purple, are perfect for bees. As a basis, you can use classic white.
How to make?
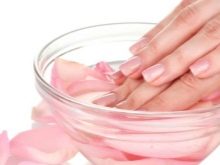
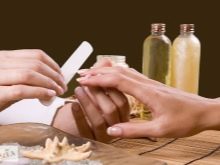
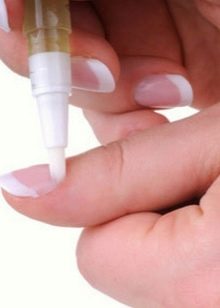
Before creating an interesting manicure, you should prepare your hands. To begin with, the previous design is removed from the nail plate, after the fingers need to be lowered into a container with warm soapy water. Ten minutes later, when the skin softens, you need to wipe your hands with a towel and use the nail scissors and nail file to give the nails the desired shape and length. The cuticle is pushed back with orange sticks. Then you can start applying varnish and creating a design.

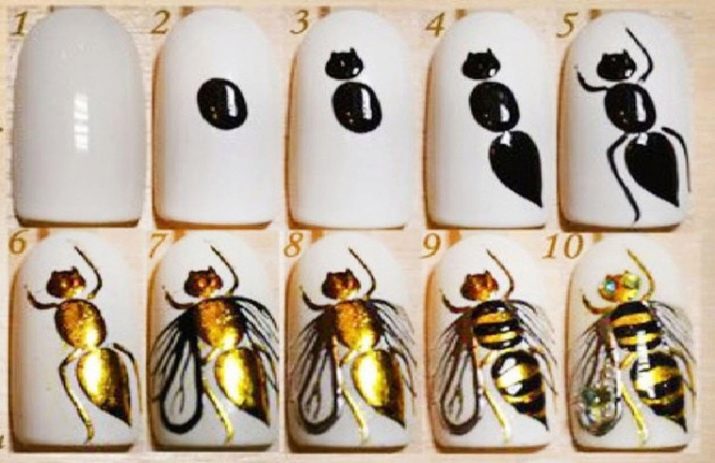
To draw a bee, you will need needles of different sizes, black and yellow varnishes for the bee and one for the base. It is recommended to start with making a simple drawing to fill your hand, after a couple of workouts you can move on to more complex forms. First, a base coat is applied to the nail plate. As a rule, the color is chosen neutral or completely transparent, since the pattern will be quite bright. Next is the process of creating nail art using a thin needle.
The thickness of the resulting strip depends on its diameter, so you should carefully select the tool so that the drawing is accurate.
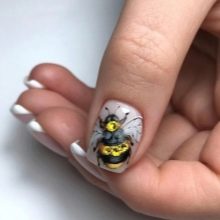
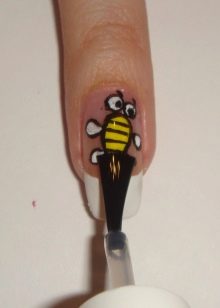
First of all, the outline of a bee is drawn: oval body, round head and wings. The body needs to be painted over in yellow when it dries on top black strips are applied. It is better to make the wings white and draw strips with a thin needle. The last to draw a sting and antennae.
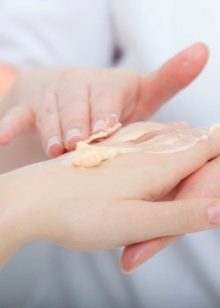
The final step will be the application of a transparent finish to consolidate the picture. To soften the cuticle, it is recommended to lubricate it with peach, jojoba, grape seed or apricot oil. At the very end, rub your hands with a moisturizer and make a light massage.
In the next video, you will clearly see how to draw a bee on nails.
Beautiful options
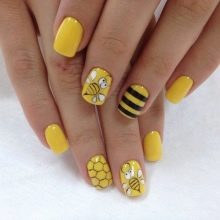
The design of nails with a bee can be varied and combine not only yellow and black colors, but also many others. You can draw a bee both on one nail, and on all. Insects can be the same on all fingers, and with different facial expressions, position and stance. It all depends on your imagination and image for the day.
Bee path
A feature of this option is to create nail art, the path of which will go from one finger to another. The base can be transparent or any pastel shade. A bee is drawn on the thumb, and the imaginary trajectory of its flight is indicated by black dots on the rest. It can be straight, wavy, diagonal or lines with loops. The main thing is that the beginning of the dotted line on one nail should be in the same place where the end is on the other. Similarly, the illusion of flight will be created.
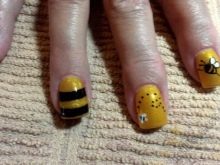
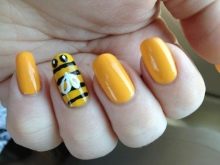
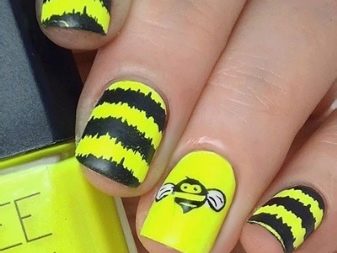
Striped
In this case, the nails will be decorated not with a pattern, but with a bee color. To begin with, a transparent base is applied so that the nail art lies smoothly. Next, the entire surface of the nail should be painted yellow, after drying of which horizontal black stripes are drawn with a brush or a needle. The width of the lines can be any as desired. For greater effect, insect eyes can be depicted on the tips of the nails.
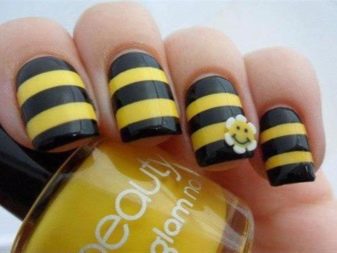
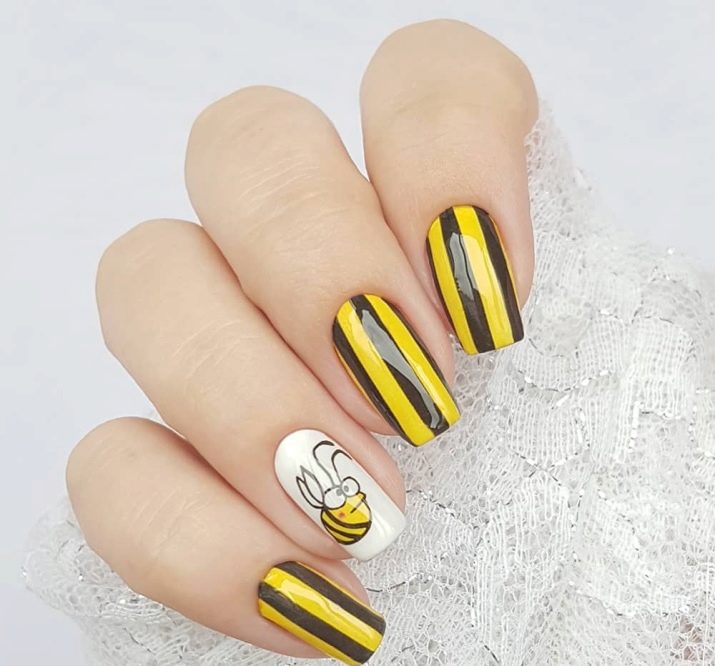
Another option involves applying vertical brown lines to a yellow background, however, a similar pattern is designed only for four fingers. On the nameless nail should be applied with the first layer of white color, and on top draw a bee.
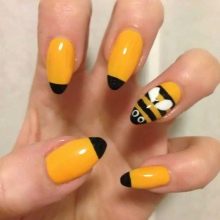
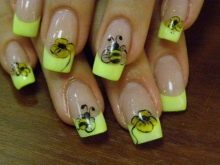
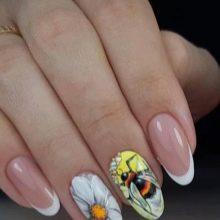
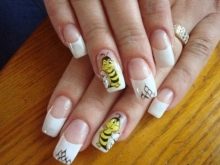
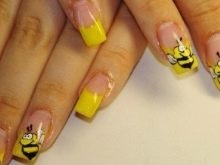
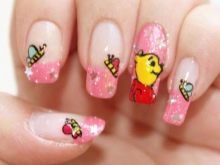
Bee jacket
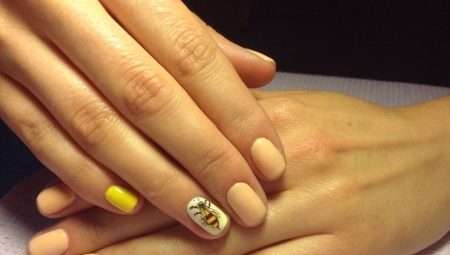
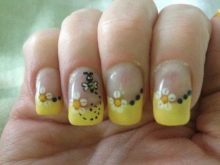
French manicure from the moment of its appearance began to undergo some changes. The standard version with a nude base and a white tip bored many, so they began to transform it. If you adhere to a more classical style, but you want to draw a bee, the classic jacket with a drawing of a funny insect on the ring finger will become the optimal look. For bolder persons, a design with a yellow-orange tip and a small nail art is suitable.You can add shades of gold.

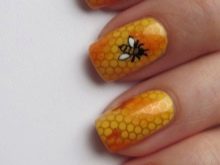
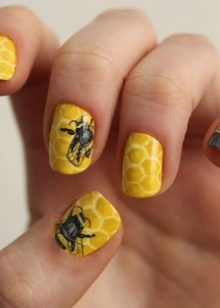
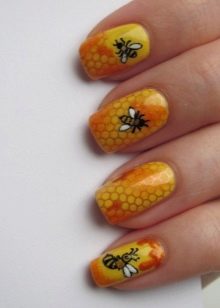
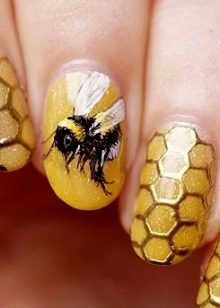
Bee hive
Such a pattern can be applied to the entire surface of the nail plate or to its half. The design looks quite original. The first layer is yellow. When it dries, with a small piece of sponge you need to apply a light shade of orange. Then, with the help of a needle or a thin brush, penta- or hexagons are drawn, which will form the necessary nail art. Lastly, a bee is drawn on one or more fingers.
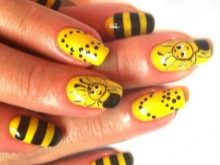
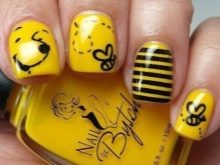
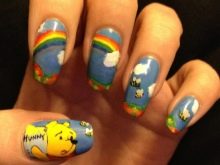
Winnie the Pooh
The hero of the Disney cartoon is loved by many children and adults. A chubby bear is associated with honey and bees, which is why it is perfect for decorating a bee manicure. The basis is yellow, and black pictures are drawn. The muzzle of Winnie the Pooh is applied to the index finger, black bees on the middle and little fingers, and the nameless one is decorated with horizontal stripes.
It turns out an interesting and original design.
Rhinestones
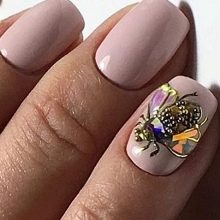
Bee manicure can also be decorated with shiny stones. The main shade is applied to the nail plate, on top of which a bee is drawn. When the nail art dries, the wings and head of the insect can be decorated with rhinestones.
At the very end, it is worth applying the finish layer to fix the pattern.