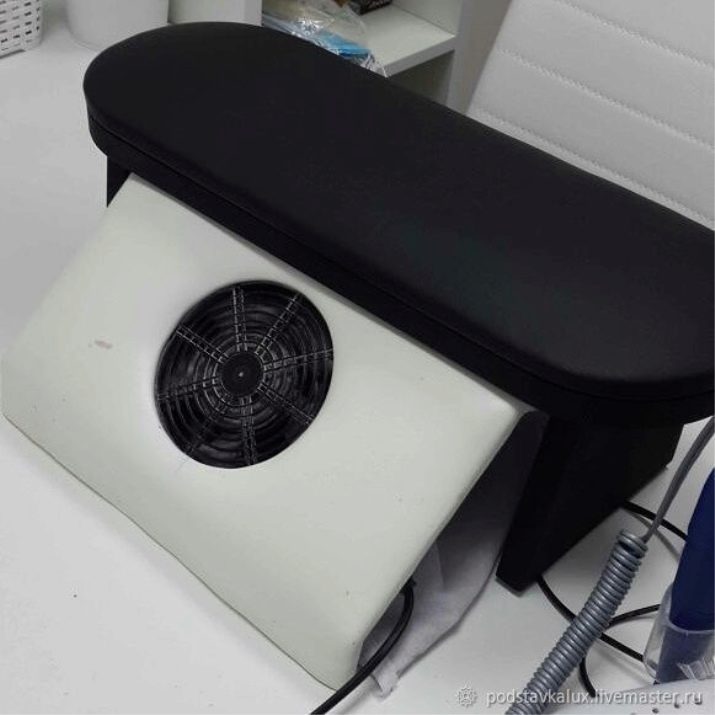
Manicure is a creative and painstaking process, and also quite a long one. In order for the client to be satisfied with the process, the workplace should be equipped with “5 plus”. One of the necessary attributes on the master’s table is a manicure stand-arm stand or pillow (roller). With their help, the creative process for both the client and the performer will truly be a pleasant pastime.
Advantages and disadvantages
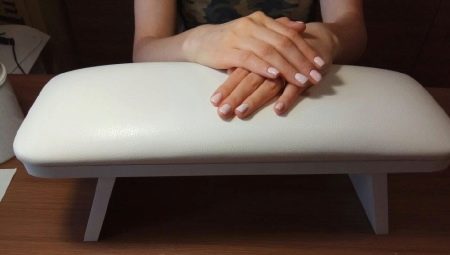
Stand or pillow for manicure under the arm will help relieve tension of the back and neck. She gently supports the client’s hand, and his back automatically takes on the “right” shape. At the same time, the master himself must be in a comfortable position.
Stand for manicure is an excellent attribute to protect the cervical spine and under prolonged stress. It should be noted that acquiring such an attribute is not difficult at present.

How to choose a stand for manicure?
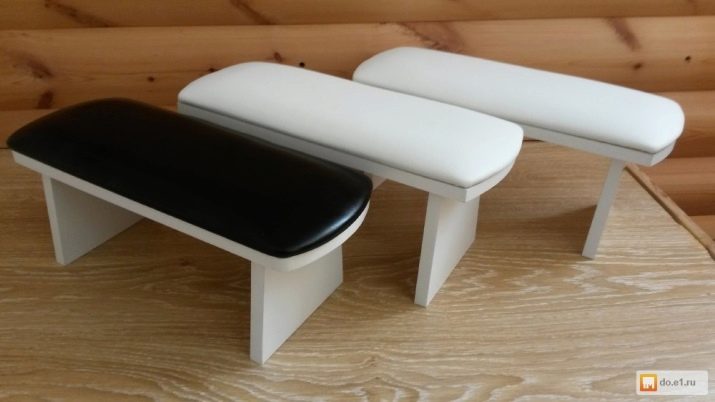
If you decide to purchase this accessory in the store, then Pay attention to the following points:
- Are all seams sealed in a quality manner?
- if there are no protruding nails and screws;
- plugs should be in tone with the material;
- glue should not be visible;
- reliability of the design: the accessory should not creak and stagger, but have a stable position;
- There should be no scratches, stains, scuffs.
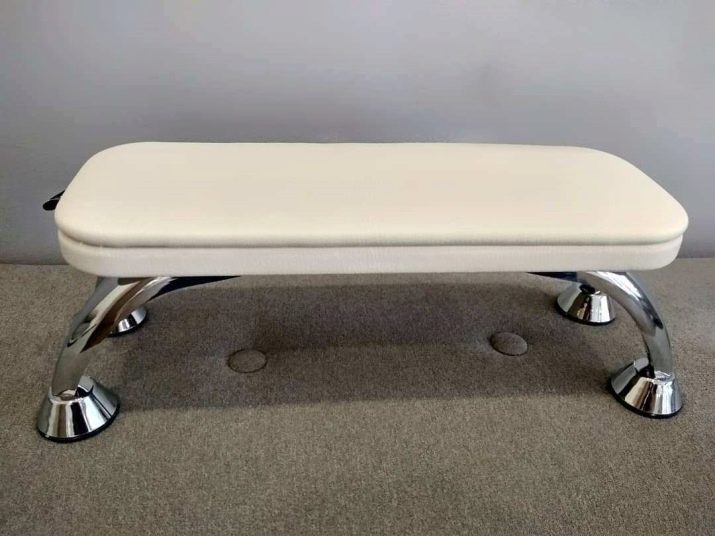
However, this purchase has its drawbacks: the price of the stand varies from 1.5 to 2.5 thousand rubles, which is quite expensive. Another common problem when buying a stand for a manicure on the arm is its incorrectly selected size. In this case, the stand can be made with your own hands.This will make it possible to create the desired attribute of a pleasant color and appropriate to the size of the lamp, as well as help save money.
Self-made rack
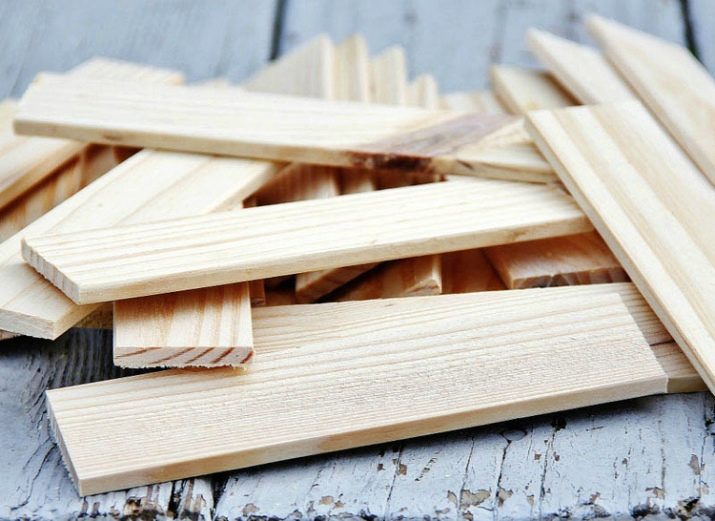
So, for the manufacture of the rack (in the finished form will cost about 2 thousand rubles) under the lamp (size 20x15x10 cm) we take the following materials.
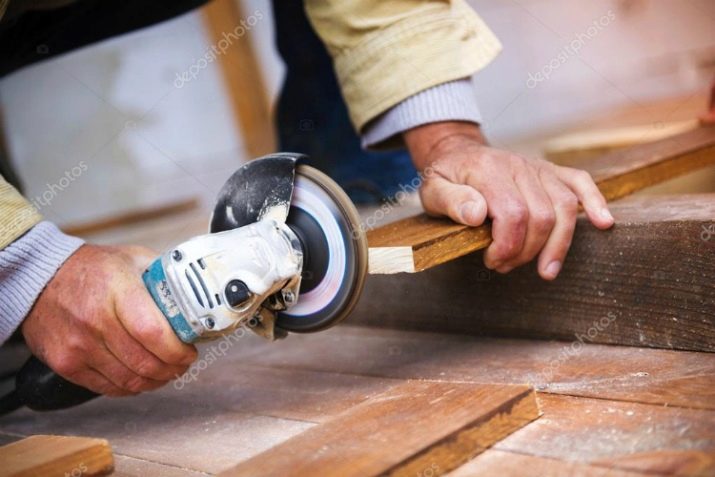
- We fasten wooden slats (10-15 mm wide, 35 cm long) together with PVA glue. As a result, we get one “plate” 16 cm wide, which we then divide into 3 shields with a jigsaw. Next, we tighten the resulting shields with clamps and wait for the glue to harden.
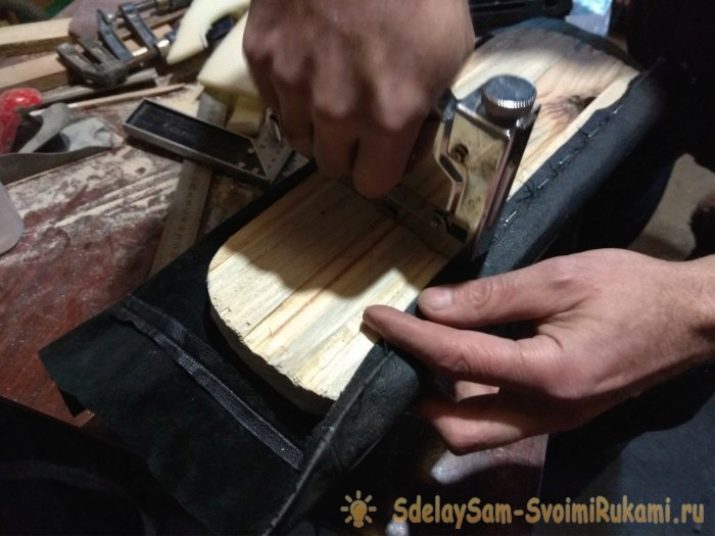
- When the glue dries, we proceed to sanding the wooden plates. The ends are aligned with a planer. We get three even shields of the same length and width.
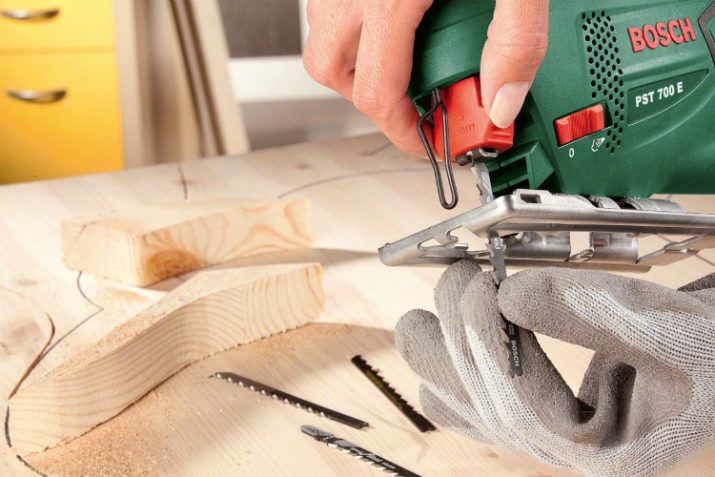
- To give an aesthetic appearance, round the ends of the shields with a jigsaw (a cardboard stencil will help, which will make the corners the same size).
- We begin to manufacture the walls for the stand (their length is 11 cm). We build walls from slats (their width is 16 cm).
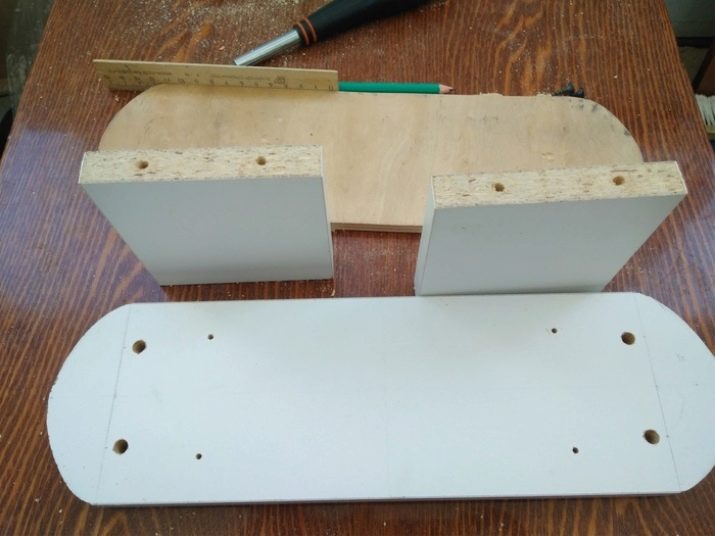
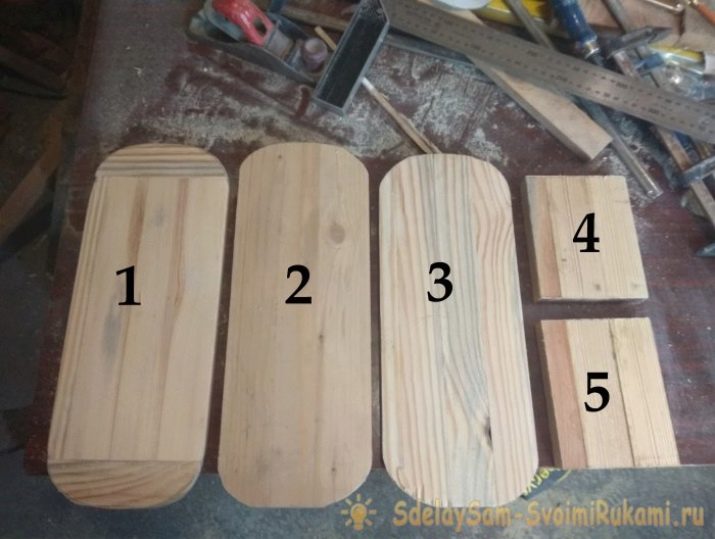
- As a result, we get five parts: the lower, upper and the main shield (we will cover it with fabric), the left and right walls.
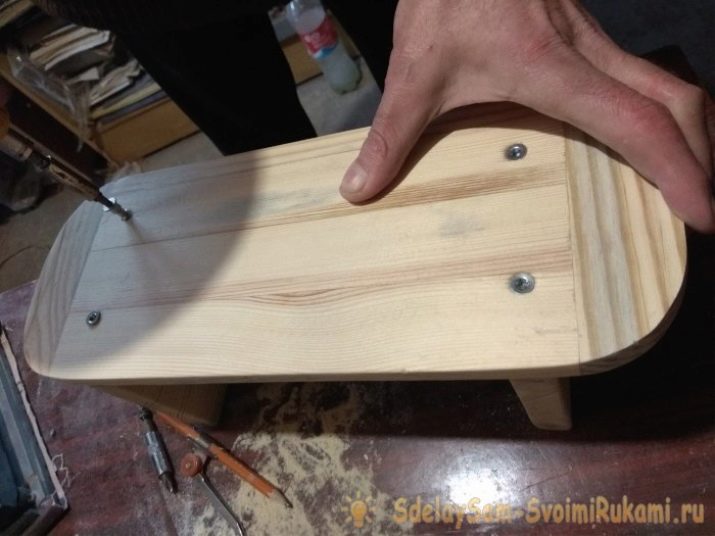
- Getting to the assembly. We take Euroscrews (confirmants) and drill a hole under them with a drill. We construct a stand of 4 parts, while without the main shield, which will be covered with fabric. This part requires careful preparation - it must be shortened (literally 1 cm) with a jigsaw.
- We take the main shield and glue the foam rubber to it (Dragon glue is suitable).
- The next step will be covering the upper part with fabric. We use genuine leather (easy to wipe and disinfect). We take a piece of skin with a “margin” to completely enclose the shield.
- We attach the manufactured upper part to the general structure using self-tapping screws.
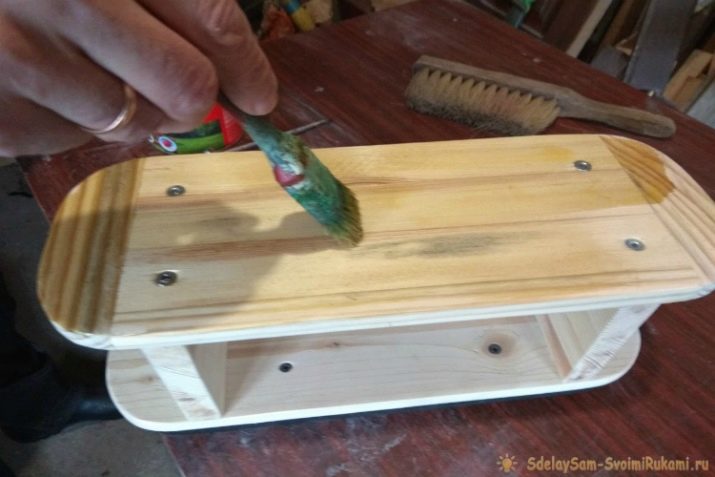
- At the final stage, we cover the homemade stand for manicure under the arm with varnish and allow to dry.
Making a roller: walkthrough
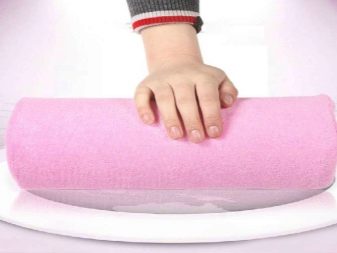
Another accessory for a comfortable manicure is a pillow (roller). It can also be purchased at a specialty store and made independently. The process is not the most difficult, but painstaking.
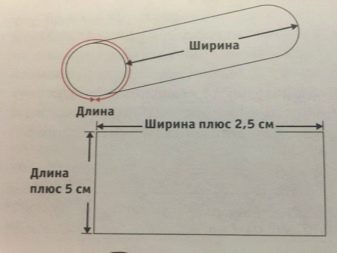
- We make a pattern of the required size.
- We get the main part of a rectangular shape (the edges will be connected by a seam) and two circles (the sides of the pillow). The sizes are different: side elements 13 cm, the width of the main part 28 cm, length - 41 cm.
- We twist a piece of foam in the form of a roller, previously coated with glue.
- We cushion the pillow with a cloth (it should give in to wet processing). First of all, the main part, then the sides.
- The colors of the fabric for the pillow can be different, but not annoying.
Convenient high-quality stand for manicure on the arm is an excellent assistant for masters and customers.
Overview of the stand for manicure in the video below.


