
Nowadays, a beautiful, neat manicure is no longer a luxury. It is rather part of a good form. Any image successfully complements the original pattern on the nails. It reflects the mood, matches the season, suits the outfit or repeats the fashion trend. Ideally, when creating a picture, several aspects are taken into account. Each woman seeks to look well-groomed and at the same time stand out from the crowd, to be special. To attract interested glances will help a well-chosen pattern on the nails.
Varieties of murals
Modern designers and nail art masters do not get tired every year to please us with new trends. Sometimes they update the timeless classics. Often they create something fundamentally new in the field of pattern execution technology. Hand-made manicure is a real work of art. However, to get an impressive effect, it is not necessary to regularly use the services of a manicurist.
Fashion provides many opportunities for creating simple patterns and ornaments yourself.
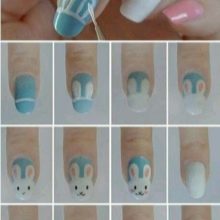
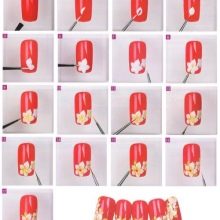
Step-by-step instructions for creating a particular drawing turn the process into a pleasure. Most of the new techniques look very impressive, but actually simple to perform. Now every woman can pamper herself with a new original decor at home as often as she wishes.


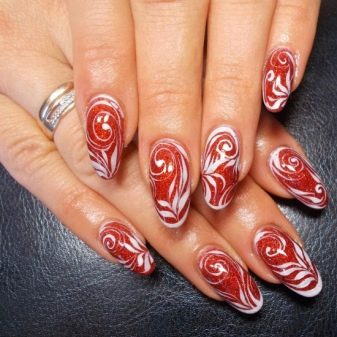
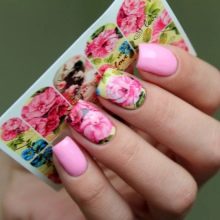
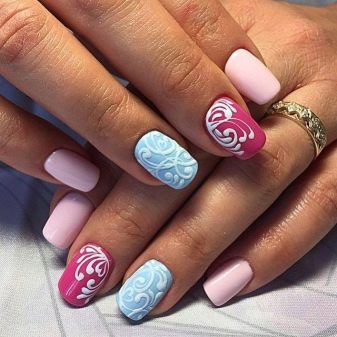
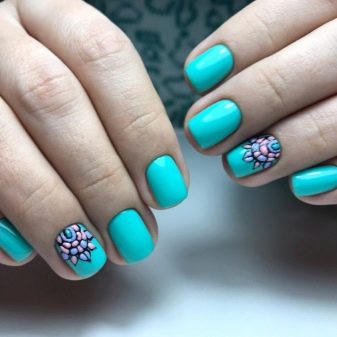
The patterns on the nails are made in various classic techniques. The most original types of manicure are obtained by mixing various techniques. Always relevant drawings in the form of a variety of monograms.Moreover, they can be used autonomously or as additions to other techniques (ombre, jacket, broken glass). Often, complex accented patterns adorn only accent nails. The rest are supported only by color or similar themes.


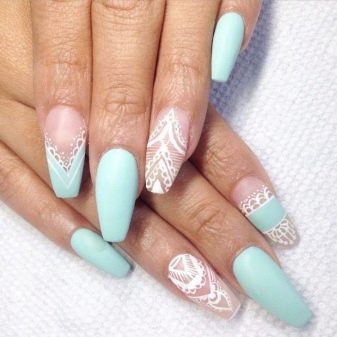
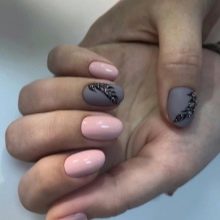
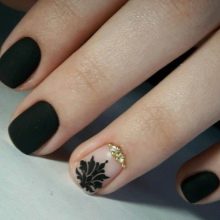
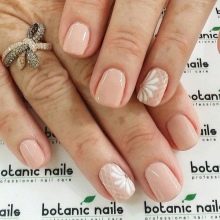
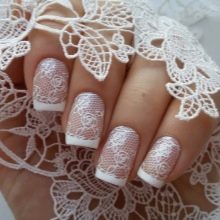
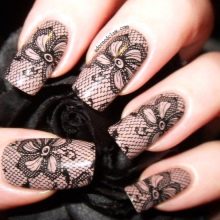
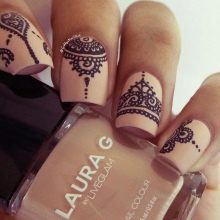
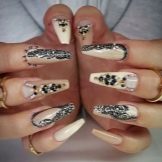
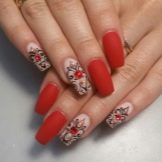
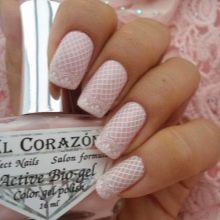
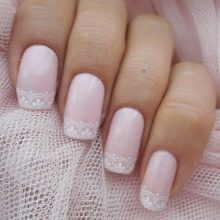
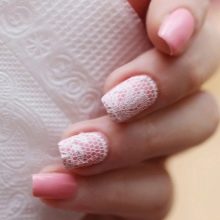
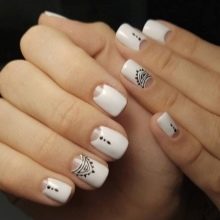
Openwork or lace paintings always look very gentle and feminine. Performing them is not so difficult. Beginners use a fine mesh tulle or guipure for this. Such a pattern is in demand not only in the bride’s wedding manicure. They are often complemented by everyday French manicures. Notes of piquancy are created by black lace on a red or natural beige cover, causing associations with lace underwear.
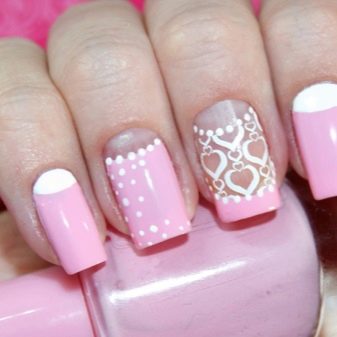
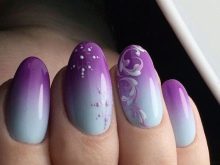
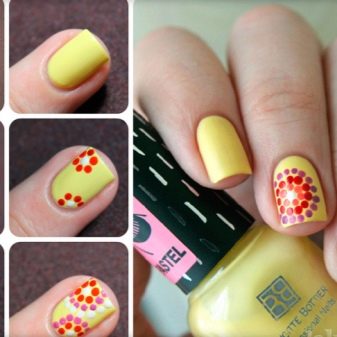
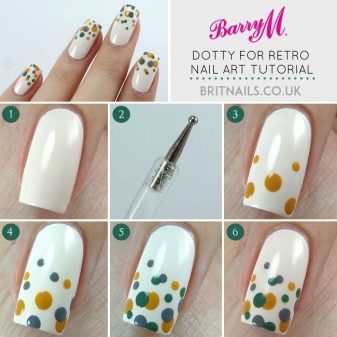
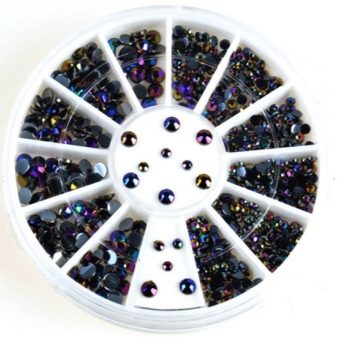
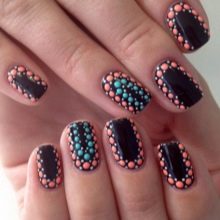
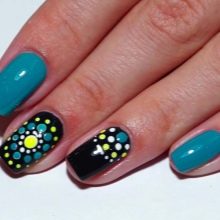
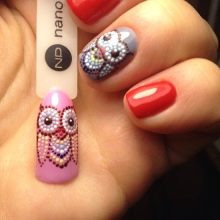
Drawings with dots have not gone out of fashion for several seasons. This can be dots, the use of sequins, kamifubuki or rhinestones. Using simple dots, you can create drawings of different colors, spectacular, colorful or more delicate. Sunflowers from dots bloom on the nails, fantastically beautiful branches of blossoming sakura, openwork ligature.

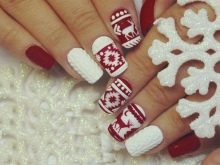
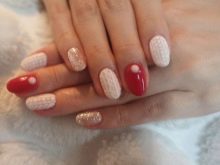
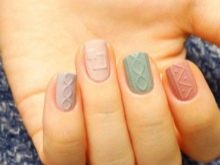
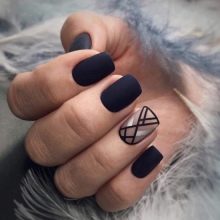
Patterns that imitate knitwear with a large convex knitting pattern or knitwear are at the peak of popularity in the winter. Even nails want to be wrapped in cozy warm yarn. At the same time, a matte finish or the use of acrylic powder to highlight knitted braids on a glossy background is welcome.
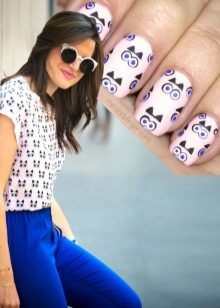
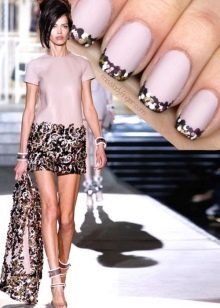
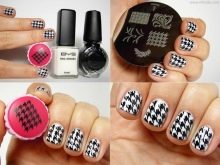
It is very successful to emphasize the elegance of the outfit by repeating its ornament on the nails. So they draw chicken foot, Christmas tree, polka dots and other simple patterns that are on your dress, blouse or suit. At the same time, you should not repeat the picture literally and pick up varnishes to match.
It is enough to put only relevant accents on several nails.
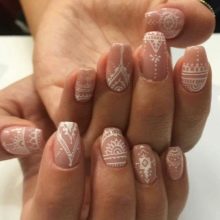
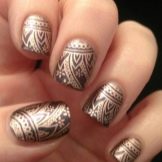
Indian motifs using henna mehendi painting technique triumphantly return to fashion nail art. Extraordinarily thin, beautiful and delicate patterns are obtained when using milky, gold or brown colors of the coating.
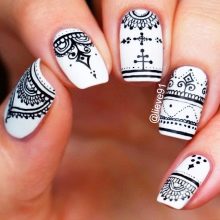
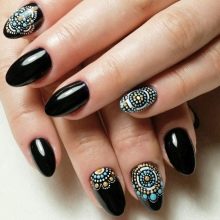
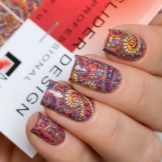
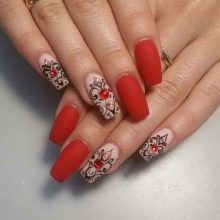
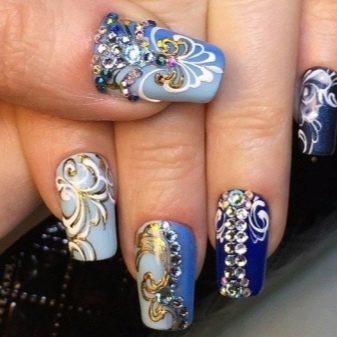
Popular oriental motifs consist of monograms, cucumbers and a rich decor of liquid stones, rhinestones with liquid spangles for framing. They are most often drawn in black or gold on rather saturated contrasting colors of the varnish. This may be a volume application. In such a manicure, unlike the others, there is no need to be afraid to go too far with the luxury and splendor of decorative elements.
Ways to apply ornaments
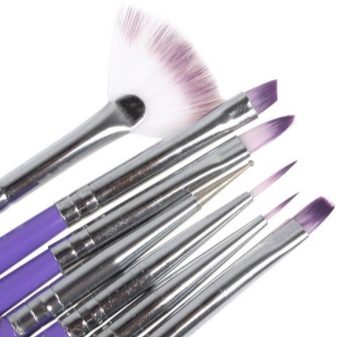
Manicurists most often use brushes to perform a variety of drawings. A high-quality tool with natural bristles gives wide scope for creativity. You can write the finest details, create complex patterns and entire plots on the nails. At the same time, professionals use a wide range of brushes of different sizes and shapes of bristles. If the hand is not yet so precise, or you doubt your artistic abilities, it is better to refuse the brush.

With a strong desire, you can start collecting a professional set of two brushes: the narrowest and thinnest and medium thickness. You can train to display drawings on special sheets, paper. Gradually move on to the tips, performing acrylic paints on them. After that, you can start drawing simple patterns on the nails.
Professionals often use dots. This is a stick with a ball on the end of wood or plastic. Such a tool is often used by novice manicure masters. It greatly simplifies the work of applying a pattern in the form of dots, smooth lines and monograms. You can also create drawings from these elements in different combinations.
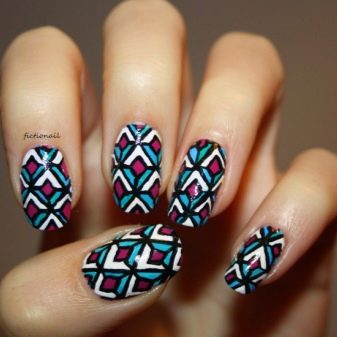
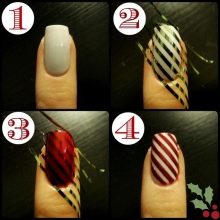
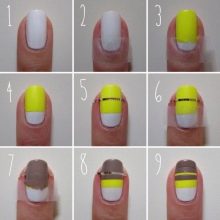
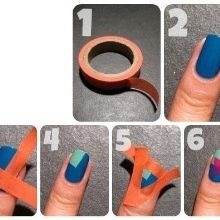
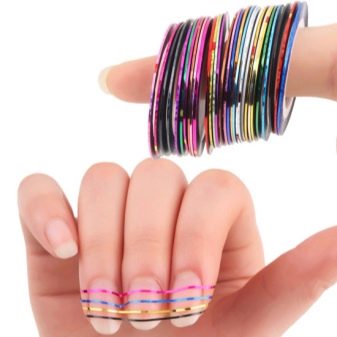
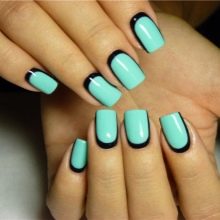
Regular scotch tape or special adhesive tape sold at manicure stores will help you make popular designs in a geometric manner. Rhombuses, triangles, squares, a complex combination of shapes and colors are actually performed using tape. In this manner, you can even make a three-color manicure. To do this, the nail plate is first varnished with a base.
After complete drying, apply strips of adhesive tape of the desired shape to the nails and draw the remaining free spaces in a different color.
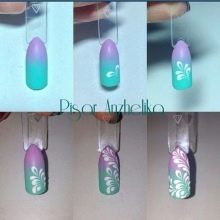
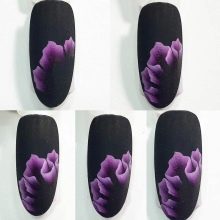
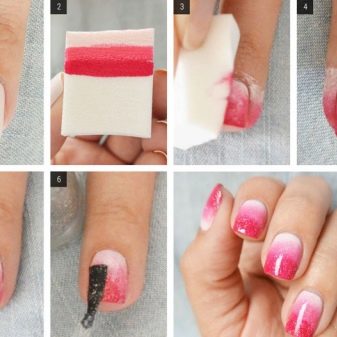
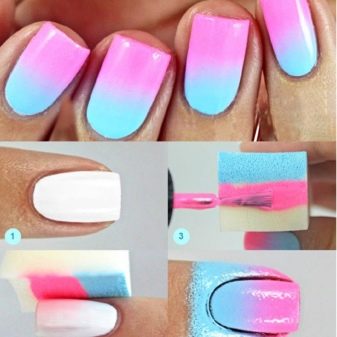
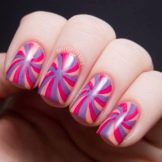
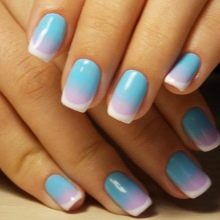
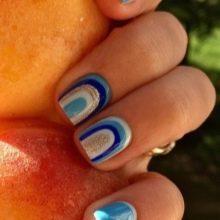
A regular rubber or small-pore foam sponge is an excellent tool for creating a spectacular gradient on nails. At the same time, a tri-color gradient is rubbed onto the not completely dried out main tone with a sponge. To do this, three strips of paint or eye shadow are drawn on it next to it, carefully blending the borders between tones. After everything is fixed with a transparent finish.
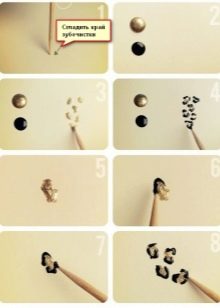
At home, students often use improvised tools. It is quite economical and convenient. Even masters with experience usually modify the best tool for themselves. So, from the old brush in the varnish after cleansing, you can make a brush to draw the desired shape. To draw thin patterns use a needle or a toothpick. Instead of a dots, you can use an old-style hairpin with a round tip or a used ballpoint pen.
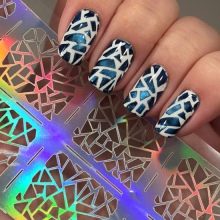
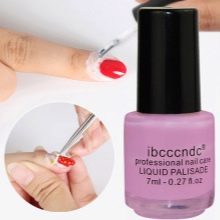
To complete the pattern, you can take stencils. In stores, they are ready-made. If it is difficult to find the desired pattern, then the stencil is cut out independently. So get a neat symmetrical pattern on all nail plates.
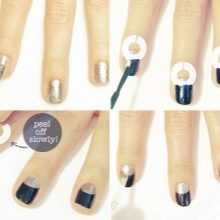
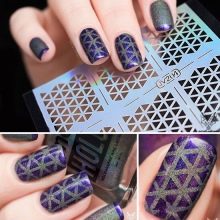
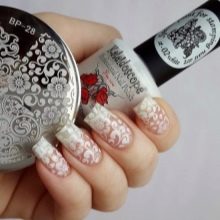
When there is very little time for drawing complex patterns, and you want to pamper yourself with an interesting manicure, use the stamping technique (printing a picture on the nails using a special plate) or a variety of stickers. Such a pattern must necessarily be well fixed at the end so that it lasts several days.
Necessary materials and tools
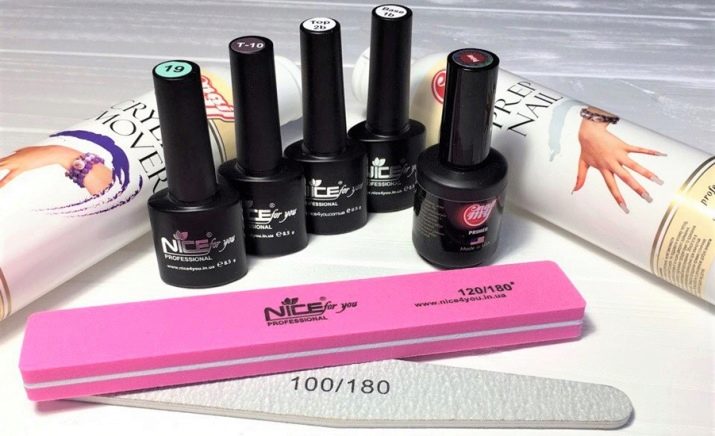
Depending on the chosen pattern, you may need a variety of basic and auxiliary tools. The main ones are: various forms of brushes, dots, adhesive tape, transparent base coat and finish with the necessary effect (sticky, flickering, matte, glossy), scissors, manicure correction agent, cotton swabs and discs.
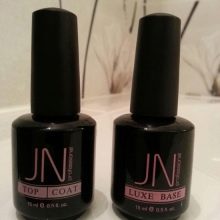
You can also use rhinestones, rubbing, sequins, stencils, stickers, a needle and wooden toothpicks. Do not forget to choose a coating of suitable colors. This can be a classic varnish, shellac, gel for long-term durability and acrylic paints to create patterns.
If you are just starting to engage in manicure, but plan to earn income, it is better to start with a small number of professional tools of good quality. To start, a couple of brushes of different sizes and dots are suitable (it is better to choose with different balls at both ends). Helper tools will always be of great help. A collection of shades of coverage is also gaining gradually.
First, they take several basic colors (white, black, red, golden, peach, pink), and add a couple of shades of the season's fashion (for example, marsala or mint) to them.
How to make at home?
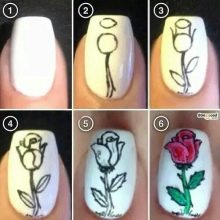
Everyone can perform elementary types of manicure with a simple pattern without going into a beauty salon. For this, special instructions have been created that allow you to step by step create any pattern. Whatever type of drawing you choose to create with your own hands, it is worth remembering the important rule of well-groomed nails.
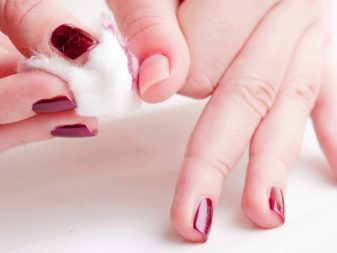
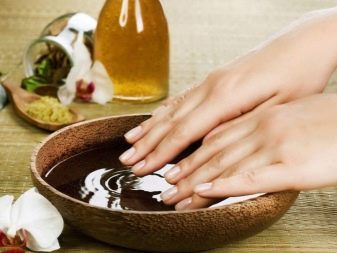
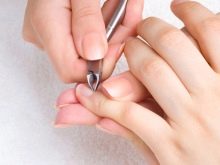
When performing the decor in stages, the first step will always be actions to bring the nails into proper form. First, the remains of the old coating are carefully removed. Make a warm bath with salt and herbs. After that, perform a hygienic manicure with the removal of the cuticle and giving the nails the desired shape. On a dry and clean nail plate, a transparent base is applied under the main tone. Only after that, you can varnish your nails and draw patterns on them.


Simple Design Ideas for Beginners
Not always effective manicure is difficult. Even beginners can find many ideas for self-realization by affordable means. It is better to perform patterns with the simplest techniques, moving to more complex ones, requiring experience, perseverance and a delicate artistic taste.
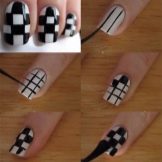
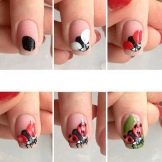
With the help of adhesive tape or special adhesive strips, a drawing is now made in the form of chess cells with alternating black and white squares. If you take manicure not very seriously, but connect a share of humor, you can make a cute design with a ladybug on a sheet, balloons, sweets. All of these drawings contain small ovals or dots as a basis. Even those girls who took the brush in their hands for the first time since drawing lessons at school can carry out such a pattern.
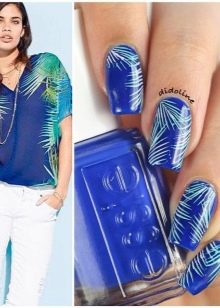
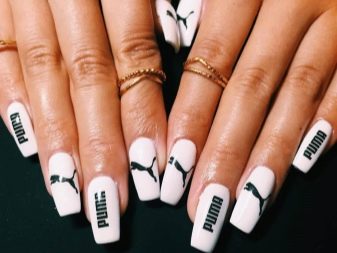
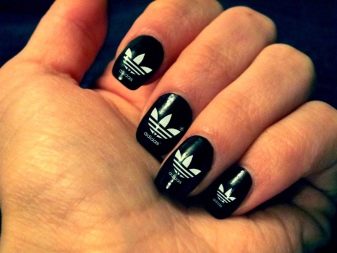
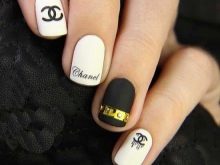
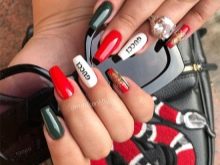
It is very fashionable to wear stylish monochromatic inscriptions on the nails in the form of names of popular brands, brands of cosmetics and so on. They usually complement the manicure on short or medium length nails in beige or pink, coffee tones. The inscription itself is executed in black. The background of the coating can be glossy or matte. You can copy the brand abbreviation, or perform the original drawing with monograms, leaving only a recognizable name.
Beginners should use stickers or stencils to complete this pattern.
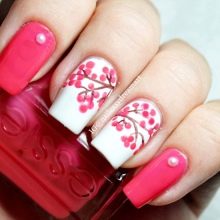
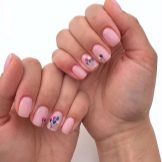
Simple drawings are performed in the technique of drawing dots. You can make a flower manicure from them, polka dot pattern, lay out a whole ornament from a dot mosaic in the form of the sun. You can draw with dots of one, two colors, combine several contrasting or similar shades. The dot technique makes whole patterns in ethnic style and images of hearts, animals and so on. This type of application is also used in the fashionable version of manicure with the effect of raindrops on the fingers.
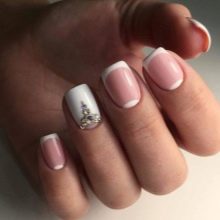
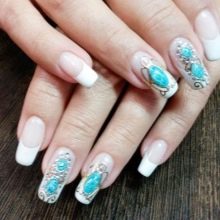
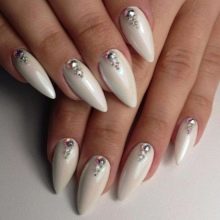
A gentle manicure using the French technique has found a second wind today. Now not only the edge is isolated on the nails, but also the lunula (cuticle growth zone). For the selection, both classic milky white and silver, red, gold, black and other colors are used. The contrasting border itself stopped wearing the strict direction of the smooth line along the border of the nail plate. It can now be beveled, wavy, covered with contrasting patterns. The jacket itself is often complemented by a delicate mesh, rhinestones, metallic or monograms on accent nails.
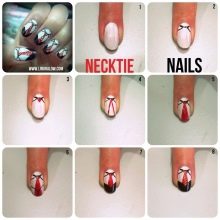
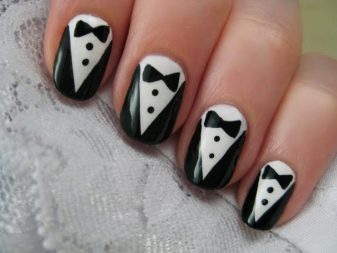
A manicure with a twist will turn out if several black dots are placed one after another on the main nude color. At the same time, draw two black triangles along the edge of the nail as the symbolic ends of the collar. It will turn out a manicure in the form of an office shirt. Individual nails can be replaced with gold or black rhinestones.

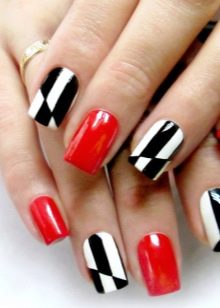
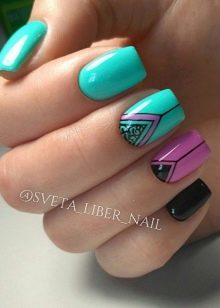
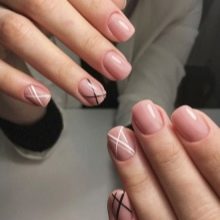
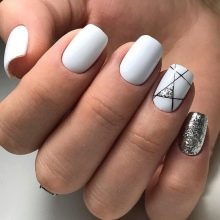
In all the latest collections, drawing in the form of geometric shapes is very relevant. Clear lines are easy to follow with tape. Tri-color combinations look the most advantageous: beige - burgundy - emerald, black - red - white, mint - gray - lemon, turquoise - raspberry - brown.
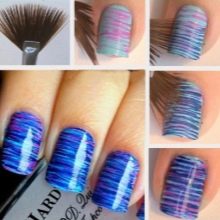
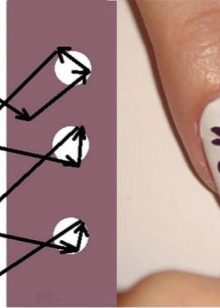
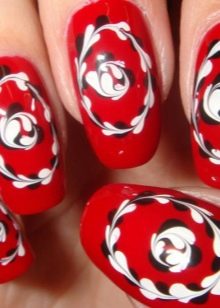
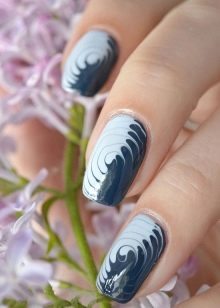
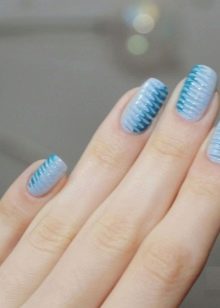
A simple but interesting design can be created with a needle. To do this, a few drops of contrasting color are applied to the dried base coat, which are quickly distributed with random movements in the form of straight lines along the surface of the nail.
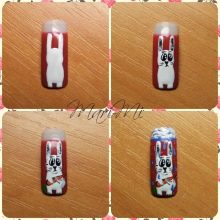
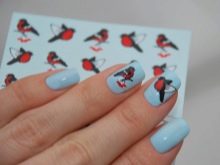
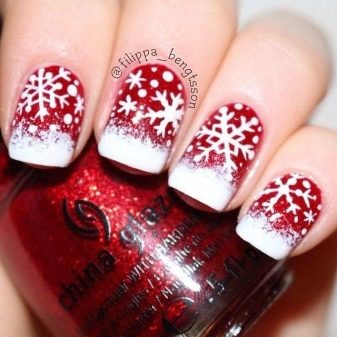
If there is a festive event or a noisy party, you can make a vivid picture using stamping or stickers. You just need to pick up themed patterns. So, by Valentine's Day, red hearts are glued on a pink tender background. By the New Year it is appropriate to make patterns of white or gold snowflakes on bright red using stamp prints.

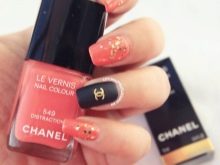
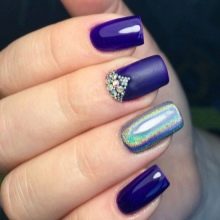
With a lack of time, a simple transformation of a day to evening manicure is a good idea. To do this, take a little varnish of the main color, which painted the nail, and use it instead of glue to insert rhinestones in the picture. You can make the rim or lunula of the nail with a golden glitter.
Decorate two accent nails in a metallic style or make a rich pattern with a sticker.


More complex options
If you already have some experience in painting nails, you can choose options for manicure with sparkles in a voluminous frame of curls or liquid stones.When performing a complex pattern with many details, it is better to use a stencil. It can be done independently for the largest elements that are most striking. The remaining small or thinner can be finished with a needle or brush.
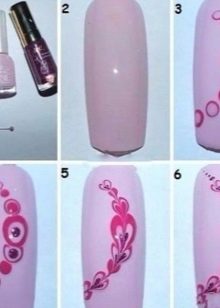
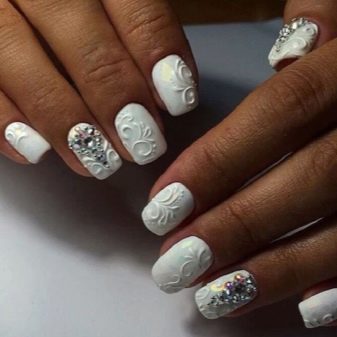
To create a three-dimensional pattern, it is better to use a gel. He will keep the manicure for at least two weeks. And the result will be worth the time and effort. Apply contrasting color patterns to the main background. It can be flowers, monograms and any other drawings. It is better to perform them in the most saturated tone: Bordeaux, dark blue, emerald, chocolate, black. After the pattern has dried, another layer of gel or varnish of a dark, distinguished color is applied on top of it, repeating the pattern exactly. For this, gold, silver or dark scarlet color is most often used.
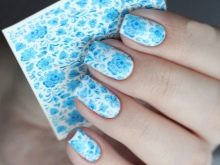
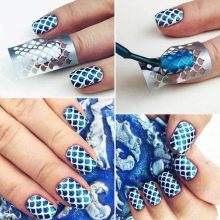
A popular delicate pattern in the form of an openwork mesh is made using tulle or guipure with small mesh cells. When creating such a design, you need a varnish of two delicate shades. Usually choose milky white and pink or peach. A white background is applied to the transparent base over the entire surface of the nail. After thorough drying, it is completely covered with a layer of varnish with fairly saturated pigments (pink). While the top layer has not hardened, a mesh of tulle is quickly pressed to it, hold for a few seconds and removed. Thus, in place of the removed varnish, a delicate white color appears from the lower background.
A complex pattern of a large number of crystals implies a multi-stage drying. Each nail will have to be dried and cured immediately upon completion. To mask irregularities from the base varnish, often connecting lines are formed around rhinestones in the form of fancy monograms. Draw them with gel with small golden sparkles.
In addition to rhinestones, metal rubbing is also good. In this case, it is worth remembering the appropriateness of manicure at a particular event. If you have an evening appearance, then limiting yourself in luxury and magnificence of details is very unnecessary. But when you want to slightly enliven a normal annoyed office manicure, the emphasis should be made only on a pair of nails.
At the same time, mixing more than two techniques is not recommended.

So, you can choose lace and a few modest rhinestones on the ring finger and little finger, accompanied by a classic jacket. If you design a monochrome manicure, you can perform geometric elements with strict lines on two fingers. Such a pattern has long gone out of fashion and corresponds to a strict working environment.

Do not be afraid to experiment, listen to the advice of experts and use the secrets of nail art masters. At the same time, try to find the perfect color scheme for yourself. Complement your ready-made painting solutions with your ideas. So you can make a beautiful individual manicure right at home without extra costs.
For information on how to make a beautiful picture on your own nails, see the next video.


