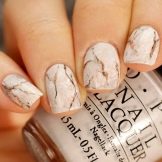
Nature, with its beauty, inspires people to various design ideas. The creation of an original manicure is no exception. Most masters try to display natural colors and textures on nails. Therefore, marble nail art is very popular today.
New Design
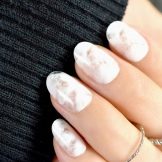
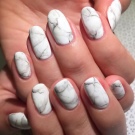
Marble manicure is a unique design of nails, thanks to which they acquire a spectacular look. This design looks unusual, stylish and fresh, and is also ideal for any shape and length of nails. Despite the fact that the technique of applying the drawing is complex and requires some experience, the effect of marble can be obtained at home. Representatives of the fair sex most often choose a similar nail art for the autumn and winter look. It is allowed to decorate with marble decor as all nails, and to focus only on one or two fingers.
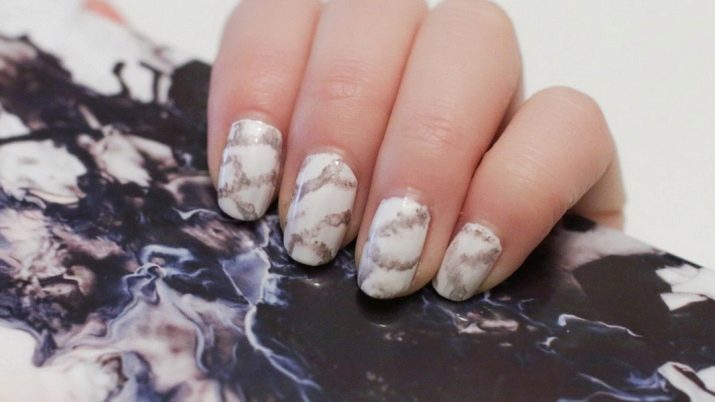
The main feature of marble manicure is that it beautifully imitates natural stone and each created image is unique. In addition, when designing a design, you can use several colors at the same time, since a pattern consisting of different shades is required for a drawing. This and next season, marble nail art is at the pinnacle of popularity and is presented in many versions. Strict French will suit girls who love classics, but bright personalities will be able to complement the design with rhinestones and sparkles.Masters also recommend that when designing a manicure, boldly experiment with saturated colors, emphasizing the beautiful shape of the nails.
Stylish color combinations
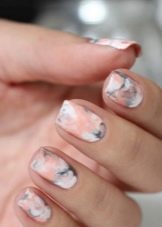
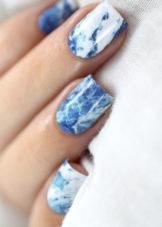
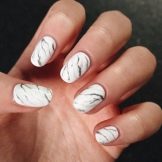
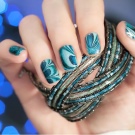
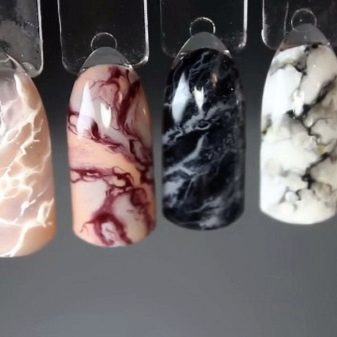
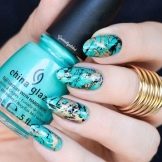
To make the marble manicure interesting, you must correctly mix contrasting colors with white, beige and other neutral shades. To create a true masterpiece, it is not necessary to use only the basic tones of marble - black, blue, white and red. Design can also be made in the form of semiprecious stones such as malachite, turquoise, opal, jade and ruby. Mixing colors produces unusual compositions that are difficult to distinguish from natural minerals. Beautiful stains are easily obtained from varnishes of various textures.

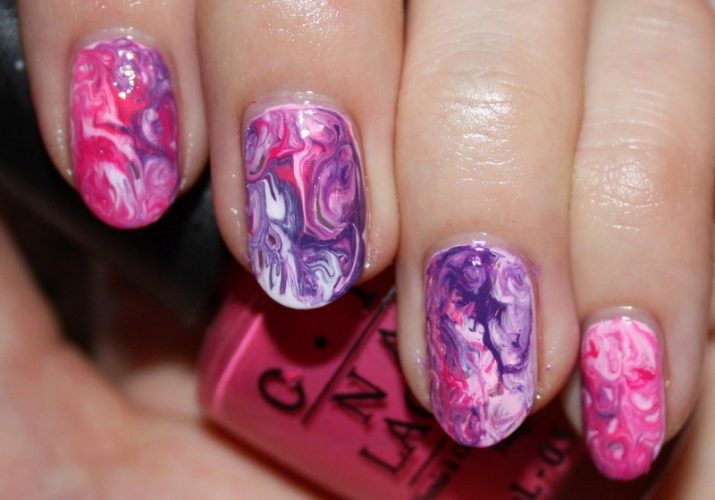
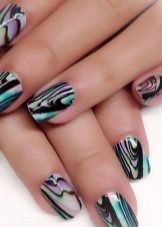
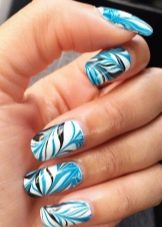
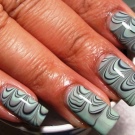
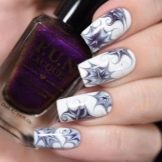
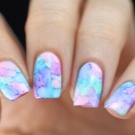
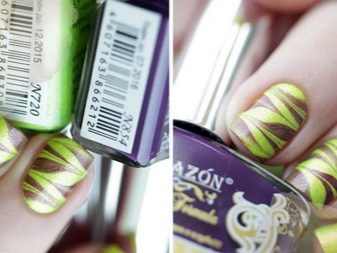
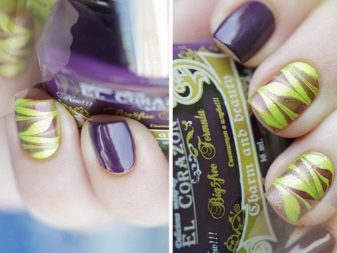
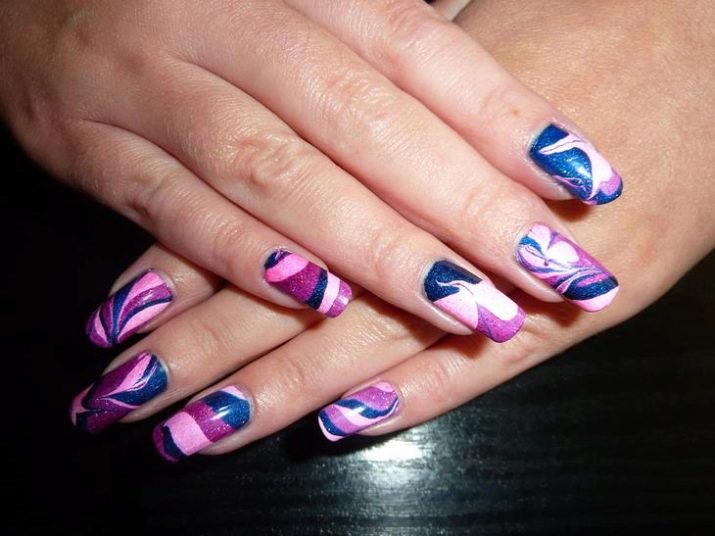
To create a marble manicure, stylists prefer to choose rainbow, pearl, matte and compositions with a holographic effect. This season, combinations of dark blue and blue, white and purple, gold and green are in fashion. The compositions obtained by mixing the classic white, black and blue shades also look gorgeous. Light green, emerald tones have been widely used, as they are considered the most juicy and bright shades of the color scheme. In addition, using metallic varnishes for drawing, you can get unusual images with 3D stone effect.
Decor Options
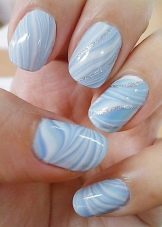
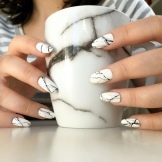
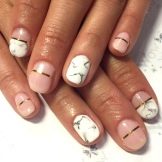
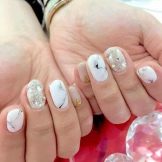
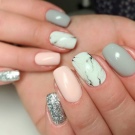
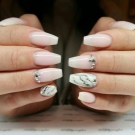
Girls who prefer a classic and restrained bow, as a rule, opt for manicure with short nails. The ideal solution for decorating plates in this case is marble nail art, as it is characterized by laconicism and the absence of a bright decor that can overload the image. In a design with imitation of marble, discreet design of nails with a small print, drawings and rhinestones is allowed. At the same time, brilliant elements are recommended to be used in a single copy. As for the color palette, for short nails it is best to choose gentle pastel shades.
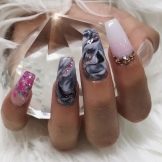
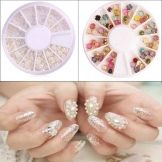
The owners of the same long nails open up enormous opportunities for the implementation of any design ideas. Performing marble manicure, girls can decorate nail plates with the following decor:
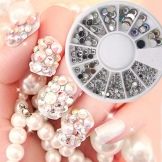
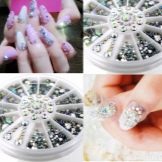
- rhinestones, they are abundantly placed on all fingers, fully or partially covering the surface of the plate;
- sequins, which serve as an alternative replacement for rhinestones and can be located on one or all fingers;
- lace and floral patterns.


Regardless of the length and shape of the nails, stylists also recommend creating a marble manicure in the following decor options:
- moon nail art or jacket;
- design with matte and glossy finish;
- pearl rub;
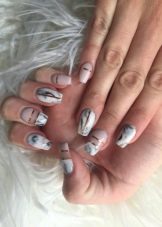
- imitation of marble on a transparent basis;
- a combination of stains with silver and gold accents;
- design using color chips.
A combination of traditional white and black color with yellow, red and aquamarine shade also allows to give greater effect to manicure.
Drawing Methods
Nail art with imitation marble is presented in various designs and can be created in various ways, each of which differs not only in the level of complexity, but also in the appearance of the picture. To date, marble compositions are applied using the following techniques.
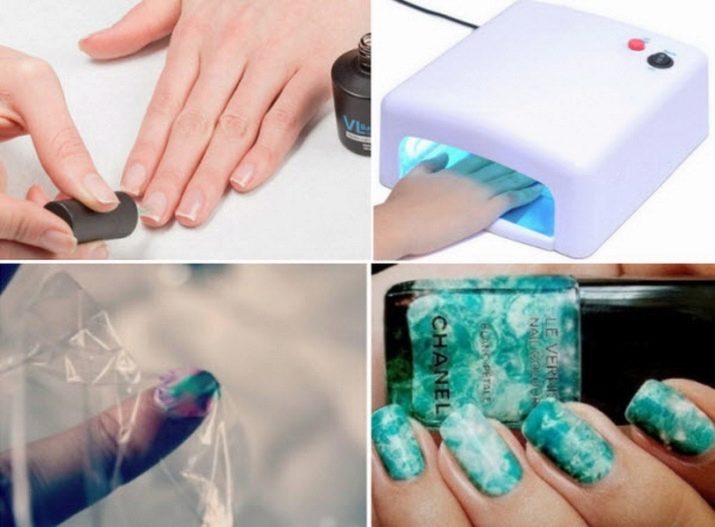
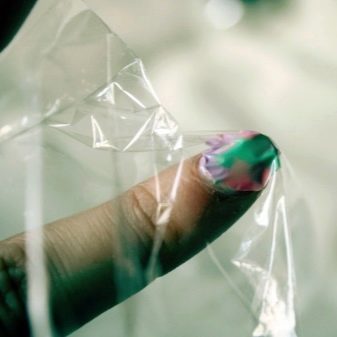
- Using a film. This is the easiest design option that even an inexperienced master can design at home. To obtain a marble effect in this case, gel polish, regular varnish and cling film are required. The only thing is that if you choose gel polish for work, then drying must be carried out in a UV lamp.
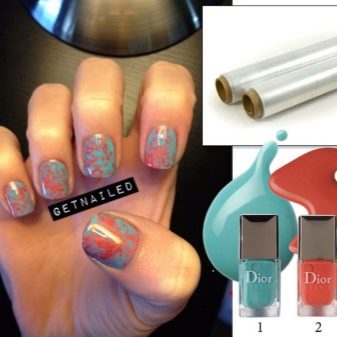
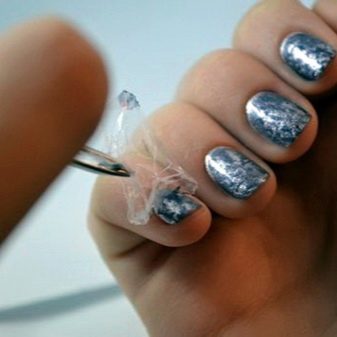
First, the film should be cut into strips and wrinkled, then around the nail plate and on the skin of the hands, apply petroleum jelly or other means based on fat. Then the nail is prepared: it is given the desired shape and length, the cuticle is cut off.The plate is covered with a base and allowed to dry. When covering the surface of the nail with a base, it is necessary to check that the varnish is placed tightly and evenly, no translucency and “bare” areas are allowed.

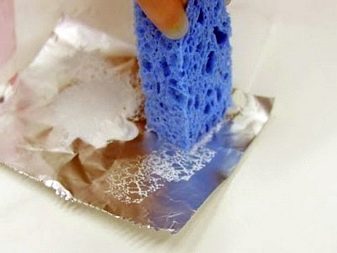
After that, a color mixture is prepared to create a picture. For this, drops of multi-colored varnish are placed on the foil and the crumpled film is pressed to the surface of the foil, and then it is transferred directly to the nail plate. The resulting composition is dried and fixed with a colorless topcoat.
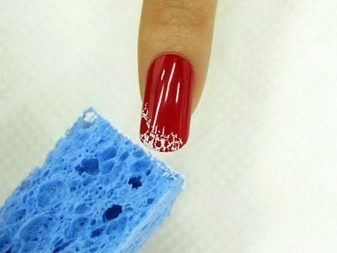
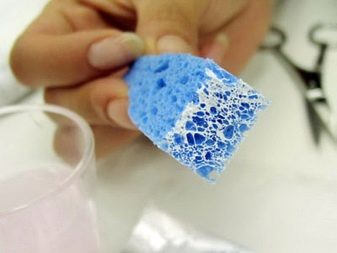
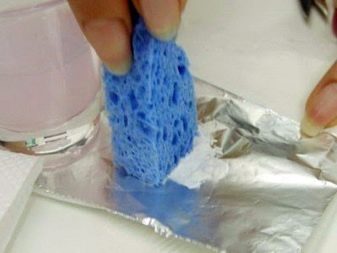
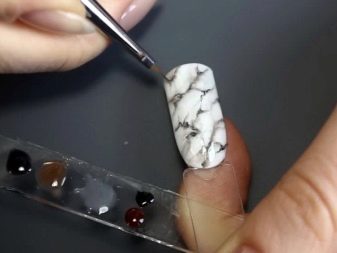
- With a sponge. This technique is not much different from the previous one, the only thing is that instead of a cellophane film, a piece of sponge is used. It is dipped in a contrasting base and gently applied to the plates with light movements. In this case, the sponge can not be strongly pressed, otherwise the exquisite marble pattern can turn into huge and blurry spots.
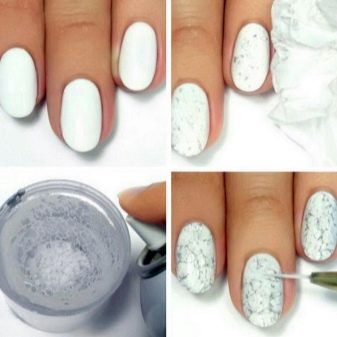
- Using oilcloth. To decorate nails in this case, you need a dense oilcloth and gel polish of different colors. First of all, they prepare the nails and cover them with a base. Then, several small droplets of colored varnish are randomly applied to the base coat. Next, a film is pressed tightly against the nail plate, under which the varnish begins to turn into blurry spots with uneven outlines. After that, the film material is removed and the skin is cleaned from varnish, applying a top top to the drawing.
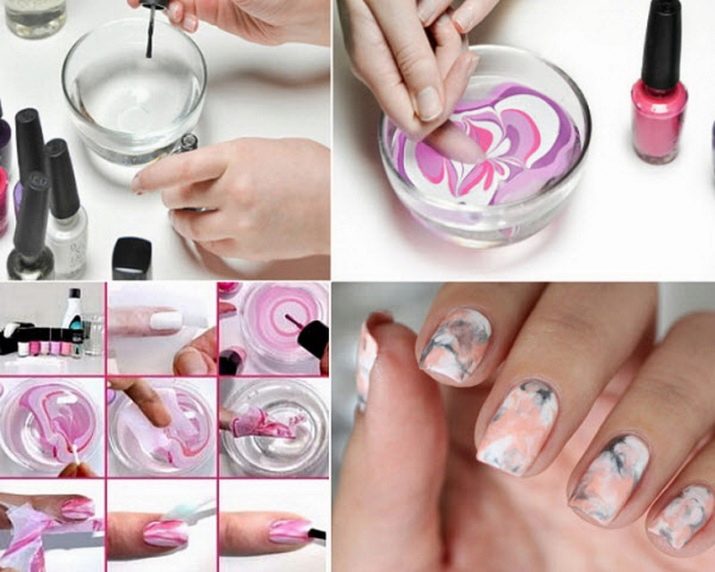
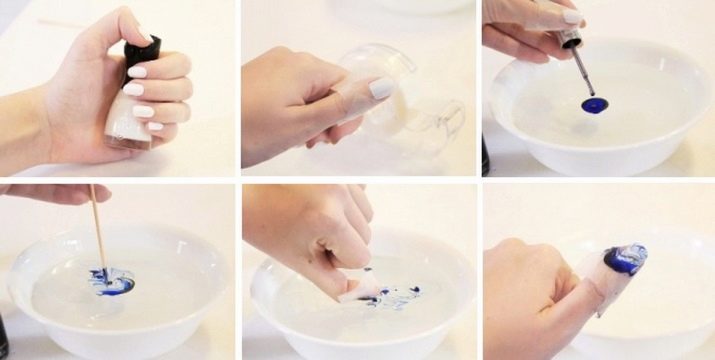
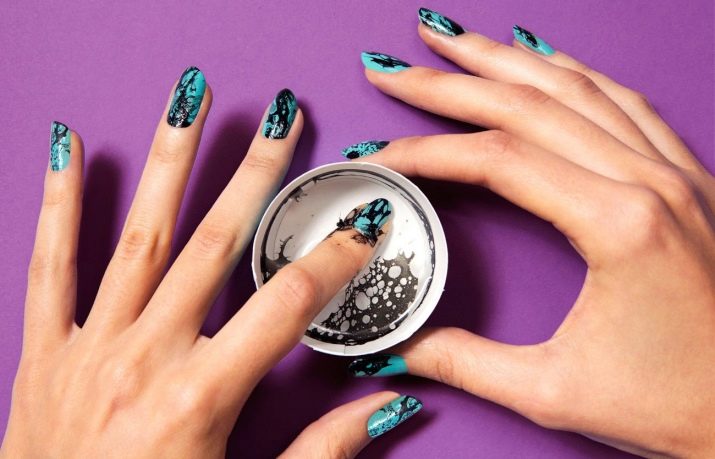
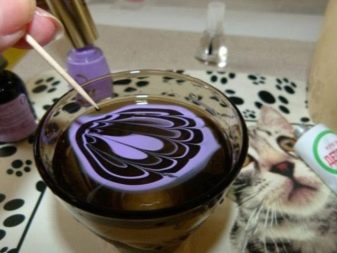
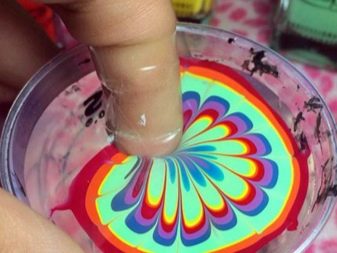
- Marble under water. Unlike previous methods of applying the composition, this one is characterized by sophisticated technology and requires a certain skill. As a rule, such a procedure takes up to two hours, but in the end a beautiful design is created with even color and brilliance. Before proceeding to such a marble manicure, you need to prepare the nails and a small container of water. The plate is covered with a base color, dried and varnish is put in a bowl of water, the color of which is pre-selected by design. Drops should be placed strictly in the center and form blurry circles.
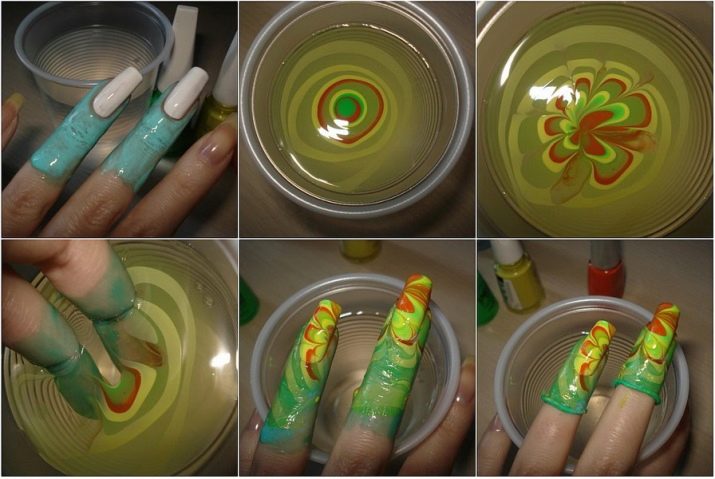
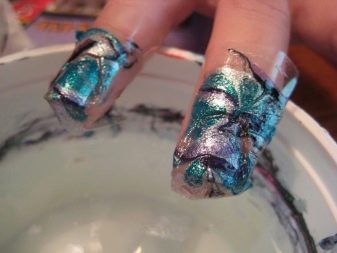
Each nail is dipped in turn into a “water” pattern, drawn out and, without wiping off any residual varnish, repeat the same procedure with the other fingers. Then the skin is cleaned, and the decor is fixed with colorless varnish.
- Using gel polish. This manicure is best entrusted to experienced masters, since at home it is very difficult to do. The design is carried out with special brushes and compositions based on gels, they dry slowly, so they allow you to slowly create any ornament and pattern. Work begins with stripping the cuticle and degreasing the nail plate. In addition, the nails must be given a certain shape and length. Then apply a thin layer of base coat and dry the nail in the lamp.
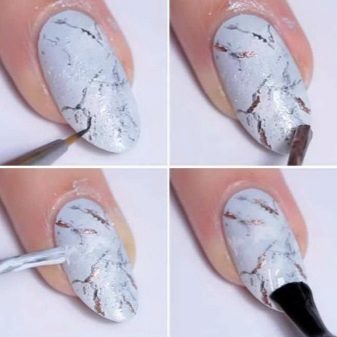
The next step is the coating of the plate with the main shade, it is also dried in a UV lamp. A clinser is poured into a small bowl to clean the brush and several drops of colored gel polish are applied to the foil. A thin brush is dipped in a drop and set to work, forming fuzzy and fixed lines of various lengths on the surface of the nail. Externally, the pattern should resemble the texture of marble. To avoid the blur effect, the brush must be rinsed after each element in the clipper. When the composition is completely dry, it is fixed with the top and dried in a lamp.
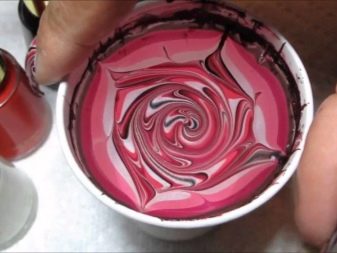
- Using ordinary varnish. This is a fairly simple and convenient drawing technique, for the design of which a spoon is used. It has many similarities to water manicure. Only in this case it should be taken into account that the decorative coating layer will turn out to be thick, therefore it will require a long time to dry. At first they are engaged in the preparation and processing of nails, then they are covered with a base. After that, you need to drop a few designer varnishes into a spoon and mix them thoroughly with a toothpick.Nails in turn are dipped in a spoon, the drawing dries up, excess varnish is removed from the skin and everything is covered with a colorless coating.
In addition to the above techniques, a pattern with imitation of marble can also be created using special marble gel polish and stickers. In the first case, you will need to purchase an original coating, which includes small inclusions and villi, which allow you to get the maximum effect of natural stone. The process of designing a manicure occurs in the same way as with the use of a conventional gel coating, that is, with drying in a lamp. As for the stickers, they are suitable for those girls who do not know the technique of nail art. The film with the print is simply applied to the nails, fixed and covered with a protective layer.
Step-by-step nail art technique
Recently, many fashionistas have preferred to make marble manicures at home, since there are many techniques available to create it, allowing you to beautifully decorate your nails with an unusual texture in a short time. The process of applying such patterns, although laborious, is worth it. For beginners, the following instructions will help you correctly and quickly make a design in your home environment.

- First you need to prepare all the necessary materials and tools. Since it is planned to perform manicure for the first time, it is advisable to use the simplest methods of applying patterns. To do this, you need a top coating, cellophane or bag and colored varnish. As for the tools, for manicure, you should purchase tongs, nail files, nippers and orange sticks in advance. Thanks to this minimal set, you can create a spectacular nail art in half an hour.
Also, at the first stage of the procedure, it is necessary to carry out preparatory measures for the care of the handles. The nails should be put in order, giving them a certain shape and length. To do this, you can choose a Brazilian, European or classic manicure. In addition to nails, it is necessary to pay special attention to the skin of the hands. Clean and well-groomed pens are considered the key to success in creating nail art. After everything is ready, the base is applied to the nail plates. It helps protect the stratum corneum from pigmentation and perfectly aligns the nails.
- When the base has dried, it is coated with colored varnish, choosing for this any shade you like. It is important to ensure that the varnish layer is applied without gaps, evenly. Next, you need to wait until the colored surface dries, and you can proceed to the most crucial stage: drawing a marble texture. To date, the color scheme has no restrictions for this design, so it is recommended to give preference to both saturated, bright tones and pastel, muted shades. Combinations of contrasting colors look beautiful in marble manicure, they can be mixed with gray and local colors.

Further, using the color mixture, film or oilcloths, patterns are formed. The film material must first be cut into 10 identical pieces and crumpled into lumps. In order not to get dirty during operation, the oilcloth must be held with tweezers. Each finger is decorated individually, and excess varnish is easily removed with cotton buds. In order for the picture to retain its effect for a long time, it should be covered with a protective transparent layer.
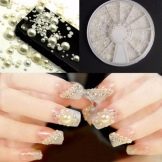
- The third step provides additional decor. Marble nails can be decorated with rhinestones and sparkles. In this case, the amount of placement of brilliant elements directly depends on the style of the image. If you are planning a celebration or going out, then a manicure can be made more vivid and rich, and for everyday life it is enough to do with rhinestones on one finger. After that, the decor is re-coated with a top top and dried in a lamp.
Beautiful examples
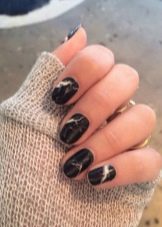
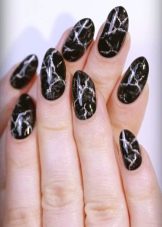
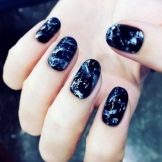
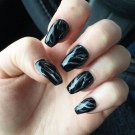
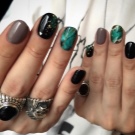
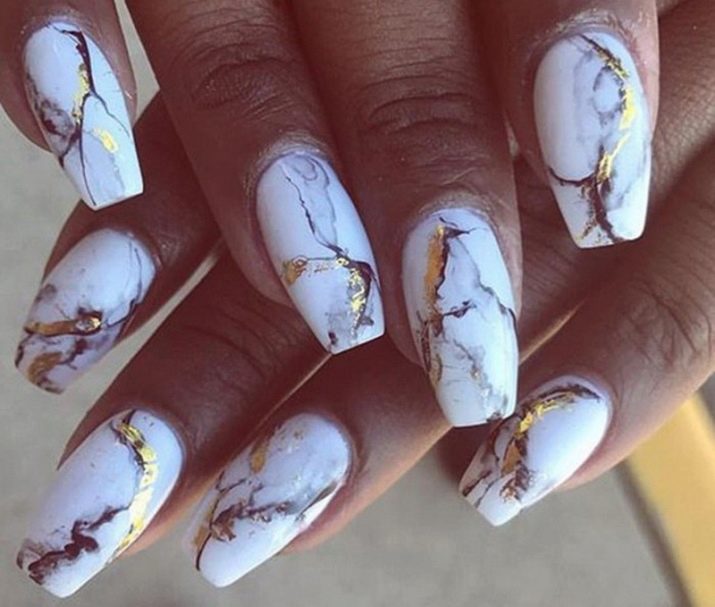
Modern nail art is represented by various designs, but this and next season a marble manicure has become a real breakthrough in fashion.It looks both stylish, elegant and interesting at the same time, in addition, a drawing with imitation of stone can be created independently using both simple and complex techniques. This manicure with volume patterns and brilliant decor looks in a special way. Cracks in the nails can be painted black, dark blue, emerald and green. A good solution to create a greater effect are yellow, white and gray shades.
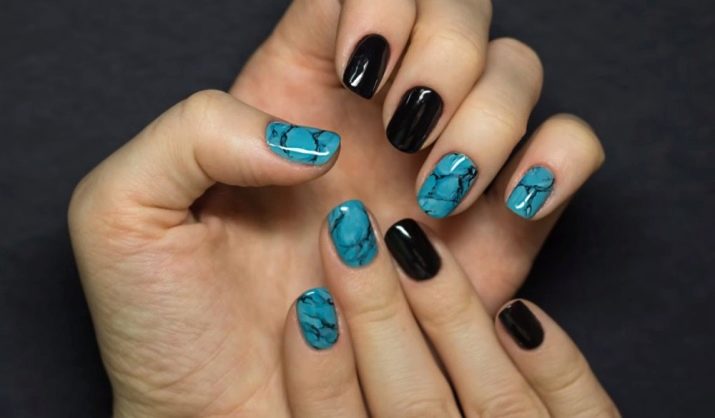
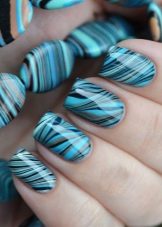
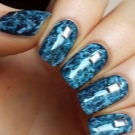
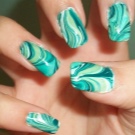
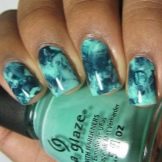
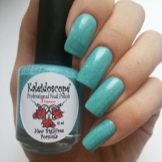
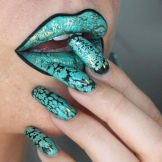
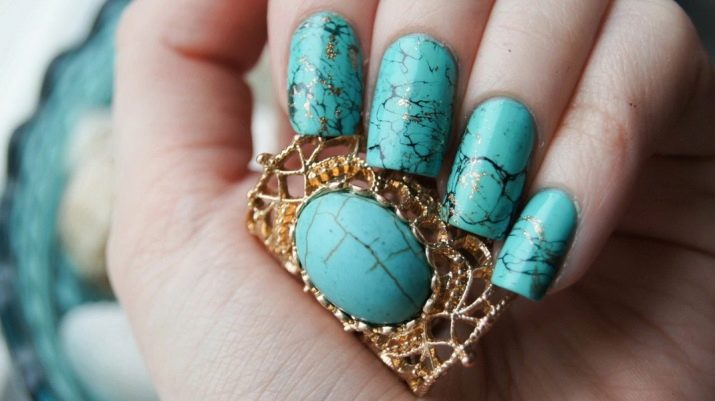
Turquoise is very popular with ladies, it gives the nails originality, extravagance and is ideal for an image in retro style. Blue shades can be adequately replaced with emerald or ruby. This design will definitely appeal to extraordinary personalities who like to stand out from the crowd.


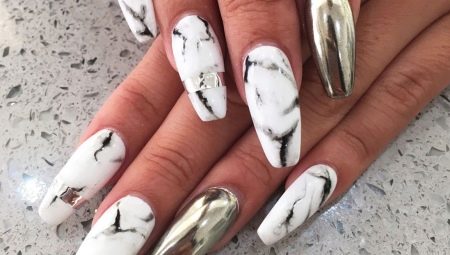
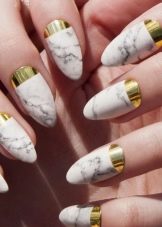
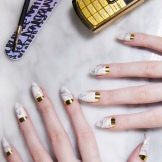
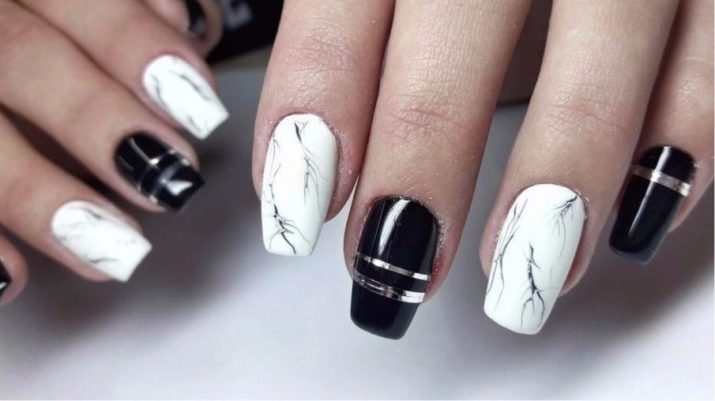
Marble manicure can be supplemented by the presence of strips in the form of silvered or gilded metal. Such compositions are relevant for classic nail art and they are often chosen when designing a jacket. An “inverted” French manicure with 3D modeling elements also looks unusual. Despite the fact that thick designs on nails are not in fashion now, marble manicure in this design will not leave anyone indifferent and will immediately catch your eye.
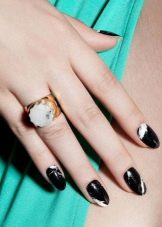
Combination of marble patterns with gold decor deserves special attention. To do this, use various gilded gel varnishes and draw geometric shapes or stripes with them. With the help of gold inserts, you can arrange as a certain part of the nail, and highlight the smile zone in the moon manicure. In this case, it is recommended to choose white and black color for design. A combination of gold stripes with sparkles and colored rhinestones is also allowed, you can also make pearl spraying, complementing the composition with a light pearl shine.
The combination of matte and glossy coatings is in great demand in nail art. The manicure acquires expressiveness and the texture of marble is beautifully emphasized in it. For maximum effect, it is necessary to draw patterns with gel polish, because it is convenient to use and allows you to slowly translate any design idea into reality. This design is well suited for nails of different lengths and shapes, so you will like both girls with a delicate and discreet image, and bright fashionistas.
See how to make a stylish marble manicure at home in the next video.


