Eurolining - building material for decoration of buildings both inside and outside. This is a material with high thermal and sound insulation properties, plus it can create a favorable microclimate in the house. And why, with its help, they finish balconies, now we will find out.
Description
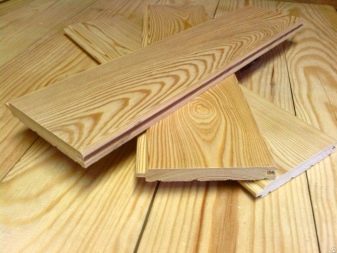
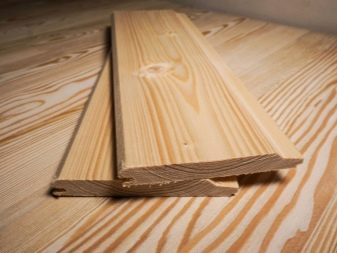
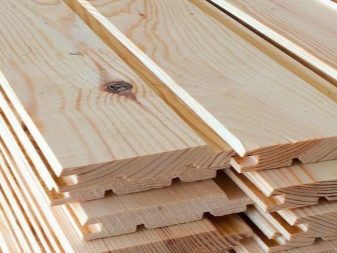
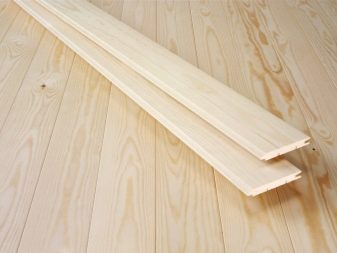
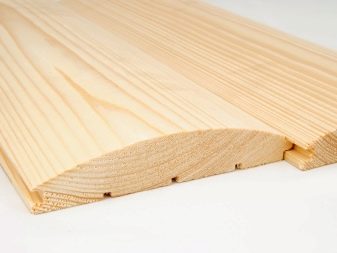
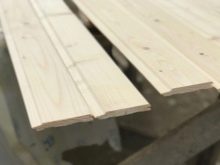
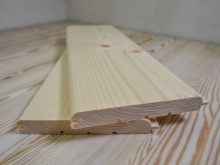
Eurolining is called wooden boards that are processed on all sides along the edge. The material has a tongue-and-groove type of connection, which allows facing without visible joints or fastenings. When a perfectly smooth surface is not required, it is better to use air ducts that are located from the back of the euro lining. This will prevent harmful condensation.
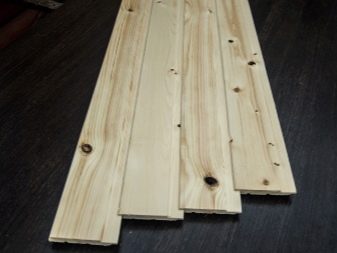
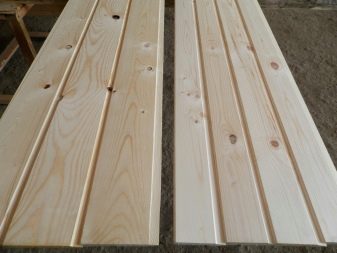
The category of building material is determined immediately after the manufacturing process (depends on the presence of various defects, curvatures, etc.), when sorting, it is divided into 4 grades. Products are divided into classes:
- Extra - any defects are completely absent, the lining is distinguished by perfect evenness and smoothness;
- A - there may be 2 cracks, 1 knot, 2 resin pockets, while the diameter of the second can be from 5 to 15 mm;
- IN - the number of cracks and resin pockets is the same as in the previous case, but the possible number of knots increases to 4 (diameter - 20 mm);
- WITH - A lot of unaesthetic stripes and blue spots, cracks, knots and resin pockets.
Eurolining from ordinary lining is distinguished by the highest assembly requirements, directly to the preparatory process itself, as well as to the storage and processing of wood.
Advantages and disadvantages
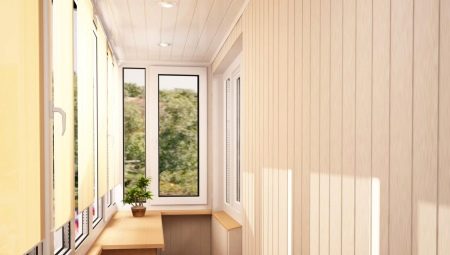
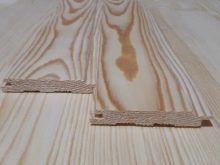
According to many builders, the best material for the inner lining of the balcony is euro lining. Finishing from this building material is the most durable: with an increased level of humidity in the room it does not deform. Also on the surface there is protection against condensation: two openings for ventilation are made in the stove. The buyer is offered two types of profiles: standard, that is, with right angles, and soft - with rounded corners.
The popularity of this cladding is due to its durability, ability to keep warm, not to absorb moisture.
As recognized by professional designers, wooden decor elements also add a special atmosphere and warm comfort.
But in comparison with modern building materials, lining, in addition to advantages, has two small disadvantages:
- the need for processing plates with paints and protective compounds;
- lack of flexibility and inability to create curly structures.
Choosing the right building material
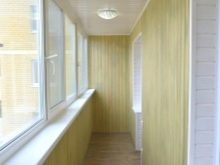
It is better if the lining is made of coniferous wood: it is more durable, and therefore also durable. The balcony can only be finished if it is glazed, otherwise high humidity with a temperature difference can lead to sad consequences.
The cost of building materials for balcony cladding is low:
- 110 rubles - per 1 m2 of the lining;
- 140 rubles - per 1 m2 of PVC panels;
- 250 rubles - per 1 m2 of lining.
Cladding
Sheathing of balconies, as well as loggias, is carried out only after preliminary processing of all walls with a special primer, water-repellent type. Otherwise, they will be covered first with condensate, and then with mold.
For the decoration of the balcony room under consideration, it is necessary to prepare a number of tools and materials, among them:
- nails - 30 mm;
- dowels - take elements with a size of 6x60 mm with significant curvature, if the walls are even, otherwise choose options that are more authentic - 6x100 mm;
- self-tapping screws - 90 mm, 75 mm, 50 mm;
- Euro lining - 40x70x3000 mm;
- casing made in accordance with GOST 8486-86, as well as GOST 8242-88, or cladding DIN 68126/86;
- drill, you can use a hammer drill;
- several concrete drills, desired sizes 4 and 6 mm;
- level (spirit level);
- electric screwdriver;
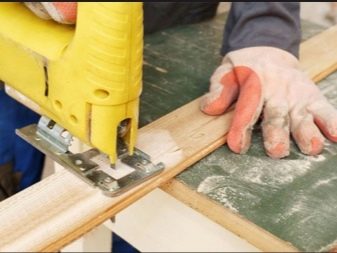
- jigsaw;
- corner, steel measuring tape, marking pencil;
- hacksaw;
- ax, hammer.
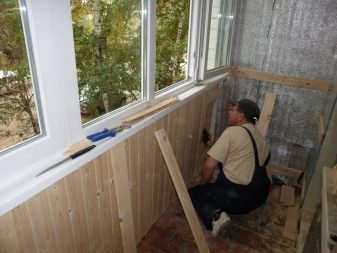
First check with a spirit level to see if the walls on the balcony are even. If the upper part of the frame for installing the lining should be larger than the lower, then the assembly must begin with the lower guide.
Saw off the guides of the desired length, and then every 60 cm mark the places for dowels using a pencil. Drill holes 5–6 cm deep with a 6 mm drill.
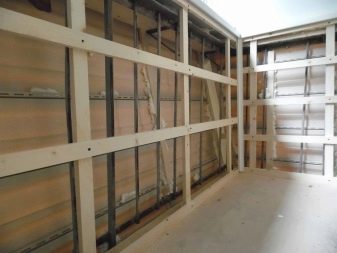
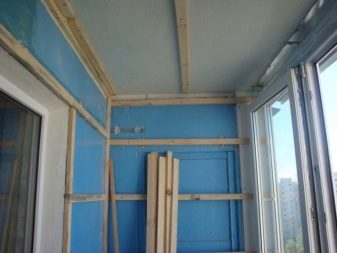
The assembly of the crate frame should begin with corner posts. First fix the vertical and then the horizontal bars. Before starting the installation, it is advisable to treat them with a flame retardant. Typically, such compounds are universal, in addition, they protect the tree from decay. The frame can be painted.
Fasten the guides for a while, check the level of construction. If everything turned out exactly, hammer in the dowels and tighten the screws.
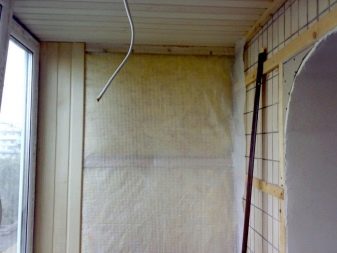
Put the belts on the cords, stretched vertically. Repeat for horizontal stripes. In the formed cells, it is necessary to lay the insulation.
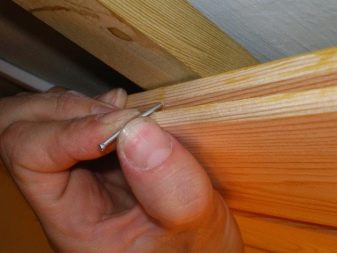
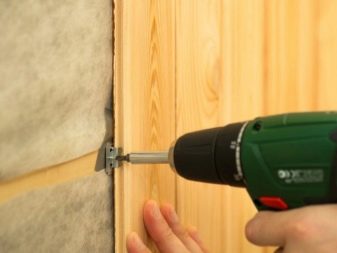
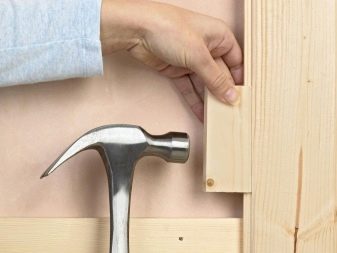
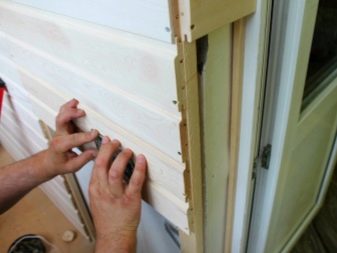
When decorating the balcony with a lining, you can fix the lining with nails. The first board is mounted on an adjacent wall, then checked by level. Securely fasten the lining with nails in the crest with a groove, act carefully, counting every blow.
Measure the distance in the opposite corner from the beginning of the ridge so that the boards align easily. Thus, a small gap is formed between the wall and the floor, but it is easily closed by the baseboard and will not be visible subsequently. After installing 5-6 belts, make sure that the insulation is vertical. Locking on the slats allows you to adjust the accuracy of installation in a small range.
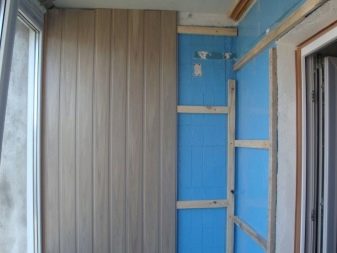
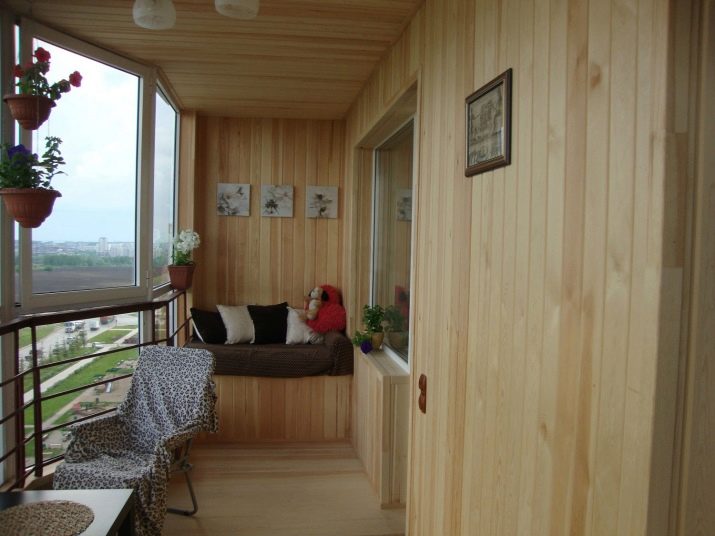
When choosing the direction of the cladding (horizontal or diagonal finish), it should be noted that horizontally laid euro lining will make the room visually wider, and vertical, respectively, higher.
After installing the corner stand, you can proceed to level the vertical rods by level, and then to fasten the walls of the lining with anchor bolts and attach the longitudinal rods, placing them in increments of 500 mm.
If the insulation is placed inside the frame, then a vapor-tight film is mounted on top, only after that the lining is mounted on top.
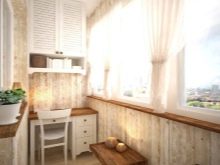
The window sill is better to choose one that is made of plastic, since dirt and dust are easily washed off its surface. To do this, use only a soft sponge with detergent. After a few years, the wooden window sill will suddenly darken next to the opening window frame.
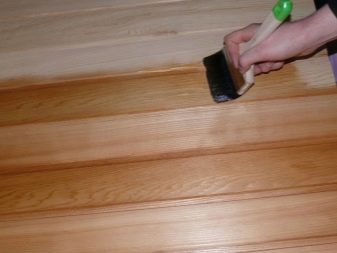
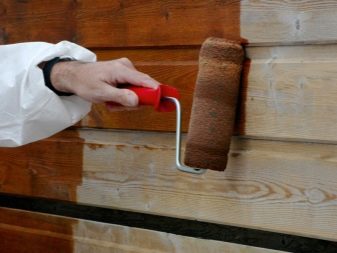
After finishing work, the sheathed wall of the balcony should be covered special compounds that prevent mold inside and give the wood an attractive appearance. For these purposes, an antiseptic, oil or acrylate paints, acrylic or alkyd varnish are suitable. The lining itself can be impregnated several times. Special products have moisture repellent properties, preventing the formation of mold, fungus and pests. By the way, protective equipment can be with a slight shade or saturated color.
Boards for the floor are prepared in the same way as bars for the frame, insulation is laid between them. Attach the floorboards to the logs with screws. This method of fastening allows after some time to correct the location of the boards, if cracks appeared between them. If the floor creaks, the screws must be tightened.
Cladding a balcony with a wooden lining takes no more than one day. In order to make a quality repair, you need basic construction skills and, of course, patience. But, having completed all the work on the balcony, you can be proud of the fruits of your creations.

Interesting Design Ideas
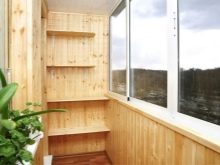
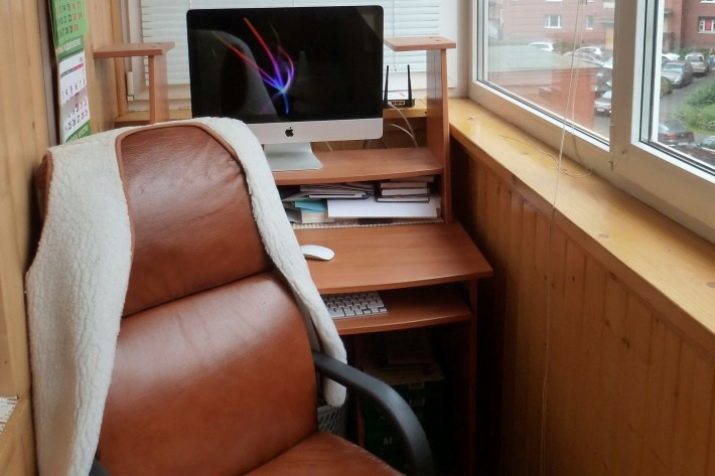
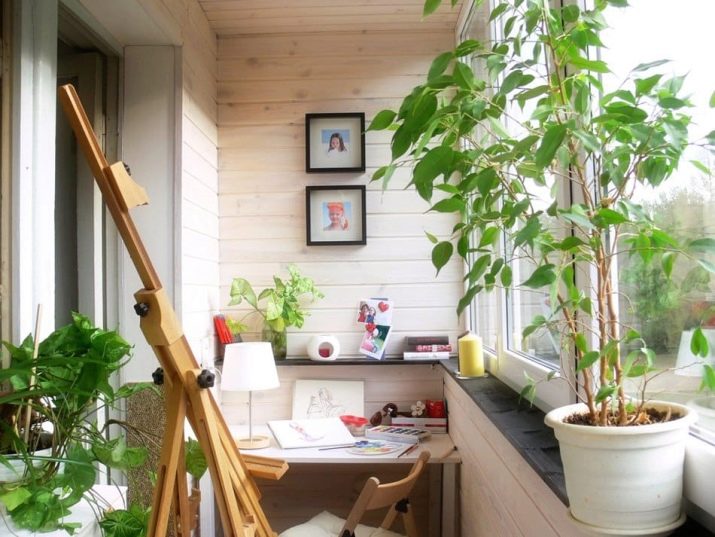
- Balcony with underfloor heating is perfect for cabinet. This is a separate space with special functional furniture, where you can easily install a computer, after placing the table with a chair. A wall cupboard and shelves will help to use the space productively, having everything you need at your fingertips. Such a balcony will require perfect thermal insulation as well as waterproofing.
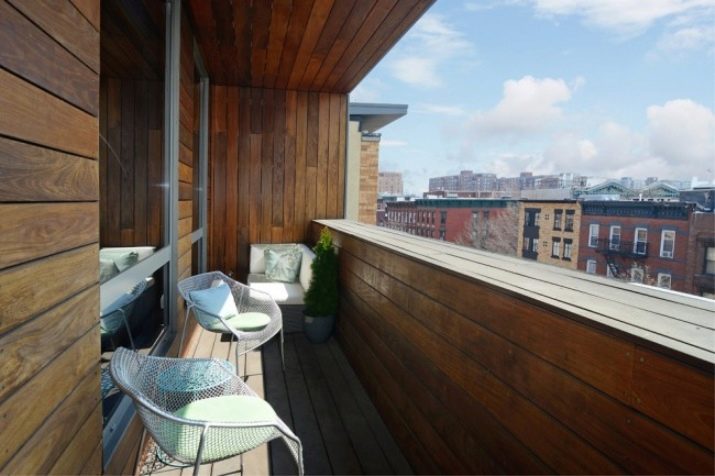
- A wide loggia can easily turn into a comfortable sitting area. The interior should have a table with chairs, a sofa or sofa and decor items such as ornamental plants, a variety of shelves and coasters. If the balcony or loggia has high ceilings, this space can be allocated for the placement of sports equipment, thereby making a training room out of the balcony.
- Panoramic balcony will require a special approach. This design in the apartment can be made like a French one. From such a balcony it will be possible to admire city landscapes from above. There should be a minimum of decoration, but the presence of blinds and comfortable furniture is required.

- Winter Garden - an excellent arrangement for this kind of premises. It is enough to think over the concept of furnishing the loggia. This will require the selection of suitable plants and appropriate conditions for their maintenance. Have to maintain a special microclimate.
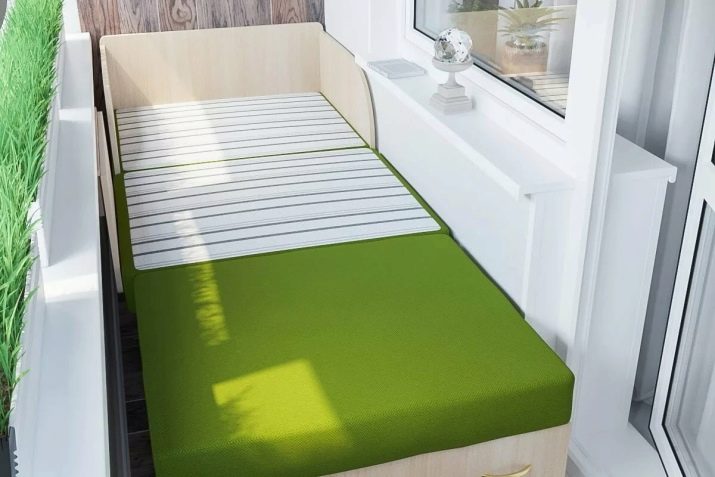
- A loggia that can be turned into a summer bedroom. Such a room will need to be equipped with lamps and a comfortable bed. Floor heating and the presence of heating systems is desirable.
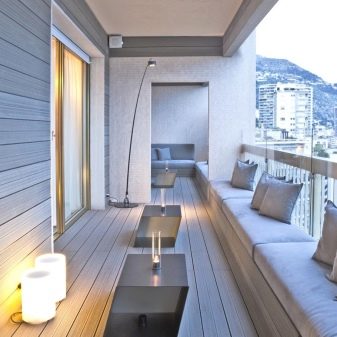
- A narrow dark balcony is ideal for creating a relaxing corner in the Scandinavian style. For this, decorative elements from wood and any bright colors in the decoration are used, so you can create the effect of excellent lighting.Such a loggia will require a minimum of furniture and thoughtful evening lighting.
- The loggia can also be converted into a cozy corner kitchen with ledges that run along the perimeter of the room. On such a parapet can be placed kitchen utensils. Such an interior is best complemented by high chairs. Combining a balcony with an apartment is an excellent option to increase living space. The most successful is the design project of redevelopment with the interior for all rooms in a single functional style.
Joining the loggia to the apartment will not cause problems. This option should be considered if necessary to increase the living area of the living room, dining room or bedroom.
On how to make the decoration of the loggia lining, see further.


