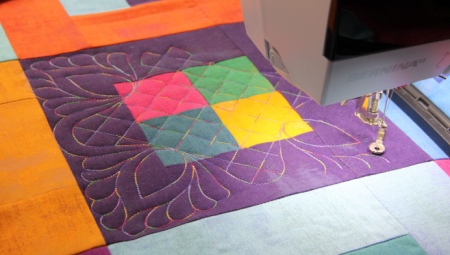
A variety of needlework quilting every year is gaining more and more popularity among craftswomen. One of its main advantages is the ability to combine patchwork, embroidery, applique, and stitch in one product.
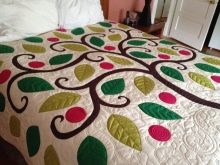
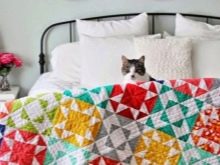
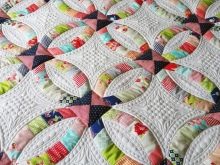
What it is?
Quilting is special quilting technique that allows you to create quilted productsthat have two or more layers. In addition to traditional stitches and stitches, appliqués and embroideries can also be used for decoration.
The work resulting from this needlework has the name quilt, and the people involved in it are called quilters.
The fabric fabric, as a rule, is created from the front and back coatings, between which there is a sintepon filler that creates volume. The front layer, it is also decorative, is made using the patchwork technique, and is decorated with appliqués and embroideries. The wrong side can be formed from residual materials or can be a solid canvas. All layers are necessarily quilted.
What is the difference from patchwork?
Despite the fact that patchwork and quilting are often considered the same needlework technique, there is still a difference between them, and even in historical premises. It should start with the fact that the patchwork, also known as patchwork, has a narrower focus and has its own methods and techniques. When manufacturing a product in the style of quilting, it is not forbidden to combine several sewing techniques, that is, it is more universal.
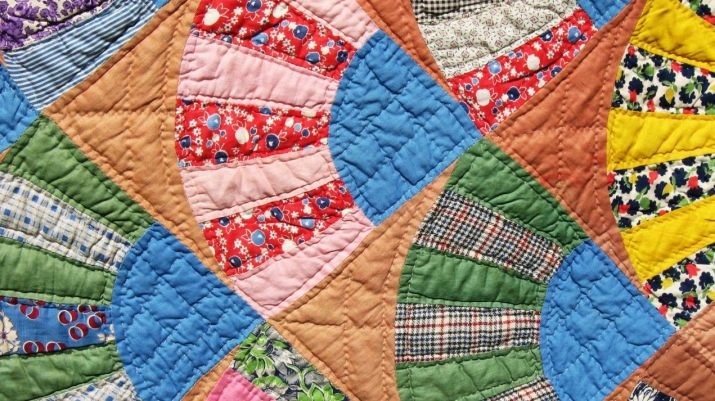
The essence of the patchwork is that a sufficient number of pieces of fabric are sewn into a single piece of fabric. Quilting is always responsible for creating quilted products that have two or more layers, and the decorative front part can be just patchwork.
The patchwork result is often quite lacking in volume, but quilting objects always possess it due to their own multi-layering.
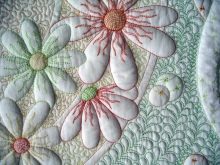
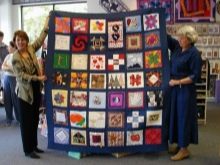
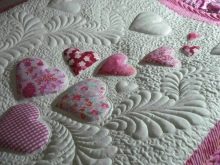
Overview of Stitch Types
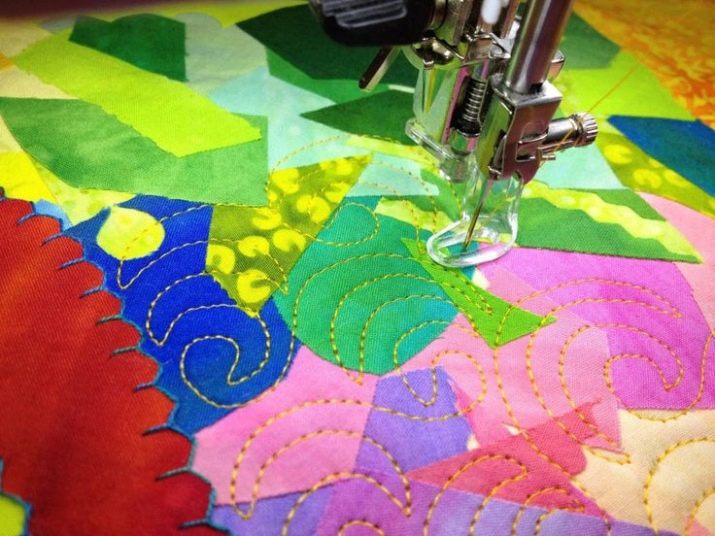
Quilting can be done using manual, machine or combined stitches. The machine stitch, in turn, can be carried out on specialized typewriters or on household sewing devices, both on normal and on the fly. For beginners, it is recommended to use the machine stitch in the normal course., since this method does not even require any additional configuration. In this case, the quilter chooses between the stitch “into the seam”, which is also “split”, and straight or slightly wavy lines that can run parallel or slightly intersect. It is also possible to implement a stitch according to the pattern, that is, according to the lines already drawn on the fabric.
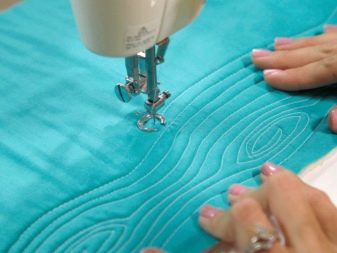
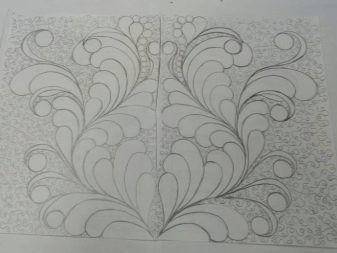
Pretty often masters turn to a classic free art stitch machine. It is carried out without first applying lines to the fabric and looks like a series of repeating elements of any complexity, from geometric shapes to exquisite botanical compositions. The main types of quilting stitches include straight and wavy seams, zigzag and free-running seams. The latter is also often called tortuous.
Beginners are recommended to first draw a stitch on paper, then fix the sheet on the fabric and flash the product using the sewing machine directly on it.
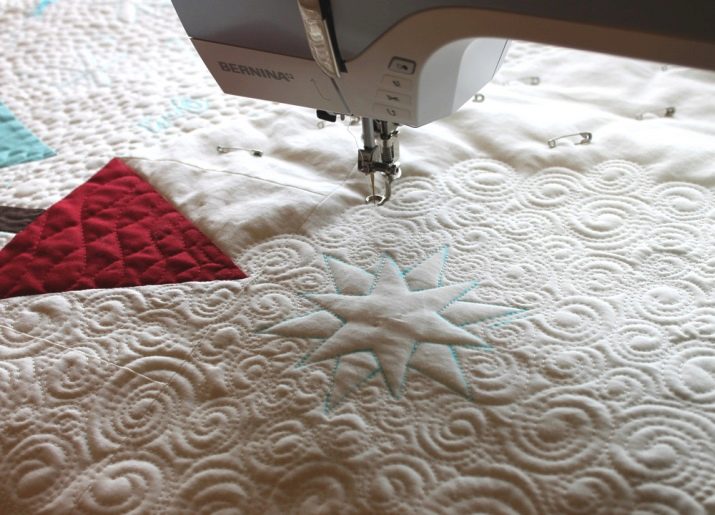
It must be added that many varieties of stitches are further classified according to density. Microstitch requires a distance between the lines of 1-2 millimeters. This view is used to fill a small space inside the main picture. With a tight stitch, the gap between the lines is from 2 to 10 millimeters. A variety is often used to create postcards, napkins and panels.
The most popular density is from 3 to 5 millimeters.
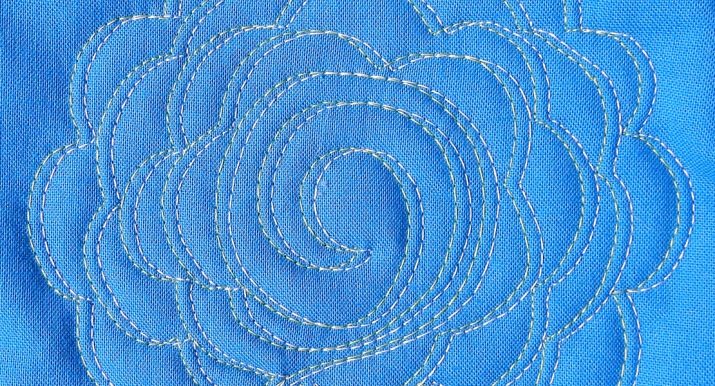
If the distance between the stitches is from 10 to 20 millimeters, then we are talking about a medium density stitch. This variety is suitable for creating bedspreads, panels and similar textile products. For rare stitches, a spacing of more than 20 millimeters is characteristic.
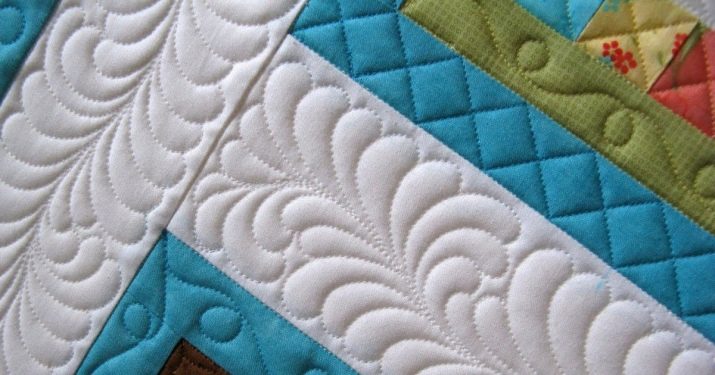
A rare stitch is most often used for blankets, as it allows them to remain soft and moderately voluminous.
Separately considered Japanese hand stitch called sashiko. This technique is based on the use of geometric shapes and straight lines. Even stitches must follow the previously marked markings.
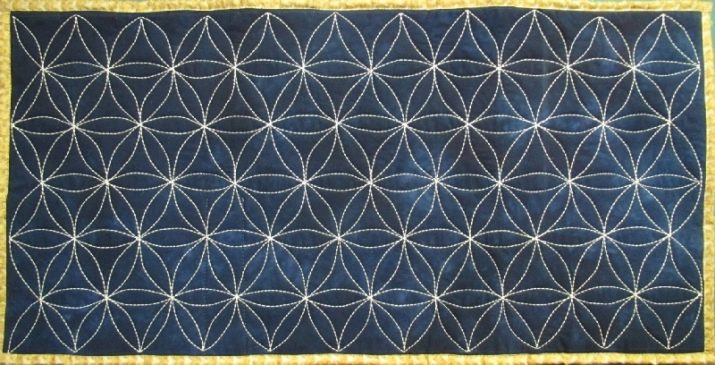
Differences in quilting in different countries
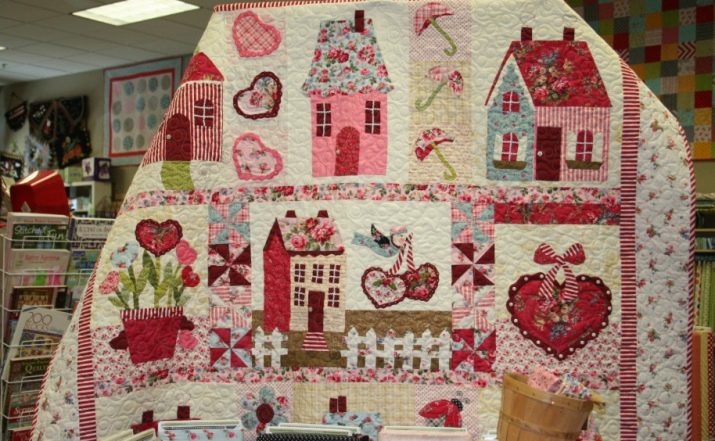
Since quilting at one time developed in many countries, today it is customary to distinguish several of its “national” varieties. Japanese quilting is characterized by a combination of sashiko stitches, appliqués, hand-painted and patchwork. Products are always created manually, taking into account the developed palettes. For example, the plot “The Sea Abyss” requires the use of gray, white, gray-brown shades, as well as indigo.
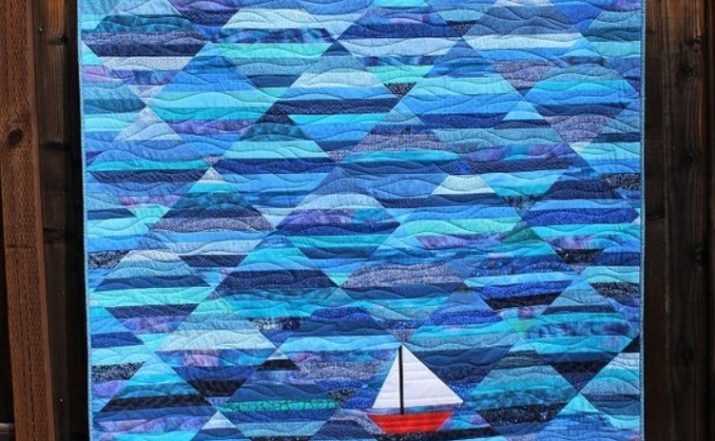
American quilting doesn't look so luxurious, like Japanese, but it can be implemented both manually and on a sewing machine. Its feature is the choice of bright colors and the creation of geometric patterns.
On products made in the Celtic quilting technique, it is easy to detect national patterns and ornaments.
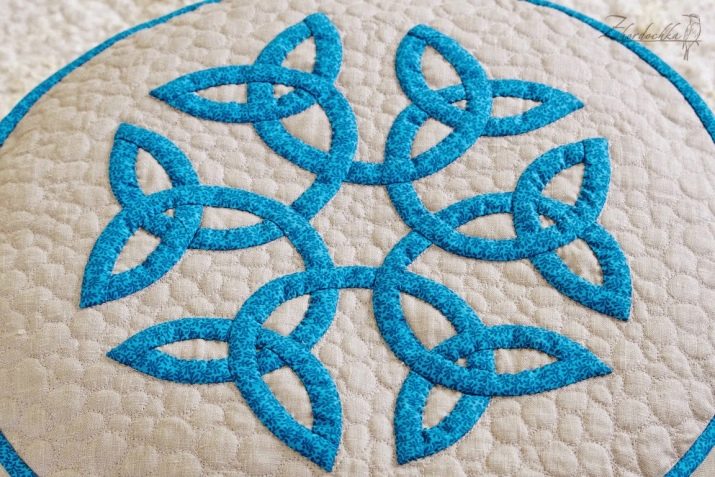
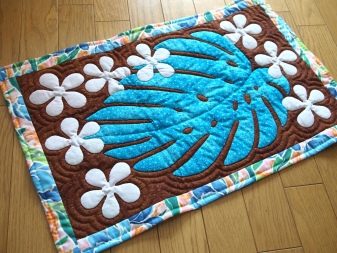
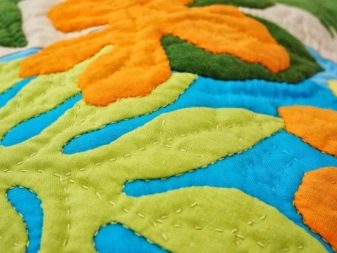
Hawaiian quilting requires decoration of works with applications with natural motifs, floral ornaments and figures of birds and animals. It is customary to cut decorative elements, given the radial symmetry.
Necessary tools and materials
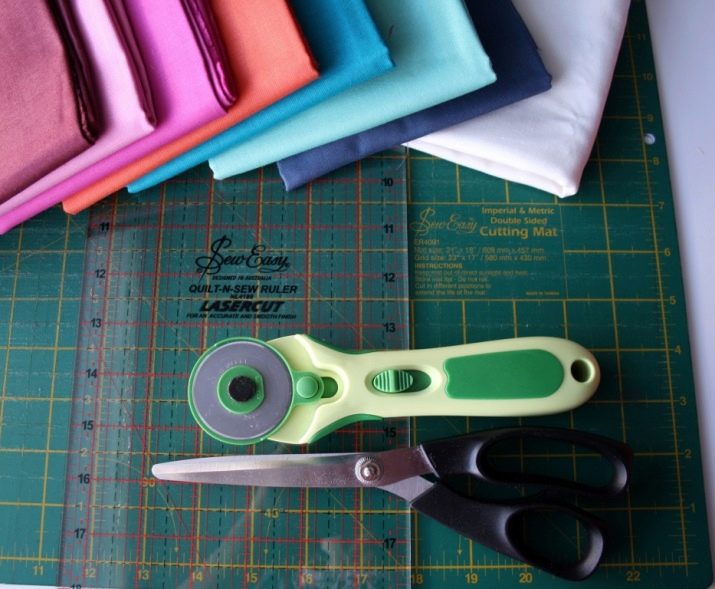
The main tools for quilting are the needle and thread, but in addition to them, the novice master should prepare some more useful aggregates. To cut the fabric, you will need either high-quality tailor scissors that do not “chew” the fabric, or a professional roller knife. The latter, by the way, should be purchased complete with a special rubber mat, the surface of which is covered with linear markings. For quilting, a transparent wide ruler, ripper and pins are also desirable. In addition to the threads in tone, it will also be necessary to prepare threads of a contrasting shade.
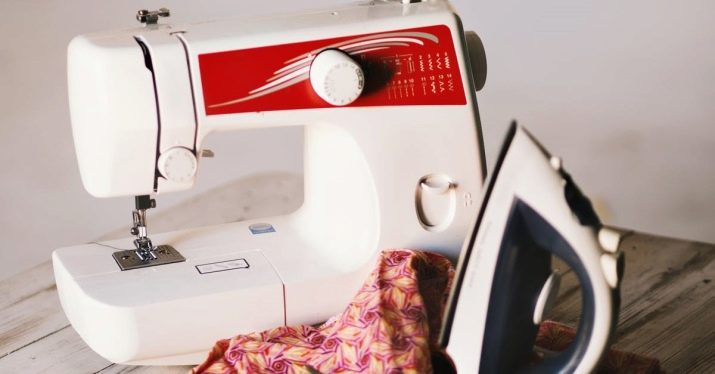
Naturally, a thin filler, a diverse fabric, an iron and a sewing machine are needed to work. The device for direct quilting can be household or specially adapted for patchwork. Special crayons, a pencil or a bar of soap will greatly simplify the marking process. If the work is planned to be carried out using templates, then cardboard will be required for them.
As for the fabric, it is better to choose a material of the same density and harmonious shades. Shreds with patterns are recommended to be diluted with monophonic fragments.
As a filler, it is advised to use a thin synthetic winterizer, which is easily quilted even by hand, but does not create excessive heaviness and volume. If the decorative cloth will not be used often, and therefore washed out weekly, then silk, brocade, chiffon and even lace shreds can be adapted to create it. The wrong side can be made of a special lining fabric or that cotton fabric that is easy to iron and wash.
A plain and patterned lining will look good. It’s great if she can contrast with the front side or match one of the used shades.
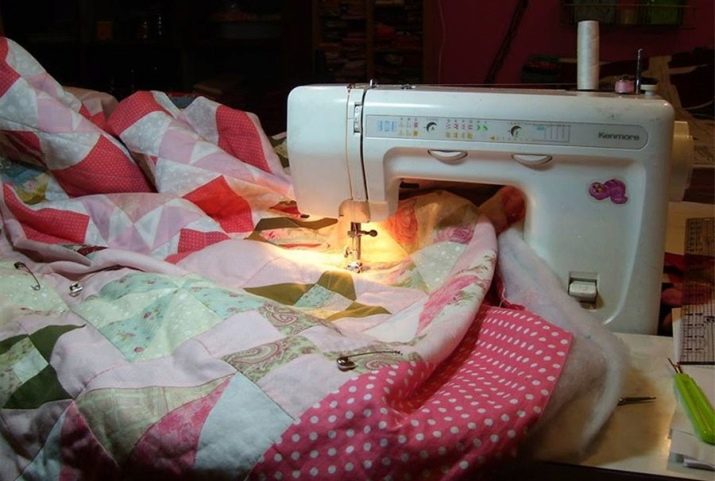
Workshop for beginners
Before you step by step begin to implement any quilting master class, you need to decide on the appearance of the planned product. Learning to quilting will be more convenient on some simple textile product, for example, a kitchen potholder or bedding for a chair. In this case, even a circuit for work is not needed, and square or triangular shreds of the correct shape will be used as the basis. Combine fabric in accordance with colors, densities and textures. The pattern can be made independently. The quantity and dimensions of the constituent parts are determined depending on the size of the manufactured item.
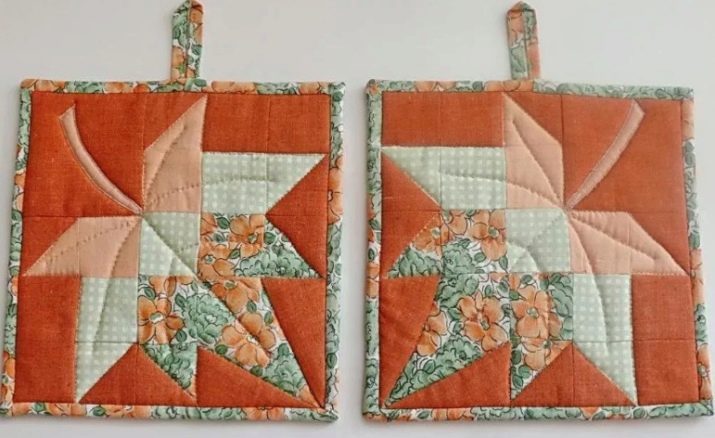
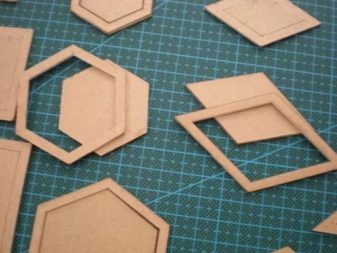
Based on the calculations, cardboard patterns are cut out. Transferring it to the fabric, one should not forget about allowances ranging from 0.5 to 0.7 centimeters and placed on each side. Having cut out the details from the fabric, they must be joined. When the work is done manually, it is convenient to iron all the allowances inward, and then flash the parts along the fold line. Having finished with a decorative coating, it is necessary to connect it with the wrong cloth and sew with the selected stitch. The edge of the product will be beautifully processed with a patterned edging.
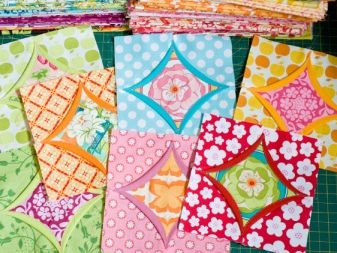
In the case when all the work is carried out on a sewing machine, it will be necessary to pick up a special sharp needle. Usually for cotton threads 30-40 size, a seventieth needle is used, and metallized threads are usually used with needles for embroidery.
Before starting work on the product, it is better to “test” the device on an unnecessary piece of fabric.
Between each other, the layers should be fixed with pins or soluble threads. The stitch should be done only on the patchwork side.
Getting started with quilting, the easiest way to start is with sewing with squares, when simple geometric shapes are connected together.
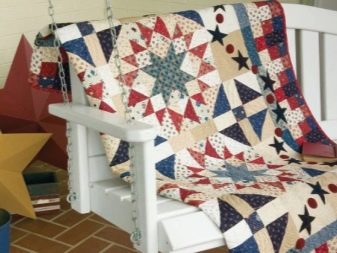
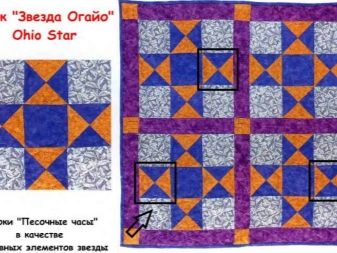
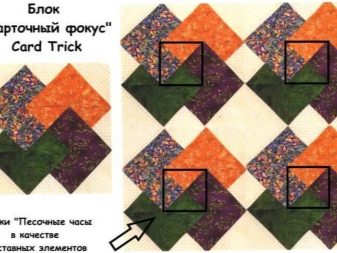
The “log cabin” and “hourglass” schemes imply the use of strips of different lengths from which these elements are composed.To create a "carousel" or "English park" you will need to cut triangles of different colors, which are then grouped in a certain way. The Ohio Star is also made up of triangles combined into small square blocks. Popular schemes also include card trick, Solomon's riddle, Virginia’s whirlwind, and Russian Square.
Product Examples
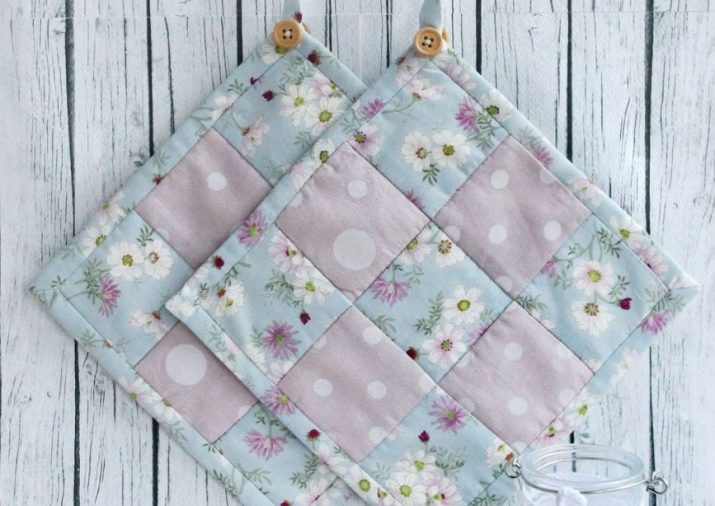
The most beautiful products using quilting technique are obtained with a harmonious combination of colors. For example, quilted potholders in white-pink-blue tones look beautiful and graceful. Composed of 9 square shreds, the tack harmoniously combines two types of patterns: white peas on a pale pink background and daisies on a sky blue background. The product is equipped with a convenient eyelet and decorated with a concise button.
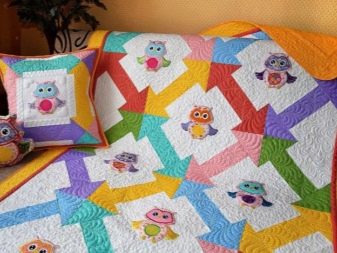
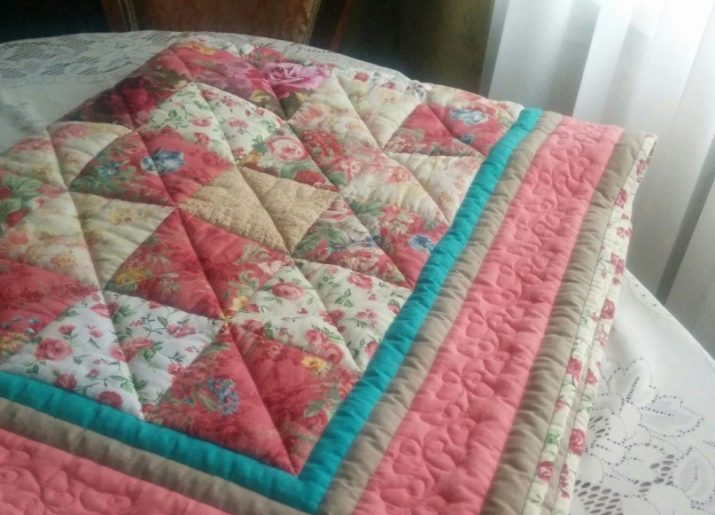
Quilt is quite typically made out using the quilting technique - its middle part consists of pairwise arranged triangles, and a contour of stripes is formed around them. The use of different colors and patterns gives the product a cozy rustic look. Despite the abundance of colors, they are combined quite harmoniously.
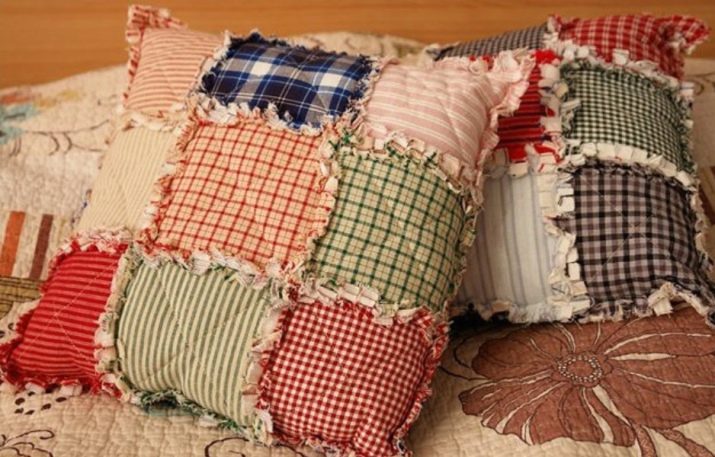
Shabby, he is torn quilting is characterized by stitching the blocks with seams to the outside, which are then additionally frayed. As blocks, ordinary squares are most often used. For example, in this technique a pillowcase is created for a decorative pillow. Both patches and applications are made in similar colors, but decorated with completely different patterns, which creates a balanced, but original looking picture.
The following video shows an example of creating products using the crazy quilt technique.
