A cutting board is a kitchen appliance used for various types of food processing. It allows manual cutting, chopping and chopping of food.
Features and varieties
Their main feature is the presence of a flat, flat surface, so that it can be used with greater efficiency.
As materials from which cutting boards are made, plastic or various types of wood are used. Wooden models are considered the most suitable for everyday use. This is due to the fact that during operation on the board is a mechanical impact of the cutting tool, which leads to microscopic damage. As a result of these damages, the surface is destroyed, and small particles of the material from which it is made fall on the products.
Chopping planes differ from each other in shape, material name and purpose.
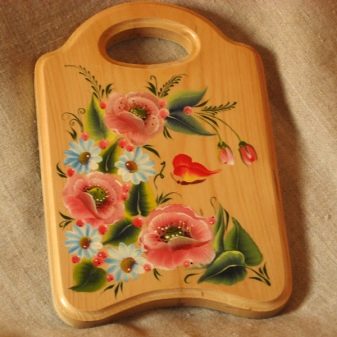
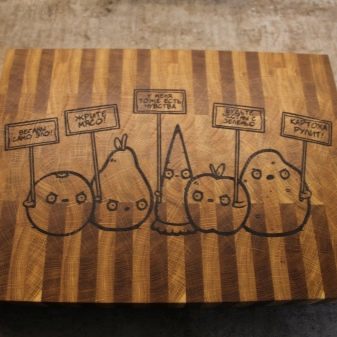
Features of the shape of the board can affect how it is used. For example, the surface of one of its sides can be decorated with a decorative pattern or pattern, which makes it impossible to use this side.
The wood material used to make the cutting board may vary depending on its purpose. Due to its properties in the manufacture of boards, the preferred choice is given to him. There are wood species characterized by high strength and resistance to destructive loads. Among the most popular wood species used in this case are:
- oak;
- beech;
- nut;
- ash;
- maple.
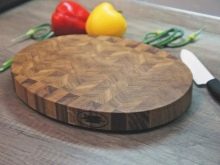
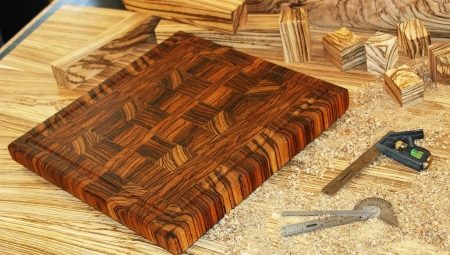
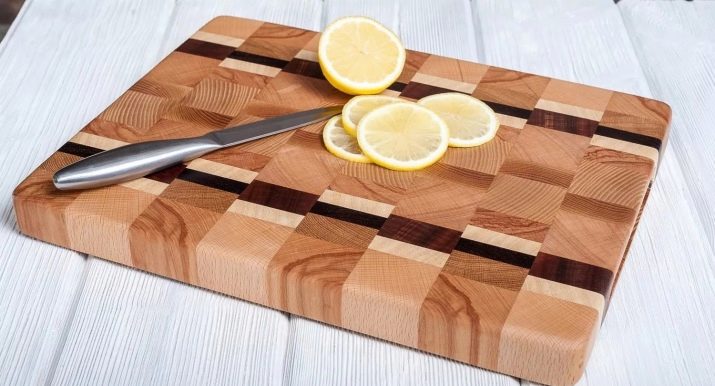
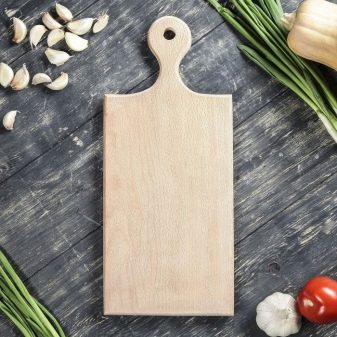
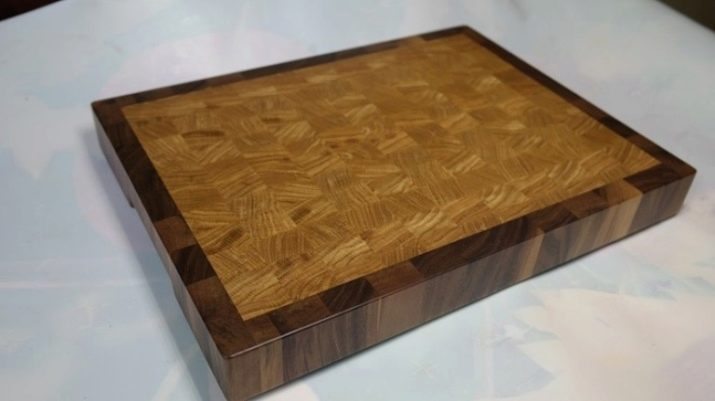
Chopping planes made of wood are divided into two types: ordinary and end. Their main difference from each other is the position of the wood fiber relative to the cutting surface and the position of the cutting tool. In the first case, the fiber is horizontal, parallel to the surface on which it is installed. In the second case, the direction of the fiber is vertical.
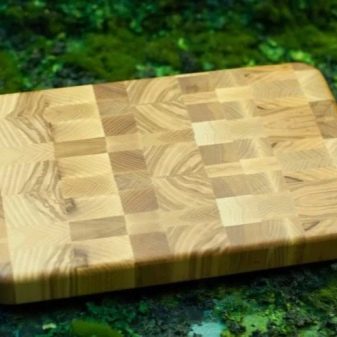
End Board Benefits
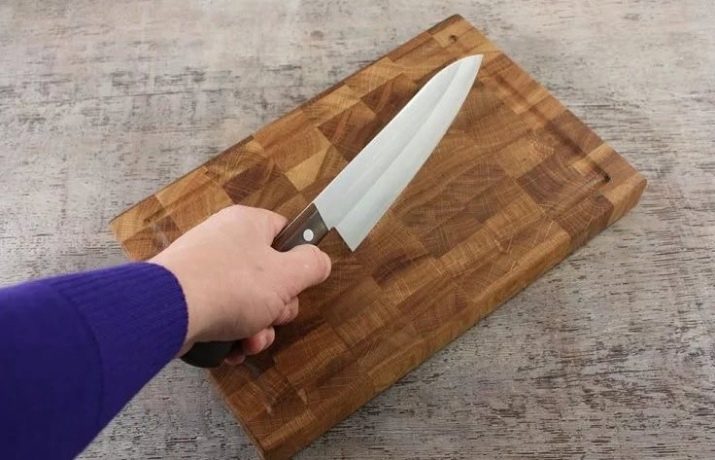
This type of board has a number of features that give it specific advantages that determine the area of use. Since the fiber is vertical, its position relative to the blade of the cutting tool is perpendicular.
This fact determines the presence of increased strength. This is because the end part of the wood fiber is much stronger than its longitudinal part. So, when sawing wood material, it is much easier to saw the workpiece across the fiber than along it.
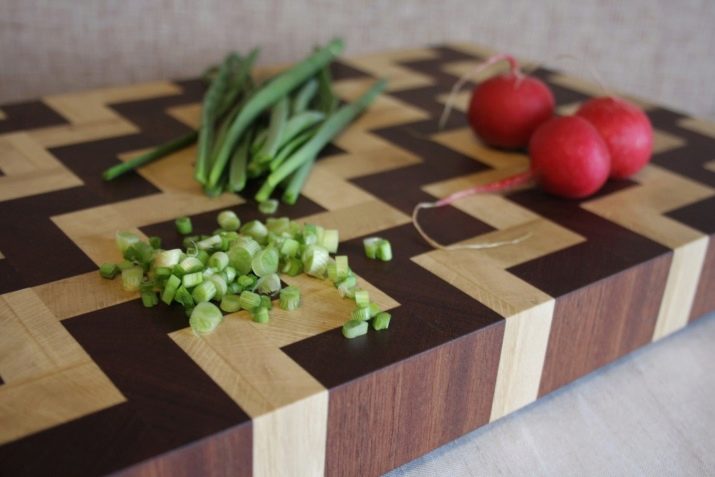
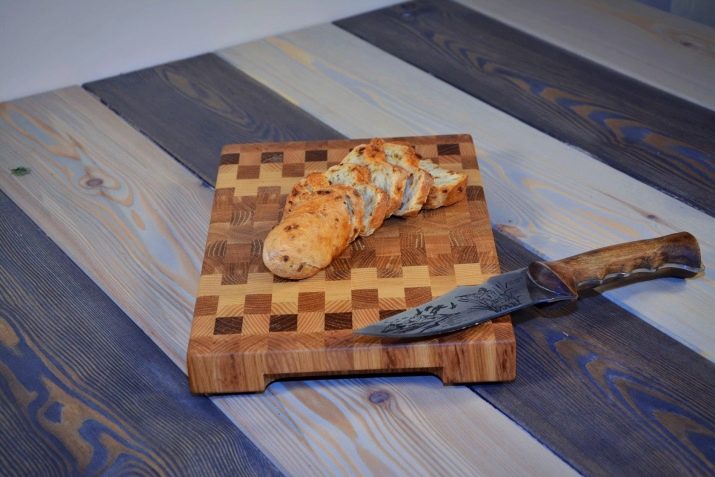
Using this feature, craftsmen make durable cutting boards. These kitchen products are in demand in places of mass cooking, for example, in restaurants and canteens.
Due to the advantages of boards made with a vertical fiber arrangement, the percentage of cash and other resource costs allocated to providing public kitchens with specialized accessories is reduced.
The principle of manufacturing end boards
In the production of the end plate, time-tested technologies are applied to achieve the proper effect. It is known that a flat saw cut of a tree, the fiber of which is directed perpendicular to the surface on which it is laid, can be extremely fragile. To compensate for this drawback, the cutting board is made of components glued together, the fiber of which has a different direction relative to each other. To fasten the constituent elements with each other, it is necessary to select an adhesive whose properties could ensure the proper connection of the workpieces. The strength of the joints between the workpieces should be sufficient to maintain the integrity of the board under loads.
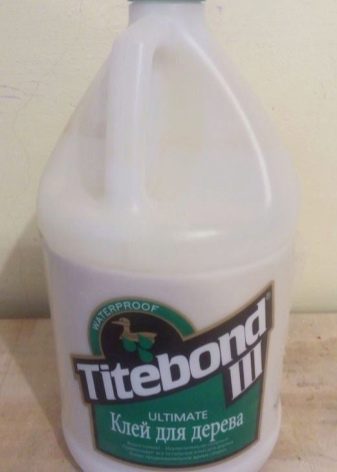
Since a cutting board is a household item in contact with food, use only specialized glue. On its packaging must be indicated permission to use for bonding materials that will be in direct contact with food. This will avoid the entry of harmful adhesive particles into the human body, which will consume food prepared on this board.
It is important to purchase a glue made by well-known manufacturers from an authorized representative. There is a high probability of buying fake glue, the composition of which is not intended for use in such situations.
The end board is made according to the following principle.
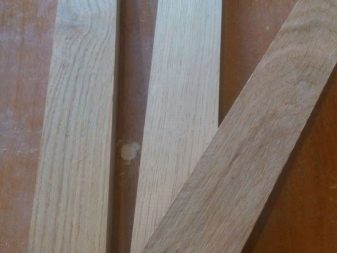
- The board is sawn into longitudinal bars. Their cross section, depending on the need and thickness of the future board, can be square or rectangular.
- The resulting slab billets rotate around its axis by a quarter of a turn in order to shift the direction of the wood fiber. After that, they stick together.
- After drying, the board, obtained as a result of the previous manipulation, is cut into regular bars with a transverse cut, which, after turning a quarter around its axis, are glued again.
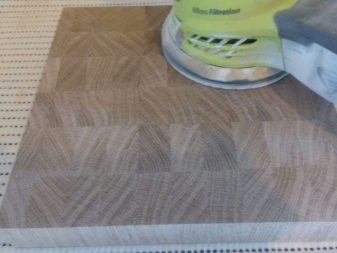
- At the final stage, the process of grinding the surface of the board is performed, designed to give it a working condition and presentation.
Do it yourself
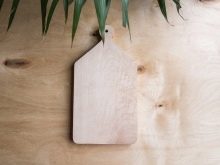
In order to make a cutting board with your own hands, for example, from birch, it is necessary to prepare the corresponding drawings and a solid board from this wood. Its width should be sufficient to ensure optimal working space of the future board. All actions can be divided into specific steps.
- The board must go through the initial preparation procedure. Within its framework, protruding knots, lateral cortex are removed, and a planer is processed.
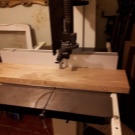
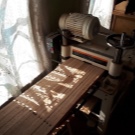
- After that, you can start sawing with a circular saw, on which a longitudinal emphasis is previously set. The presence of this emphasis is necessary, as it helps to produce longitudinal sawing as evenly as possible and provides a safety factor for using the machine. The distance between the emphasis and the cutting blade of the circular saw should correspond to the width of the bars into which the workpiece unfolds. This takes into account the error created by the thickness of the saw blade itself.
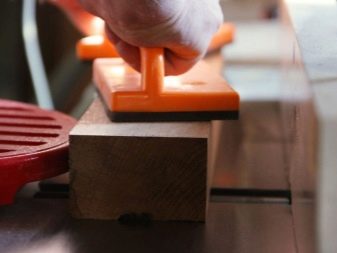
- After sawing the workpiece into the bar components, they are glued together. At this stage, grinding of the bars is not allowed, as this can lead to a violation of the conformity of their shape relative to each other.
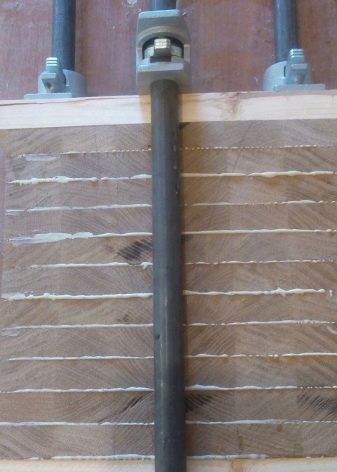
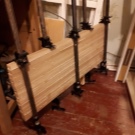
- In the process of joining the bars, they must be compressed using several clamps, which will ensure reliable bonding. After twenty-four hours, the next step is the cutting of the workpiece.
- Sawing is done in the direction perpendicular to the lines of the adhesive joint. Further, the obtained composite bars are glued together according to the principle of parallel adjacency of the fiber. The workpiece is again placed in the clamps.
- After the glue dries, the workpiece is refined. Within its framework, all necessary additions are arranged: drilling holes for hanging, milling selection of recesses for handles.
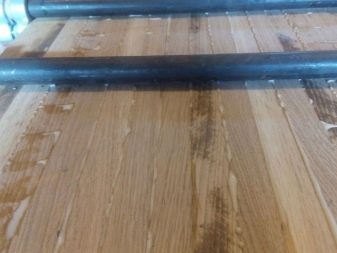
- Then grinding the surface of the cutting board. To do this, use the mechanical method of skinning, which allows to achieve the best result. As an abrasive, sandpaper with different grain sizes is used.
- The final step in the manufacture of the board is its coating with a protective material. It uses mineral oil or beeswax mixed with linseed oil. This protects the cutting board from moisture and extends its service life.
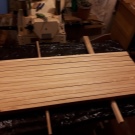
For more information on how to make your own cutting board from balusters, see below.


