Home baking is loved by everyone, because it turns out to be very tasty due to the fact that the hostesses invest a piece of their soul. And when this baking has bizarre shapes, it’s doubly tastier. But there are situations when there are no baking tins on hand, but I really want to please the household. In this article, we will look at ways to make them at home.
Manufacturing options
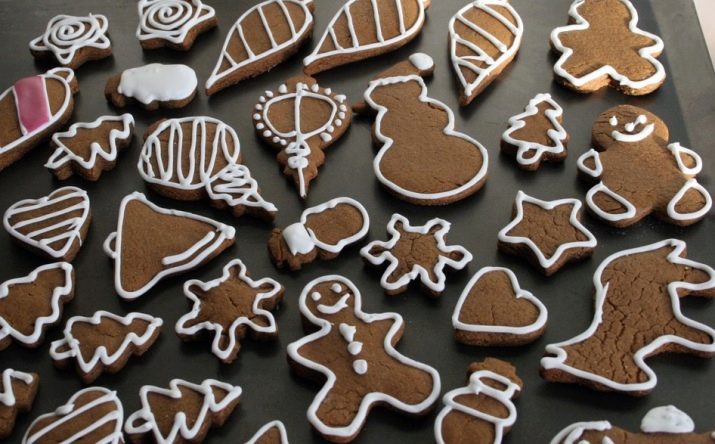
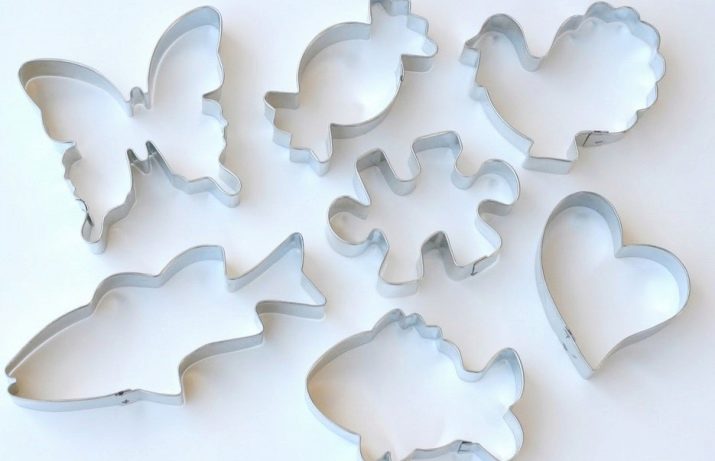
It so happens that it is difficult to find the right form in the store, it’s much easier to do it yourself without wasting time and energy searching. In addition, finances are also saved. Imagine how great it is to bake themed cookies for hobbies or for a particular holiday. For example, a set of tools for friends who love tinkering, hearts for lovers, the alphabet for the First of September, a crown for princesses, a sword for real knights, and so on. There are several ways to make cookie cutters and other baked goods from improvised products.
From a can
For the manufacture you will need materials such as:
- the can itself;
- round pliers;
- scissors for cutting metal;
- wooden block;
- awl;
- a hammer;
- paper;
- pencil.
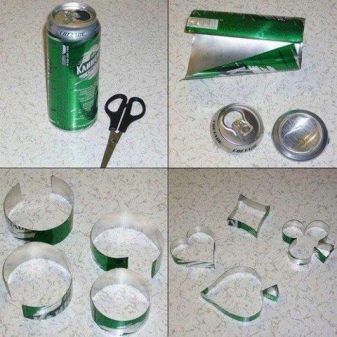
Of course, you must first thoroughly wash the jar with running water, it is possible with detergents. To dry it. You can take any jar, but it is best suited from carbonated drinks, beer or condensed milk.
Cans of canned food are much tougher, and making molds from them will be more problematic, male strength may be required. From the recommended tin, the creation of forms is very simple, and their diversity knows no boundaries.
The initial stage of the work will be a sketch of the future shape on paper of the size you want to make the shape. Then cut the top and bottom of the can, and then vertically on one side, to get a single plate. Measure with a ruler strips of 2.5-3 cm and mark with a pencil or marker. Next, with scissors for metal, you need to cut the plate into strips.
Observe safety precautions, and in order not to cut your fingers on rather sharp vertical edges, bend them on each side by 5 mm.
This can be done with a vise. Fix the strip, and bend the edges with pliers, and then take a hammer, a wooden block, and tap, knocking out the bent edges and making them flat. At the final stage of the template drawing, bend the strip, giving it the desired shape. When you need to fasten the strips together, then at the ends it is necessary to make bends of 5 mm, but only in different directions. After bonding, also go with a hammer to better fix and remove bumps.
If the house has a soldering iron, and you know how to use it, then for reliability, you can additionally solder the joints of the strips. If not, do not be discouraged, all the same, such tin products will not last too long, but they will be able to cope with cutting dough for cookies if it is shortcake or sugar.
Another safety tip: check the top and bottom edges of the strips; if they are too sharp or there are burrs, treat them with sandpaper or a file.
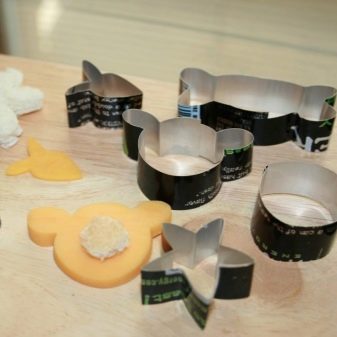
Using this method, you can make any shapes for baking cookies. Horses, horseshoes, hearts, any other animals, stars, simpler geometric figures, numbers, letters, shells and so on. Your imagination will help you.

From foil
This manufacturing process is even simpler than the previous one. Consider a step-by-step action plan. You will need:
- foil;
- basis for the manufacture of molds;
It is worth noting that such blanks are disposable, but if there is no alternative at hand, then they are perfect for baking.
A plus of foil molds is that any shape can be made from it.
The foil is plastic, easily bends and forms, but a template is definitely needed for it. This can be either a purchased form or any suitable container. So let's get started.
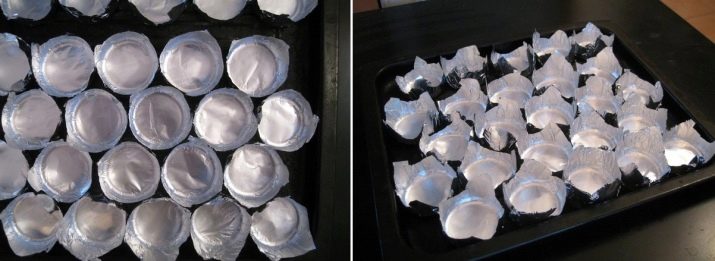
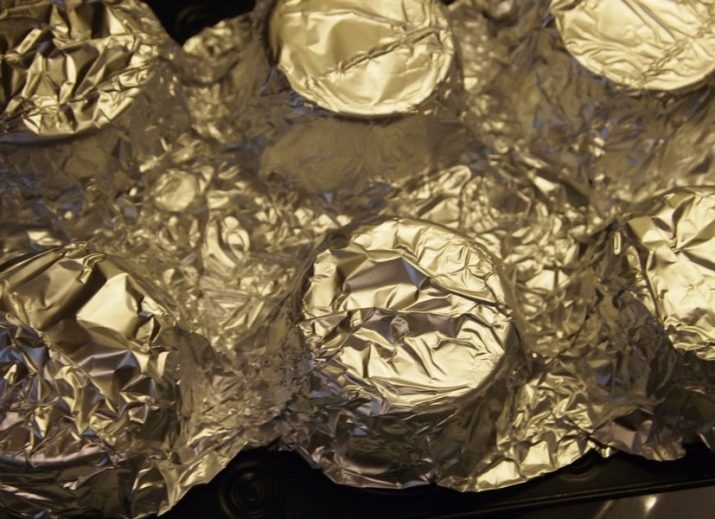
To make a cupcake baking dish, measure the diameter of the sample container, mark it on the foil and cut a circle, adding one centimeter to the edges of the bend. Now wrap a container in them, align them with the walls and fix the edges by bending them. Next, gently pull out the template. If the foil is too thin, use several layers at once.
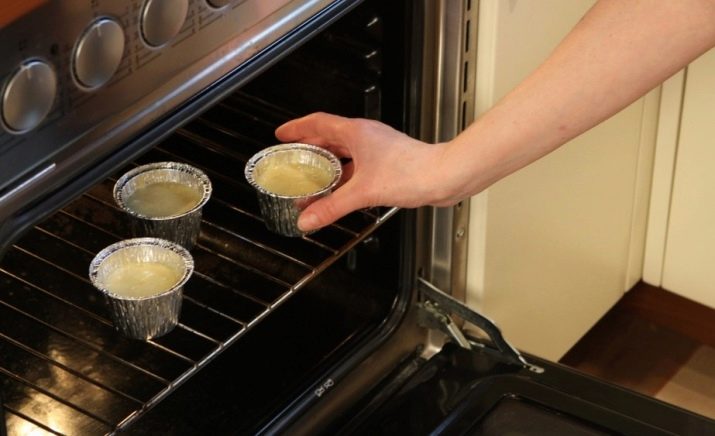
For the Easter cake, the shape is done in a similar way, only you need to put the foil not inside, but outside, turning the jar or bucket upside down. Do not forget to align the walls, carefully pressing your fingers to the original container. Before filling the mold with a mass of dough, it is necessary to lubricate it with oil so that the baked products do not stick and do not stick.
From parchment
To make delicate, lightweight parchment paper molds, you also need original molds. And the more, the better, since this method will be long in production, if you have only one template.

To make, measure out the necessary size, and cut the blank from paper. To create one piece you will need two identical pieces of paper. Fold both pieces of parchment together, soak and place on a template container, turned upside down. Repeat all bends of the pattern carefully with a ruler or finger. Gently cut off excess edges protruding from the surface with sharp scissors over the entire diameter. Now you can put it on the battery to dry or speed up the process with a hairdryer. Once the paper dries, the form is ready to use.

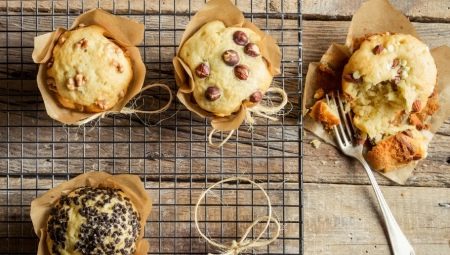
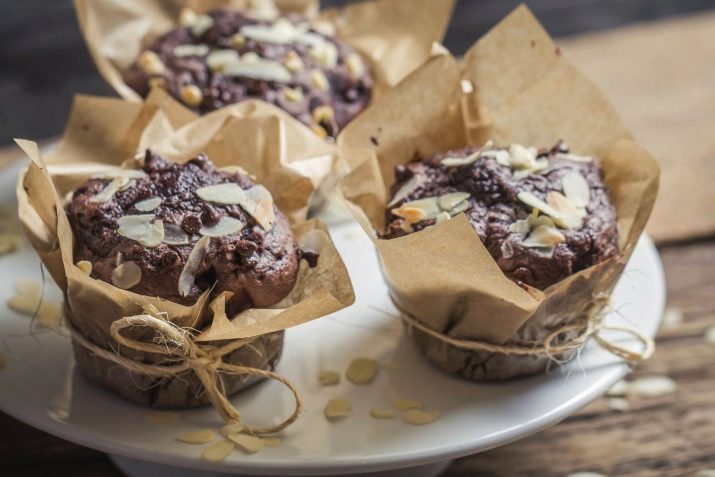
With such delicate preparations, you can not only bake cupcakes, puddings, muffins or cookies, but they are also perfect for decorating bouquets of sweets or just for a beautiful presentation of a handmade DIY gift set of chocolates.
In addition, these beautiful baking capsules can be decorated to your taste with food colors, which will add to your pastry skill another talent of the artist. Just imagine how happy the children will be when they receive a tasty treat in bright packaging.
From a plastic bottle
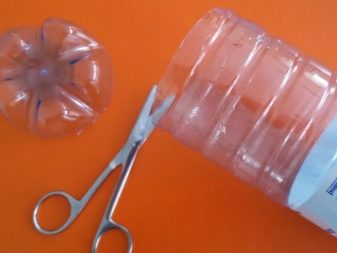
Here the manufacturing process is similar to the one described in the master class about the can. The bottle is also suitable as a form for cutting curly cookies from dough.

We remove the neck and bottom, then we cut the bottle along and from the resulting rectangle we outline future strips. Decide what height you need molds, mark and cut with scissors. Now, also, according to the drawn pattern, we give the stripes the necessary bends, fix the joints with paper clips, or melt the edge of the strip slightly above an open fire, press it to the other, as if soldering them. After cooling, the edges will be well fixed among themselves.
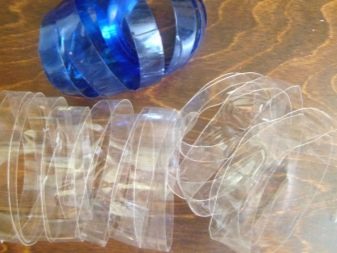
Do not be afraid to use plastic for these purposes, the bottles are made of food grade plastic, therefore they are safe.
In such simple ways, you can make any baking blanks and please your friends and relatives with a variety of not only taste, but also shapes.
In the next video, you will learn how to make silicone bakeware.


