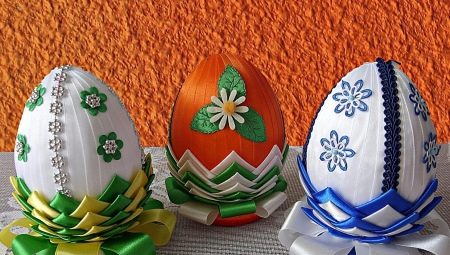
Easter has long been not only an important religious holiday for Christians, but also a large-scale social event. Even those people who are not parishioners prepare cakes, paint eggs and decorate the house. Many needlewomen choose new ways of decorating Easter eggs, one of which we will consider today in more detail. Let's figure out how to make an Easter egg using the kanzashi technique.
Features
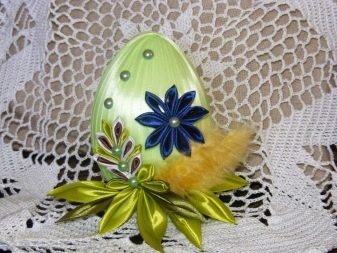
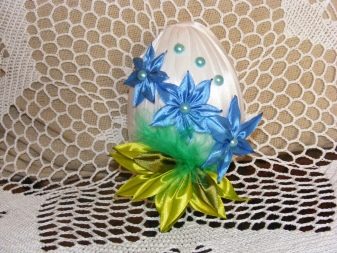
The technique with the original name "Kanzashi" came to us from the Land of the Rising Sun. Satin ribbons of various colors are used as the main decorative element.. They are folded in a special way and decorate the selected item.
Kanzashi Easter egg will not only be an expressive decoration of any holiday table. Also, a bright and colorful souvenir will be a wonderful gift for Easter.
At present, this type of needlework is rapidly gaining popularity. Despite the visual complexity of kanzashi-style objects, this technique is not as complex as it might seem at first glance. The main thing is to master several basic rules and adhere to them during work.
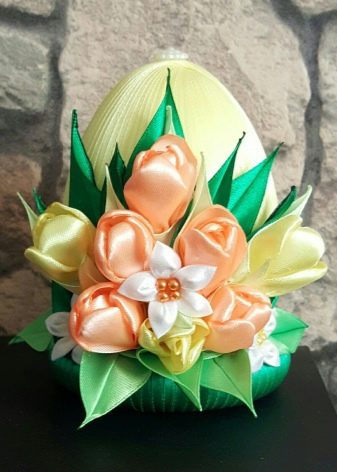
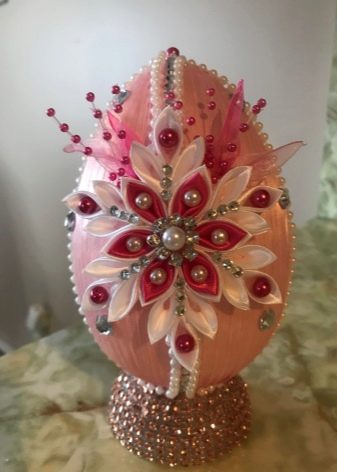
The first and main rule is that each piece of textile material needs to be carefully scorched, otherwise it will constantly crumble, and the decor will lose its appeal. It is also necessary to prepare special tools. Experienced craftswomen recommend using a soldering station. You will also need some sharp objects.
Petals are made from satin fabric, of which flowers are the basis of the eastern decoration technique. Experts have developed several original options for folding ribbons to get a beautiful decor. In most cases, square ribbons are rolled up.The color and shade of the textile material can be varied. You can use both multi-colored and plain colors. There are also no size restrictions, the main thing is that it is convenient to work with the fabric.
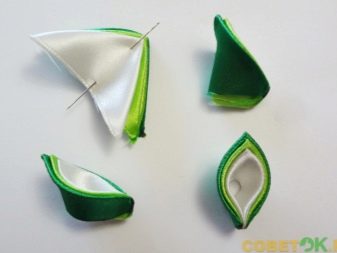
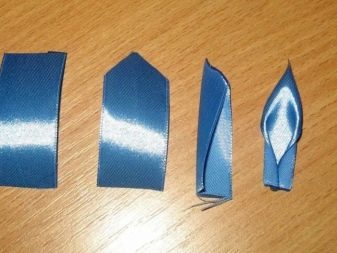
Note: the technique, which we will describe in more detail below, can be used to decorate not only Easter eggs, but also other objects. Having mastered kanzashi, you can make brooches, decorate combs, headbands and other accessories.
Tools and materials
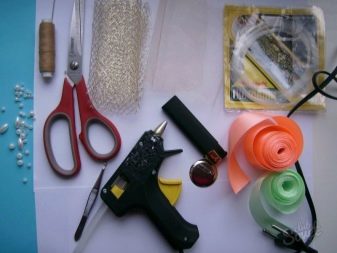
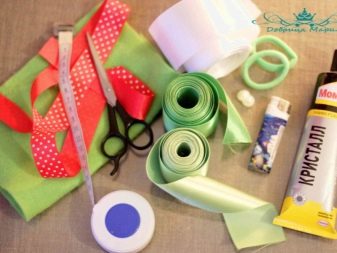
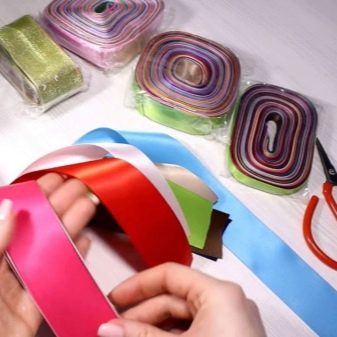
Any decoration technique needs a specific set of tools. A soldering iron, which is also called a burner, is used as the main device. Also, do not do without the following devices.
- Stationery ruler. Without this item, you won’t be able to measure the exact length of the material. You can also use the meter, which is needed to take measurements when sewing clothes.
- Set of needles and threads of different colors. They will come in handy in order to fix the elements in the right places.
- Lighter. If you plan to decorate several crafts, it is better to prepare several pieces. With their help, you can quickly get rid of sticking threads.
- Glue gun and supplies for it. This tool is often used in various needlework techniques.
- Hairpins and pins. Additional fastening elements will never hurt.
- Tweezers. With it, it will be convenient to manage with small elements.
- Cardboard. It is used as a basis for fixing decorative elements.
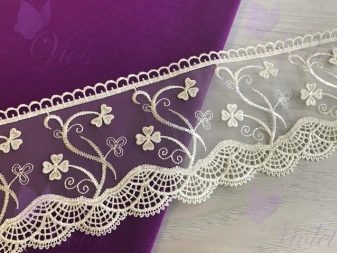
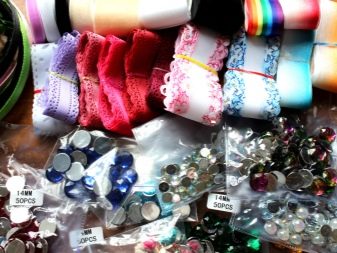
In addition to satin fabrics, which are the main materials, you can use other options:
- silk;
- Lurex
- organza;
- lace and other options.
To save money on consumables, many needlewomen use domestic products.
Execution technique
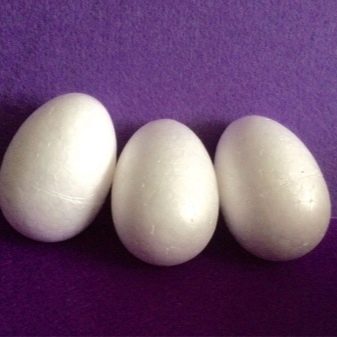
To make a beautiful Easter egg with your own hands, it is enough to prepare the necessary materials, tools and follow the instructions exactly. If you want the finished product to look as expressive as possible, choose bright fabric. If desired, you can use light fabrics in calm shades. Also, you can not do without a plastic egg - this is the basis of a decorative product.
The stages of the work will be as follows.
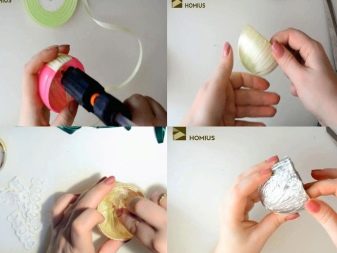
- First you need prepare a plastic egg. This element needs to be issued both inside and out.
- At the first stage, only glue the half with a satin ribbon on both sides.
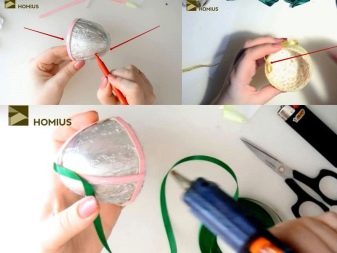
- During decoration work carefully and slowly. Fasten the tape with pins, and then use the glue gun.
- An Easter egg will fulfill not only aesthetic, but also practical benefits as a casket. For a more accurate appearance, the inside of the product must be decorated with lace. With it, you can block the joints of the tapes.
- With the help of lace in one of the halves, the eggs are made out flat base.
- On the inside, on the upper edge of the glue thin braid. Silver or gold braid will look impressive, depending on the overall color scheme.
- The second part of a plastic egg we paste over with foil, firmly pressing it to the walls.
- From the cardboard you need to cut small strips. They will be the basis for other decorative elements.
- Mark the top cover of the egg into 3 parts and glue the strips along the marked lines, connecting cardboard elements at the top point.
- We overlap paper stripes green satin ribbons.
Petal preparation
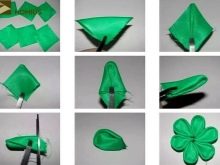
Now let's start making flowers. For work, you need a fabric tape 2.5 centimeters wide. It needs to be cut into cubes of the same size - 2.5x2.5 centimeters squared. The phased implementation of the work will be like this.
- From the squares you need to make a triangle and solder the upper corner of each element.
- Bottom petal sealed with a lighter. For safety reasons, use tweezers.
- Using this scheme, create white petals and green flowers.We make green elements more pointed, and light elements rounded.
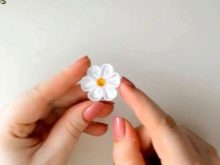
- We collect the flower from the petals, with sharp ends to the middle, and glue them. We decorate the middle with rhinestones or beads. Buttons and other decorative elements can also be used.
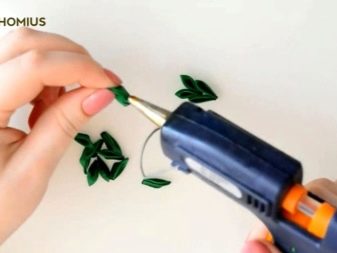
- From green parts with sharper ends we collect a twig. The result should be an element that looks like a spikelet. To create one branch, you need 15 leaves.
- Now that the flowers and spikelets are ready, they need to be fixed.
- We attach green branches to cardboard strips, overlapping them.
- White flowers are fixed between them in an amount of 3 pieces on one side. In order not to damage the foil, it is advisable to press the elements with tweezers.
- To decorate the bottom edge, you can use the remaining white or green petals. Also suitable tape or braid. We bend the braid from the wrong side and fix it with glue.
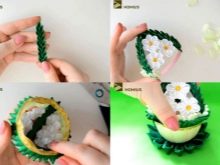
At this, the decoration process has come to an end, you can make a stand with which the craft will be stable. Her step-by-step production will be like this.
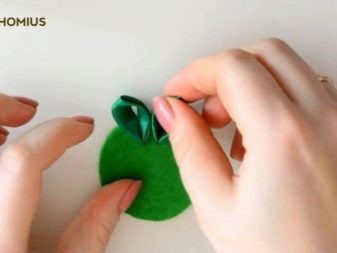
- Cut green felt circle in diameter 5 centimeters.
- Next, we make several green petals and decorate them with a stand in a circle. This element will resemble a green lawn on which an Easter egg will flaunt.
- We collect both halves of the egg, put them on a stand and get an original and attractive craft. If desired, the craft can be decorated with rhinestones, large sequins, beads and other elements.
This master class will help to make a beautiful craft for anyone.
See how to make an Easter egg with your own hands using the kanzashi technique in the video.
