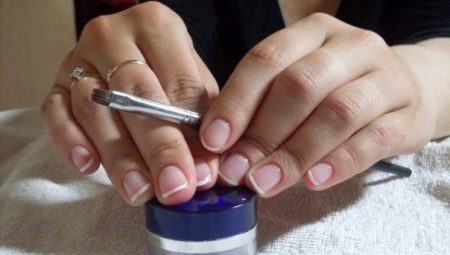
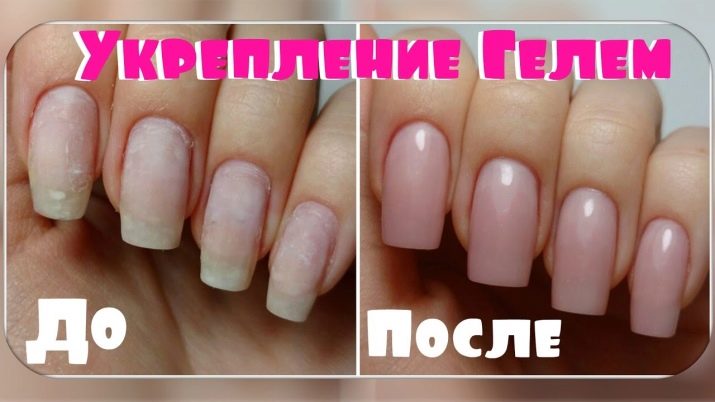
Every woman dreams of beautiful and well-groomed nails. But what if, by nature, they are fragile, brittle or have an ugly shape, and it is not possible to build up nails? In such a situation, coating the nails with gel without building will be an excellent solution.
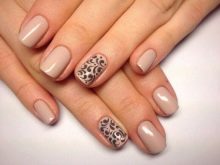


Features of the procedure
If you want to strengthen and lengthen your natural nails, give them a beautiful shape, this procedure is simply ideal. Often, the fair sex does not see the difference between it and the build-up, however, this is a big mistake. Consider the main differences.
First of all, the extension differs in that with it you can change the shape of your own marigold, as well as select the desired length, while strengthening, the length does not change. In addition, the strengthening does not adversely affect the nail plate, since the gel is applied in a very thin layer.

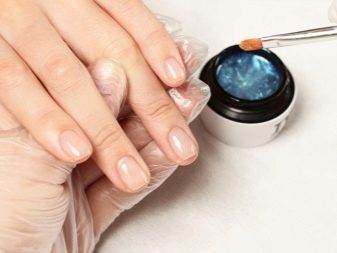
This procedure is completely safe, and will even help improve the condition of natural nails, as they will not break and exfoliate.
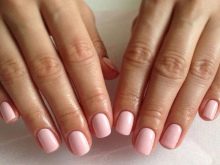
It should be noted that with the help of strengthening it is not difficult to get long, beautiful and healthy nails. Pens will always look well-groomed and natural. Reviews of masters and clients about this procedure are mostly positive.

Advantages and disadvantages
So, we highlight all the advantages of the procedure for strengthening natural marigolds:
- nails will become quite strong, will break less;
- women will be able to forget about the separation, and for a long time will enjoy a beautiful and neat manicure;
- Do not have to spend money on building.

However, in spite of this, the cons should not be overlooked.
- First of all, such nails, like extended ones, will require constant correction. As soon as the nail begins to grow, the border between the material and the natural plate becomes noticeable. Manicure will need to be adjusted approximately every 15-20 days, then it will look attractive.
- It is also impossible not to say that nail strengthening takes quite a lot of time. On average, a professional nail service master will cope with this task in an hour and a half, while working independently at home, the duration can significantly increase.

Gel or biogel?
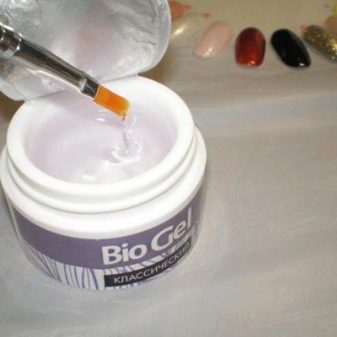
Currently, cute young ladies are offered 2 options for strengthening nails: using a gel or biogel. To be sure of the choice, you need to know the difference between the materials and their effect on the nail plate. To begin with, we dwell on the fact that they are different in composition. A gel is a glass-like polymer that becomes very hard when baked in a special lamp. Biogel is a rubber-based polymer; accordingly, it is quite soft and elastic.

If the nails are covered with gel, they will become very hard and strong. Also, using the gel, you can make nails of any desired length. The material is able to hold on for 3-4 weeks, after which it is necessary to carry out a correction, for which there is no need to remove the material completely. At the same time, the procedure has such disadvantages as the need to wash your own nail and lack of elasticity. To remove material, it is only necessary to file it off. Moreover, the thickness is much greater than when coated with biogel.
What are the pros and cons of the biogel itself? Nails after bending can bend, which eliminates the appearance of chips and cracks. Sawing is not required, removal is done by soaking the material with a special tool.
Also, biogel has a positive effect on the health of natural nails.


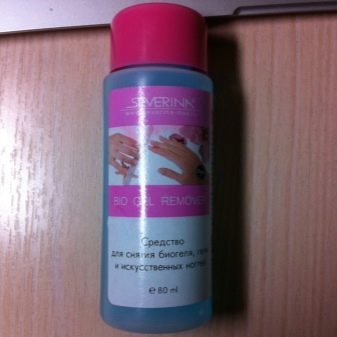
However, with all the advantages, there are also disadvantages. Biogel is not able to hold for a long time, the maximum period of its use is 2 weeks. For correction, it will be necessary to completely remove the old material before applying a new one. Also, products containing alcohol and acetone can harm the nails, which will directly affect their appearance.

Necessary materials and tools
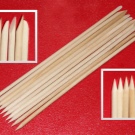
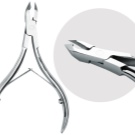
Before covering the nails with gel, you must take care of the availability of the necessary materials and tools. In this situation, you will need wooden sticks that are convenient to move the cuticle, remover or conventional nippers, a degreaser, primer, nail files, brushes, gel or bio gel, related design materials, gel varnishes.

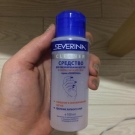
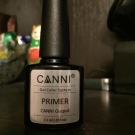
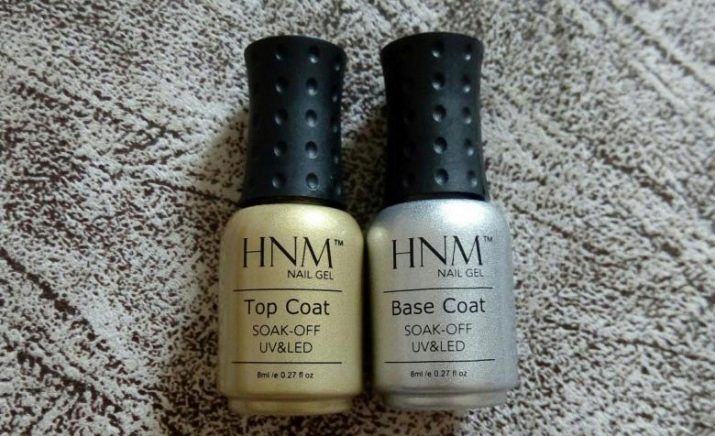
It should be borne in mind that when choosing a gel, you should decide whether you are going to use single-phase or three-phase material. In the second case, you will also need a base and top cover. In addition, care must be taken to ensure that all instruments are carefully processed before the procedure.
Application Technique
You can carry out the procedure both with a professional master and at home. The technique does not change from this, all the nuances should be observed necessarily.
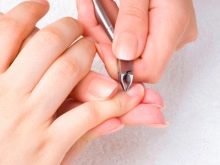
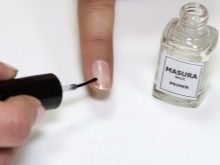
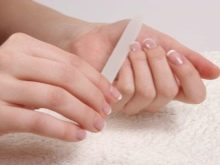
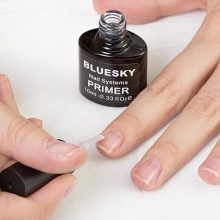
First of all, you need to do the removal of the cuticle. The specific method depends on what type of manicure the representative of the fair sex chooses for herself. After the manicure is done, you need to process the nail plate. The desired shape is selected, then the top of the nail is polished. The grinding process should be carried out very carefully, since it is only necessary to remove the natural gloss. After this comes the time of application of the primer.
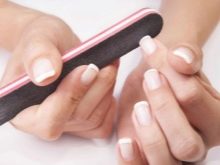
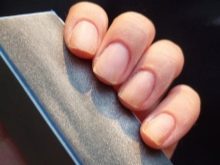
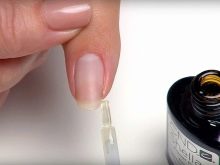
The primer is used so that the gel adheres more closely to the nails. After processing, the plate must not be touched. You can use an acidic and non-acidic remedy, the second is recommended by specialists if the client does not plan to make extended nails.Often, girls have a question whether it is possible to build up nails without a primer.
Masters are inclined to believe that this tool should not be abandoned, since it affects the duration of the wear of nails and protects against possible detachments, killing bacteria and fungi.
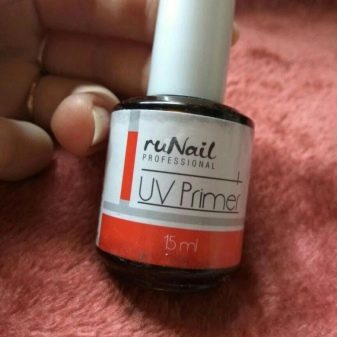
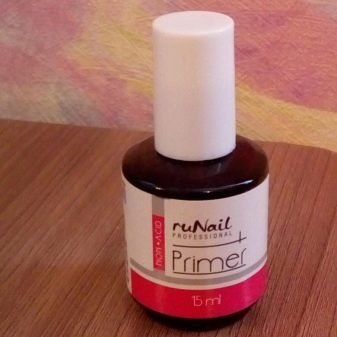
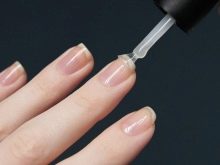
After primer treatment, wait a minute until it dries and then apply a base coat. The base should lie thin, and at the same time fit snugly against the nail, practically rub into it. It dries for 2 minutes in a special lamp. In order not to damage the layer, you must avoid contact of the nails with foreign objects.
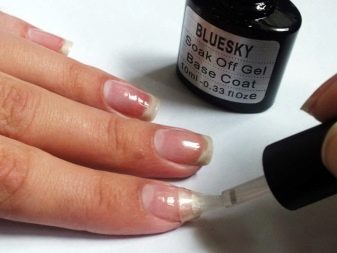

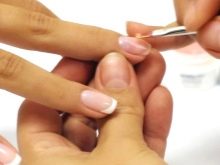
A modeling layer is applied over the base. It is with its help that you can increase the length of the nails and adjust the shape. The material is applied with a special brush and baked in a lamp. After drying, the gel must be given the necessary shape with a nail file. If this is not required, simply level the surface with a buff. Next, you can make the desired design, if planned. For example, stick rhinestones, kamifubuki, stones, choose an interesting image. However, after the work of a good master, nails look beautiful without a picture or additional decorations.


The final point is the imposition of a top coating. The finish after drying may have a sticky layer or be without it. The sticky surface is wiped with a degreaser.
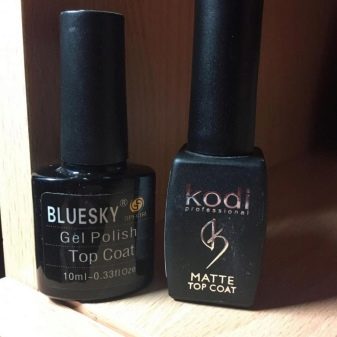
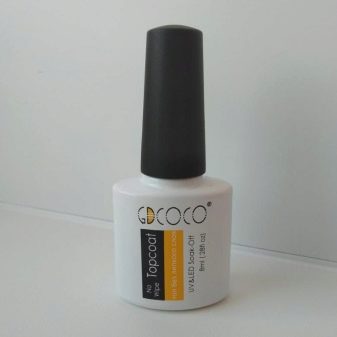
It is worth noting that working with single-phase “3 in 1” gels takes the least time. In this case, remove the gloss from the nail using a nail file, apply a degreaser and a primer. After that, the gel polish itself is applied in 2 thin layers. Each layer must be dried thoroughly, and then treated with a degreaser. Next, you need to polish the nails and make the desired design.

Correction
The nails after strengthening, as well as after building, require regular correction. The procedure is not particularly difficult.
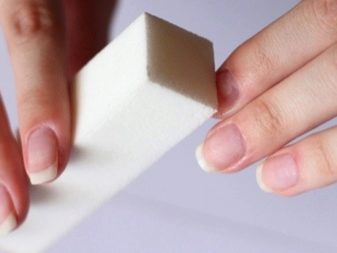
First of all, you need to remove the top layer with a nail file. Next, the length and appearance of the nail is formed. Then, primer treatment is carried out. After drying, you need to do the overgrown part.
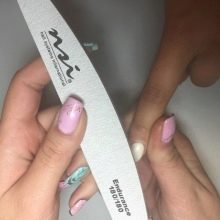

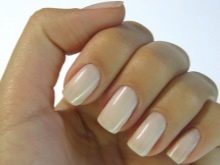
The base is laid out very carefully and dried in a lamp, a modeling gel is applied on top of it and also baked. After applying the top coat and drying it, the perfect new manicure is ready.
In the next video, watch the workshop “Strengthening Natural Nails with Gel”.
