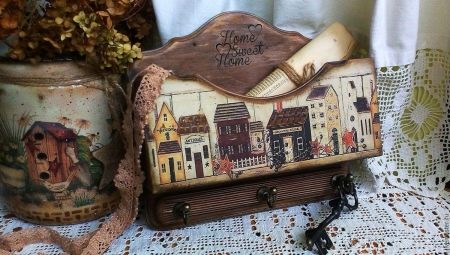
Decoupage technique is rightfully recognized as one of the most popular and easiest to implement. Even a novice who has never done anything like this before can handle it. A variety of surfaces made of different materials are designed in a similar manner. It can be plastic, and metal, and wood. We’ll talk about the latter today.
What it is?
Before you consider in detail all the features of decoupage on a wooden base, you need to understand what this famous technique is.
You need to know that decoupage is a full-fledged separate flow, which is a combination of different styles and effects.
In the implementation of such a decorative design demonstrates itself as quite simple and understandable, however, beginners in this matter are not recommended to immediately undertake very complex work - it is better to start with simple solutions.
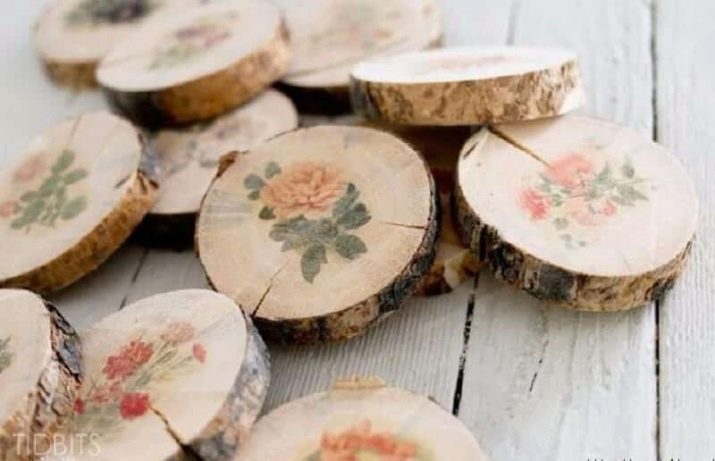
Wood decoupage is also available for beginners. Many people prefer to decorate old furniture or other similar objects with decoupage using beautiful napkins. Such a technique is the most popular and understandable, therefore it is precisely it that is most often addressed.
Popular ideas
Decoupage technique is very popular today, especially among creative individuals who want to emphasize their bright personality in various details and trifles. Interesting decorative solutions can look truly luxurious and original if supplemented with such components as craquelure or brushing.
Similar techniques perfectly suit various wooden foundations.
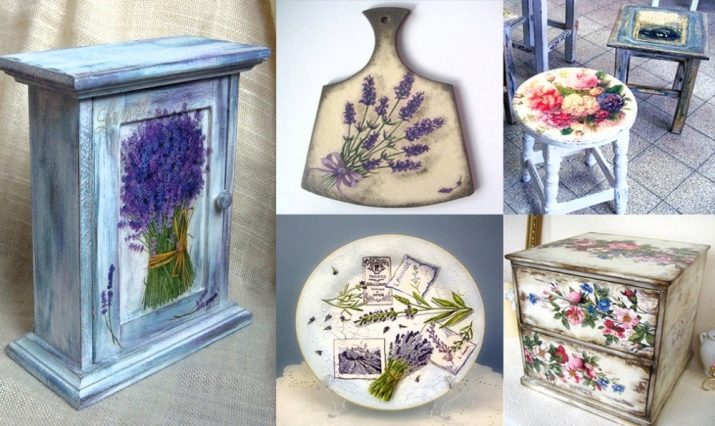
Most often, decoupage technique is applied to old pieces of furniture.. For example, it can be a chest of drawers, a cabinet, a table, a coffee table, a kitchen set and many other items.
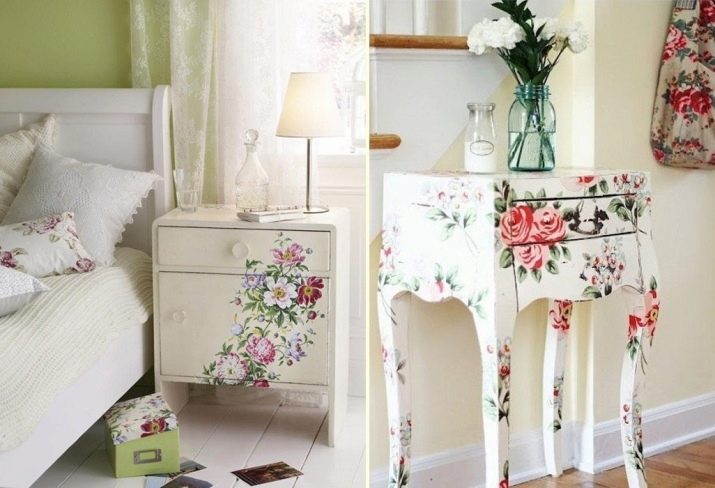
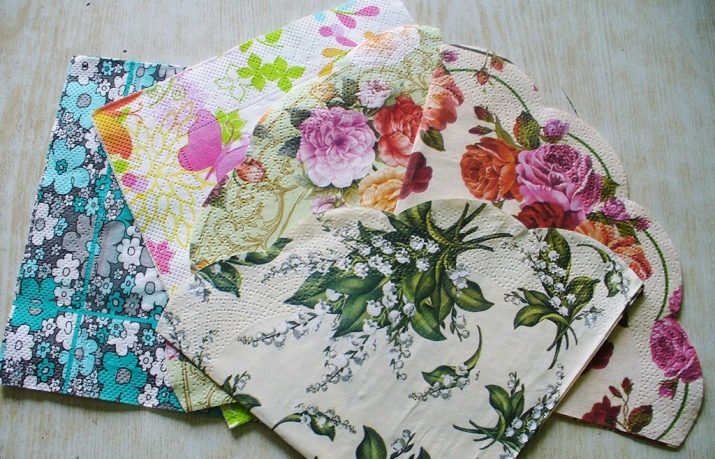
Particularly popular at the present time are beautiful napkins, with the help of which it turns out to form very spectacular and eye-catching things. On sale you can meet a huge number of different types of napkins with different pictures and prints - for decoupage you can choose absolutely any option that the master will like. Of course, most often people choose images of flowers or animals to decorate furniture and various utensils from wood.
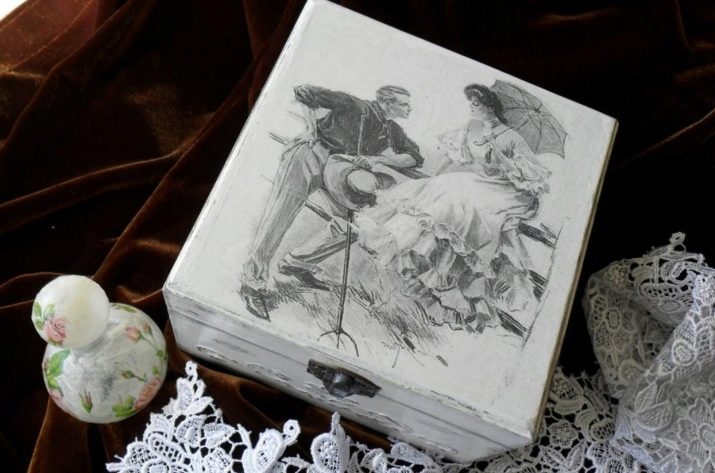
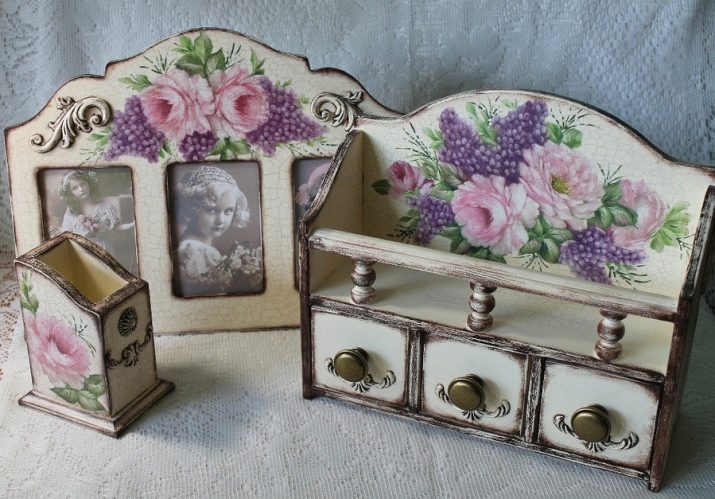
No less popular are the retro-style notes traced in the specified technique. To get a beautifully decorated item, many masters take old black and white photographs. Often such details adorn various chests or caskets.
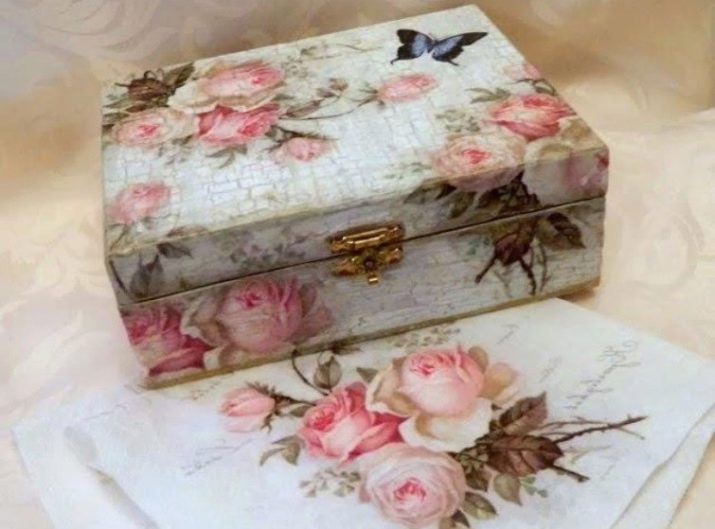
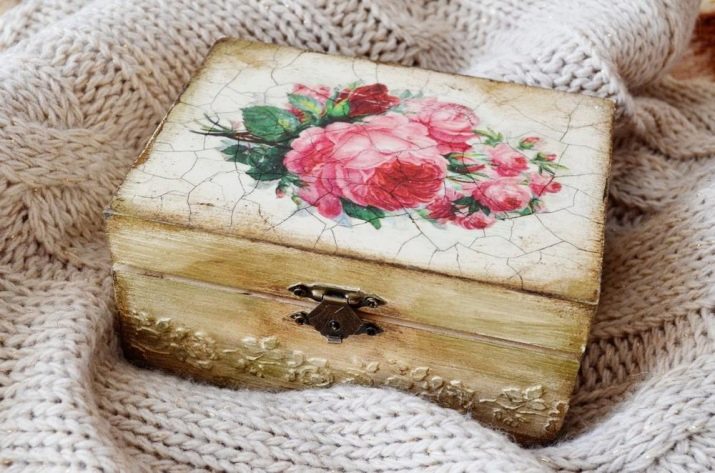
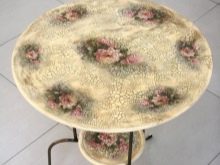
The effect of antiquity is the best solution for decoupage on wood. To do this, the masters resort to applying compositions that form craquelure bases on the surface (on the paint) - an imitation of cracked material. Of course, the presence of such an effect on the object does not prohibit the application of additional patterns and patterns, for example, cut from napkins. The result is very interesting and unusual things.
Decoupage is a very interesting and unique technique that allows you to let go of your imagination and shape your chosen item. Motives of prints and drawings can be any, as well as their shades.
Of course, such design elements should harmoniously fit into the existing interior, and not get out of it.
Necessary tools
Nowadays, decoupage technique is available not only for experienced craftsmen, but also for novice users who previously did not trade with anything like it.
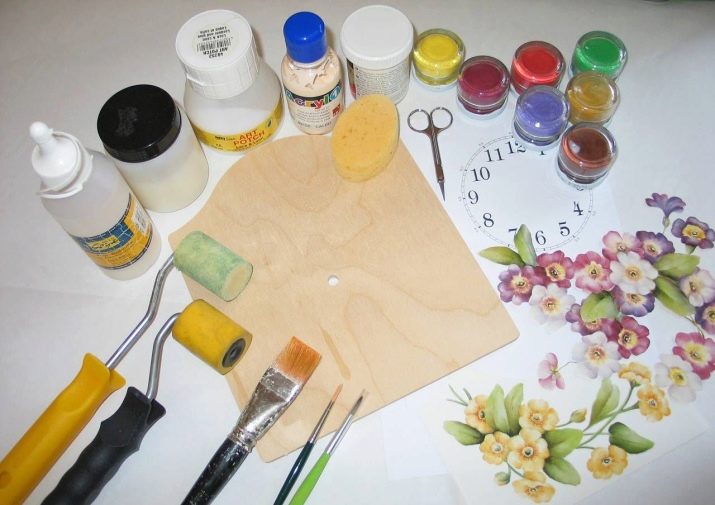
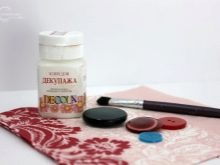
Regardless of the level of experience and preparation of the master, before starting work, you need to stock up with all the necessary tools that will come in handy during the processing of the selected object.
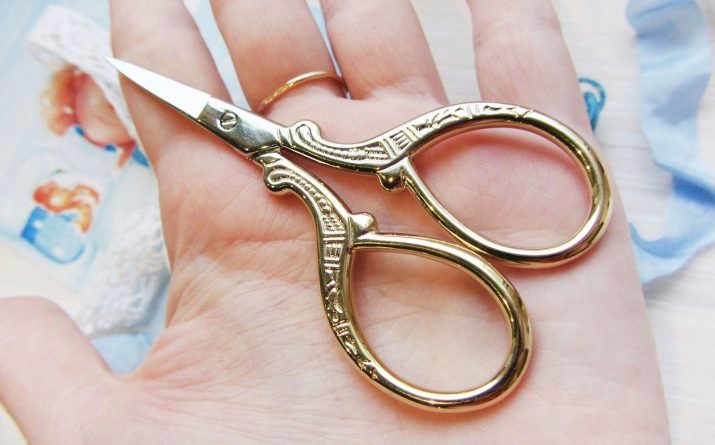
- Prepare the little scissors. You can use manicure tools if it is more convenient for you. The main thing is that the scissor blades are short and sharpened.
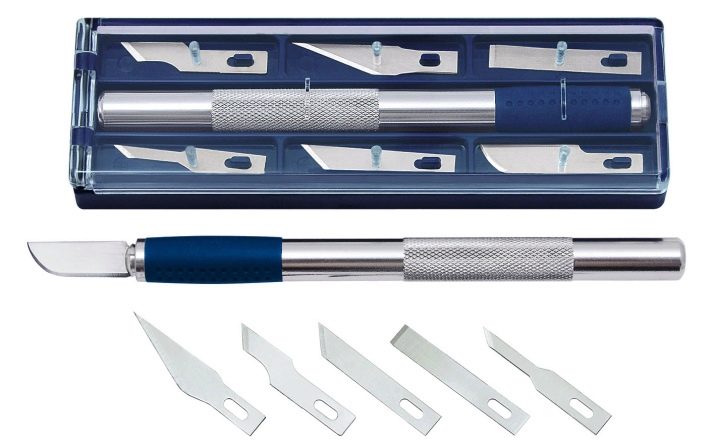
- It is worth preparing a scalpel or a special knifewhose blade rotates. If we are talking about processing wood with a very dense structure, then these devices will come in handy.
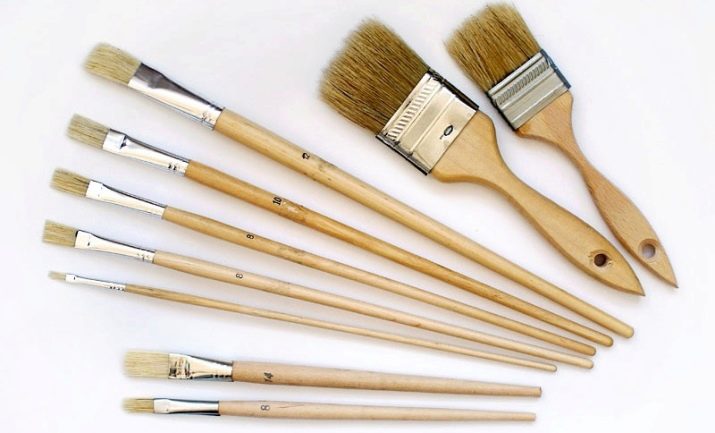
- Make some brushes. It is advisable to collect several options from synthetic material at once. It is worth buying brushes of different thicknesses.
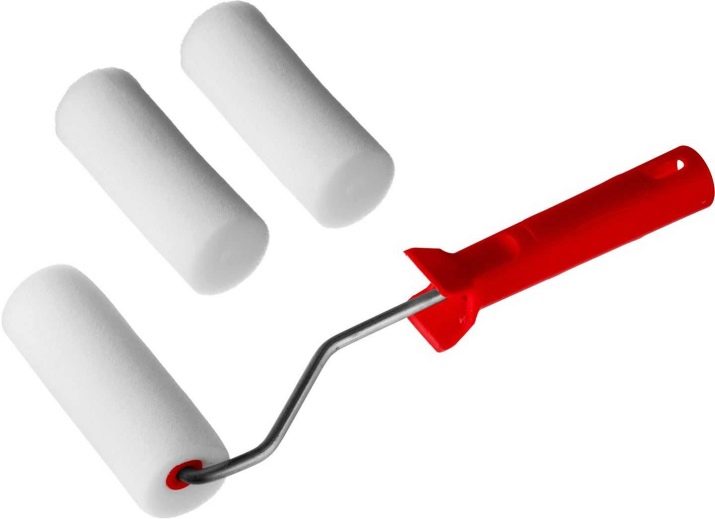
- If you do not know what is better to level and smooth the processed surfaces, then it is best to prepare roller. Using it will be simple and convenient.
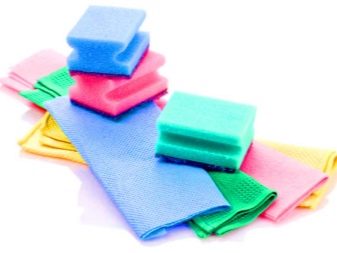
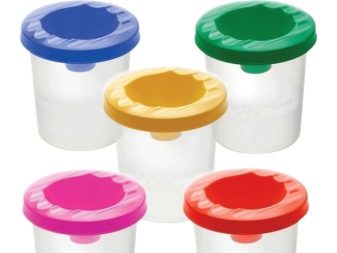
- Prepare sponges, rags, separate containers for paints, adhesive mixtures and varnish.
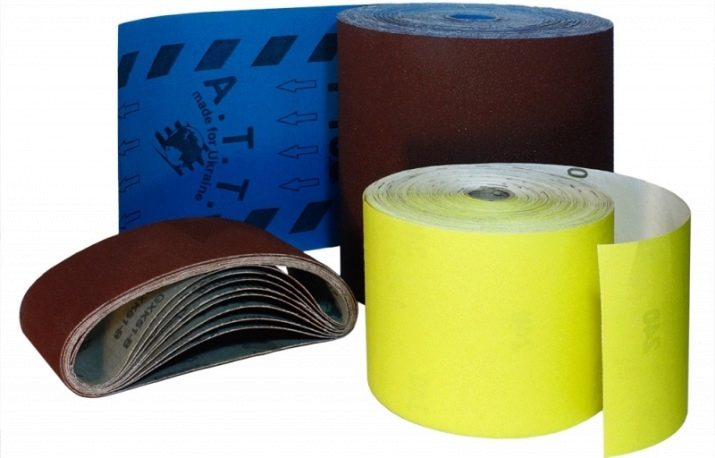
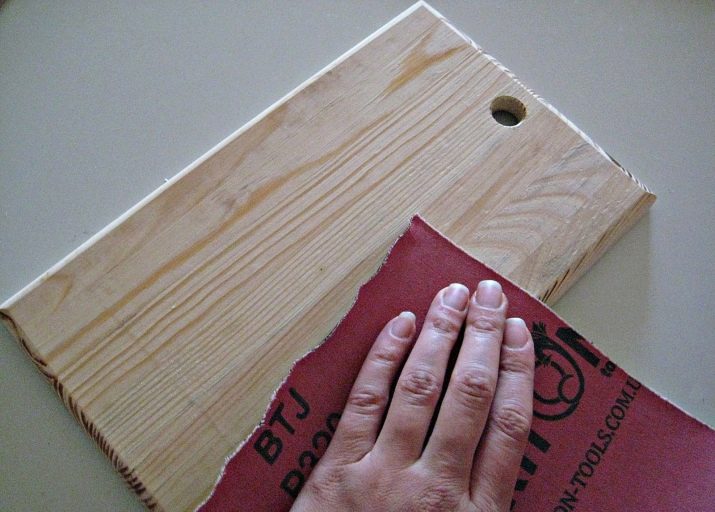
- Sandpaper is also useful. for polishing the base.
In addition to the necessary tools, you should stock up on some materials, without which decoupage will not succeed. Prepare:
- varnish;
- glue (preferably PVA);
- paint;
- primer composition;
- plaster;
- decorative paper, wallpaper, napkins with beautiful drawings.
Be sure to be patient, since decoupage must be done carefully and slowly. This is especially true in cases where the base is planned to be decorated with small details.
Surface preparation
Wooden blanks before the start of restoration / renovation need to be properly prepared. It is impossible to neglect this process, otherwise a good result will not be achieved, no matter how hard you try. Before starting the direct work, it is necessary to process the wooden base with an abrasive sheet or a special grinding machine, if there is one in the arsenal of the master. It is necessary to completely remove the old coating. If you are working on a laminated tree with a glossy surface, then it will also need to be cleaned.
It is very important to remove all impurities, chips and remaining dust from the wooden workpiece. If you miss this moment, then you will not succeed in achieving a beautiful and accurate result.
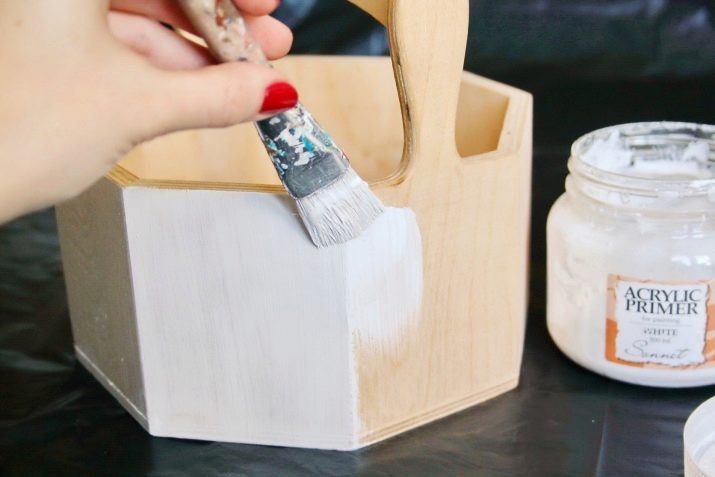
On the basis of there should be no protruding parts and any litter. If chips or deep cracks are present on the wood surface, it is recommended that they be repaired with putty at the stage of preparation of the part. Usually, after this, a couple of layers of soil are applied to the workpiece. It is advisable to use a water based primer. Be sure to wait until it dries. Usually they write it on the original packaging with the goods.
Procedure
When the base of the tree is properly prepared, you can proceed to its direct decoration with decoupage. Many people are sure that decorating things in this way is very difficult and long, but in fact it is not. If you carefully follow the instructions or rely on a ready-made master class, then there will be no problems with decoration. We will analyze step by step how to decorate wooden blanks with decoupage according to all the rules using the example of a tabletop.
- First, a wood worktop prepare correctly to future manipulations.
- Apply to a clean and smooth surface of the base soil in a couple of layers.
- When the soil dries to the end, it will be possible to proceed to the immediate applying a decorative coating. Here, acrylic paint or a special decorative azure for wood of an attractive shade is suitable.
- Decorative layer it is most convenient to apply with a brush or roller.
- To achieve a denser and more saturated color, paint is permissible to lay in two layers. However, we must not forget that the second layer can be applied only after the first has completely dried.
- Always maintain the time required for the materials to dry. Usually it is indicated on the box / packaging with the compositions.
- Now you can prepare a contrasting paint. So, for a wooden countertop, it is permissible to use white decorative and protective impregnation.
- Apply paint with a brush or roller. Immediately blot the treated base with a sponge so that a dark lower layer appears.
- If you want the bottom layer to be more visible, clean the surface with a slightly wet sponge.
- Now prepare wipes with your favorite images.
- Lay them on the surface in advance prepared and painted countertops. Form a beautiful composition that will seem to you as neat and aesthetic as possible.
- You can use napkins for decoupage masters advise taking three-layer options. You will need to very carefully and slowly disconnect 2 snow-white unnecessary layers from part of the taken napkin.
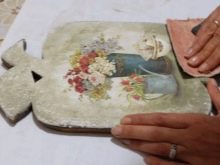
- After that, the prepared part must be put on the countertop and file. The drawing itself should look down (that is, the file). This method is chosen by many masters.
- Pour a little water on a napkin. But keep in mind that the picture must be completely wet in order to seamlessly stick to the attached file.
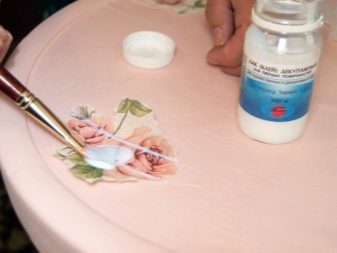
- Using the brush very carefully and carefully spread liquid over the entire surface the selected and superimposed fragment from the napkin. Be sure to ensure that there are no bends or creases in the picture. If you have noticed any, then you should get rid of them as soon as possible.
- Now remove the excess fluid from the file. Put it on the countertop so that the picture looks down. Choose the right places and apply patterns in a similar way. Swipe the file several times with your palm to make sure that the decor adheres well to the wooden tabletop.
- Next, the file can be removed. If you still saw the room on a napkin, then it can be very neatly straightened by hand or with a brush, and then slightly move the napkin, if necessary.
- The same way you need to act with the rest of the necessary fragments.
- Now you need to wait until all the applied parts are completely dry. You can use a hairdryer for this if you do not want to spend a lot of extra time.
- At the end of all procedures need to process the countertop with decorations a couple of layers of varnish. Then it will be necessary to wait until it is completely dry. Until this time, you should not use a wooden structure.
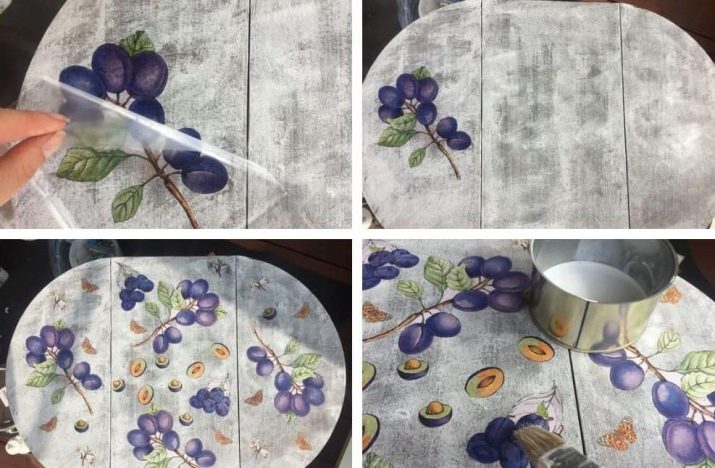
You can do it in another way - without using a file, but by gluing decorations to the base.
- First, mix PVA glue with water in the proportions 1: 1. Instead of PVA, it is permissible to use a special adhesive composition designed specifically for decoupage.
- Carefully apply adhesive solutions to the beautiful patterns on napkins.
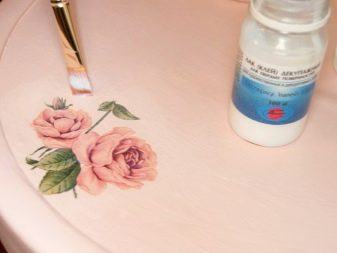
- Glue the fragments to the desired areas and wait until the decor is dry.
- Varnish the wooden workpiece and wait until it dries.
Useful Tips
To apply the adhesive to the surface of the fragments from the napkin, it is advisable to use a soft brush. You can not do without this tool when decorating a tree with decoupage.
If you want to create an original effect of antiquity, then masters often resort to the use of golden varnish, which creates an interesting reflection of platinum based on wood.
You can also resort to applying a special varnish with the effect of craquelure. With a similar treatment, a wooden product will take on a completely different look.
When applying varnish and paints, it is very important to ensure that there are no smudges and other defects. Even the slightest excess of the composition must be removed, and after drying, the wooden blank can again be sanded.
A wooden structure with decoupage should harmoniously fit into the interior that surrounds it. This is very important to consider if you decide to bring such an interesting detail to your decor.
Instead of PVA glue, it is permissible to use special glue solutions designed specifically for applications. They provide perfect adhesion of different materials due to heating.
Interesting examples
There are many design options for decoupage. Various photographs are used, as well as implantation of segments of napkins, and photo paper, and many other similar elements.
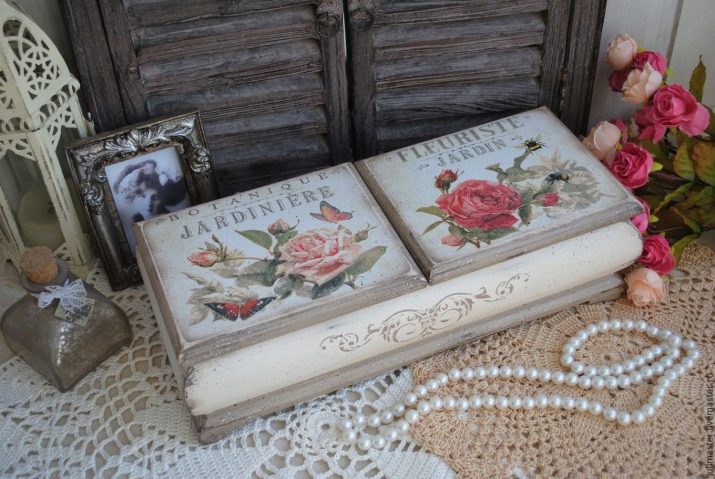
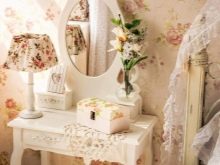
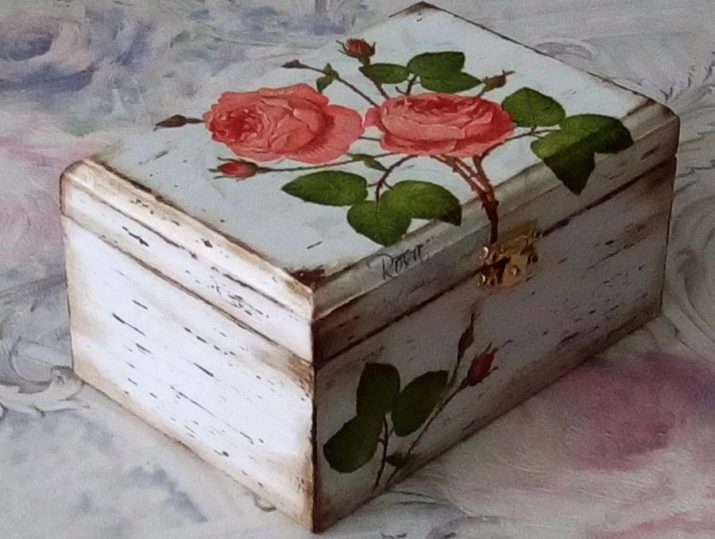
So, on small chests and caskets painted with white enamel with the effect of shabby dark edges, pictures of charming roses look very tender and attractive.
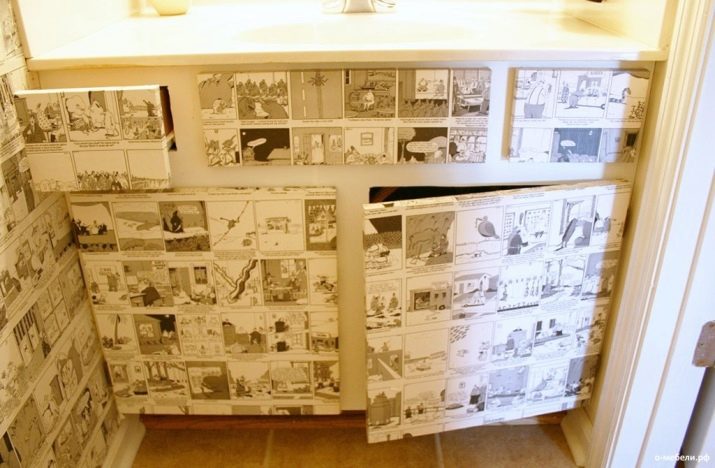
Wooden drawers and cabinet doors built into the windowsill or wall can be supplemented with decoupage using newspaper sheets or clippings. This is a non-standard, but interesting solution.
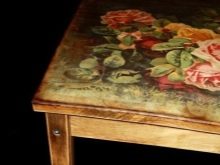
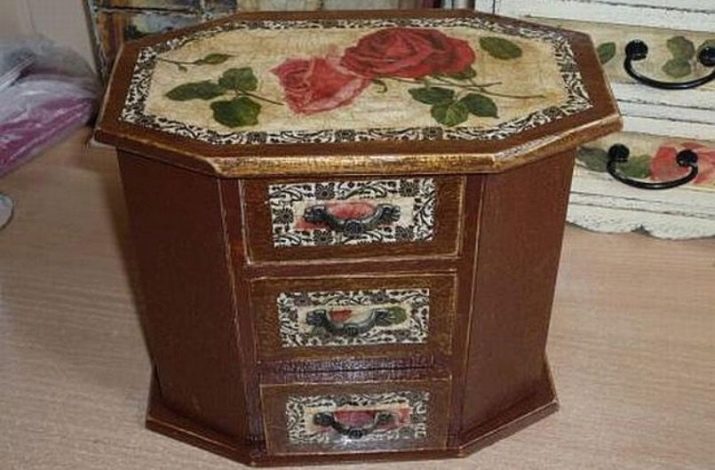
Decoupage looks amazing on solid wooden furniture. It can be a large and tall pedestal with several faces. Its tabletop and the facades of the boxes can be decorated with a large image of roses on a light background, coupled with dark patterned lines.
You can get acquainted with an interesting and simple technique of decoupage on a tree in the next video.
