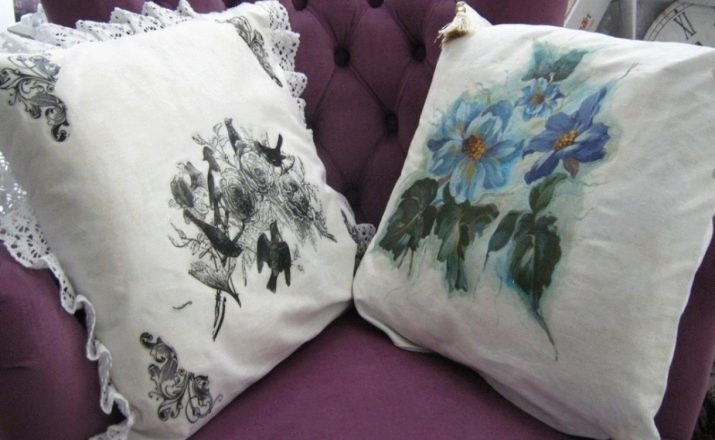
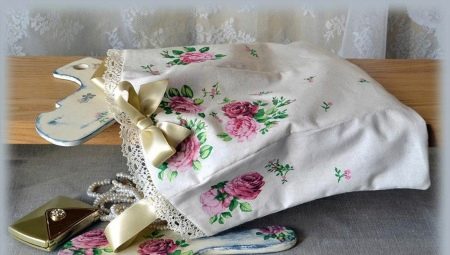
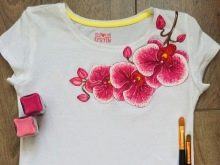
Decoupage on fabric is a very unusual and at the same time simple decoration option. Basically, this method of decoration is used on things that you do not plan to wash too often, as the pattern can deteriorate over time. Decoupage can be found on napkins, bags, tablecloths, on outerwear. There are many different ways to transfer a pattern to a fabric, one of the simplest is the use of PVA glue.
Necessary materials
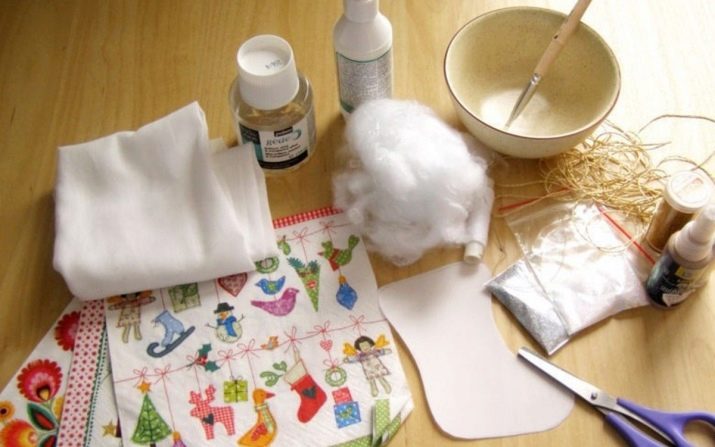
Before you get started, you need to prepare some necessary materials that are needed to create a decoupage:
- a pair of synthetic soft brushes (for applying glue);
- fabric to remove excess glue;
- ordinary PVA glue, not too liquid;
- a napkin with the selected pattern (to transfer to the fabric);
- water at room temperature;
- fabric (on which the drawing will be located);
- gauze;
- scissors;
- iron.
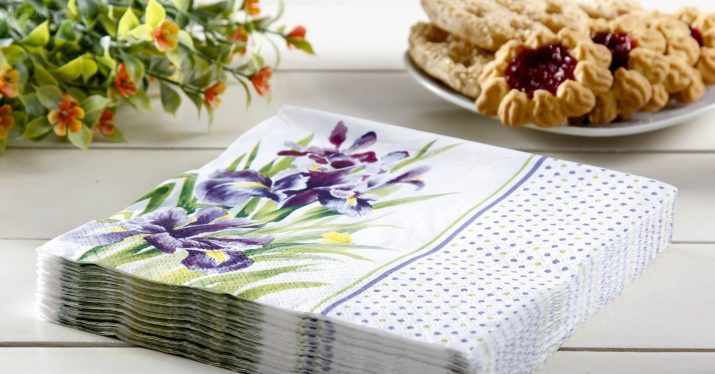
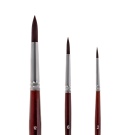
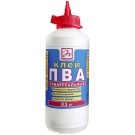
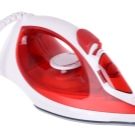
Recommendation: the main fabric on which the picture will be applied should preferably be made of natural materials so that no difficulties arise in the process.
For drawing use paper napkins, and sometimes rice paper. Brushes are used only synthetic, but soft. And also, you may need acrylic paints to shape the outline of the picture, and stains if they appear.
Preparation
First, prepare the fabric where the picture will be located.
The basis is better to choose light shades, so that the image can be better seen, but if you want to experiment, then dark ones are also possible.
First of all, the material should be washed in hot water and ironed well, using steam. Indeed, many things have the peculiarity of "sit down."
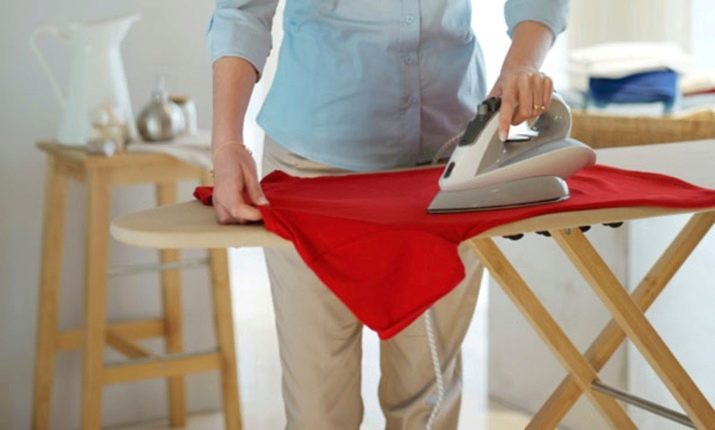
Then we circle the napkin, making a mark where the drawing will be located. And only then we proceed to the process itself.
This type of decorative art involves accuracy and precision in execution. If this is not the case, the picture will be distorted or not translated at all.
Work principles
Decoupage can be made in two different options. The work process is not much different from each other. The difference in the method of applying glue. And in both cases, you can resort to the use of acrylic paints to give the desired look with the help of various decorations. If you use special glue, it is possible to make a coating that will protect the finished thing from color loss and erasing the picture.
The main thing is the removal of excess glue. If this is not done, then the appearance will deteriorate. Those who are just starting to develop in this area mostly have problems with this, but over time experience comes and the quality of work improves. All the necessary materials that will be needed during the whole process can be purchased at the most ordinary household and specialized stores. And in them you can choose a special set.
Workshop for beginners
Let us consider in more detail how to make do-it-yourself decoupage on fabric.
First option
To get started, prepare the workplace. It should not have any foreign objects. Then we create good lighting. Then we lay out all the necessary materials, and for the beginning we prepare them.
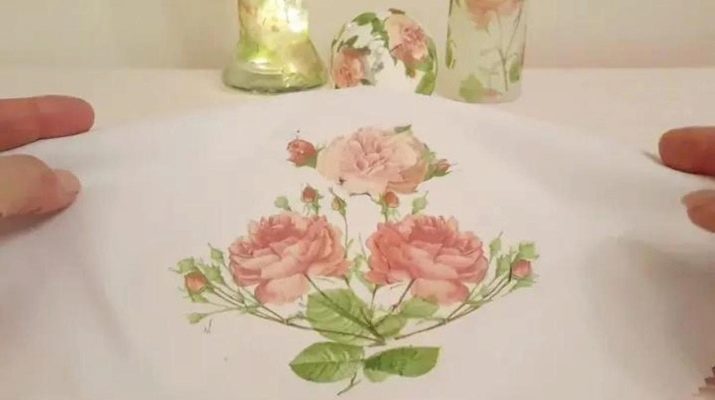
Next, carefully cut out the necessary pattern from the napkin with scissors.
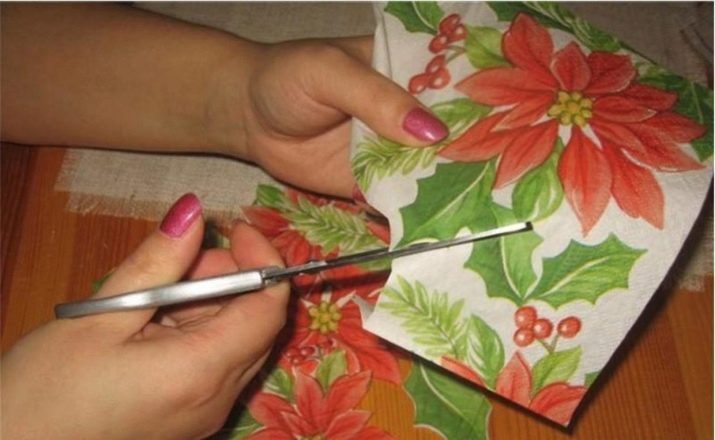
Anyone with a lot of experience can do it with their hands.
The fabric is well ironed before the start of the process. Now we proceed directly to the process.
Flatten the material on the surface. Then the already cut out image is placed on the fabric so that it lies flat. We select the place where the drawing will be located, and mark the edges very carefully with a pencil. Then with PVA glue we process the material without going beyond the intended boundaries. And wait until it dries. In the event that the mass is too thick, you need to dilute it with cool water. Then we go through the surface again.
If a napkin is used as a picture, then remove the white layer from it, and lay the other on already dried glue. And on top we apply another layer of glue.
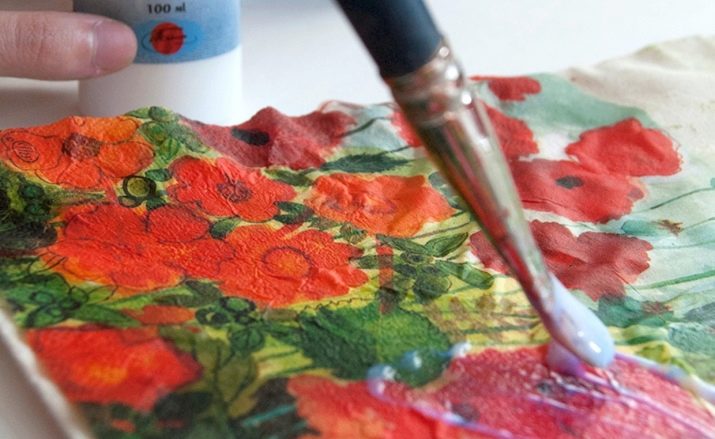
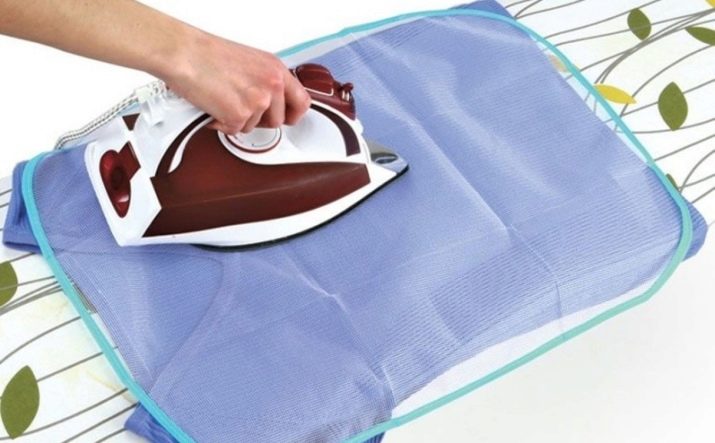
After that, everything is covered with gauze and ironed well. This is done from the middle to the edges of the image. Iron the picture for 5 minutes so that it sticks well.
It is very important that the pattern is fully adhered to the material.
In the event that there are places where defects are formed, then the process should be repeated with ironing. And if in some places the image is not transferred, then we correct it with paints.
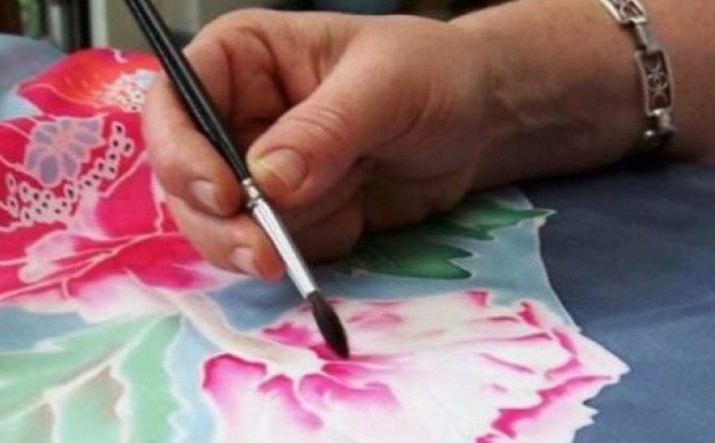
Then we send to dry for several hours. When everything dries, the drawing can be covered with acrylic varnish, only the layer must be thin so that it dries faster and nothing is smeared. So you extend the life of the thing. And also the surface can be protected by coating it with varnish.
If you do not want to spoil the working area with glue, then put a plastic bag or a regular file under the material.
Second option
This method is not much different from the first: the same materials are used, the preparation process for starting work is the same as in the first version. But there are differences.
We take the selected fabric, lay on it and level the napkin, before that we remove the white layer from it. Then we apply ordinary glue on it with a thin layer. With a brush we lead from the middle to the edges of the napkin. As a result, it adheres to the material. After everything has stuck, we again apply a layer of PVA glue. Then we send the material to dry for a day. After expiration, iron thoroughly, only in this embodiment, steam is not used.
In order for the picture not to remain on the iron, we do this through gauze.
So that wrinkles do not appear or napkins break, the glue should be applied in a circular motion using soft synthetic brushes. After applying the glue, you can create a background or additional decorations if you wish, or leave it without any changes.
This option for decoupage is better for beginners in this business, because there is less chance of harming the work.
The main rule of decoupage is accuracy. Over time, each master has his own achievements, and with them he supplements his work. Therefore, do not be afraid and bring something new. Do not be afraid to make any mistakes, this will only make your work more beautiful.
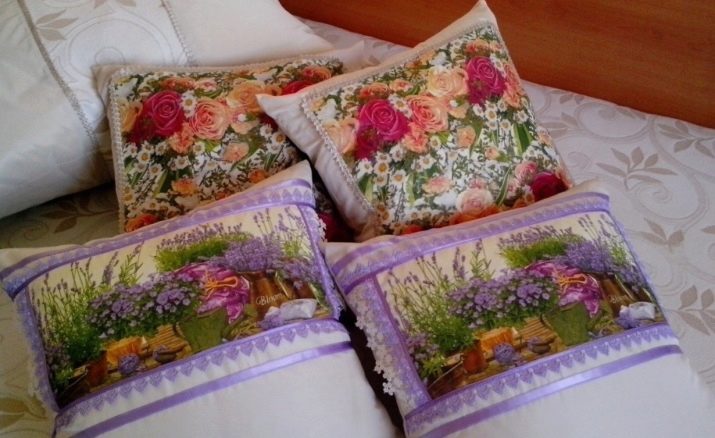
Learn more about how to make decoupage on fabric, you will learn further.
Process features
To make a thing in the decoupage style, you need to use napkins with a pattern, which have several layers, or decoupage cards. They also use a special water-based glue, but if there is none, ordinary PVA glue, synthetic brushes and, if desired, acrylic varnish are well suited.
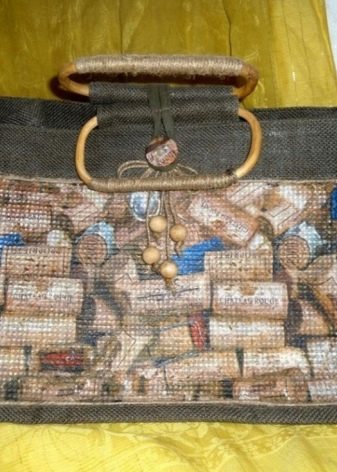
The thing for decoupage, you can choose absolutely any of various materials. It may be jeans, jackets, sweaters, wallets or other accessories that you would like to update. If you have interesting ideas and desire how to decorate things, be sure to try.
To achieve success in decoupage, training is important, each time it will turn out better.
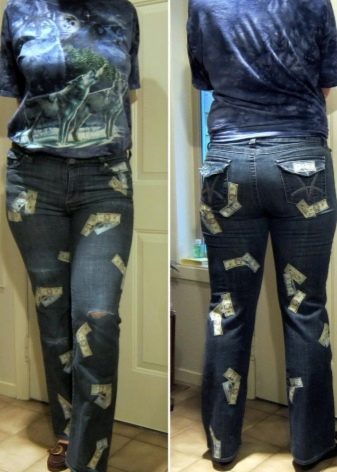
Do not forget that Before starting the process, it is necessary to wash and dry the thing. For a more even application, it is necessary to apply marks on the material, you can do it with a pencil. Before sticking the napkin to the fabric, it should be impregnated with glue.
Then put a napkin on this place, and also put glue on it. The main thing is to make a thin layer in circular motions. Then you should leave the thing and let it dry. This will require from several hours to a day. It is important to iron everything through cheesecloth so that the napkin is well bonded with the material. If you plan to often wash a thing with decoupage, it is better to choose a hot glue. In order not to spoil the napkin, it is worth choosing soft, synthetic brushes.
If you follow all the tips, then you can achieve a high level in this field of activity.
