
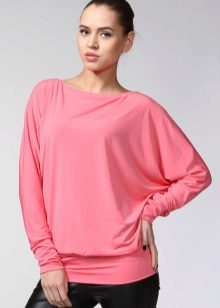
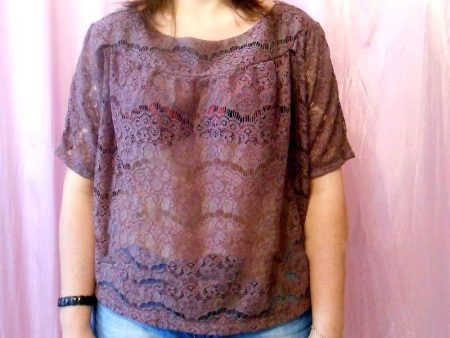
Blouses with a one-piece sleeve are suitable for absolutely everyone, especially girls with full hands. They are suitable for any occasion, because they are sewn from various plain and colored fabrics.
The most popular are:
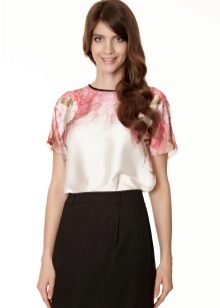
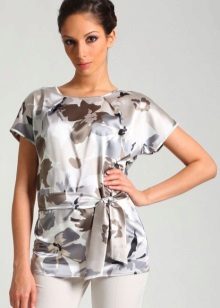
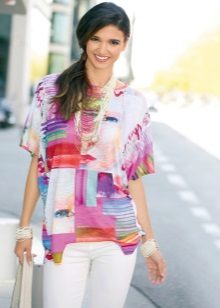
- Summer options with floral prints.
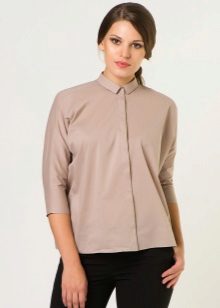
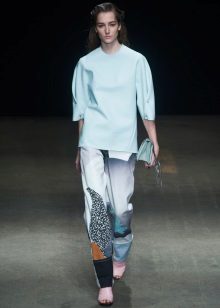
- Blouses for creating a business image.
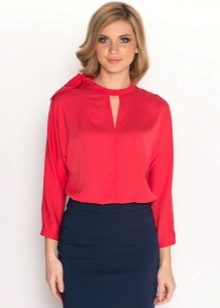
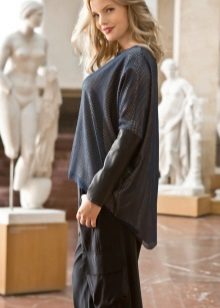
- Knitted blouses for work and leisure.
Let's take a step-by-step look at sewing practical and cute models of blouses with a one-piece sleeve.

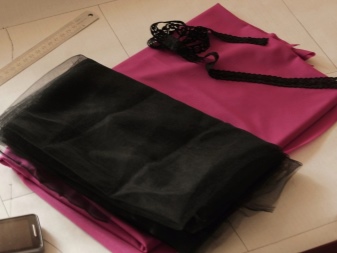
Fabric selection
To blouse worn for a long time, you must carefully choose the material from which you are going to sew:
- First of all, it is worth giving up colors that are disharmonious with your appearance.
- It is also important to determine for what event the blouse is intended, with what things from the wardrobe it can be combined, how practical the fabric is in leaving.
- An important point is that people with little experience in cutting and sewing should not choose whimsical materials, such as velvet, chiffon, loose, with intricate patterns, sequins or embroidery.


Fabric decanting
If you have chosen material from natural fibers, then you must seat it before sewing. To do this, iron it with a warm iron through a damp cloth. You can cut only after the full material.
Forced shrinkage is needed so that the stitched blouse does not sit down during washing and remains the right size.

Measurement and pattern
Building patterns begins with taking measurements and establishing the size of the sweater. The main indicators are here:
- chest circumference. It is measured at the most convex points of the chest and shoulder blades. To build takes half the value;
- length of the product.It is determined on the back from the seventh cervical vertebra to the estimated lower edge;
- the length of the sleeve. From the junction of the forearm and shoulder.
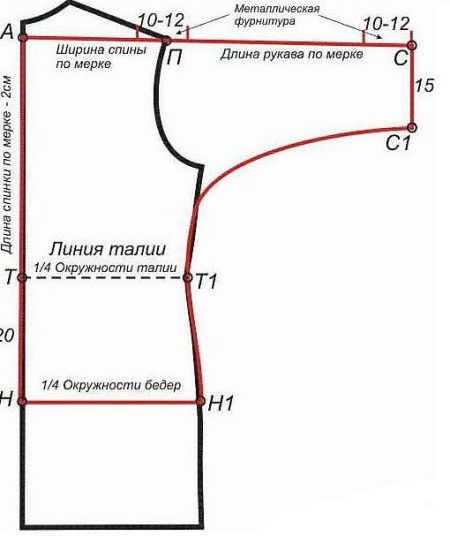
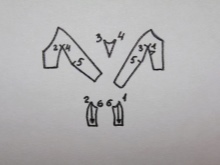
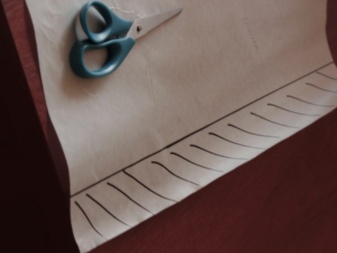
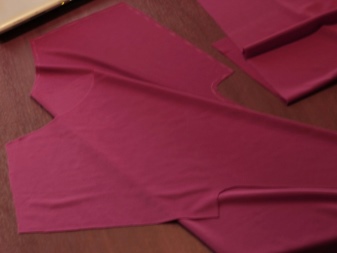
The figure shows the basic pattern for all models. For people with elementary skills, you can initially draw it on a piece of paper, and after all measurements, transfer it to tracing paper or graph paper.
When building, one should not forget about allowances for freedom of movement. For thin, flowing matter - from 10 cm or more. For dense or difficult to drape - no more than 10 cm. Standard shoulder bevel - 2-2.5 cm.
Seam allowances:
- neck - 1 cm;
- on the bottom of the product - 4 cm;
- at the seams - 1.5 cm.
Excellent shoulder fit - a guarantee of a good fit model. You can determine the correct shoulder line by a dress, shirt or blouse without shoulder pads. You need to put on and chop the product on the sides, middle of the back and front, so that it fits tightly on the body.
Then, with the needles, fix the shoulder line along, as you will make the line. Mark the point of the base of the neck and the point of connection of the shoulder with the arm. Focusing on the reflection, outline the neckline, cut off the excess around the circumference of the neck and along the contour of the shoulder. Leave the seam allowance only on the shoulder of 1-1.5 cm, there is no need to leave the seam allowance - the winning shape of the cut will be better visible.
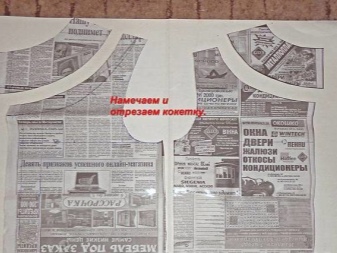
Modeling a yoke blouse
The blouse pattern is modeled as follows:
- Looking at the reflection in the mirror, determine the location line of the coquette, measure its height.
- Mark the position and size on a paper layout and cut according to the dash.
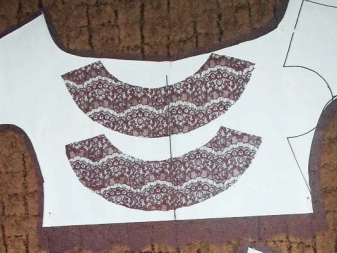
The yoke is used for cutting unchanged. Only along the entire length is 1.5 cm added in the form of an allowance. The detail is cut out twice, since it is harder than the rest of the blouse.
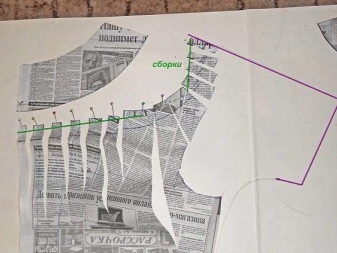
After separating the coquette from the main pattern, the contour is extended on a holistic pattern to increase the width of the parts and then lay them in folds or add.
In the process of connection, they try on and, if necessary, change the distribution of surpluses, which should be distributed equally, taking into account the peculiarities of the figure. The yoke and assembly add to the image of femininity and softness. For a slender girl, these details will add splendor, and for a full girl they will hide the excess.
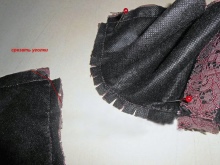
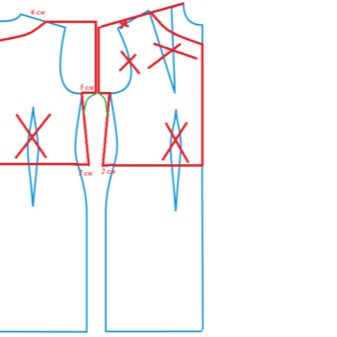
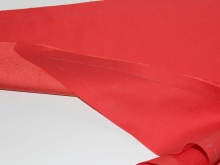
Gusset for a perfect fit
Our silhouette has one problem - the material under the arm experiences the greatest tension, and the tolerances on the seams in the places of curvature are ugly collected. If notches are made, then the probability of rupture of the material in this place increases.
When sewing sweaters with long sleeves or large size, the risk increases several times. To loosen the tension, you need to sew a gusset in a difficult place, that is, a small rhombus from the main fabric.
When stitching, the tops of sharp corners are directed to the bottom of the blouse and sleeves, and the tops of the blunt are aligned with the fusion angles of the front and back.

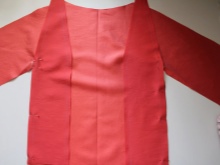
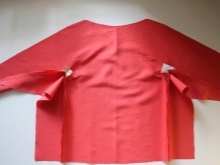
Sewing blouses
- If the lower part of the sleeves is hemmed with the same fabric, the minimum allowance is 3-4 cm; if machined, the stock will be 1 cm.
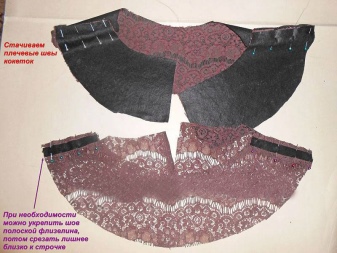
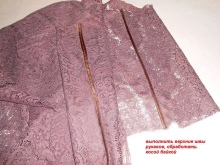
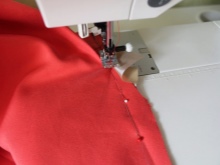
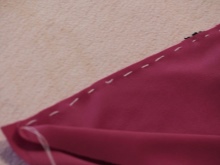
- Before sewing begins, you need to overcast the sleeve cut on the shelf and back so that the edges do not crumble.
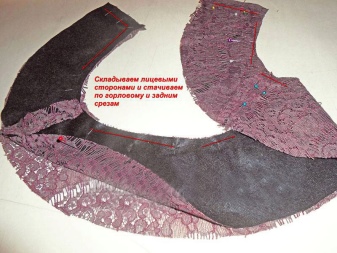
- Then make tucks. After that, the back and front are connected with the outside inward and swept along the shoulder sections and sections of the sleeves. Connect the back to the front along the edge of the undercuts. From their end, the lower sections of the front and back sleeves are cleaved and swept away.
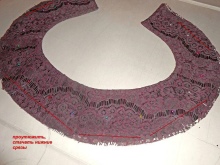
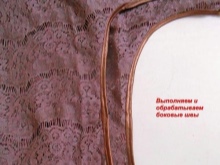
- For the first fitting, gusset can be left out. When trying on, make sure that the seams of the sleeves and shoulders are not moved forward or backward. After fixing all the flaws, they start sewing. Side, shoulder, and upper and lower sections of the sleeves are sewn. The seams are smoothed and overcast.
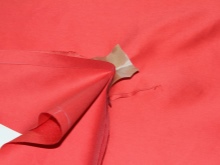
- The gusset is sewn into the undercut only after stripping and steaming the seams. The gusset edge is folded with undercut shelves and backs facing inward. Stitch the rhombus from the side of the blouse so that in the corners the tolerances on the seam are minimal to avoid wrinkles.For reliability in the corners, you can put a piece of cloth under the line. The seam gussets are laid out on both sides and ironed.
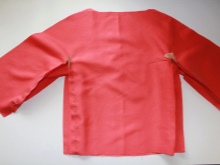
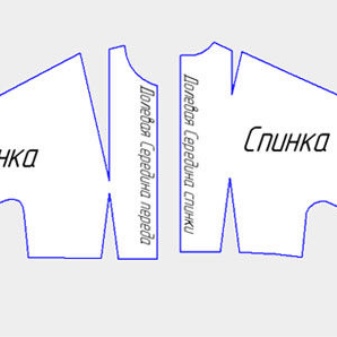
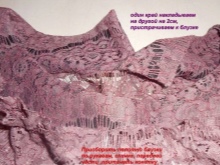
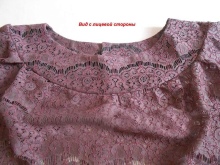
Blouse with an insert on the back
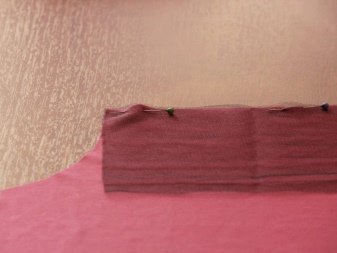
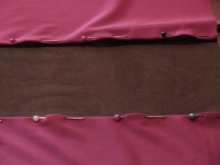
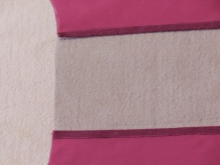
The transparent insert on the back is easy. On the prepared pattern of the part, step back from the fold of 3 or 5 centimeters below and above, then draw a line.
Cut the resulting strip and cut out the transparent insert. From the main fabric, cover in front and two parts of the back.
It remains to download all the details.