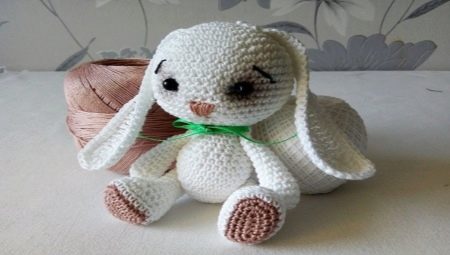
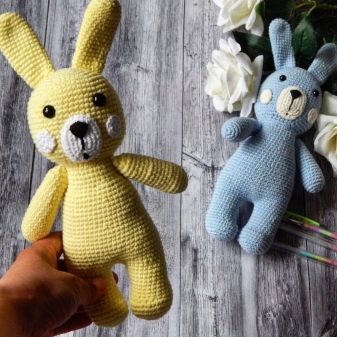
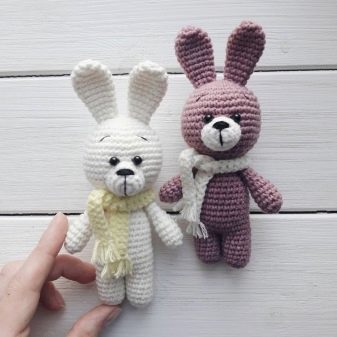
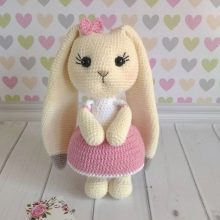
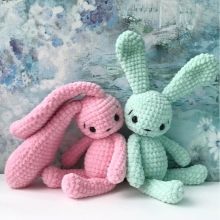
Amigurumi hare is one of the most popular crocheted toy options. Detailed workshops, diagrams and descriptions allow you to cope with its creation, even for people with minimal skills in needlework. All important points when crocheting bunnies with long ears, a plush or long-legged one should be studied in advance, then the result of the master’s work will surely meet expectations. Let's take a closer look at how to tie an amigurumi rabbit.
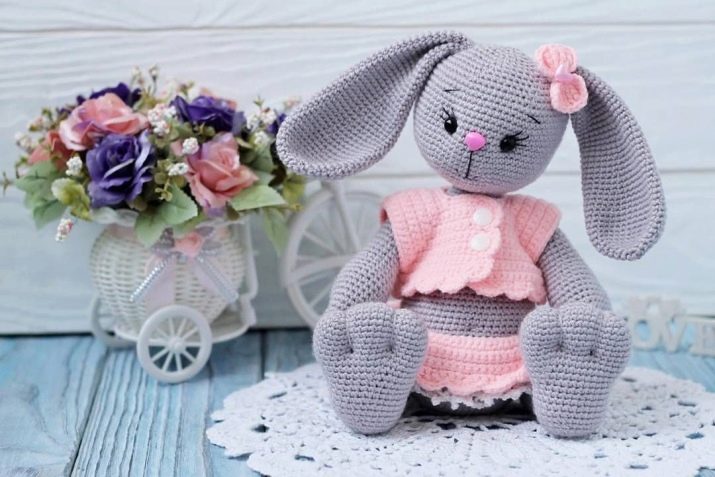
Features
Amigurumi Hare is one of the most popular characters in Japanese art. These animals are usually crocheted in thickness corresponding to yarn or a little thinner. The appearance of the future product largely depends on the choice of threads. For example, a skein of plush yarn is good for creating a large bulk bunny.
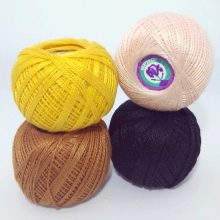
Small amigurumi style toys are best made from smooth colored iris.
Amigurumi hares have several distinctive features.
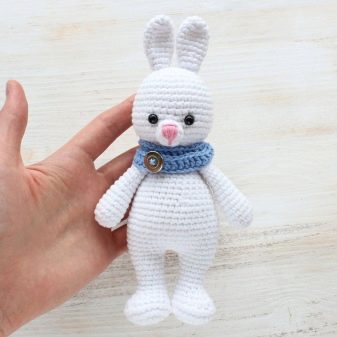
- Compact size. The average size of toys does not exceed 7–15 cm. The smallest bunnies can barely reach 30–50 mm in height; items up to 50 cm are considered giants.
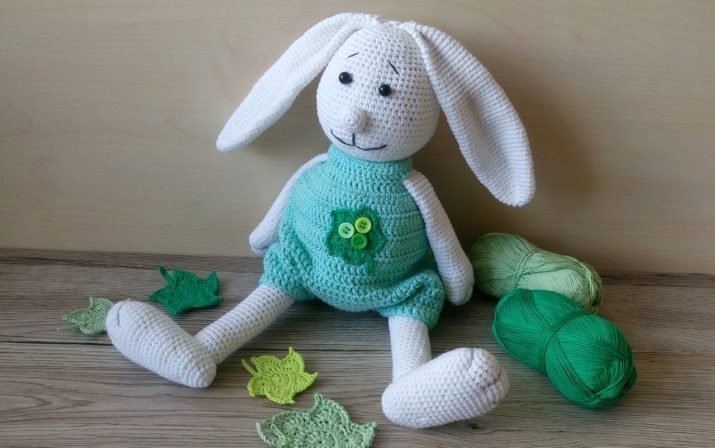
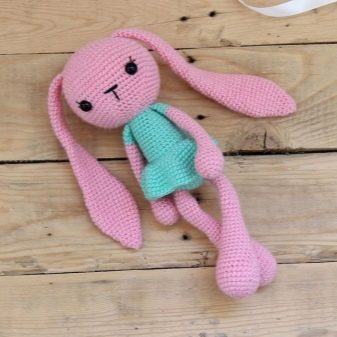
- Disproportionality. Long-legged, long-eared, with a large head and small body - amigurumi hares look like fabulous creatures. Sometimes the paws, on the contrary, are made short, but a general imbalance in the figure must be present.
- Pretty features. Amigurumi toys are always a little "humanized", they have a smile, a bright nose, expressive eyes. The bunny must convey a certain emotion - to be sad or cheerful. Among the characteristic details can be noted a low fit of the eyes, a high location of the mouth and nose.
- Knitting technique. The art of amigurumi involves the use of double crochet and single crochet columns, a snug fit of the loops to each other.Parts are stuffed with soft filler, a thread or hinges are used to connect.
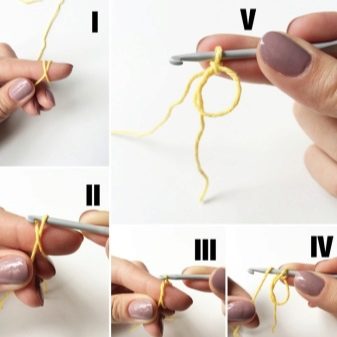
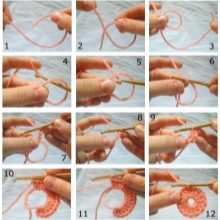
- Amigurumi ring. It is used at the beginning of knitting, allows you to tightly tighten the edge of the product, without suturing it. There is a Japanese and Russian version, the first is considered more reliable.
Tools and materials
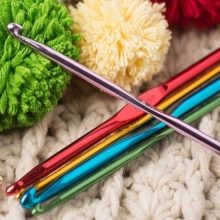
For knitting in the amigurumi technique, hooks No. 4 and 5 are most often used, but you still need to focus on the thickness of the thread. The choice of yarn largely depends on the experience of the craftswoman. The most difficult thing to do is “grass”, but from it we get voluminous and fluffy products that look very decorative. Beginners should prefer iris - it is well suited for small toys. “Golden middle” can be called acrylic yarn - light, soft, presented in all the variety of colors.
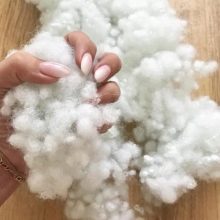
A Also, when making amigurumi toys, you will need scissors, stuffing - pieces of foam rubber, syntepuh. To create a muzzle, ready-made eyes and noses, as well as a mouline thread, pieces of felt, satin ribbons, beads, sequins and beads for decoration, are useful.
If it is assumed that the toy will sit or stand, weighting balls will also be needed.
Knitting technology
There are many patterns and descriptions for knitting hares in the amigurumi technique. Some suggest a certain experience - it will be difficult for beginners to tighten their faces or insert eyes. In this case, it is better to choose a simple master class for beginners, which allows you to tie a small toy and make a mouth for it in the form of embroidery with threads, sew a nose from felt.
However, even quite complex options, with some effort, can be created in just a few hours of work.
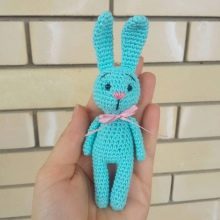
A simple bunny for beginners
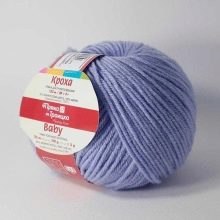
To make a basic toy of small height, you will need a simple set of materials and tools. Yarn “Baby” - 135 m, blended from 20% wool and 80% acrylic, the color can be chosen as you wish. Hook 3.5 mm thick, sewing threads or floss for decoration of the muzzle - pink and black. Beads with a diameter of 4 mm - they need 2, for the eyes. The packing is suitable from synthetic winterizer or synthetic winterizer. Tailor pins, a table fork, small scissors, pink acrylic paints and a cotton swab will also be useful.
Head
To create the most important part of the body of an amigurumi rabbit, you need to perform the following steps:
- make an amigurumi ring, type 6 SC in it, tighten;
- in the 2nd, 3rd, 4th and 5th row, make an increase of 6 loops in each, until their total number reaches 30; continue to knit;
- from 6 to 9 rows to knit 30 loops without a crochet; increase is not needed;
- from 10 to 13, the row sequentially decreases 6 loops in each row - first through 3, then through 2 and after 1 single crochet; when there are 12 stitches, stuffing the head is not too tight, but the shape should be convex;
- on the 13th row there should be 6 loops, they are closed in a ring, tightened and fixed.
Ears
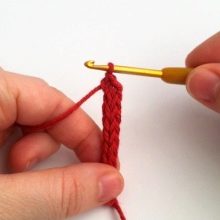
Here it is necessary to knit 2 paired parts. To create them, a chain of 8 air loops is made (as many as possible - the ears will be longer). In the 2nd row, it fits in a double crochet into a 2, 3 and 4 loop. Then comes 2 half columns. Column with 1 double crochet and another 3 in 1 loop.
After you need to go to the other side of the chain. The reverse scheme is a double crochet, 2 half columns, 3 single crochets. At the end of the row, a connecting loop is knitted, a thread is left for sewing to the head.
Torso
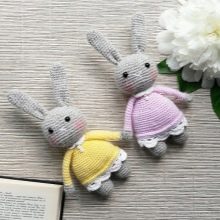
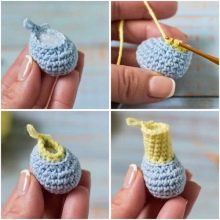
The knitting of the body of a bunny amigurumi passes in 10 rows. First, a ring with 6 single crochets is closed, pulled together. On 2 and 3 rows 3 loops are added. From 4 to 8, a row of 15 single crochet knits. On lap 9, a decrease of 3 loops, stuffing of the body is performed. 10 row - final. 6 loops are reduced, the remaining ones are fixed, the tip of the thread is left to assemble the entire toy.

Paws
For the top pair - “pens”, an amigurumi ring and 6 single crochets fit in. They are tied up to 5 rows, then the thread is fixed. Stuffing is not needed. The “legs” of the toy fit in the same way, but in 4 rows.
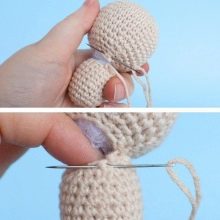
Product assembly
To make a beautiful amigurumi bunny from a set of parts, you need to assemble the toy. This is done in the following order:
- the choice of the position of the eyes and ears; fastening in the chosen place; ears inside can be tinted with acrylic paint;
- embroidery of the contour of the nose floss; satin filling; creating a smile - it can be embroidered with a chain;
- manufacturing a pompom tail - to make it quickly, use a fork to wind the yarn; the narrower it is, the smaller the diameter; the threads wound around the edges are pulled together in the middle, the edges are cut off - a fluffy ball of yarn is obtained, it is sewn onto the back of the trunk;
- connect the head and body, fix the legs; decorate a toy if desired.
This is a fairly simple workshop that takes a minimum of time to prepare and knit.

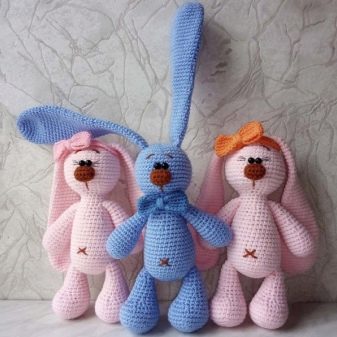
Amigurumi Long-Eared Bunnies
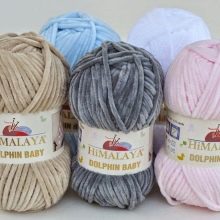
These toys are knitted from Dolphin Baby yarn; they are tactilely pleasant and quite large. The size of the required hook is 4.5 mm. For the nose you need yarn of a contrasting color, and you also need ready-made eyes, satin ribbons for bows on the neck, and a filler. This scheme is interesting in that the head and body are knitted with 1 part, do not require connection. The procedure will be as follows:
- creation of an amigurumi ring with 6 SC it drags on;
- from 2 to 6, a row of 6 single crochets is added until the number of loops reaches 36; first through 1 pass, then 2, 3, 4;
- 7 row fits without increases, in 36 loops; single crochet bars are used;
- on 8 and 9 rows 6 loops are added; total should reach 48;
- From 10 to 16, the columns are tied out without an increase and a crochet;
- on the 17th and 18th rows 6 loops are reduced; decreases each 7 and 6, respectively;
- for the 19th row, a new scheme is used - 3 single crochet, then 6 decreases (the waist is made), after which another 21 loops are knitted; the total number of columns at the end of the row is 30;
- 20–23 row fits without an increase;
- on the 24th circle, the number of loops decreases by 6;
- 25 is knitted in 24 single crochet;
- 26 row is reduced by 12 loops - this is the line of the neck;
- from the 27th row the head begins, in a circle 12 loops are added, by the end of the row there will be 24;
- on the 28th circle 12 more loops are added;
- from 29 to 32, 6 loops are added; the number of columns reaches 60 - this is the maximum value;
- from 33 to 37, the row is knitted in 60 loops with single crochet;
- 38.39, 40 - decreases by 6;
- to 41 rows there are 42 loops; they are knit with crochets;
- on rows 42 and 43, 6 loops are again reduced; 44 knits with a single crochet - there will be 30;
- on the 45th row there is a decrease of 6 loops; 46 fits into 24 columns, no needles; it is better to stuff the toy, leaving a little space on top for sealing;
- on rows 47 and 48, 8 loops are reduced; the circle closes and tightens.
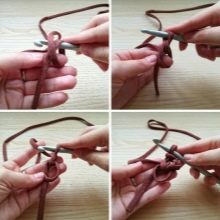
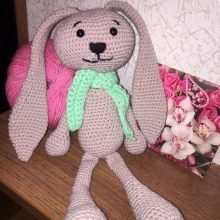
On the head, a tightening is done in the place where the eyes will be - about 8–9 rows from the top. In several horizontal stitches a “pinch” is made. Eyebrows and a belly button are embroidered with contrasting yarn. The nose is knitted from the same threads as other decorative details, from the amigurumi ring, in a circle, in 4 rows with an increase of 6 loops (24 in total), closes and sews.
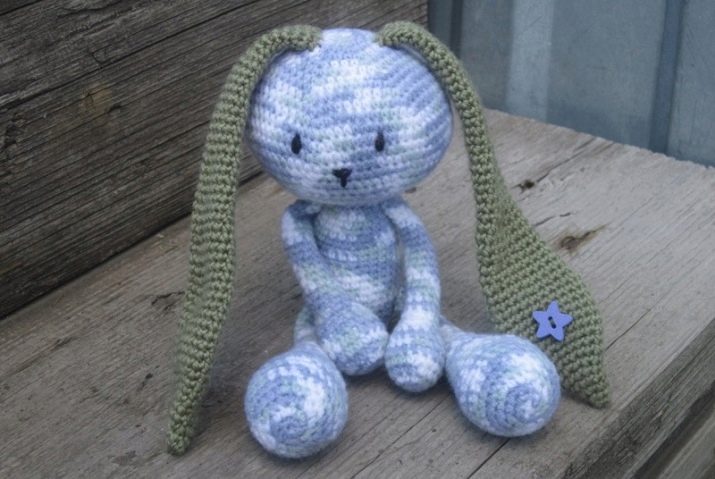
The ears
They have quite long toys for this version, you need to knit 2 parts according to the same pattern. First, an amigurumi ring is made, 6 SC Then the main knitting begins in a circle.
From 2 to 7, a row of 6 loops is added until they become 42. Then the columns are crocheted without a crochet and a change in the number. From 8 to 12, their number is unchanged. On the next lap, 6 loops are reduced. Then, from 14 to 18, 36 single crochet knits. At 19 again, a decrease of 6 loops is performed.
From the 20th to the 24th row, 30 single crochets are knitted. At 25 again, a decrease of 6 loops. From 26 to 30, 24 columns are tied. 6 loops decrease by 31, 32–36 rows without changes. By the 37th circle of loops, 18 will remain, their number decreases by another 6.
The remaining are knitted in the form of 12 single crochet. The threads are fixed. Ears are sewn to the head on the sides.
The higher they are, the more options for changing position.

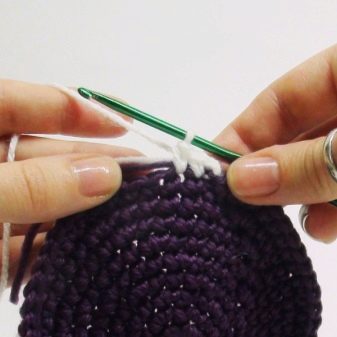
Legs
A pair of legs fits from an oval of amigurumi in 7 air loops. The layout is a little different.1 row begins in 2 loops, the circle closes, then 5 single crochets are formed, 3 more in the outer loop, after 4 ordinary and 1 increase. The row closes. A total of 14 loops.
Further along the rows:
- 2 row starts with an increase, then there is a combination of 4 single crochet, after 3 increments, another 4 columns and 2 additional; a total of 20 loops;
- in the 3rd row, an increase is made on the 2, 8, 12, 18 loop; In total, a circle of 24 single crochets is obtained;
- in the 4th row, the increase falls on a 3, 9, 14, 19 loop; total should be 28 columns;
- in the 5th row, the increase falls on the 2nd, 4th, 10th, 12.16th, 18th, 24th, 26th loop; the number of columns is brought to 36;
- 6 row fits on the back wall of the loop; the number of columns without a crochet - 36, then 7–8 fit without increase;
- in the 9th row loops 10, 12, 14, 16, 18, 20, 36 are reduced; the number of columns is reduced to 29;
- in the 10th row the 9, 10, 14.15, 29 loop is reduced; there are 24 in all;
- in the 11th row 8 + 8 single crochets are knitted; between them 4 loops from 9 to 12 are reduced;
- on the 12th circle, 7, 12 columns are removed; the total number is brought to 18;
- 13 row is knitted according to the scheme 7 + 7 columns with a decrease of 2 loops between them;
- 14 circle is not reduced; 16 SC crochet;
- on the 21 row there are 8 loops, the same number is reduced.
2 parts are tied. When the legs are ready, they can be fixed, leaving the thread for sewing, connected to the body.
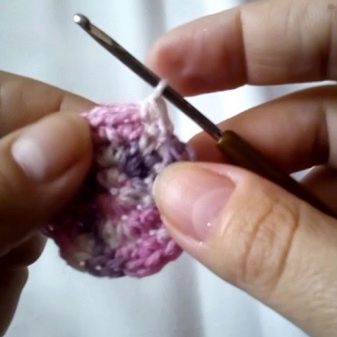
Paws
They are assembled in 20 rows, with the base - an oval amigurumi of 8 loops. On the 2nd row, 1, 3, 4, 5, 7, 8 columns are added. There will be 14 loops in total. On the 3rd circle, the increase is performed at the 2.6, 8, 10, 14 steps. From 4 to 8, the row is knitted with 19 single crochets.
With 9 knitting scheme: 7 + 1 + 7 with 2 decreases between them. There will be 17 loops. On row 10, a 4 + 1 + 4 single crochet pattern with 2 decreases between them is used. The number of loops is reduced to 13 - it remains unchanged from 11 to 19 rows. At 20, a complete decrease is performed with the closure of the ring and the fixing of the thread. The paws are fixed in the upper part of the body. The neck and base of the hare's ears can be decorated with satin ribbon bows.
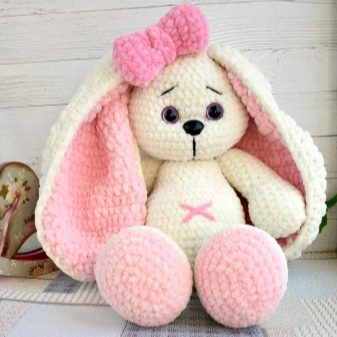
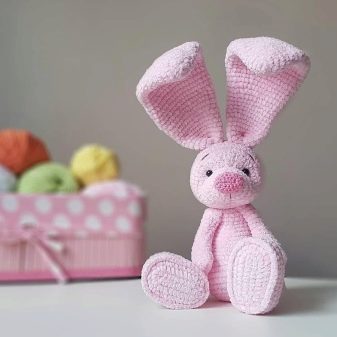
Very soft bunny amigurumi from plush yarn
According to this scheme, you can knit a toy 13 cm in size. For the product, Softy Alize double-thread plush yarn, hook No. 4 is used. One plain bunny requires approximately a skein of thread.
The product is sewn with regular yarn in tone.
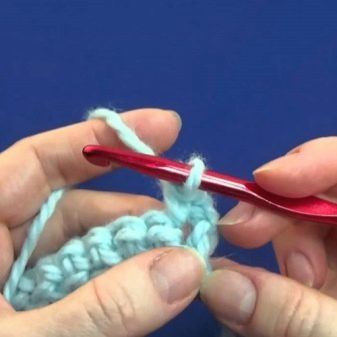
Head
It is worth sticking to the following algorithm:
- in the 1st row 2 air loops are knitted, then in the second of them - 6 single crochets;
- in 2, an increase is made - out of 6 columns, 12 is obtained (2 in 1 loop);
- on the 3rd row 6 more loops are added;
- 4 circle knits in single crochet; the increase is not needed, a total of 18 loops;
- in the 5th row, 2 SC crochet through 1 extra; so that the total number reaches 24;
- 6 row does not require an increase;
- 7 for every 3 SC: 1 increase; the total number of loops is 30;
- in such quantity, the 8th and 9th row are knotted out without increases;
- from 10 to 12 the circle is reduced by 6 loops, padding is introduced.
Important! The thread is pulled together, fixed, a small tail is left for assembly.
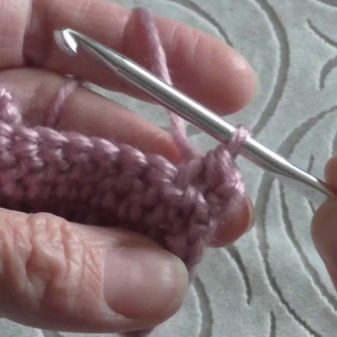
Torso
The first row when knitting the body begins with 2 air loops. In 2, 6 SC are crocheted. Amigurumi ring is being tightened. On 2, 3 and 4 row 6 loops are added. 5–7 circle knits in single crochet, 24 each.
On row 8 there is a decrease of 6 loops. At lap 9 it is not needed, it has 18 single crochet posts. 10 again with a decrease of 6 loops. 11-12 without cuts, at the end there are 12 loops. The toy body is stuffed, tightened and fixed.
The ears
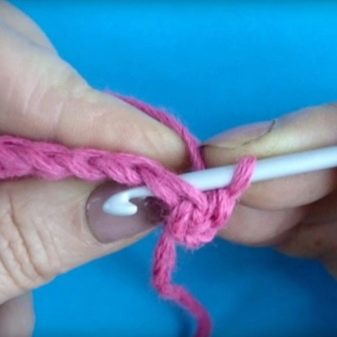
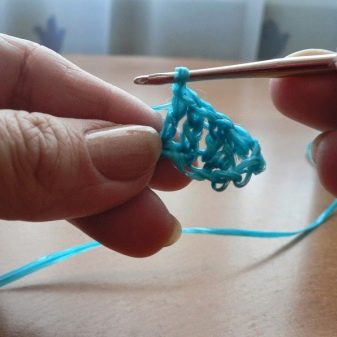
To create each of the 2 parts, a chain of air loops is dialed - there must be 16 in all. Further, the procedure is as follows:
- 5 single crochet;
- 5 double crochets;
- 4 double crochet;
- in the last loop of 5 SC;
- turn and mirror all the steps.
At the end, fasten the thread, the end can not be left.
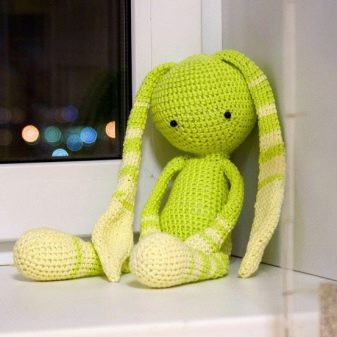
Paws
You will need 2 parts for the arms and legs of an amigurumi hare. The top pair is knitted in an amigurumi ring of 6 single crochet. In the 2nd row 3 loops are added.3 and 4 are knitted without changing the number of columns. The 5th row decreases by 3 loops, from 6 to 8 it fits directly. At the end of the work, the parts are doubled. 1 air loop is knitted. Through both edges, 3 SC are formed.
The lower pair of legs is knitted from an amigurumi ring in 6 loops. On the 2nd row, an increase of another 6. 3-4 circle is knitted without an increase. On the 5th row, 4 loops are reduced, 6–8 without changes. By analogy with the handles, the parts are folded, connected by columns without a crochet - there will be 4. All of the elements are sewn together. Eyes are fixed on the muzzle, the nose is embroidered, eyebrows and a smile with black threads. It is better to fix paws through movable - hinged connection. So they can change position, the toy will sit.
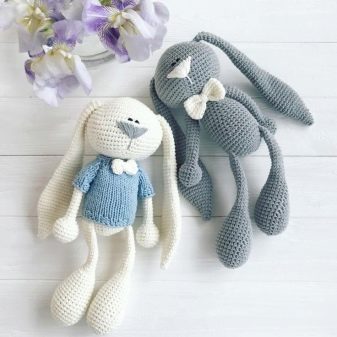
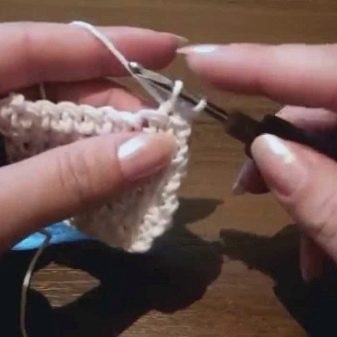
You can find out how to crochet an amigurumi rabbit below.
