If the lighting in the aquarium fails, you need to decide: repair the cover or buy a new one. If the cover in which the aquarium lights are installed is made of inexpensive materials and was bought as temporary, then there is no point in repairing it, as soon the breakdown will happen again. But if an expensive and high-quality thing was purchased, then it must be sent to a service workshop. It should be understood that repairing lighting in an aquarium is not an easy task.
And if you doubt your abilities or simply do not understand the electrical filling of a home reservoir, then the most correct decision is to turn to professionals for help. If the services of the master are not required, there is time or the breakdown is not very difficult, then you can repair the unit with your own hands.

Elimination of defects
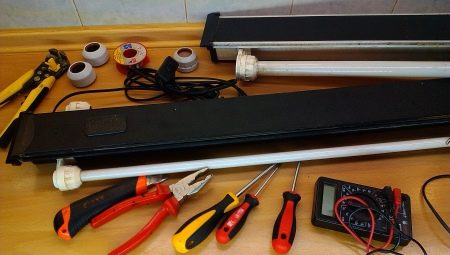
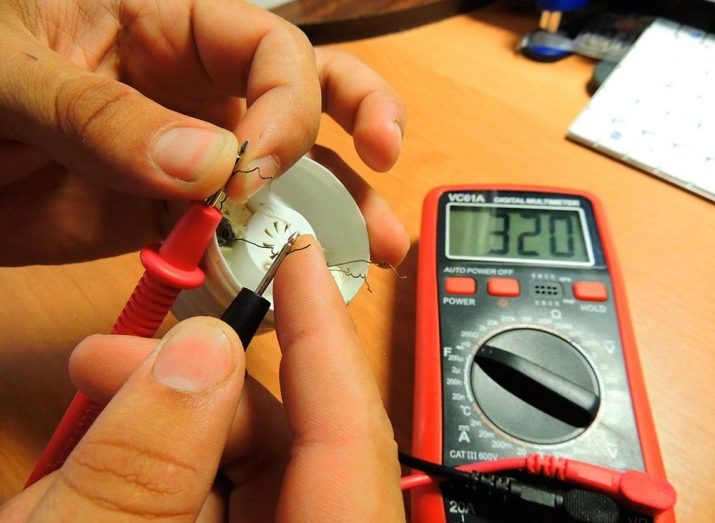
After the decision has been made to repair the lighting yourself, you need to identify the defect itself and the origin of the breakdown, so that it does not happen again in the future. The most common cause of damage to the electrical filling in the aquarium is a violation of the tightness of the compartments where the wires, timers and other devices are located. Leaky cartridges and lamps that are not designed to work in high humidity conditions also suffer from moisture. To carry out repairs, you will need the following materials and tools:
- tester;
- clerical knife;
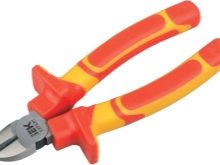
- side cutters;
- pliers;
- probe screwdriver;
- ordinary screwdriver;
- soldering iron;
- soldering kit;
- sealant;
- wires
- insulating tape or heat shrink tube.

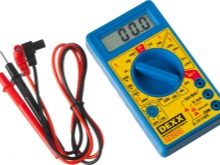
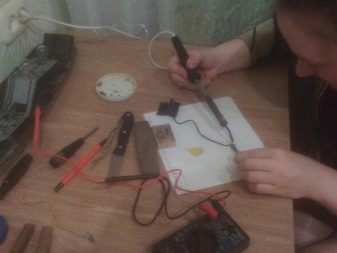
Fault diagnosis must be carried out in a certain order - from simple to complex.First, we check the integrity of the network wire and the operability of the switch. It is not difficult to do this with the help of a tester: we check these elements, if they do not work, then we make a replacement. In the event that everything is in order, we proceed to the next step.
Provided that the wires and switches are operational, there are not many options for backlight failures - these are electronic ballasts (electronic ballasts) and lighting lamps.
If the lamp does not work
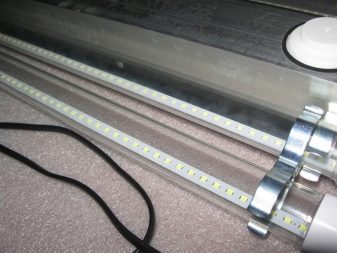
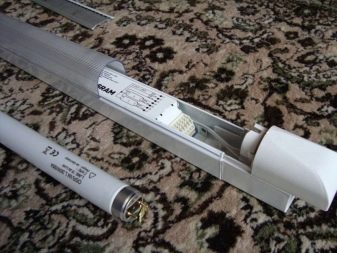
Very often, the lighting device ceases to work from exposure to an aggressive environment, as a result of which the cartridges in which the lamps are installed are oxidized and fail. Or moisture enters the light source. Only a complete replacement of lighting equipment will help here. We release the lights from the protective panel, if it is provided for by the design. We remove the lamps, dismantle the cartridges, "biting off" the oxidized wires.
In place of the old, we install modern moisture-proof cartridges, the design of which does not allow moisture to penetrate the contacts and cause burnout of the lamps.
It is better to completely change the wiring. Then we install the lamps in the niche of the cover, carefully seal all openings, check and connect.
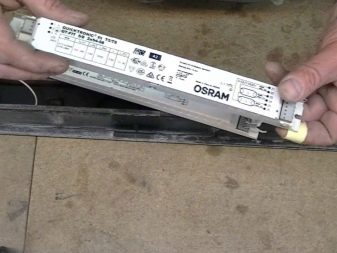
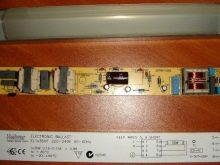
Replacing electronic ballasts
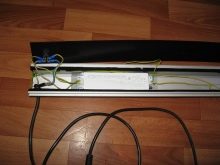
After checking and troubleshooting wiring and lighting, the most difficult case remains - this is the replacement of chokes. Remove the lid from the aquarium, disconnect from the electrical network and begin to disassemble it. This can cause problems: very often the top panel is glued or mounted on special silicone. To disconnect, you will need to make an effort and at the same time try to do it as carefully as possible. Under the panel are electric wires and electronic ballasts, in common people - starters. If you are not an expert, then it is advisable to write down, but it is better to photograph what wire goes where.
Electronic ballasts are best purchased at a specialized store to be sure of the reliability of parts. We disconnect the starter from the wires, replace it with the same or greater power. We collect everything according to the previous scheme.
We seal the compartment with silicone to protect it from moisture. We replace the top panel, connect the electricity and check the operability. And if the timer is broken, then it is not being repaired, but is replaced by a new one.
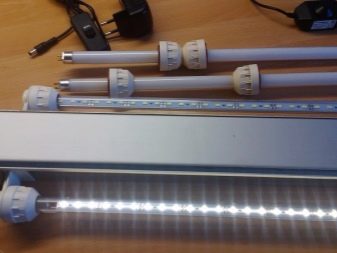
Conversion to T8 lamps
The correct selection of lighting in the aquarium is of great importance. To illuminate home ponds, various types of energy-saving lamps are used. Fluorescent lights are very widely used to illuminate fish tanks. Consider a T8 lamp. Her advantages:
- long working time, more than 10000 hours;
- low heating of the incandescent element, which does not allow the development of harmful bacteria and rot algae;
- gradual failure, which allows you to replace the lamp in time.
Minuses:
- lack of the ability to set the dimmer;
- the negative impact of ultraviolet radiation on some species of fish and plants;
- the inability to turn on without additional starting equipment (starter).
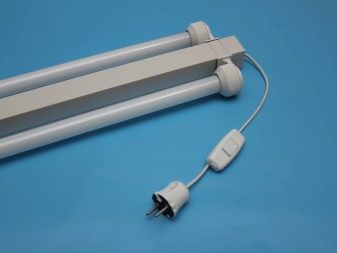
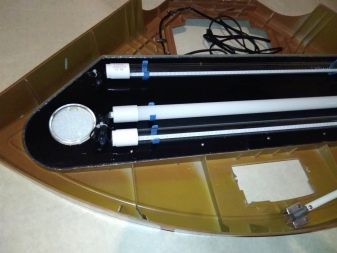
First, to replace the backlight with T8 lamps, you will need to open the lid and remove the previous equipment. If the lid does not have a removable panel, then with the help of a ruler we put marks and use a clerical knife to carefully cut holes in the shape of a rectangle.
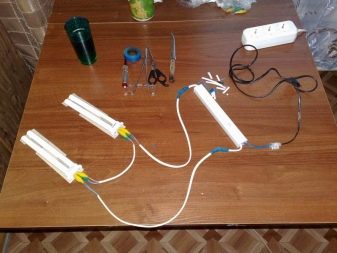
We remove the old wiring, lights and cartridges. You can leave the power cord. After all the manipulations, we should have a completely empty cover.
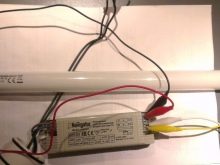
Next, we collect lighting using new parts. We connect the wires to the new sealed electric cartridges and mount them to the old place. We select the T8 lamps according to the size of the cover, then install them in the lamp holders and connect the electronic ballast (the design of the electrical circuits, which turns the usual mains voltage into alternating current).We mount everything according to the diagram on the ballast housing, the correct connection of the wiring is important. Then we connect the network cable and turn it on to check how everything works.
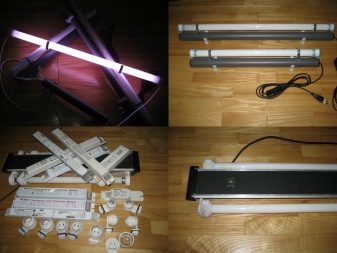
If everything is done correctly, then the lamps are lit evenly and quickly turn on and off. After checking the performance, we replace the cut out part of the cover. To facilitate access in the future, if repairs are needed, it is better to make the lid collapsible. In this case, you need to install the mounts inside the compartment where the wires and ballast are installed.
Holders are cut out of plastic and glued to the edge of the niche. After the glue dries, we install the previously cut piece of the lid into place. As a result, we got a collapsible lid and a new economical lamp.
Juwel aquarium lamp repair in the video below.


