As a rule, covers for aquariums are purchased immediately upon purchase of a tank in a store. However, sometimes the required designs are not available or the classic models are not suitable for containers of non-standard shapes or sizes. In this case, it makes sense to make the item yourself.
What is it for?
In fact, the cover for the aquarium performs several important functions that affect the life of underwater inhabitants. If you close the tank, you can reduce the rate of evaporation of water. Otherwise, the amount of filling fluid will be unstable all the time, and the amount of oxygen will decrease significantly. As a result, the volume of fish waste will begin to increase, which will negatively affect their health, up to a fatal outcome.
Besides, the aquarium cover, of course, protects the aquarium itself from dust, dirt and other objects that can harm the inhabitants.
For some fish, one of the main values of the lid is its ability to prevent them from jumping out of the tank. Without this obstacle, in most cases they die immediately.
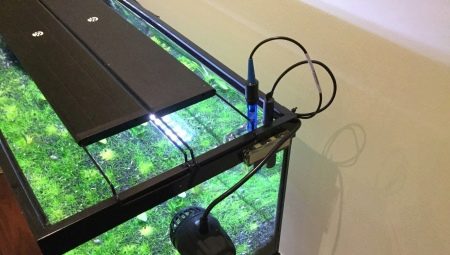
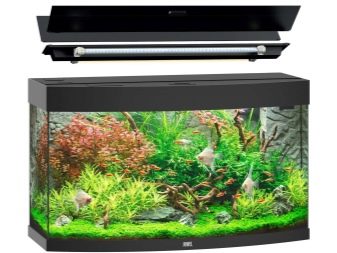
This part of the construction also prevents the reverse threat - getting into the capacity of the paws and faces of pets. Finally, the lid also contributes to maintaining the desired temperature inside the aquarium. Since some fish cannot even tolerate vibrations of several degrees, this function is very important. In principle, it is customary to fix fixtures, sometimes filters, an aerator or a device for automatic feed feeding, onto the roof.
Pros and Cons of a Homemade Cover
Homemade caps have several advantages and disadvantages. If we talk about the pros, then the main thing, of course, is the ability to equip a custom design, for example, the original form. In addition, standard parts are equipped only with a pair of light bulbs, which in most cases is insufficient for underwater residents. Since poor lighting leads to discomfort and nervousness in fish, as well as slowing down the development of plants, this situation is best avoided.
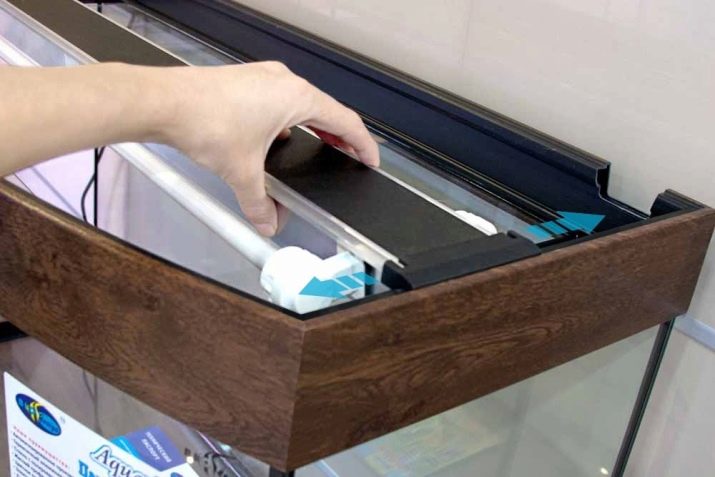
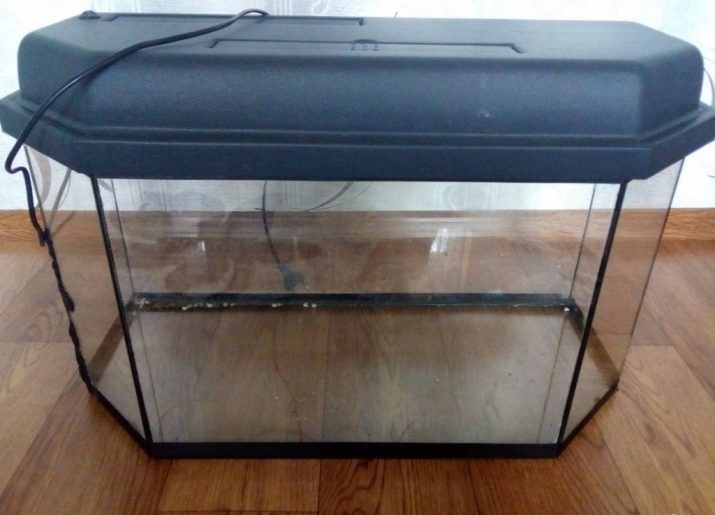
Factory parts are often made of several components, so when cleaning the aquarium or changing the water, you have to completely disassemble them.
Besides, ready-made covers do not imply a ventilation system, and the available spaces for pipes and wires are not wide enough, which complicates the care process. We can also mention that the factory part is always set low, which leads not only to its overheating, but also to the formation of condensate. Naturally, all of the above explains the popularity of hand-made designs.
The disadvantages of homemade covers include the effort and time that will have to be spent on developing an ideal model.

Materials and tools for manufacturing
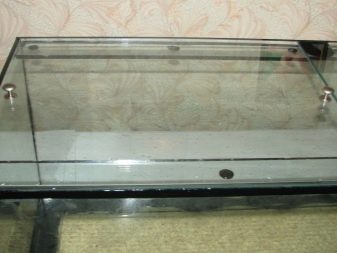
A homemade lid for the aquarium can be made from different materials, not limited to only the standard glass model. All of them are financially affordable and are sold in ordinary construction stores.
Plastic
In most cases, the basis are PVC panels, plastic, laminate, plexiglass and plywood. Plastic covers are most often sold in stores, but at home, plastic can be used to create designs.
Such a material is inexpensive and quite easily and quickly processed, despite the selected shape and size of the tank.
In addition, the plastic object itself looks quite worthy, but in addition it can be pasted with self-adhesive paper and create an individual design that fits perfectly into the existing interior. The disadvantages of a homemade plastic part include seams. Since the material is not fixed with a sealant, you still have to use glue, and it eventually starts to release moisture.
Laminate
Used to create covers and ordinary laminate. It’s quite easy to assemble a lid from it, but the finished design can be very heavy and inconvenient to use. Since the material itself is distinguished by its impressive weight, if the coating is created for a two-liter aquarium, the situation will be critical. Since the lid needs to be removed and returned regularly, it can end up falling and breaking the tank itself.
In addition, the construction of the laminate is made using metal fittings, which, as a result of tight interaction with water, will soon become covered with rust.
Damaged parts will have to be changed or regularly processed with special compounds, which means spending extra money and making extra efforts. It is impossible not to mention that low quality laminate is not durable. The coating is difficult to transform, which means that it is not possible to glue the lid with a film and make its appearance more aesthetic.
PVC
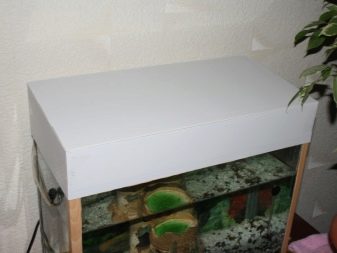
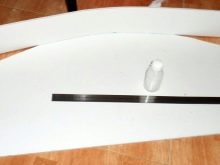
Homemade PVC aquarium covers are quite popular. Foamed material is lightweight, convenient for use, but is quite dense and tough. White panels are easily painted or decorated with a special film.
Moreover, colored PVC panels are also on sale. Fixation of individual elements is carried out by a special adhesive composition.
Nevertheless, it is rather difficult to call the material environmentally friendly and non-toxic, therefore Some opponents of this material consider it dangerous for underwater inhabitants. In addition, over time, it fades, and the mechanical effect shows the fragility of PVC.
Plexiglass
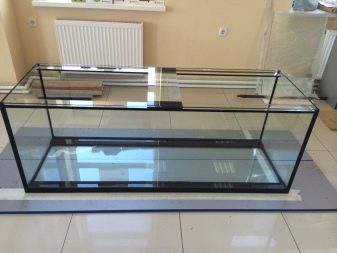
Plexiglass - a good choice for creating an aquarium cover. This material is much lighter than ordinary glass and looks much more aesthetic than the same laminate or plastic. Unfortunately, it is difficult to process, so it is suitable only for skilled craftsmen.
Important! Plywood is sometimes used for this purpose, but serves very little. Since the material is quickly exposed to liquid, it becomes dry and loses its suitability.
Hardware
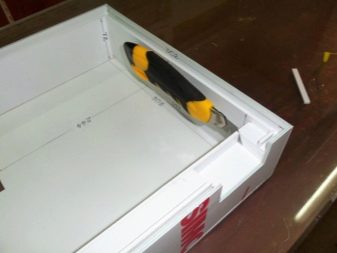
In addition to the main material, surely you will need accessories - corners from the corresponding material. Everything is held together, usually with a gun filled with silicone sealant. In addition, it is wise to prepare self-adhesive paper or acrylic paint, gloves, a knife, gloves, stationery from tools.
Since lighting fixtures are fixed on the lid, it makes sense to immediately prepare light bulbs with wires.


It’s worth mentioning right away that experts do not recommend using PVA or superglue as an adhesive material. If it is decided to fix the filter, cooler or fan directly on the lid, then suitable models need to be selected at the preparation stage.
How to make?
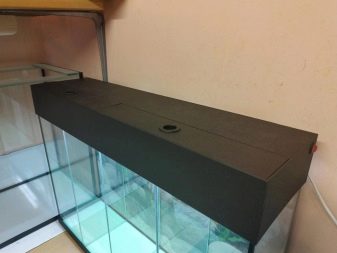
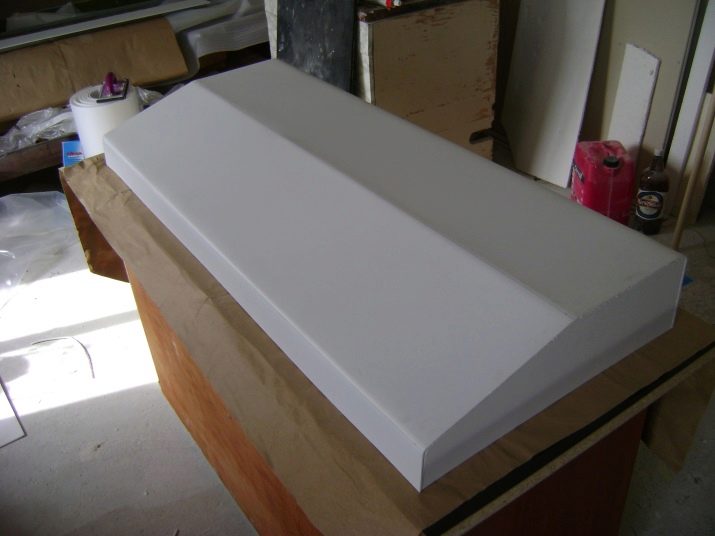
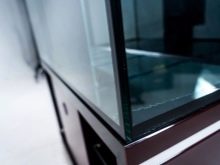
The manufacture of an aquarium cover with your own hands occurs according to one general scheme, regardless of the material selected. First, the sidewalls are assembled, then the upper part, after which all the details are fixed to each other.
At the final stage, the backlighting is carried out in such a way that its repair in the future does not present any particular difficulty. Of course, even before the manufacture of the structure, measurements are made. For example, if PVC is chosen as the main material, then the plates are laid out on the floor, and the height and width of the future cover will be measured directly on them.
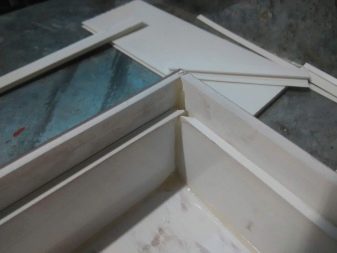
Further, the individual parts are cut out and gradual assembly begins. The sides are glued to the base, and you can proceed to join the inner corners.

A detail is fixed at each corner of the box-like structure, and it is necessary to step back slightly from the upper edge of the structure. In addition, stiffeners are placed vertically from the inside of the sidewalls.
All gluing points are treated with sealant.
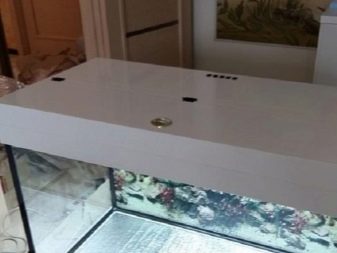
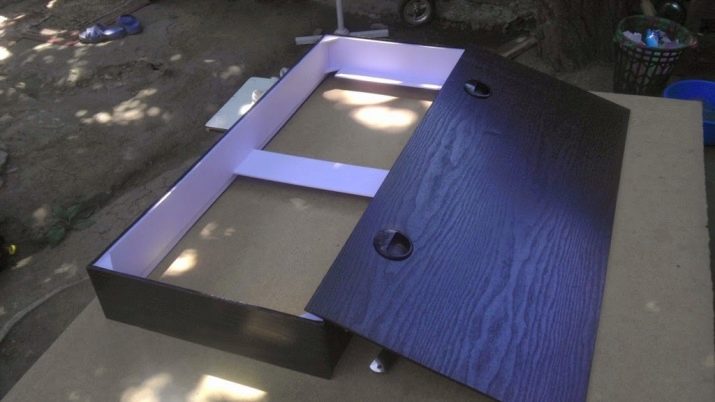
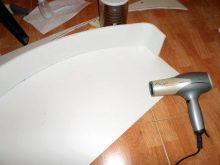
Immediately you need to make slots for wires, existing hoses and falling asleep feed. For greater aesthetics, the finished structure can be glued with acrylic paint or self-adhesive. Before using the coloring material, you can pre-ground the surface and glue the lid with foil from the inside. At each stage of the assembly, experts recommend first degreasing the elements, then trying on, and then fixing it with an adhesive. At night, the finished lid should be left to air.
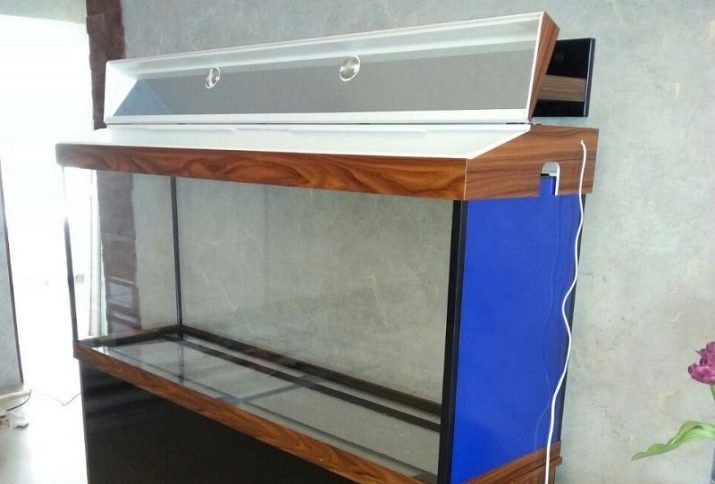
Backlight setting
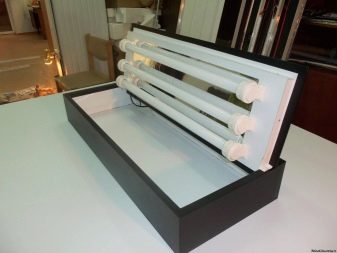
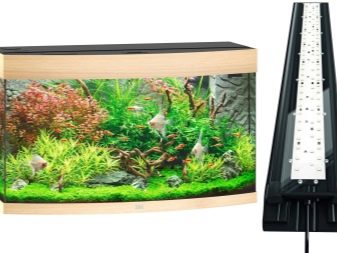
Since well-organized lighting is one of the important functions of a home-made cover, you will also have to do it yourself. The number of lamps is determined depending on the required amount of light. It also depends on the volume of the tank, and on the needs of its inhabitants. For example, for an aquarium with a volume of 140 liters, it is preferable to use several LED and energy-saving lamps. In the manufacture of the cover immediately come in handy and cartridges for them.
The manufacture of lighting will require basic knowledge of electricians, so if they are absent, it is better to contact a knowledgeable person.
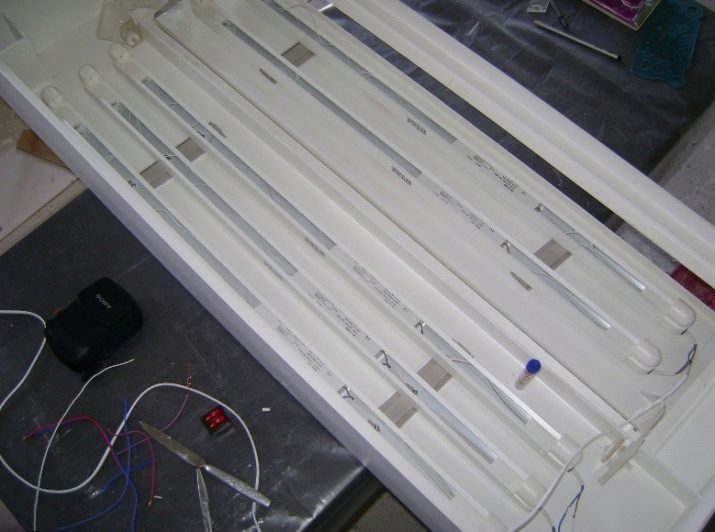
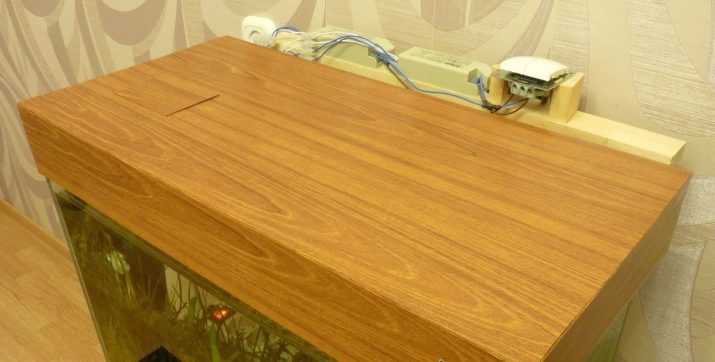
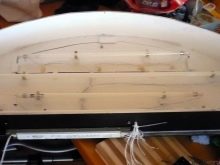
The wires are connected to each other and insulated, after which they should be fixed in metal holders located at the required height. Small pieces of plastic are glued to the base of the lid, intended as a substrate for the lampholders. Placing all the details on the lid, It is important to ensure that they in no case reach the liquid level. The bulbs themselves are fixed with self-tapping screws, which usually come with them.
Of course, the electrical wires should be brought out. It is important to remember that with a lack of lighting, aquarium plants begin to die, and the fish themselves feel much worse, so this aspect of the content of the aquarium should not be ignored. It is better to buy lamps for the tank in pet stores.
On how to make a lid for an aquarium with your own hands, see further.


